Macで Next.jsの公式Getting Startedを進めてみたメモ。
使用した環境は Intel Mac + Catalinaです。
バックエンドとしてはstrapiを使っていきます。
前回の記事で Getting Started の章をやりました。
今回は Basic Features / Pages やっていきます。
2. Basic Features / Pages をやってみる
続いてBasic Features / Pagesページの内容をやってみます。
2.1. Static Generation without dataの例
Next.jsのSSG(静的サイト生成)について触れられているところで about ページを作るところがあったので作ってみる。
こちらもTypeScriptで作成する。
-
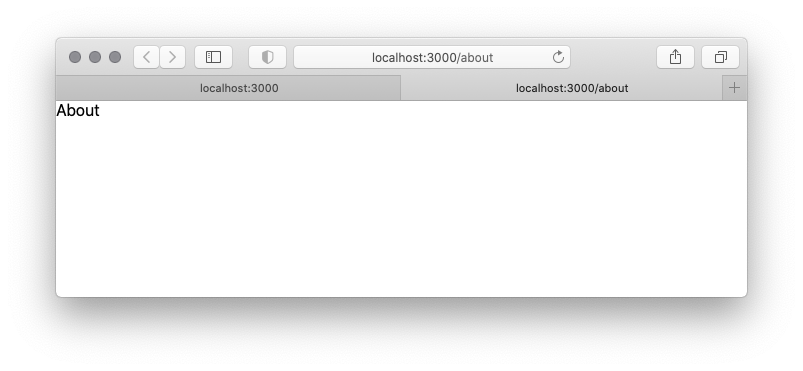
pages/about.tsxを下記の内容で作成するpages/about.tsxfunction About() { return <div>About</div>; } export default About; -
ブラウザで作成したページを開いてみる
command$ open http://localhost:3000/about
[ちょっと寄り道] バックエンドAPIの作成
次のセクションでバックエンドのCMSがあった方が良さそうなので、strapiでサクッと建てる。
-
strapi用にターミナルを別で起動して、作業用のフォルダに移動する
commandcd ~/devel/ -
strapiのプロジェクトを作成する
command$ yarn create strapi-app --quickstart next-sample-backendoutputyarn create v1.22.10 [1/4] 🔍 Resolving packages... [2/4] 🚚 Fetching packages... [3/4] 🔗 Linking dependencies... [4/4] 🔨 Building fresh packages... ~~~~~~~~ 中略 ~~~~~~~~ One more thing... Create your first administrator 💻 by going to the administration panel at: ┌─────────────────────────────┐ │ http://localhost:1337/admin │ └─────────────────────────────┘ -
ブラウザが開くので必要な情報を入力する(ブラウザが機能しない場合は http://localhost:1337/admin にアクセスする)

-
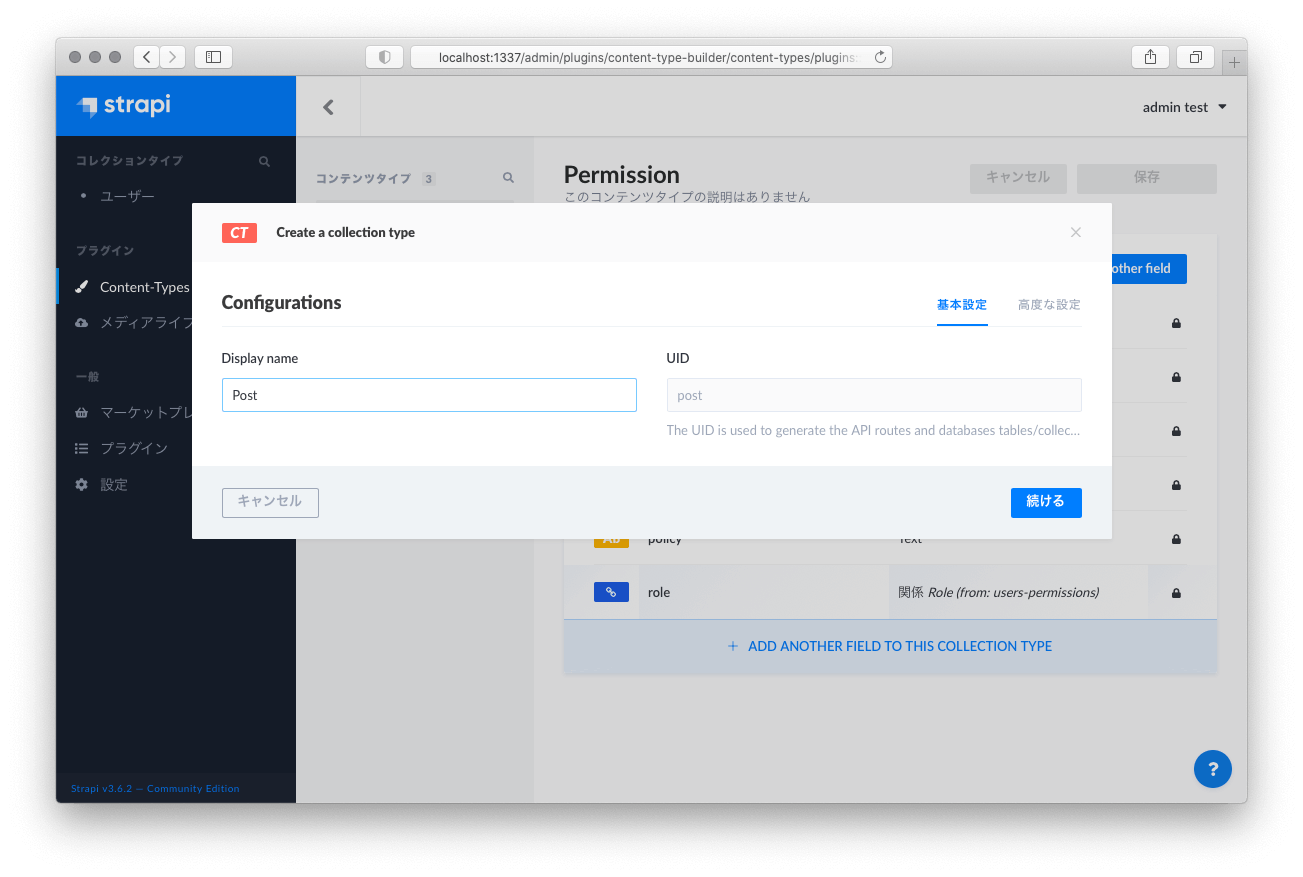
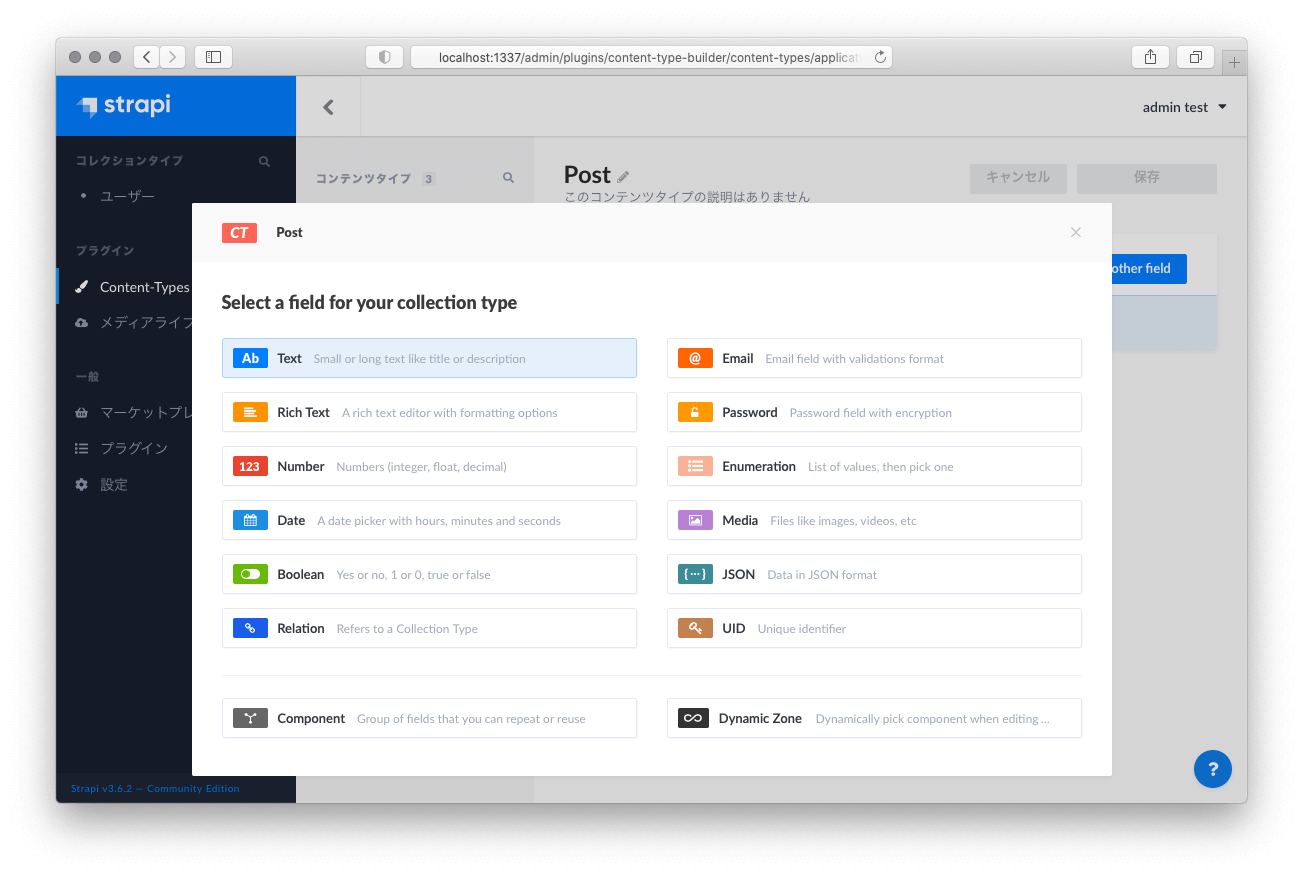
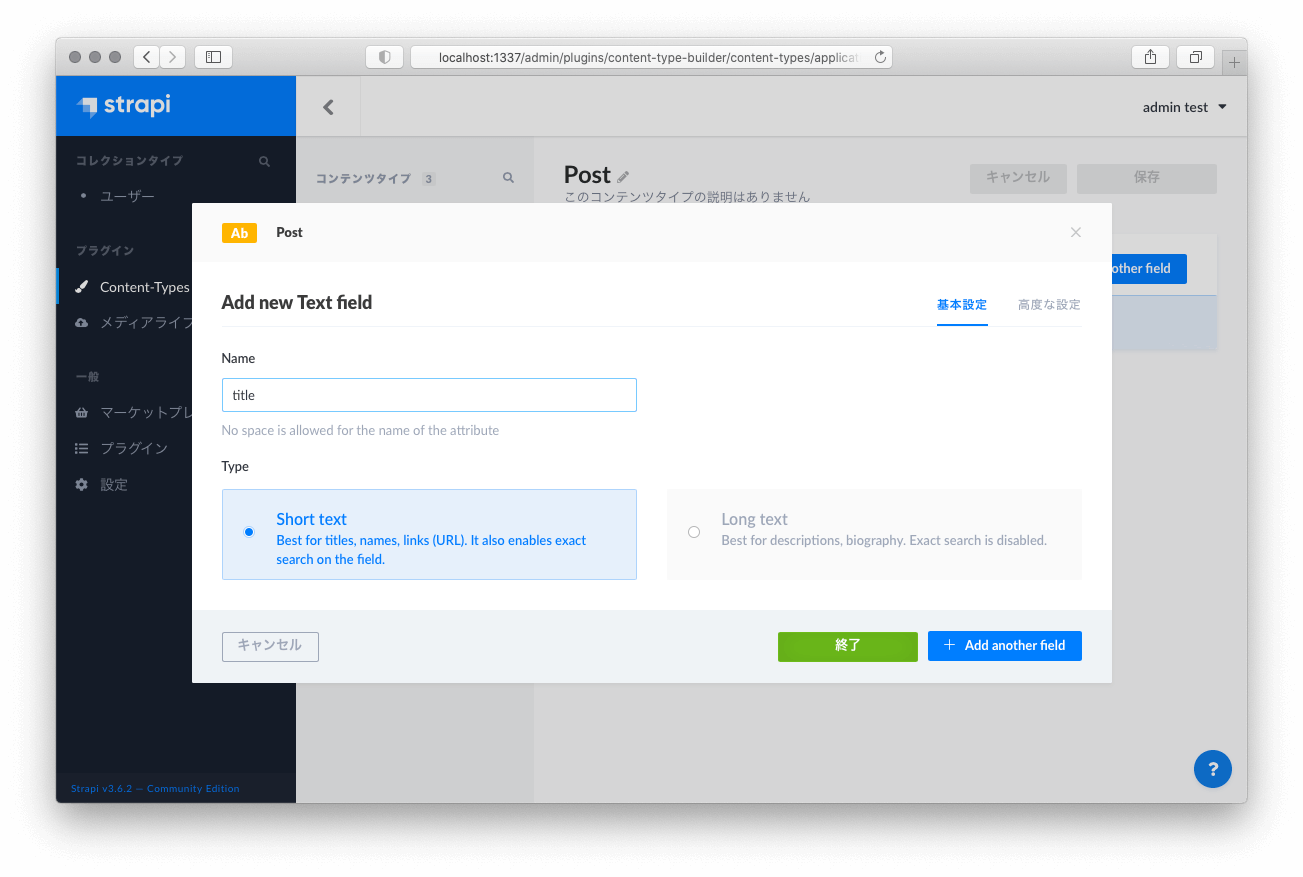
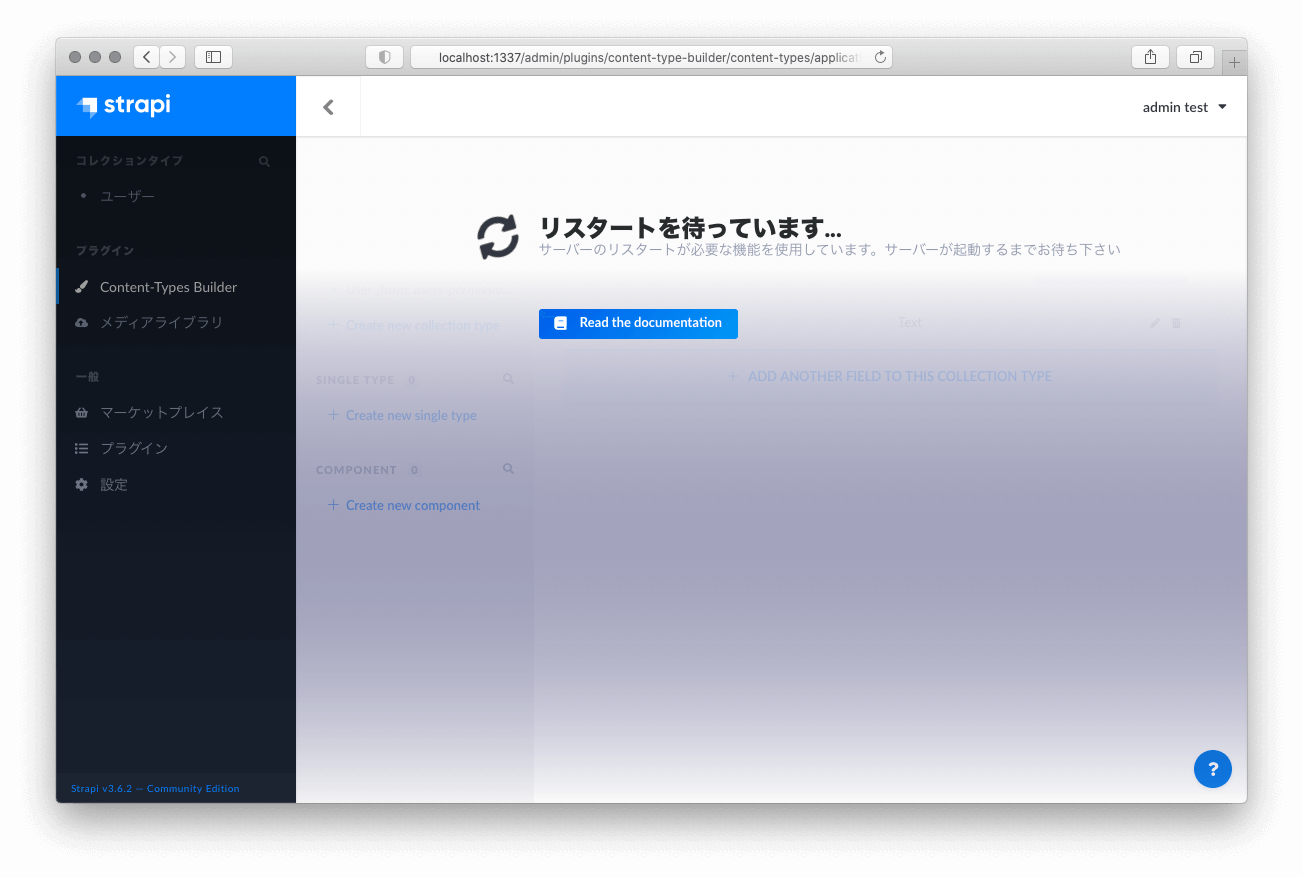
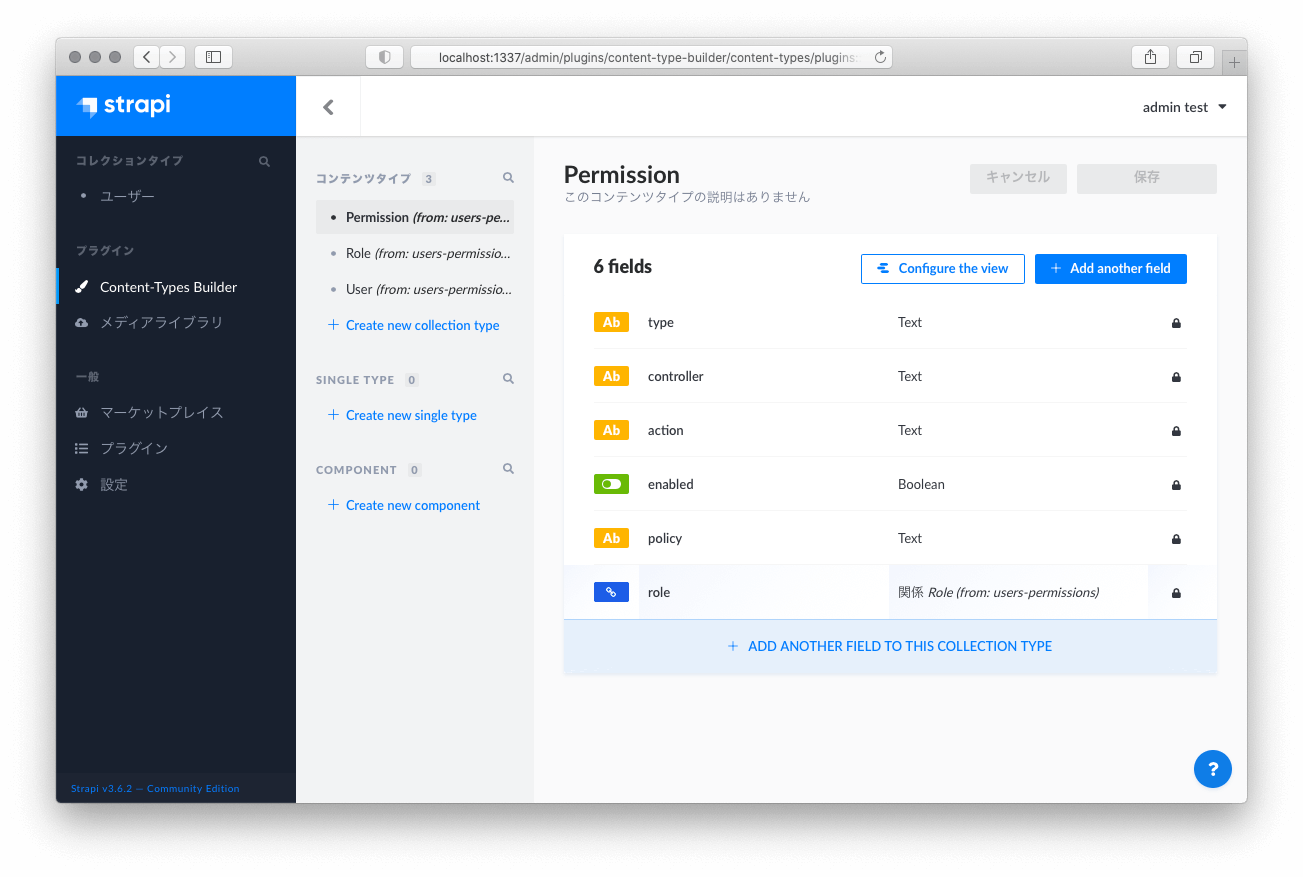
strapiの管理画面が開くので、[Content-Type Builder]→[Create new collection type]を選択する
-
次に
/postsのエンドポイントを公開する設定をするため、[設定]→[ロールと権限]を開いて、[Public]の行をクリックする

-
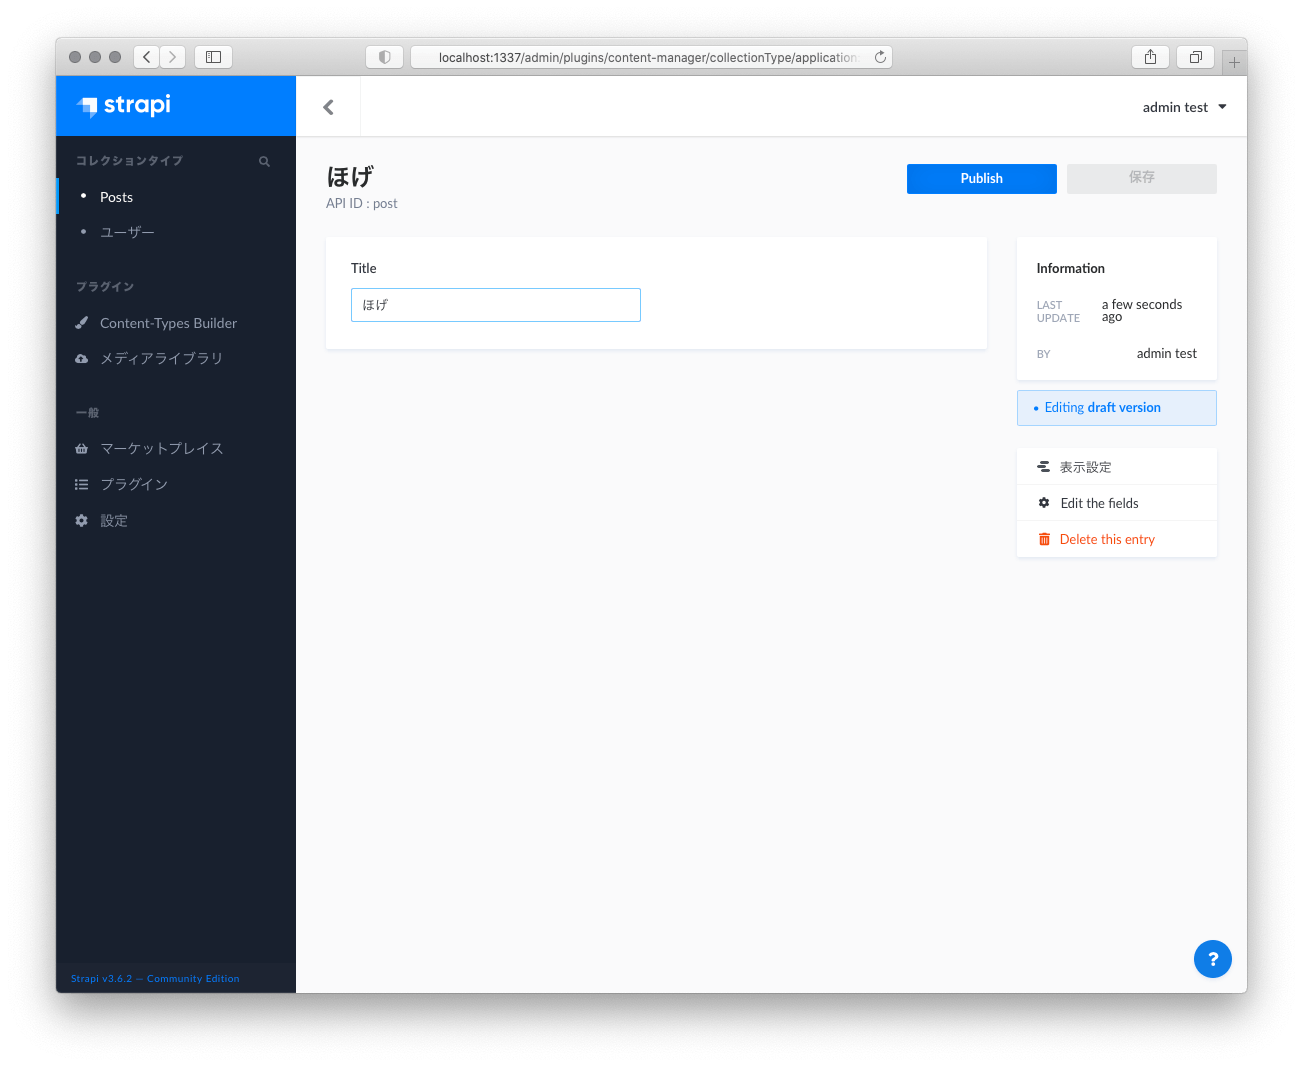
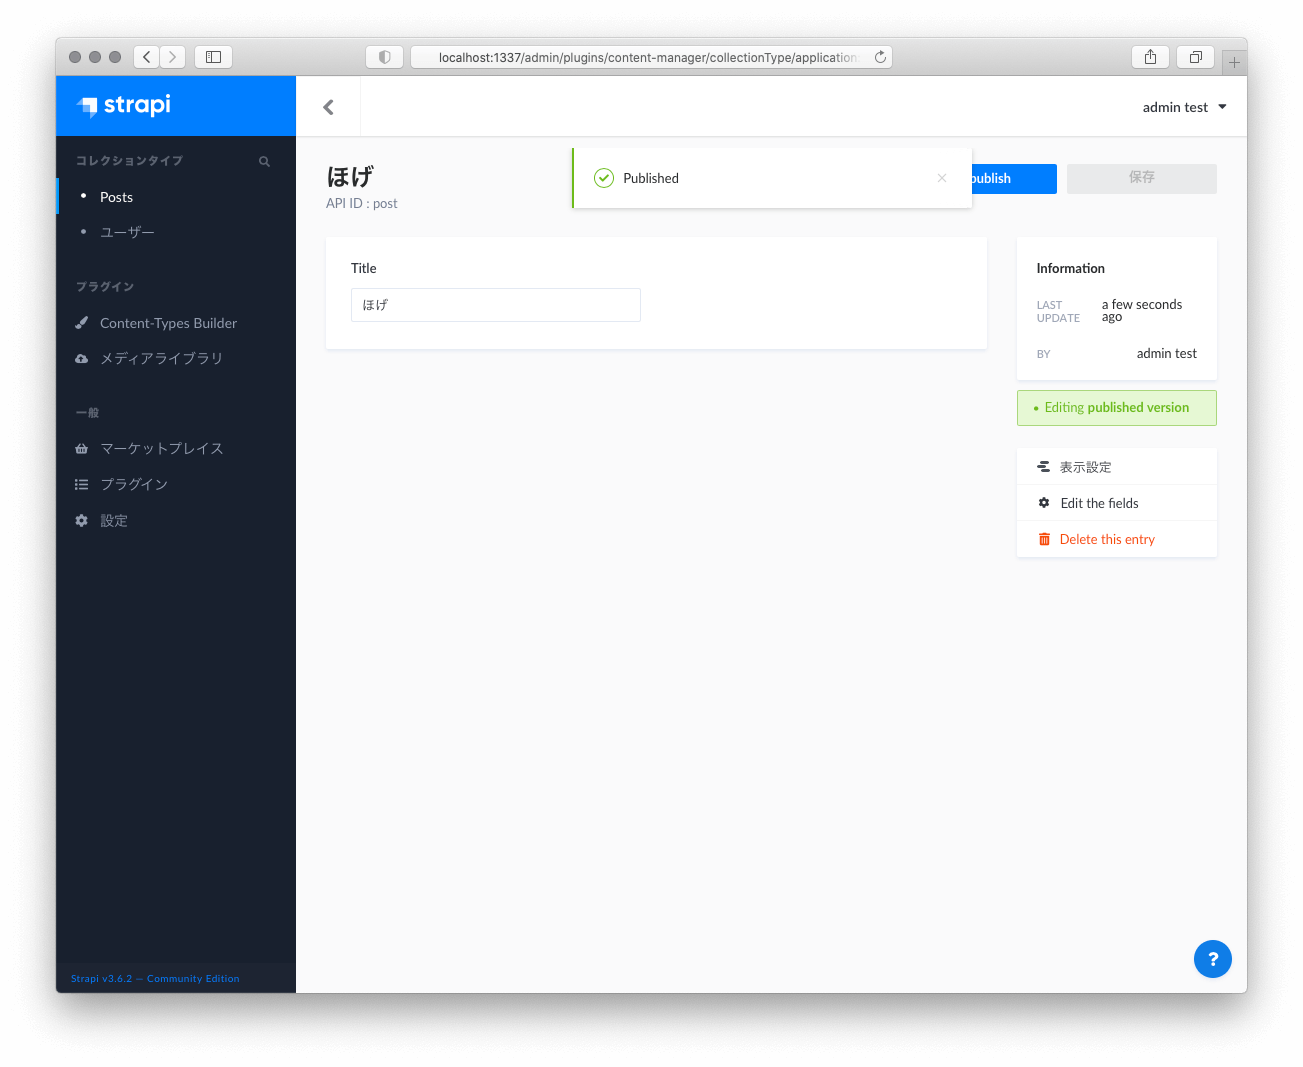
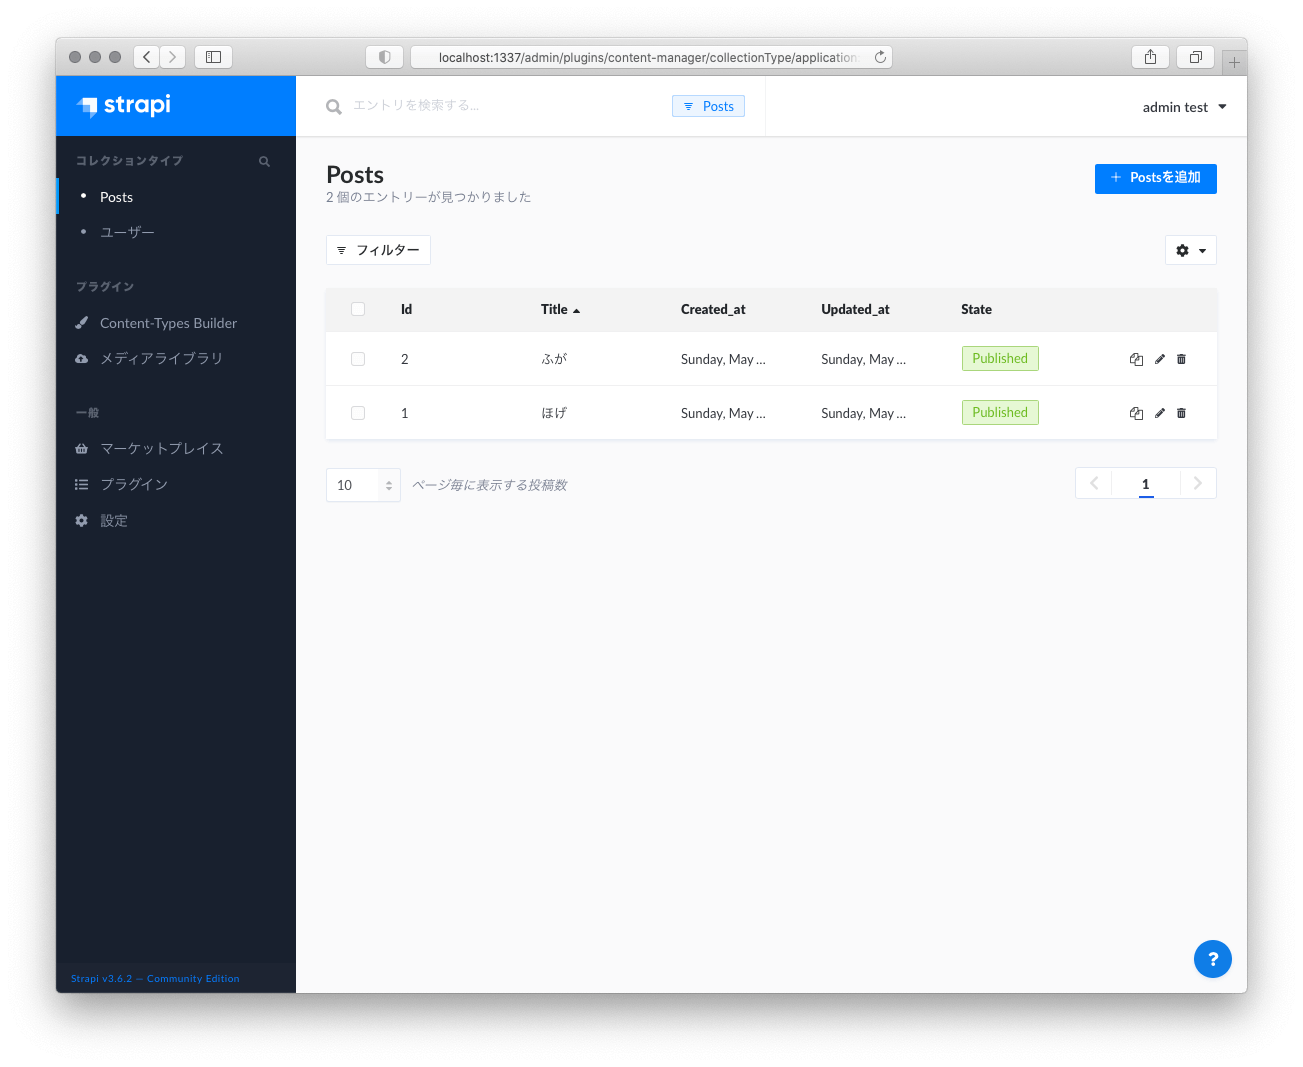
これで http://localhost:1337/posts にアクセスしたときに適当にタイトルが返るAPIが作成できた
command$ curl http://localhost:1337/postsoutput(整形済)[ { "id": 1, "title": "ほげ", "published_at": "2021-05-23T09:13:53.895Z", "created_at": "2021-05-23T09:13:47.938Z", "updated_at": "2021-05-23T09:13:53.906Z" }, { "id": 2, "title": "ふが", "published_at": "2021-05-23T09:14:09.970Z", "created_at": "2021-05-23T09:14:08.718Z", "updated_at": "2021-05-23T09:14:09.980Z" } ]
このままstrapiは起動したままにして
2.2. Static Generation with dataの例
2.2.1. シナリオ1 getStaticPropsを使う例
-
下記の内容で
pages/blog.tsxを作成する- 公式にファイル名の記載がなかったので適当
- 型は暫定的に
anyを設定
pages/blog.tsxfunction Blog({ posts }: {posts: any}) { return ( <ul> {posts.map((post: any) => ( <li>{post.title}</li> ))} </ul> ); } // This function gets called at build time export async function getStaticProps() { // Call an external API endpoint to get posts const res = await fetch("http://localhost:1337/posts"); const posts = await res.json(); // By returning { props: { posts } }, the Blog component // will receive `posts` as a prop at build time return { props: { posts, }, }; } export default Blog; -
ブラウザで開いてみる
command$ open http://localhost:3000/blog
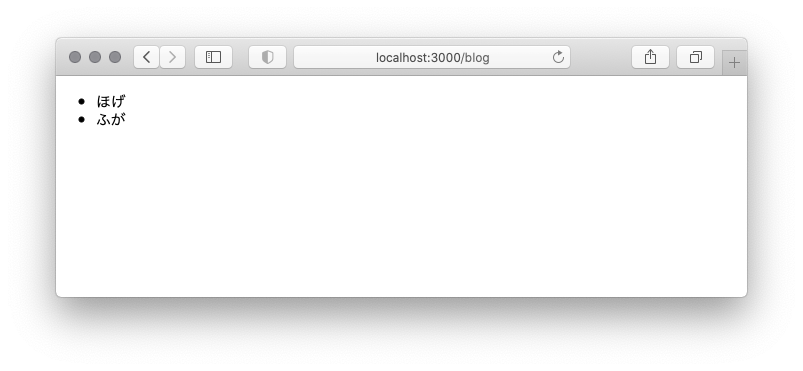
先ほどstrapiで登録したPostのtitleが表示された。
2.2.2. シナリオ2 getStaticPathsを使う例
-
下記の内容で
pages/posts/[id].tsxを作成する- 型は暫定的に
anyを設定
pages/posts/[id].tsxfunction Post({ post }: {post: any}) { // Render post... return <h1>[{post.id}] {post.title}</h1>; } // This function gets called at build time export async function getStaticPaths() { // Call an external API endpoint to get posts const res = await fetch("http://localhost:1337/posts"); const posts = await res.json(); // Get the paths we want to pre-render based on posts const paths = posts.map((post: any) => ({ params: { id: String(post.id) }, })); // We'll pre-render only these paths at build time. // { fallback: false } means other routes should 404. return { paths, fallback: false }; } // This also gets called at build time export async function getStaticProps({ params }: {params: any}) { // params contains the post `id`. // If the route is like /posts/1, then params.id is 1 const res = await fetch(`http://localhost:1337/posts/${params.id}`); const post = await res.json(); // Pass post data to the page via props return { props: { post } }; } export default Post;-
Render post...のところは適当にタグを生成 -
getStaticPathsの params は Stringでないとエラーが出るので、公式ではparams: { id: post.id },だったところをparams: { id: String(post.id) },に修正
- 型は暫定的に
-
ブラウザで開いてみる
command$ open http://localhost:3000/posts/1
先ほどstrapiで登録したPostのid=1のtitleが表示されました。
次回は Basic Features / Data Fetching を進めていきます。
MacでNext.jsのGettingStartedを進めてみる シリーズの記事
- Getting Started をやった記事
- Basic Features / Pages をやった記事
- Basic Features / Data Fetching をやった記事
