はじめに
Nreal端末搭載カメラで撮影した写真から顔を検出するNrealアプリを作成しました。
実装手順を当記事に残します。
開発環境
- Unity (2020.3.36f1)
- Xperia 5 III SOG05
- Nreal Light
- NRSDK for Unity 1.10.1
- OpenCV plus Unity 1.7.1
Nrealアプリ開発の準備
当記事では、Nrealアプリ開発の準備に関する説明を省略します。
こちらの投稿を参考に、「NRSDKのインポート」と「NRCameraRigとNRInputの配置」を済ましてください。
OpenCV plus Unityの導入
アセットストアでOpenCV plus Unityをダウンロードしてください。
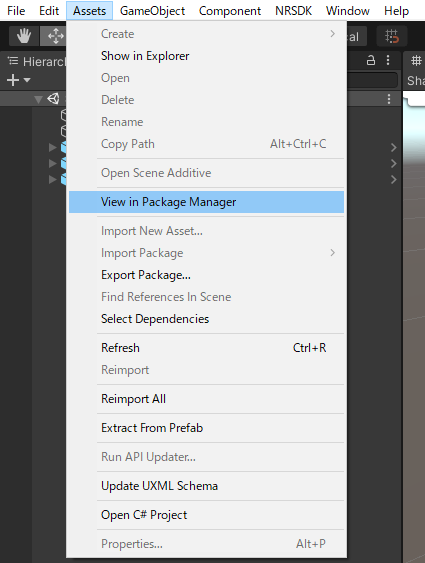
Assets -> View in Package ManagerでPackage Managerを開きます。
次にPackage ManagerでOpenCV plus Unityを選択し、Downloadを押下します。

ダウンロードが終了したらimportを押下して、左下にウインドウが表示されるのでImportを押下します。
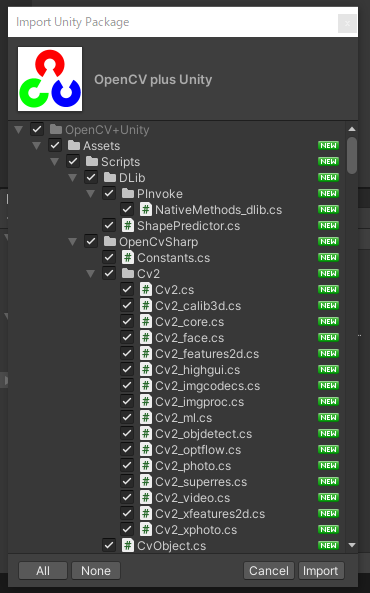
パッケージのインポート終了後、エラーが大量に吐かれていることを確認します。
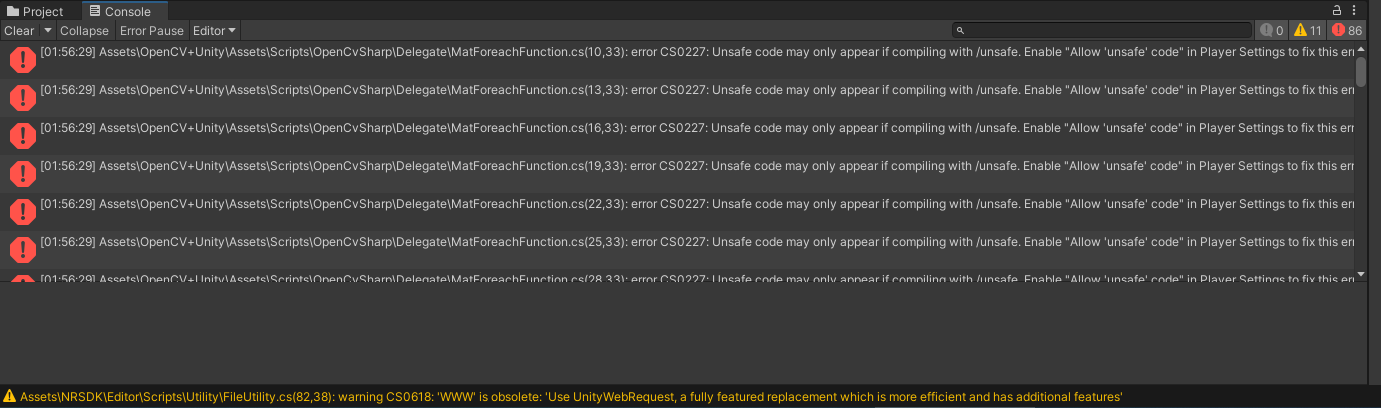
エラー文にあるUnsafe code may only appear if compiling with /unsafe. Enable "Allow 'unsafe' code" in Player Settings to fix this error.より、
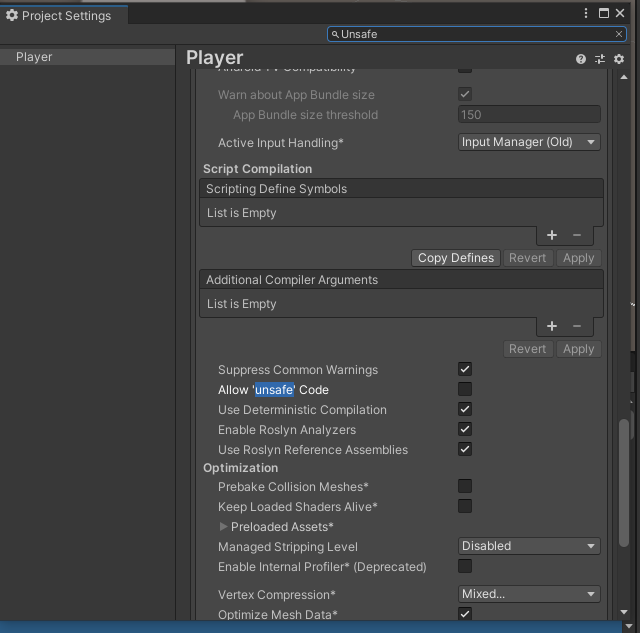
File -> Build Settings... -> Player Settings... でAllow 'unsafe' Codeにチェックを入れます。
チェック後、エラーが消えていることを確認できます。
顔検出のスクリプト作成
今回、/Assets/NRSDK/Demos/Record/Scripts/PhotoCaptureExample.csを改修して、
「写真撮影 → 写真から顔検出 → 検出した顔の周りを赤枠で囲む → 写真をMR空間上に配置」の処理を実現します。
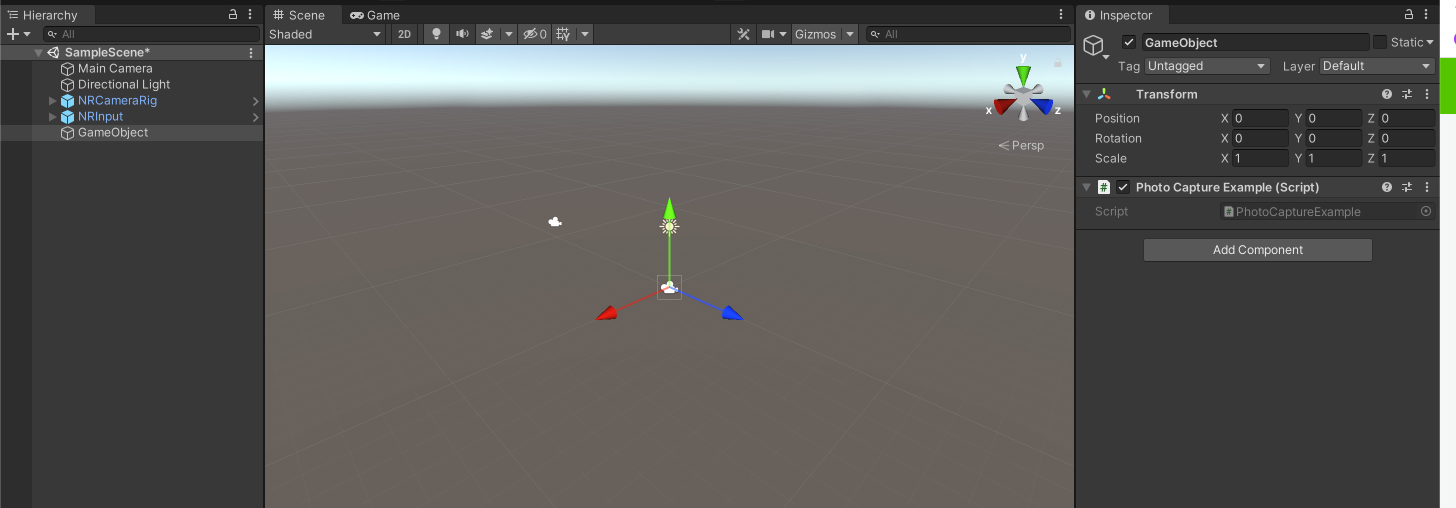
まず、GameObject -> Create Emptyを選択して、空のオブジェクトを作成しましょう(名前は任意)。
作成したオブジェクトのInspectorにてAdd Componentを押下し、PhotoCaptureExample.csを追加してください。
次に、下記内容をPhotoCaptureExample.csに追加・変更してください。
// 追加
using OpenCvSharp;

namespace NRKernal.NRExamples
{
    public class PhotoCaptureExample : MonoBehaviour
    {
        // 追加
        // 顔検出を行うカスケード分類器のxmlファイルを格納
        [SerializeField]public TextAsset faces;
        public CascadeClassifier haarCascade;
    }
    void Create(Action<NRPhotoCapture> onCreated)
    {
        // 追加
        // カスケード分類器の読み込み
        FileStorage fileStorageFaces = new FileStorage(faces.text, FileStorage.Mode.Read | FileStorage.Mode.Memory);
        haarCascade = new CascadeClassifier();
        if (!haarCascade.Read(fileStorageFaces.GetFirstTopLevelNode()))
        {
            throw new System.Exception("FaceProcessor.Initialize: Failed to load faces cascade classifier");
        }
    }
    void OnCapturedPhotoToMemory(NRPhotoCapture.PhotoCaptureResult result, PhotoCaptureFrame photoCaptureFrame)
    {
        var targetTexture = new Texture2D(m_CameraResolution.width, m_CameraResolution.height);
        // Copy the raw image data into our target texture
        photoCaptureFrame.UploadImageDataToTexture(targetTexture);

        // 追加
        // 画像読み込み
        Mat mat = OpenCvSharp.Unity.TextureToMat(targetTexture);
        // グレースケール
        Mat gray = new Mat();
        Cv2.CvtColor(mat, gray, ColorConversionCodes.BGR2GRAY);
        // 顔検出
        OpenCvSharp.Rect[] faces = haarCascade.DetectMultiScale(gray);
        // 顔の位置を描画
        foreach (OpenCvSharp.Rect face in faces)
        {
            Cv2.Rectangle(mat, face, new Scalar(0, 0, 255), 3);
        }
        // 書き出し
        Texture2D outTexture = new Texture2D(mat.Width, mat.Height, TextureFormat.ARGB32, false);
        OpenCvSharp.Unity.MatToTexture(mat, outTexture);

        // targetTextureからoutTextureに変更
        quadRenderer.material.SetTexture("_MainTex", outTexture);
    }
}
Assembly Definitionファイルの作成
スクリプト改修後、error CS0246: The type or namespace name 'OpenCvSharp' could not be found (are you missing a using directive or an assembly reference?)のようなエラーが発生していると思います。
Assembly Definitionファイルを作成して、エラーを解消しましょう。

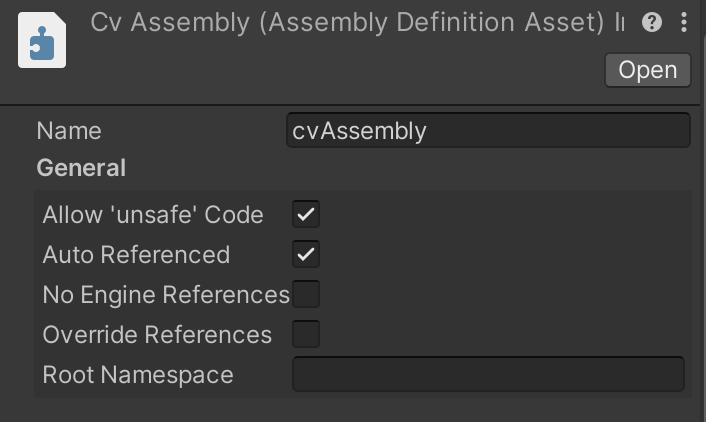
まずAssets/OpenCV+Unity/Assets/Scriptsを開き、右クリック -> Create -> Assembly DefinitionでAssembly Definitionファイルを作成します(ファイル名は任意)。
次に作成したAssembly Definitionファイルのインスペクタを開き、「Allow 'unsafe' Code」にチェックを入れてインスペクタの一番下にあるApplyを押下して更新します。
Asset/NRSDK/内に存在するAssembly Definitionファイル「NRSDK」を選択し、インスペクタ内のAssembly Definition Referencesの+マークを押下して、作成したAssembly Definitionファイルを選択します。
インスペクタ内のApplyを押下すると、Assembly Definitionファイル「NRSDK」が更新され、上記エラーが解消されていることを確認できます。
カスケード分類器の配置
顔検出のために、カスケード分類器を準備する必要があります。
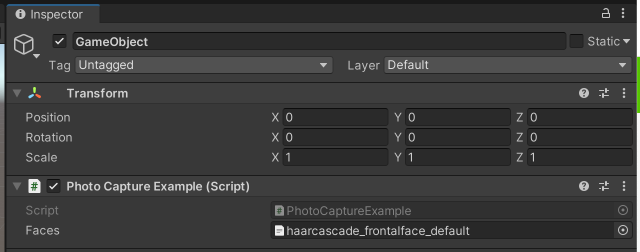
今回、OpenCV plus Unityで用意されているAssets/OpenCV+Unity/Demo/Face_Detector/haarcascade_frontalface_default.xmlを使用しています。
PhotoCaptureExample.csを配置したオブジェクトのインスペクタを開き、Photo Capture Example (Script) のFacesにhaarcascade_frontalface_default.xmlを配置してください。
実機での確認
作成したアプリを実機で実行します。
コントローラ(Android)の画面に表示されているボタンを押下して顔写真または人を撮影すると、MR空間上に顔の周りが赤枠で囲まれた写真が投影されていることを確認できるはずです。
上記を確認したら、Nrealで顔検出完了です。
ボタンを押下するたびに写真が増えて鬱陶しい場合、最新の写真一枚しか表示しないなど各自で調整してください。
参考