初めに
ブログを始めようと思いいろいろ調べてみたところ、アメブロやはてなブログからWordPressなどなどいろいろでてきて悩みました・・・。
悩みに悩んだ結果、Vue.js公式が公開しているVue.jsとButterCMSの組み合わせでSPAブログは構築し、リリースはNetlifyを利用したいと思います。
ButterCMS
全然日本語の記事が見つからないのですが、どうやらSaaS(Software as a Service)の1つで、ウェブサイトの構築をサポートする優れたヘッドレス CMSだそうです。
※グーグルの記事を参考にしました
ButterCMSでブログの記事を書き、Vue.jsでAPIを叩き記事一覧・記事詳細を表示する構成です。
構築手順
1.ButterCMS登録
登録方法は公式サイトにアクセスし、緑色の「Try it for FREE」と書かれたボタンをクリック。

登録方法を選択するモーダルが開きます。今回自分はGitHubを選択。

ログインに成功するとダッシュボードが表示されます。

Blog Postsを確認するとサンプルの記事がすでにあります。

2.アプリケーションの構築
ButterCMSにあるサンプルの記事を一覧で取得、詳細で表示するVue.jsアプリケーションを構築していきます。
準備
$ npm init -y
$ npm i vue vue-router buttercms --save
$ npm i css-loader vue-loader@^14.2.2 vue-template-compiler webpack webpack-cli webpack-dev-server --save-dev
vue-loaderは最新版の15が安定していないのでバージョンを14.2.2にしています。
buttercmsというパッケージでbutterCMSからブログを取得します。
コーディング
module.exports = {
  entry: './src/js/app.js',
  output: {
    path: __dirname,
    filename: './src/js/bundle.js'
  },
  resolve: {
    alias: {
      vue: 'vue/dist/vue.esm.js',
    }
  },
  module: {
    rules: [
      {
        test: /\.vue$/,
        loader: 'vue-loader',
      }
    ]
  }
};
webpack.config.jsは以前作ったものを参考にしました。
<!DOCTYPE html>
<html>
<head>
  <meta charset="utf-8">
  <meta http-equiv="X-UA-Compatible" content="IE=edge">
  <meta name="viewport" content="width=device-width,initial-scale=1">
  <title>Blog</title>
</head>
<body>
  <main id="app">
    <router-view></router-view>
  </main>
  <script src="js/bundle.js"></script>
</body>
</html>
index.htmlはビルドされたbundle.jsの読み込みと、vue-routerようにrouter-viewタグの指定をしています。
import Vue from 'vue';
import Router from 'vue-router';
import Home from './components/Home.vue';
import Detail from './components/Detail.vue';

Vue.use(Router);

const router = new Router({
  mode: 'history',
  routes: [
    {
      path: '/',
      component: Home
    },
    {
      path: '/blog/:slug',
      component: Detail
    },
  ]
});

new Vue({
  el: '#app',
  router: router,
});
app.jsはvue-routerの設定と、ブログ一覧URLとブログ詳細URLを指定しています。
ブログの詳細はブログごとにURLは書かず、動的に取得するため一つだけ指定しています。
import Butter from 'buttercms';

export default Butter(YOUR_API_KEY);
butterCMS利用のための初期設定です。
API KEYはsettingから確認できます。

<template>
  <div id="blog-home">
    <h1>{{ page_title }}</h1>
    <div v-for="(post,index) in posts" :key="post.slug + '_' + index">
      <router-link :to="'/blog/' + post.slug">
        <article class="media">
          <figure>
            <img v-if="post.featured_image" :src="post.featured_image" alt="">
            <img v-else src="http://via.placeholder.com/250x250" alt="">
          </figure>
          <h2>{{ post.title }}</h2>
          <p>{{ post.summary }}</p>
        </article>
      </router-link>
    </div>
  </div>
</template>

<style scoped>
  article {
    width: 400px;
  }
  img {
    width: 100%;
  }
</style>

<script>
  import butter from './../buttercms.js';

  export default {
    data() {
      return {
        posts: []
      }
    },
    methods: {
      getPosts() {
        butter.post.list({
          page: 1,
          page_size: 10
        }).then((res) => {
          this.posts = res.data.data
        })
      }
    },
    created() {
      this.getPosts();
    }
  }
</script>
ブログ一覧のVueコンポーネントです。
butter.post.list({page: 1,page_size: 10})で取得して、表示しています。
<template>
  <div id="blog-post">
    <h1>{{ post.data.title }}</h1>
    <h4>{{ post.data.author.first_name }} {{ post.data.author.last_name }}</h4>
    <div v-html="post.data.body"></div>

    <router-link v-if="post.meta.previous_post" :to="/blog/ + post.meta.previous_post.slug" class="button">
      {{ post.meta.previous_post.title }}
    </router-link>
    <router-link v-if="post.meta.next_post" :to="/blog/ + post.meta.next_post.slug" class="button">
      {{ post.meta.next_post.title }}
    </router-link>
  </div>
</template>

<script>
  import butter from './../buttercms.js';

  export default {
    data() {
      return {
        post: {
          data: {
            author: {}
          }
        }
      }
    },
    methods: {
      getPost() {
        butter.post.retrieve(this.$route.params.slug)
          .then((res) => {
            this.post = res.data
          }).catch((res) => {
            console.log(res)
          })
      }
    },
    watch: {
      $route(to, from) {
        this.getPost()
      }
    },
    created() {
      this.getPost()
    }
  }
</script>
ブログ詳細のVueコンポーネントです。
butter.post.retrieve(this.$route.params.slug)でブログの詳細を取得して、表示しています。
ビルド
ディレクトリ構成は下記になってます。

開発中はwebpack-dev-serverをインストールしているので、これを利用します。
$ webpack-dev-server
開発サーバーをたちあげ、http://localhost:8080/にアクセス。

すると、このようにサンプルの記事が表示されます。
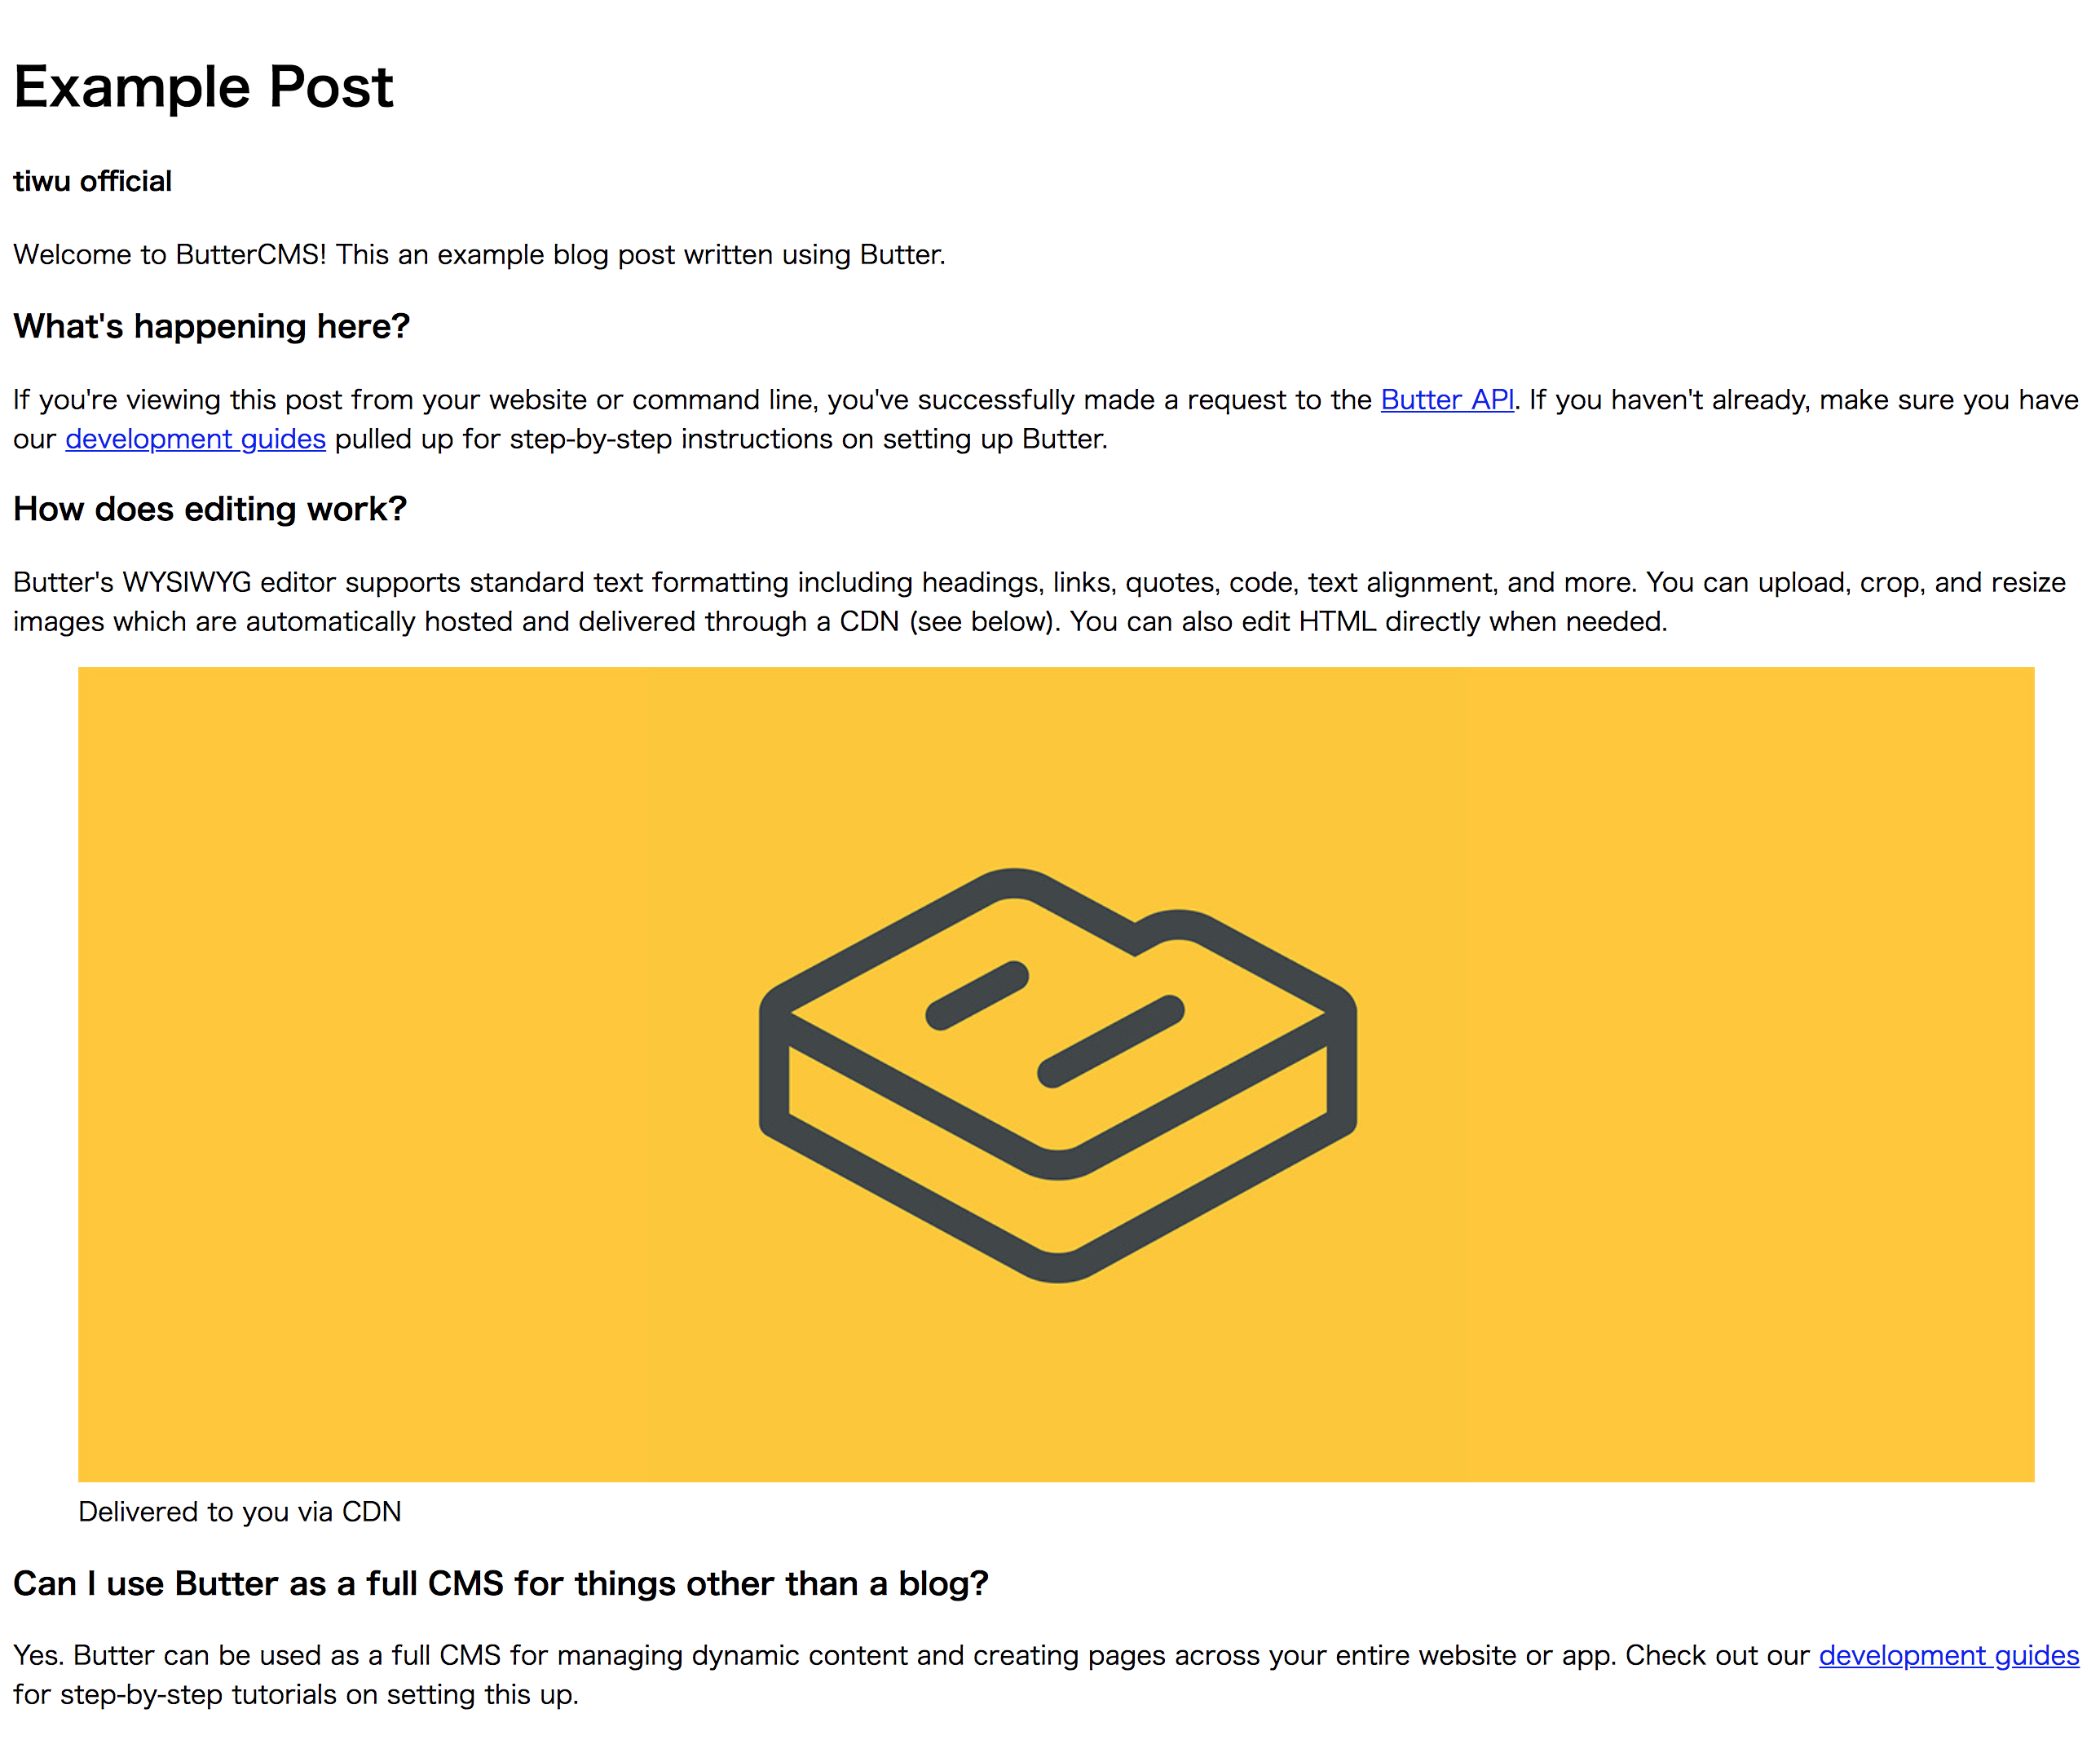
クリックして記事の詳細に遷移すると(URLはhttp://localhost:8080/blog/example-post)下記のように表示されます!
3. リリース
今回はNetlifyを利用してリリースします。
Netlifyの詳細や設定は下記記事に書いてあります。
vue-cliでwebアプリケーションを作って、Netlifyを使って無料で爆速でリリースした話
今回特別に指定したのは、Build commandにnpm run buildを指定し、Publish directoryは空にしました。
package.jsonのscriptsには"build": "webpack"を指定しているので、実際はwebpackコマンドが実行されています。
終わりに
自分で作る場合DB用意しなきゃかなーと思っていたのですが、こんな手法が取れるとは・・・!
次はSSRに挑戦してみます!
