はじめに
こんにちは。
お仕事では Atlassian Bamboo を利用している者です。
最近は Jenkins とはご無沙汰となってしまっていまいました。
「AWSのEC2インスタンス(Amazon Linux)にJenkinsをインストールする」から早くも3年の月日が経ちました。
今回は、父の日も近いということで、私にとって「CI のお父さん的存在」である Jenkins おじさんに敬意を表し、最新版を EC2 にインストールしてみます。
EC2 インスタンスの作成
-
EC2 インスタンスを作成します。パラメータはお好みで。私は以下のようにしました。
- AMI は Amazon Linux
- インスタンスタイプは t2.micro
- デフォルト VPC
- Public IP は有効
- セキュリティグループで SSH 22番、TCP 8080番を IP アドレス指定で許可
-
SSH ログイン後、パッケージをアップデートしておきます。
$ sudo yum update
JDK 8 のインストール
Amazon Linux には JDK 7 がインストール済みですが、
最新の Jenkins は Java 8 が必要とのことなので、バージョンアップを行います。
- 現在のバージョンを確認
$ java -version
java version "1.7.0_181"
OpenJDK Runtime Environment (amzn-2.6.14.8.80.amzn1-x86_64 u181-b00)
OpenJDK 64-Bit Server VM (build 24.181-b00, mixed mode)
- JDK 8 のインストール
$ sudo yum install java-1.8.0-openjdk-devel.x86_64
- デフォルトの JDK を変更
$ sudo alternatives --config java

There are 2 programs which provide 'java'.

  Selection    Command
-----------------------------------------------
*+ 1           /usr/lib/jvm/jre-1.7.0-openjdk.x86_64/bin/java
   2           /usr/lib/jvm/jre-1.8.0-openjdk.x86_64/bin/java

Enter to keep the current selection[+], or type selection number: 2
- バージョンを確認
$ java -version
openjdk version "1.8.0_171"
OpenJDK Runtime Environment (build 1.8.0_171-b10)
OpenJDK 64-Bit Server VM (build 25.171-b10, mixed mode)
Jenkins のインストール
- yum のリポジトリを追加します。
$ sudo wget -O /etc/yum.repos.d/jenkins.repo https://pkg.jenkins.io/redhat/jenkins.repo
$ sudo rpm --import https://pkg.jenkins.io/redhat/jenkins.io.key
- Jenkins をインストールします。
$ sudo yum install jenkins
- 2.127 がインストールされました。
$ rpm -qa | grep jenkins
jenkins-2.127-1.1.noarch
- ランレベル3と5で自動起動になっているようです。
$ chkconfig --list jenkins
jenkins        	0:off	1:off	2:off	3:on	4:off	5:on	6:off
Jenkins の起動
- 起動します。
$ sudo service jenkins start
- ブラウザで Jenkins の URL にアクセスします。
http://<EC2インスタンスのパブリックDNS or IP>:8080/
Jenkins の初期設定
おお!この画面は初めて見ました。
最近の Jenkins はウィザードにしたがって初期設定を行うようです。
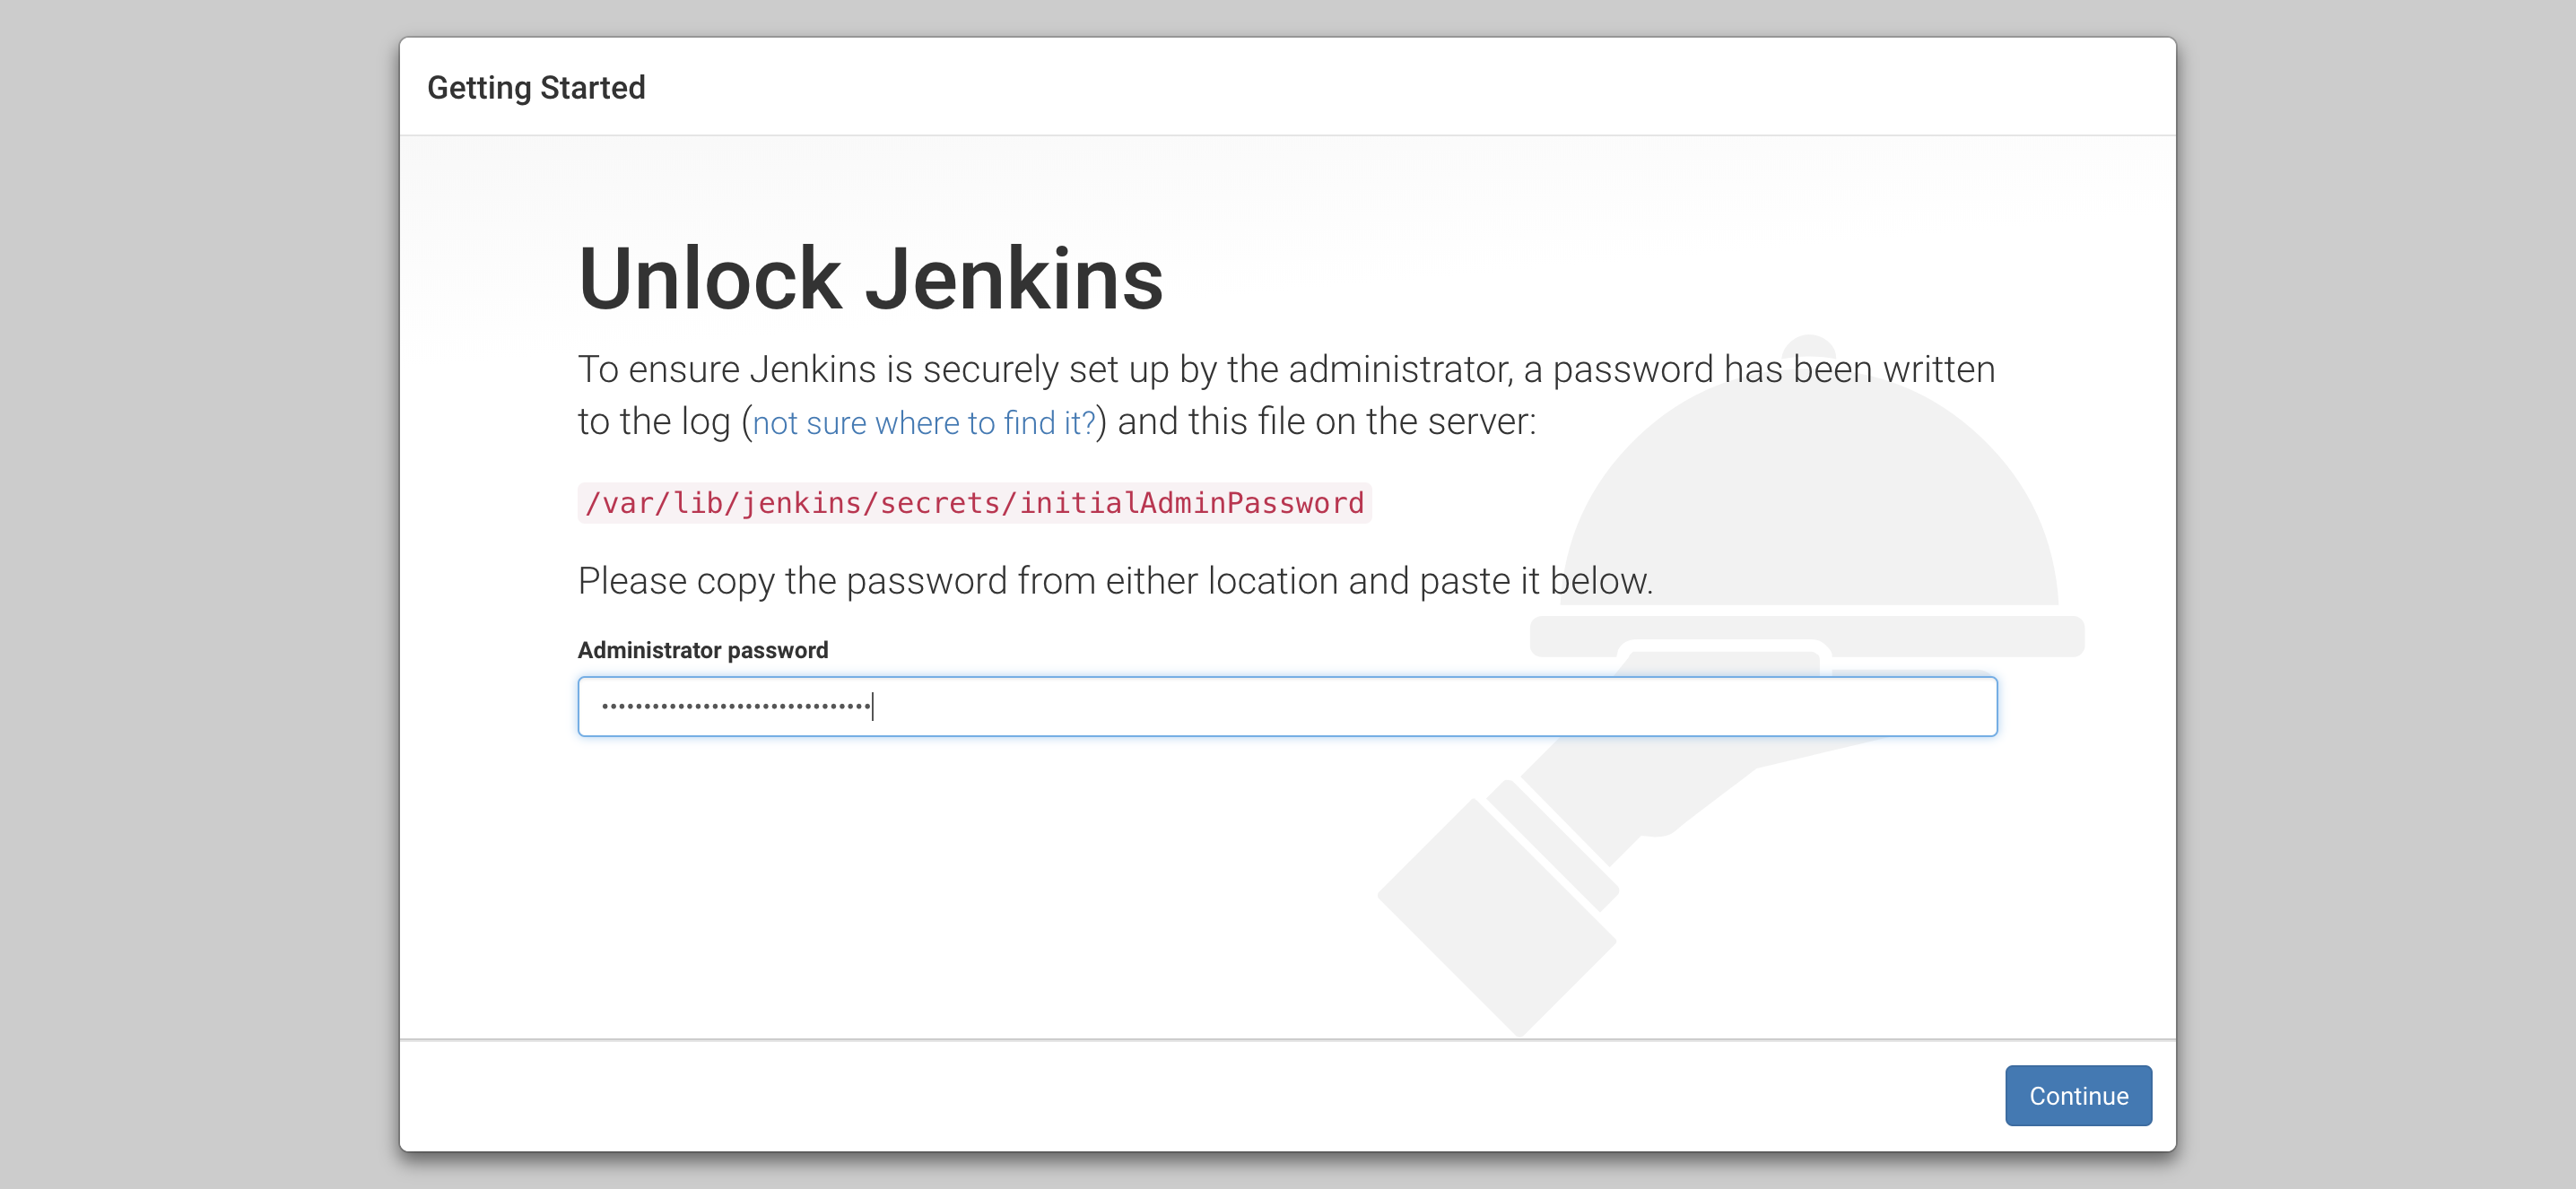
- 初期パスワードを設定して Jenkins のロックを解除
Jenkins のホームディレクトリに初期パスワードファイルが書き込まれているので、このパスワードを入力します。
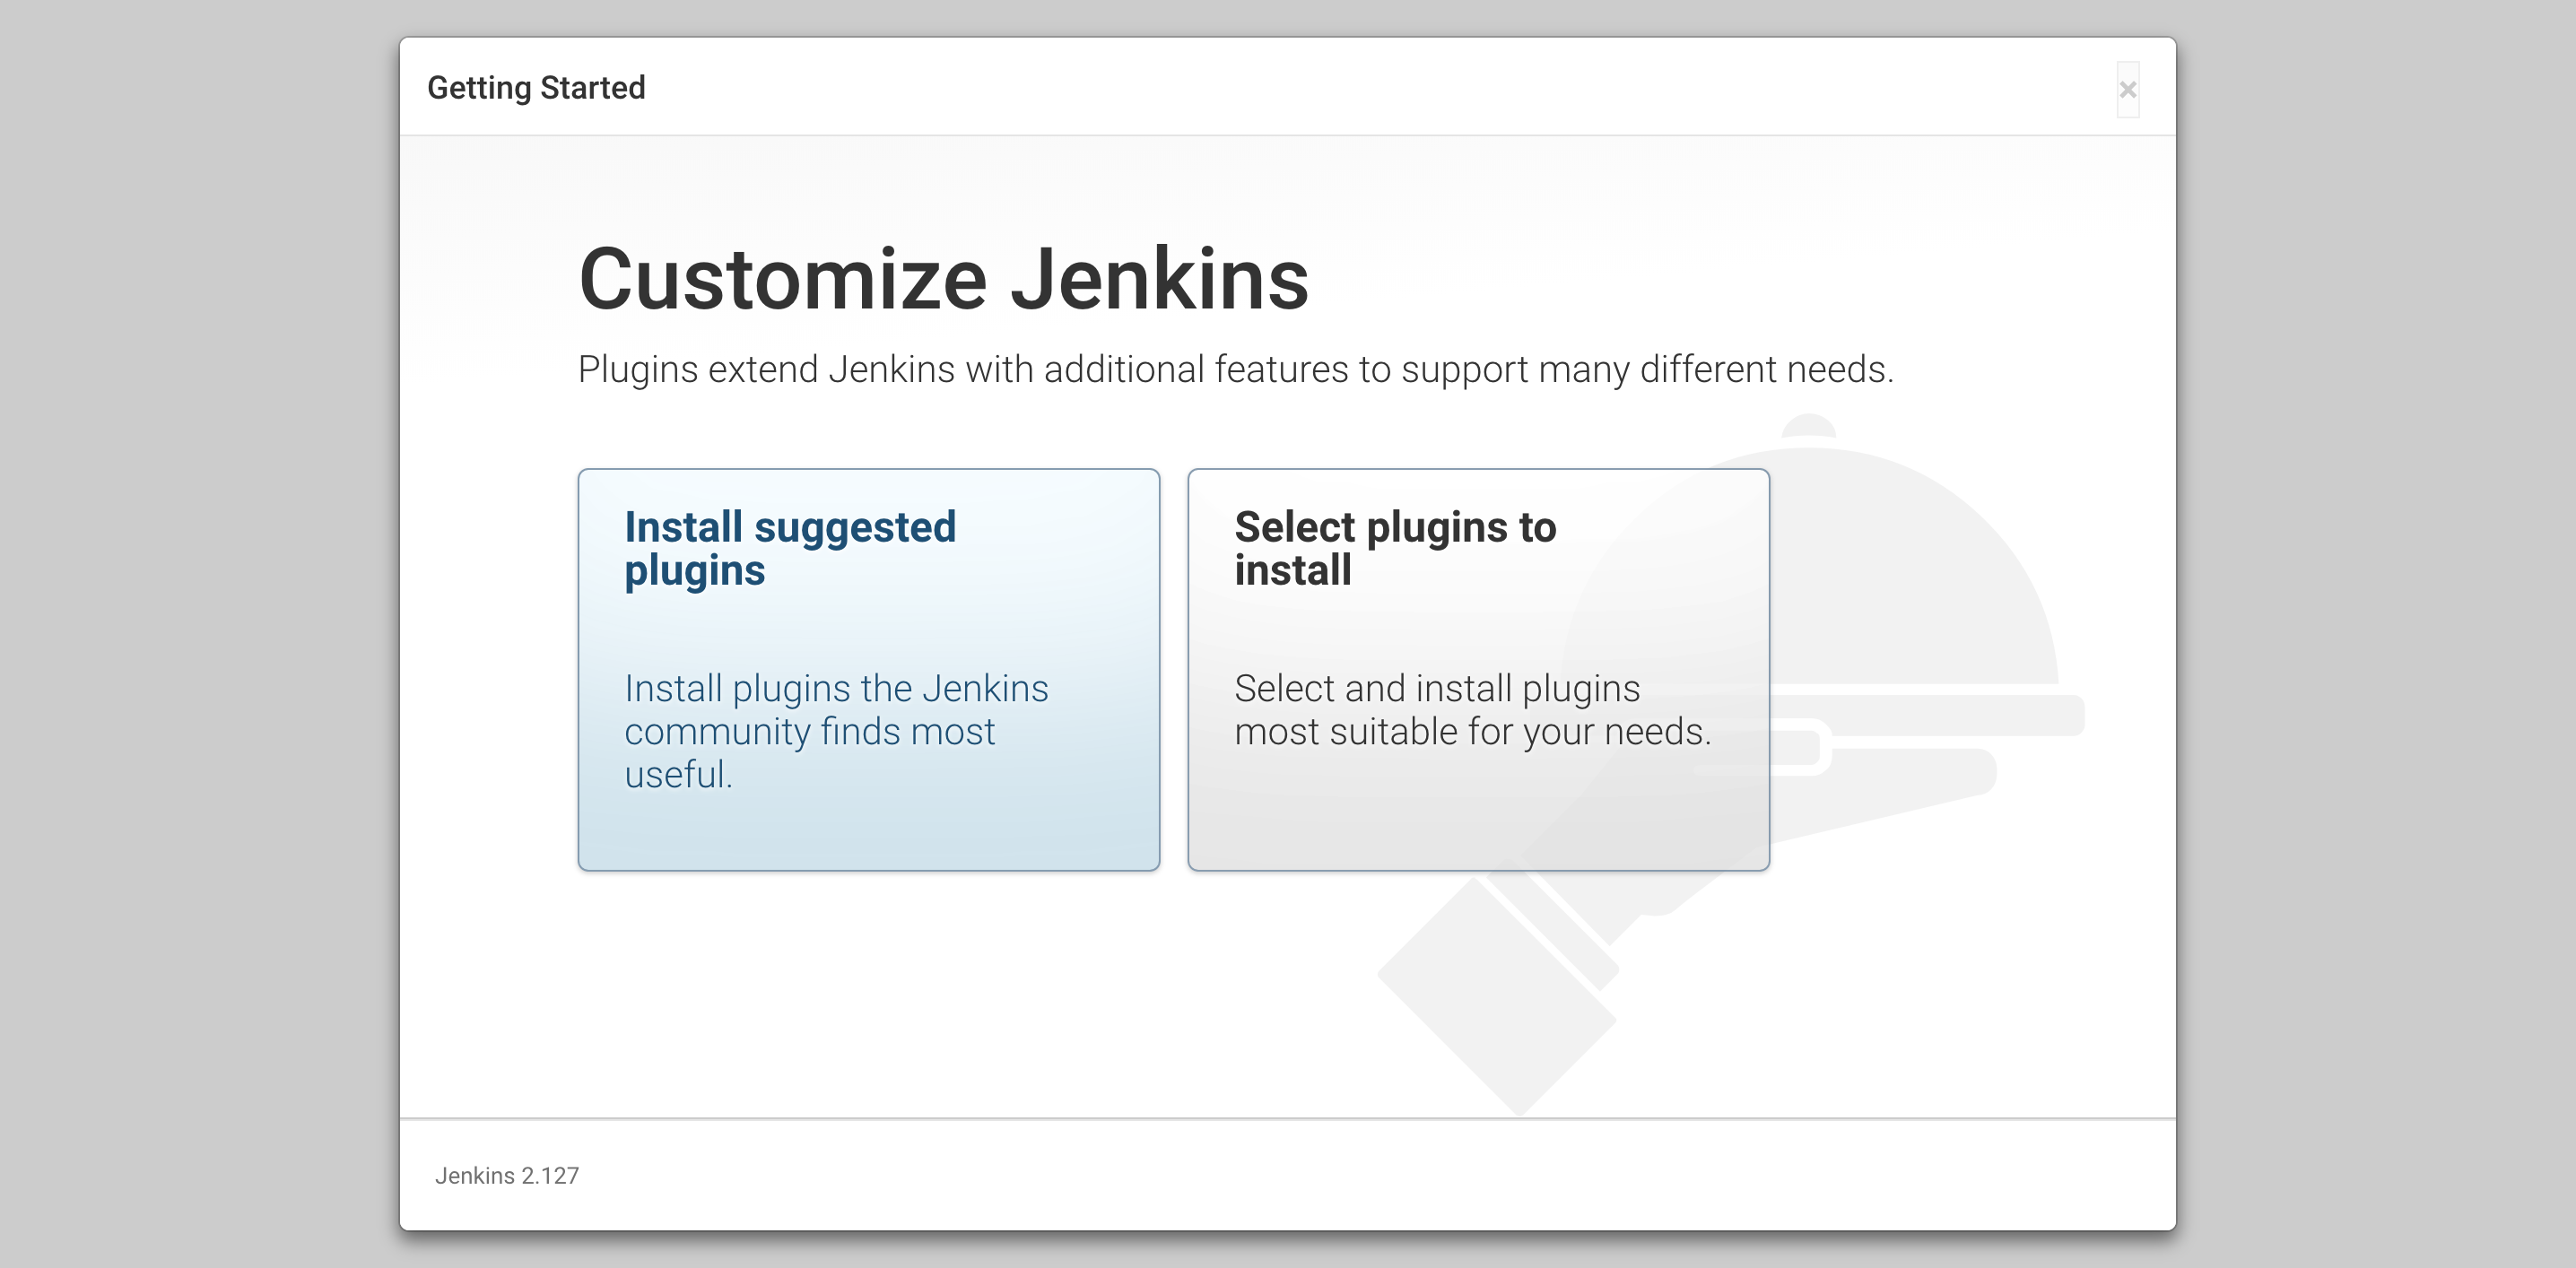
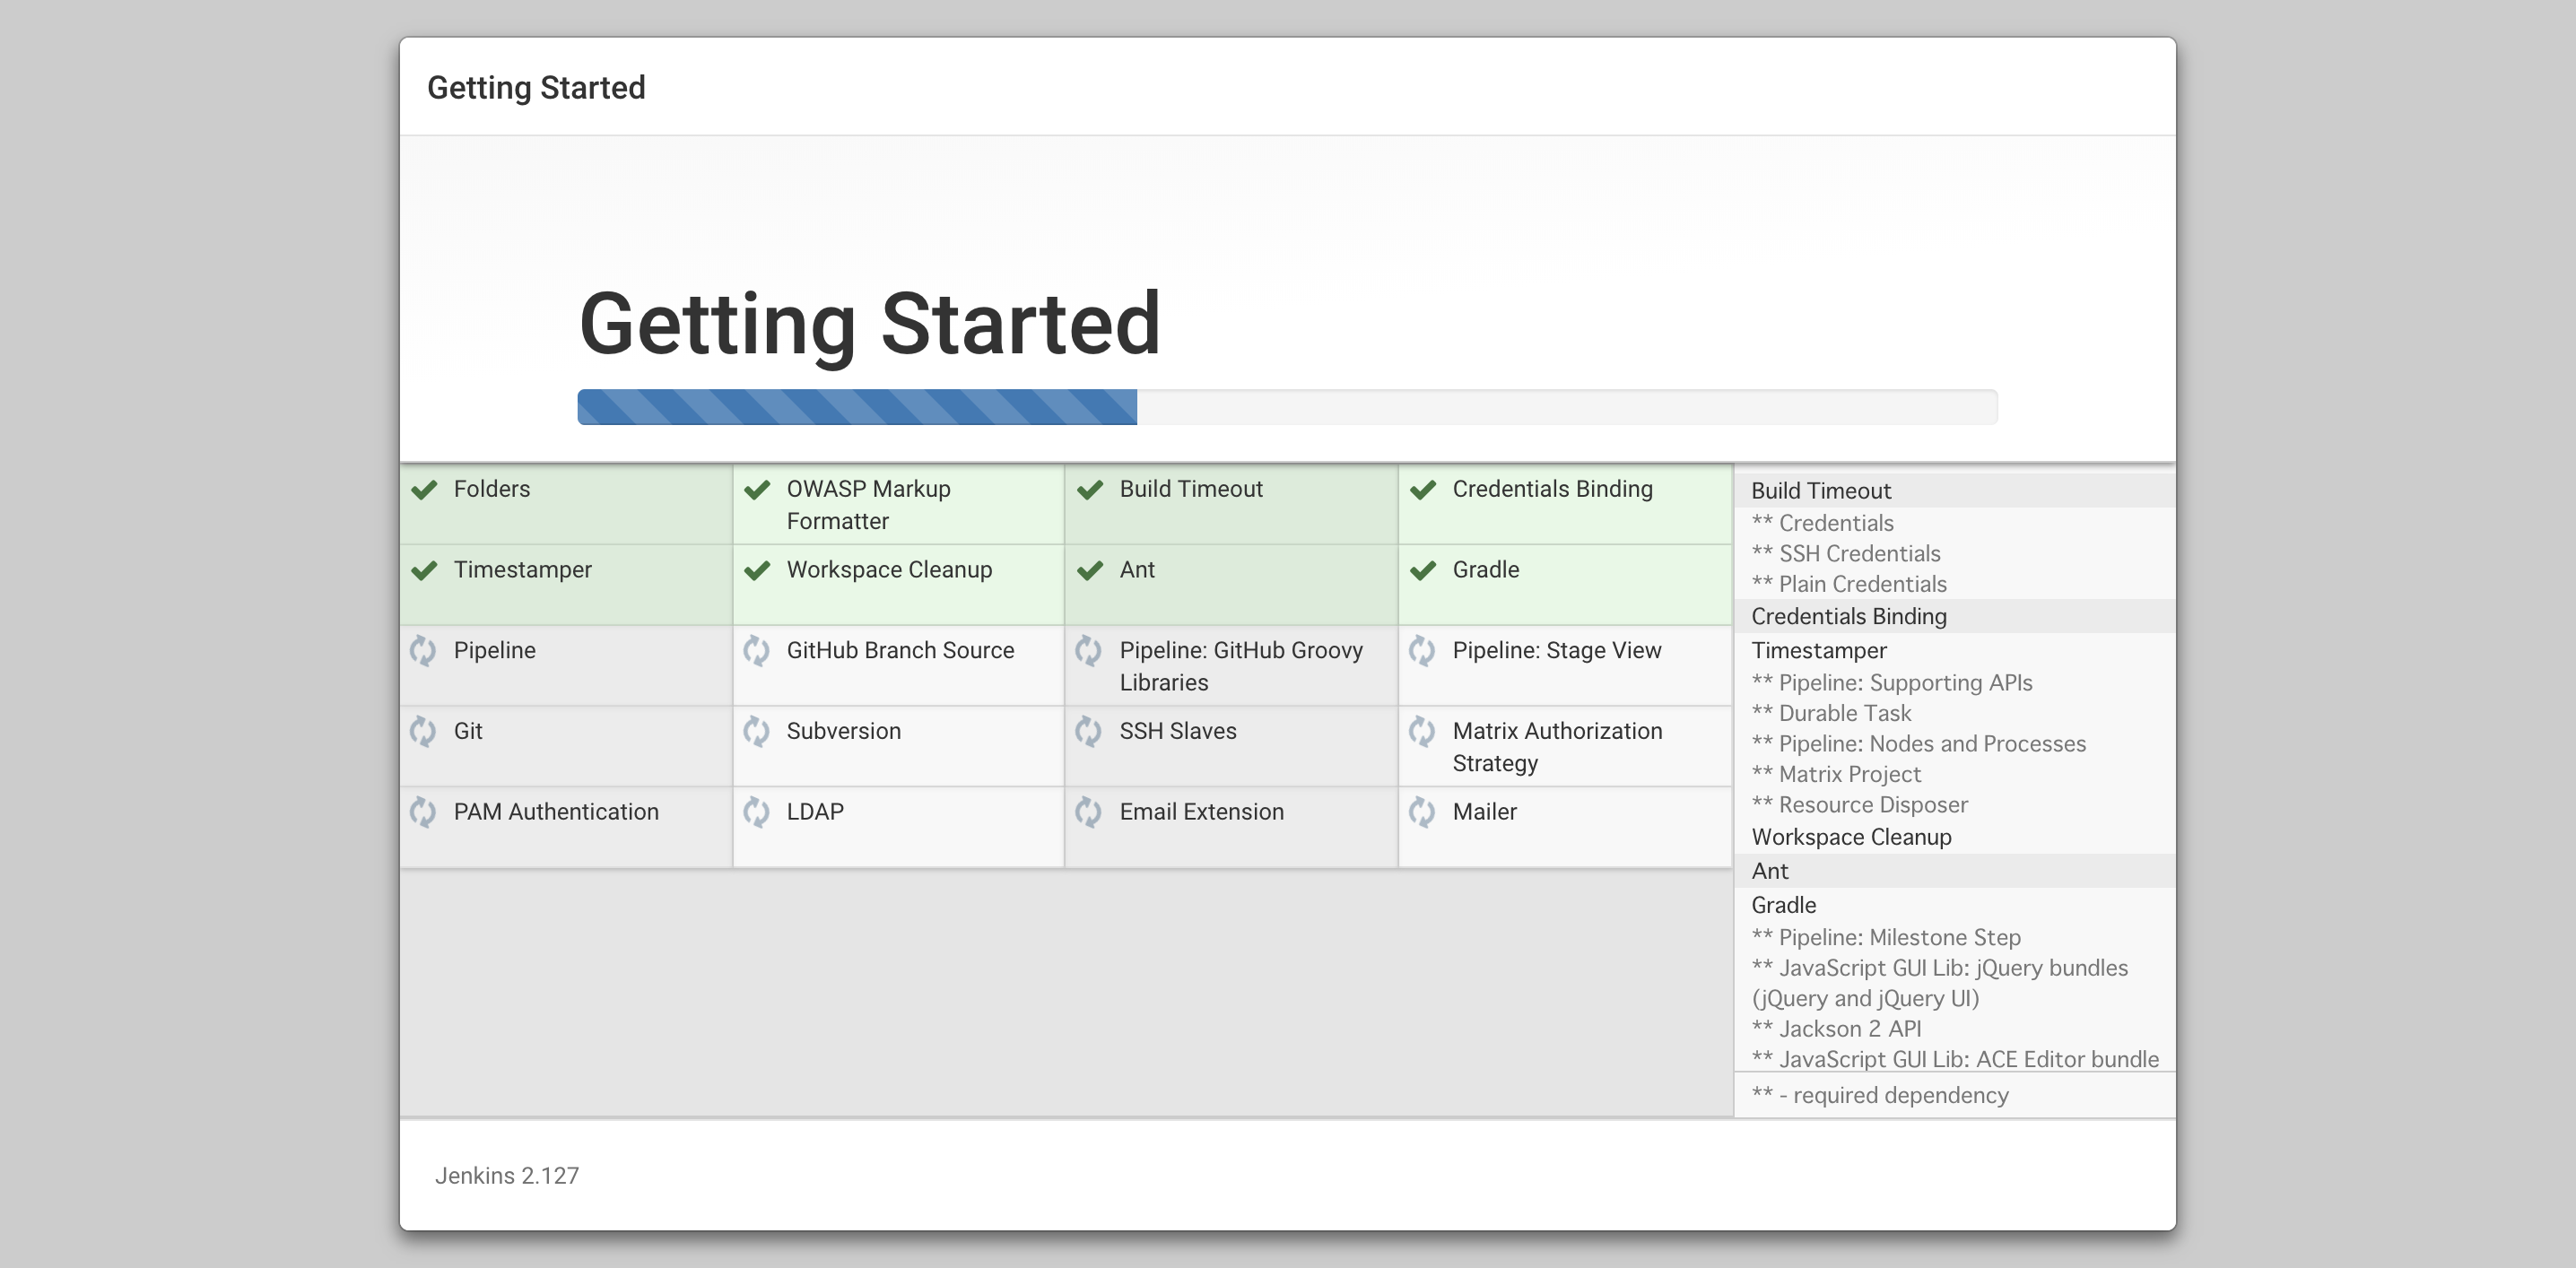
- プラグインのインストール
とりあえず、おすすめプラグインを選択しておきます。
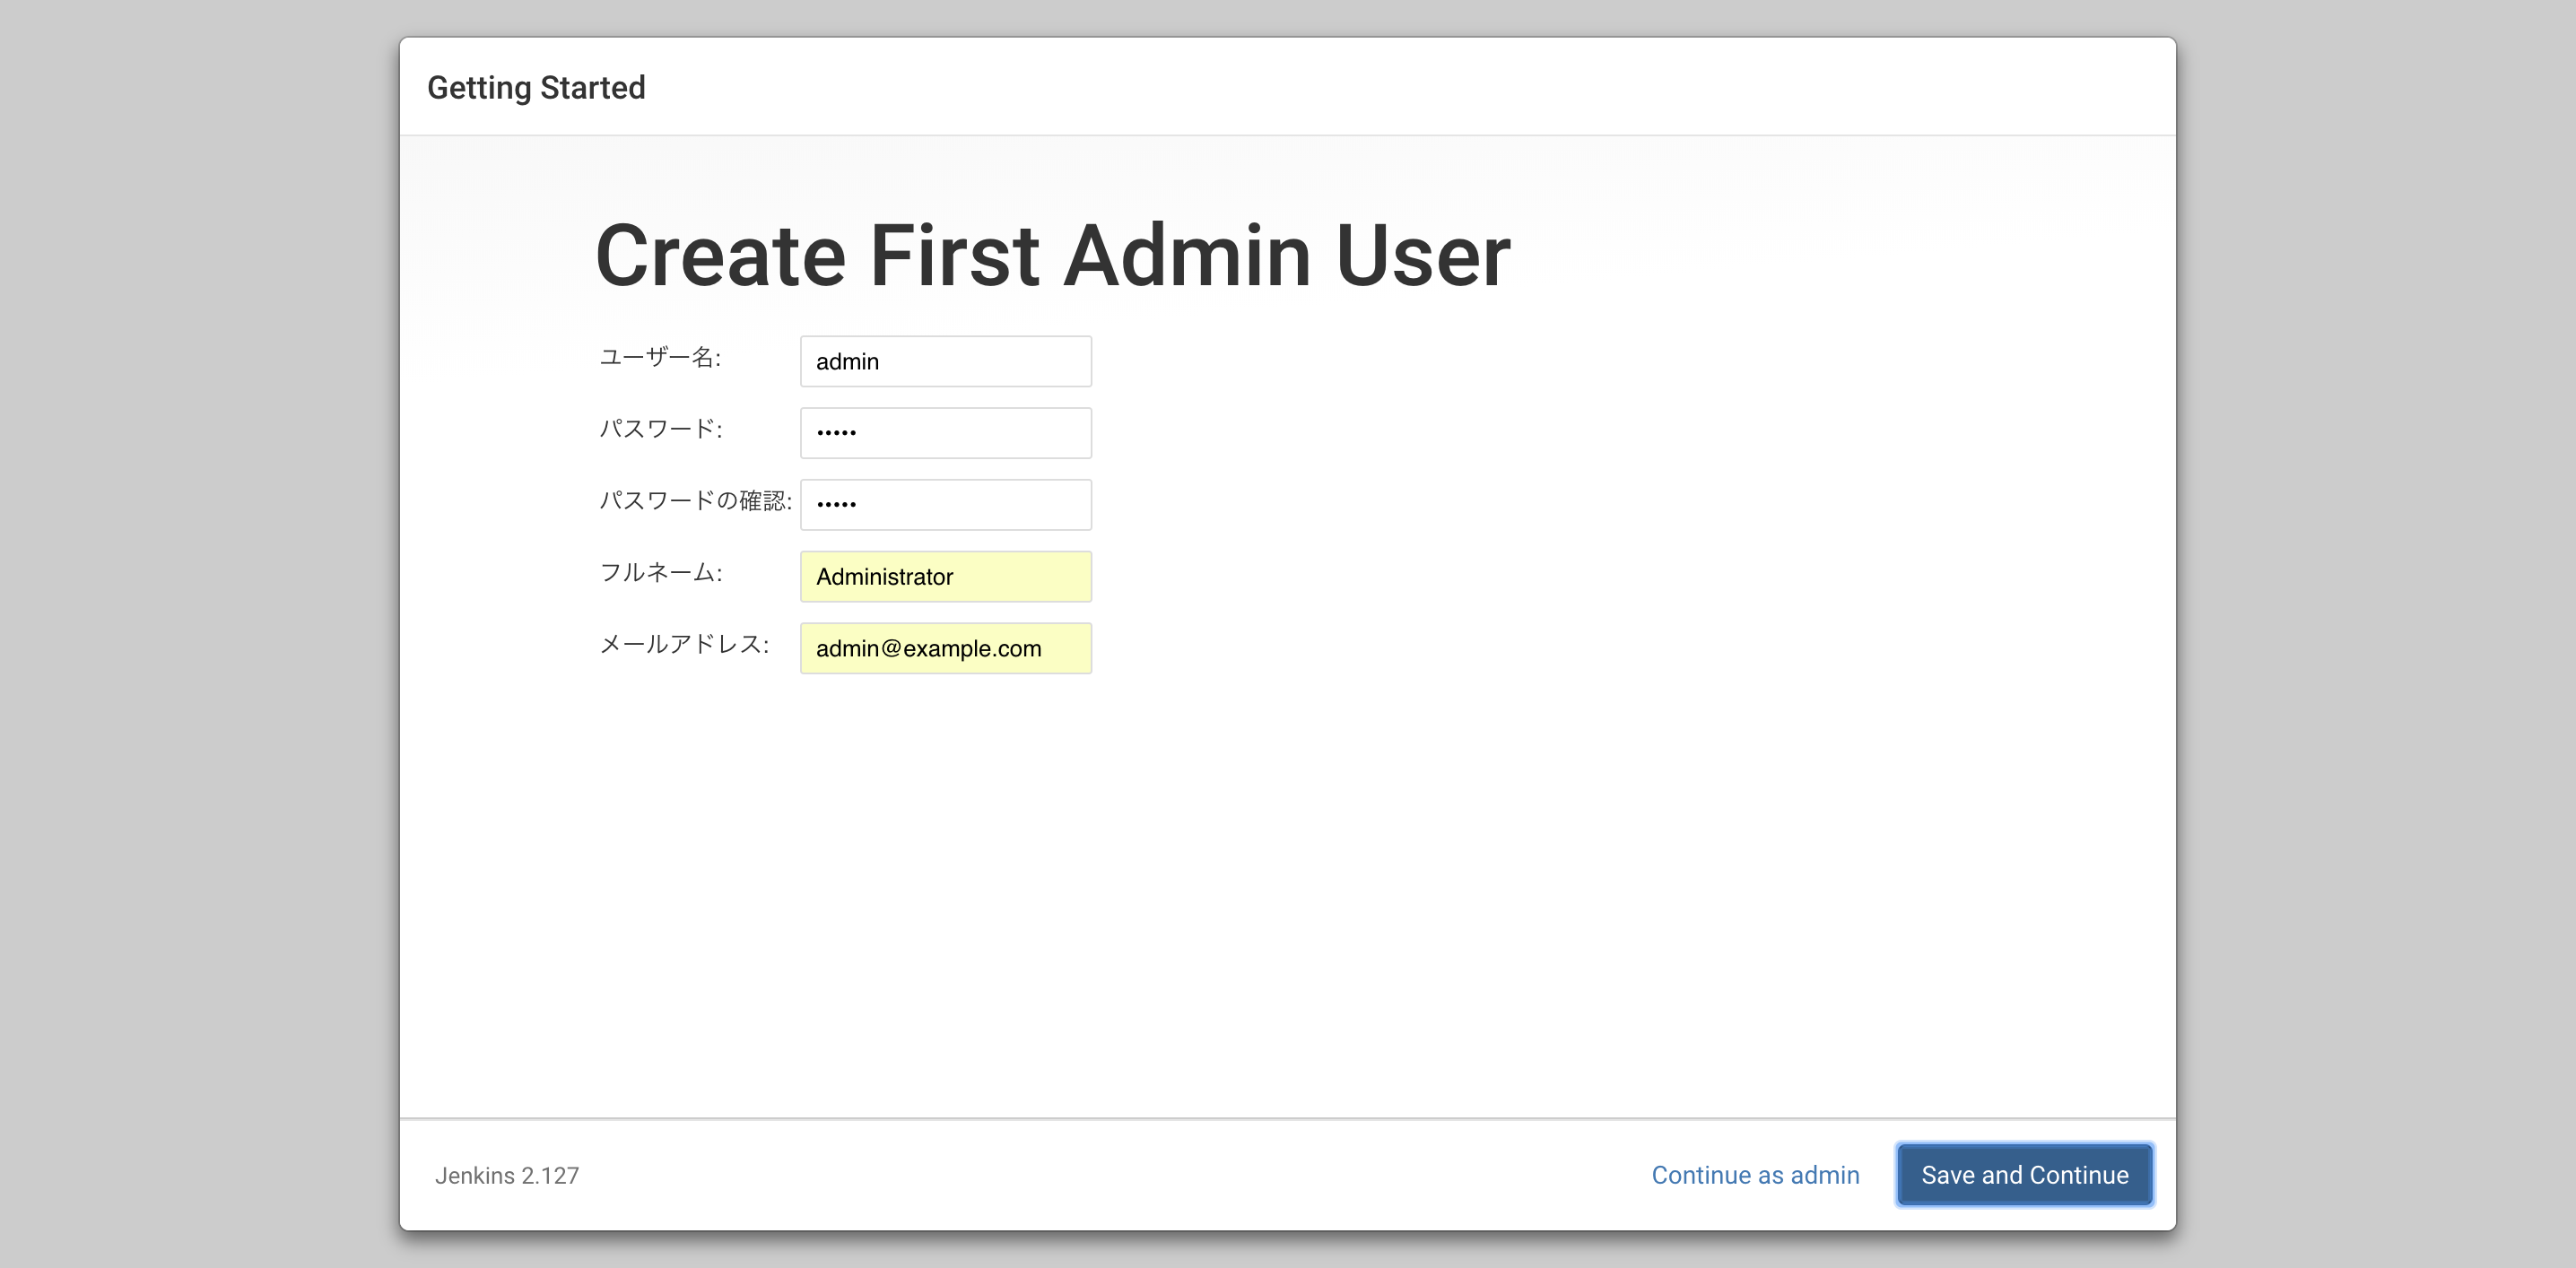
- 管理者ユーザーの追加
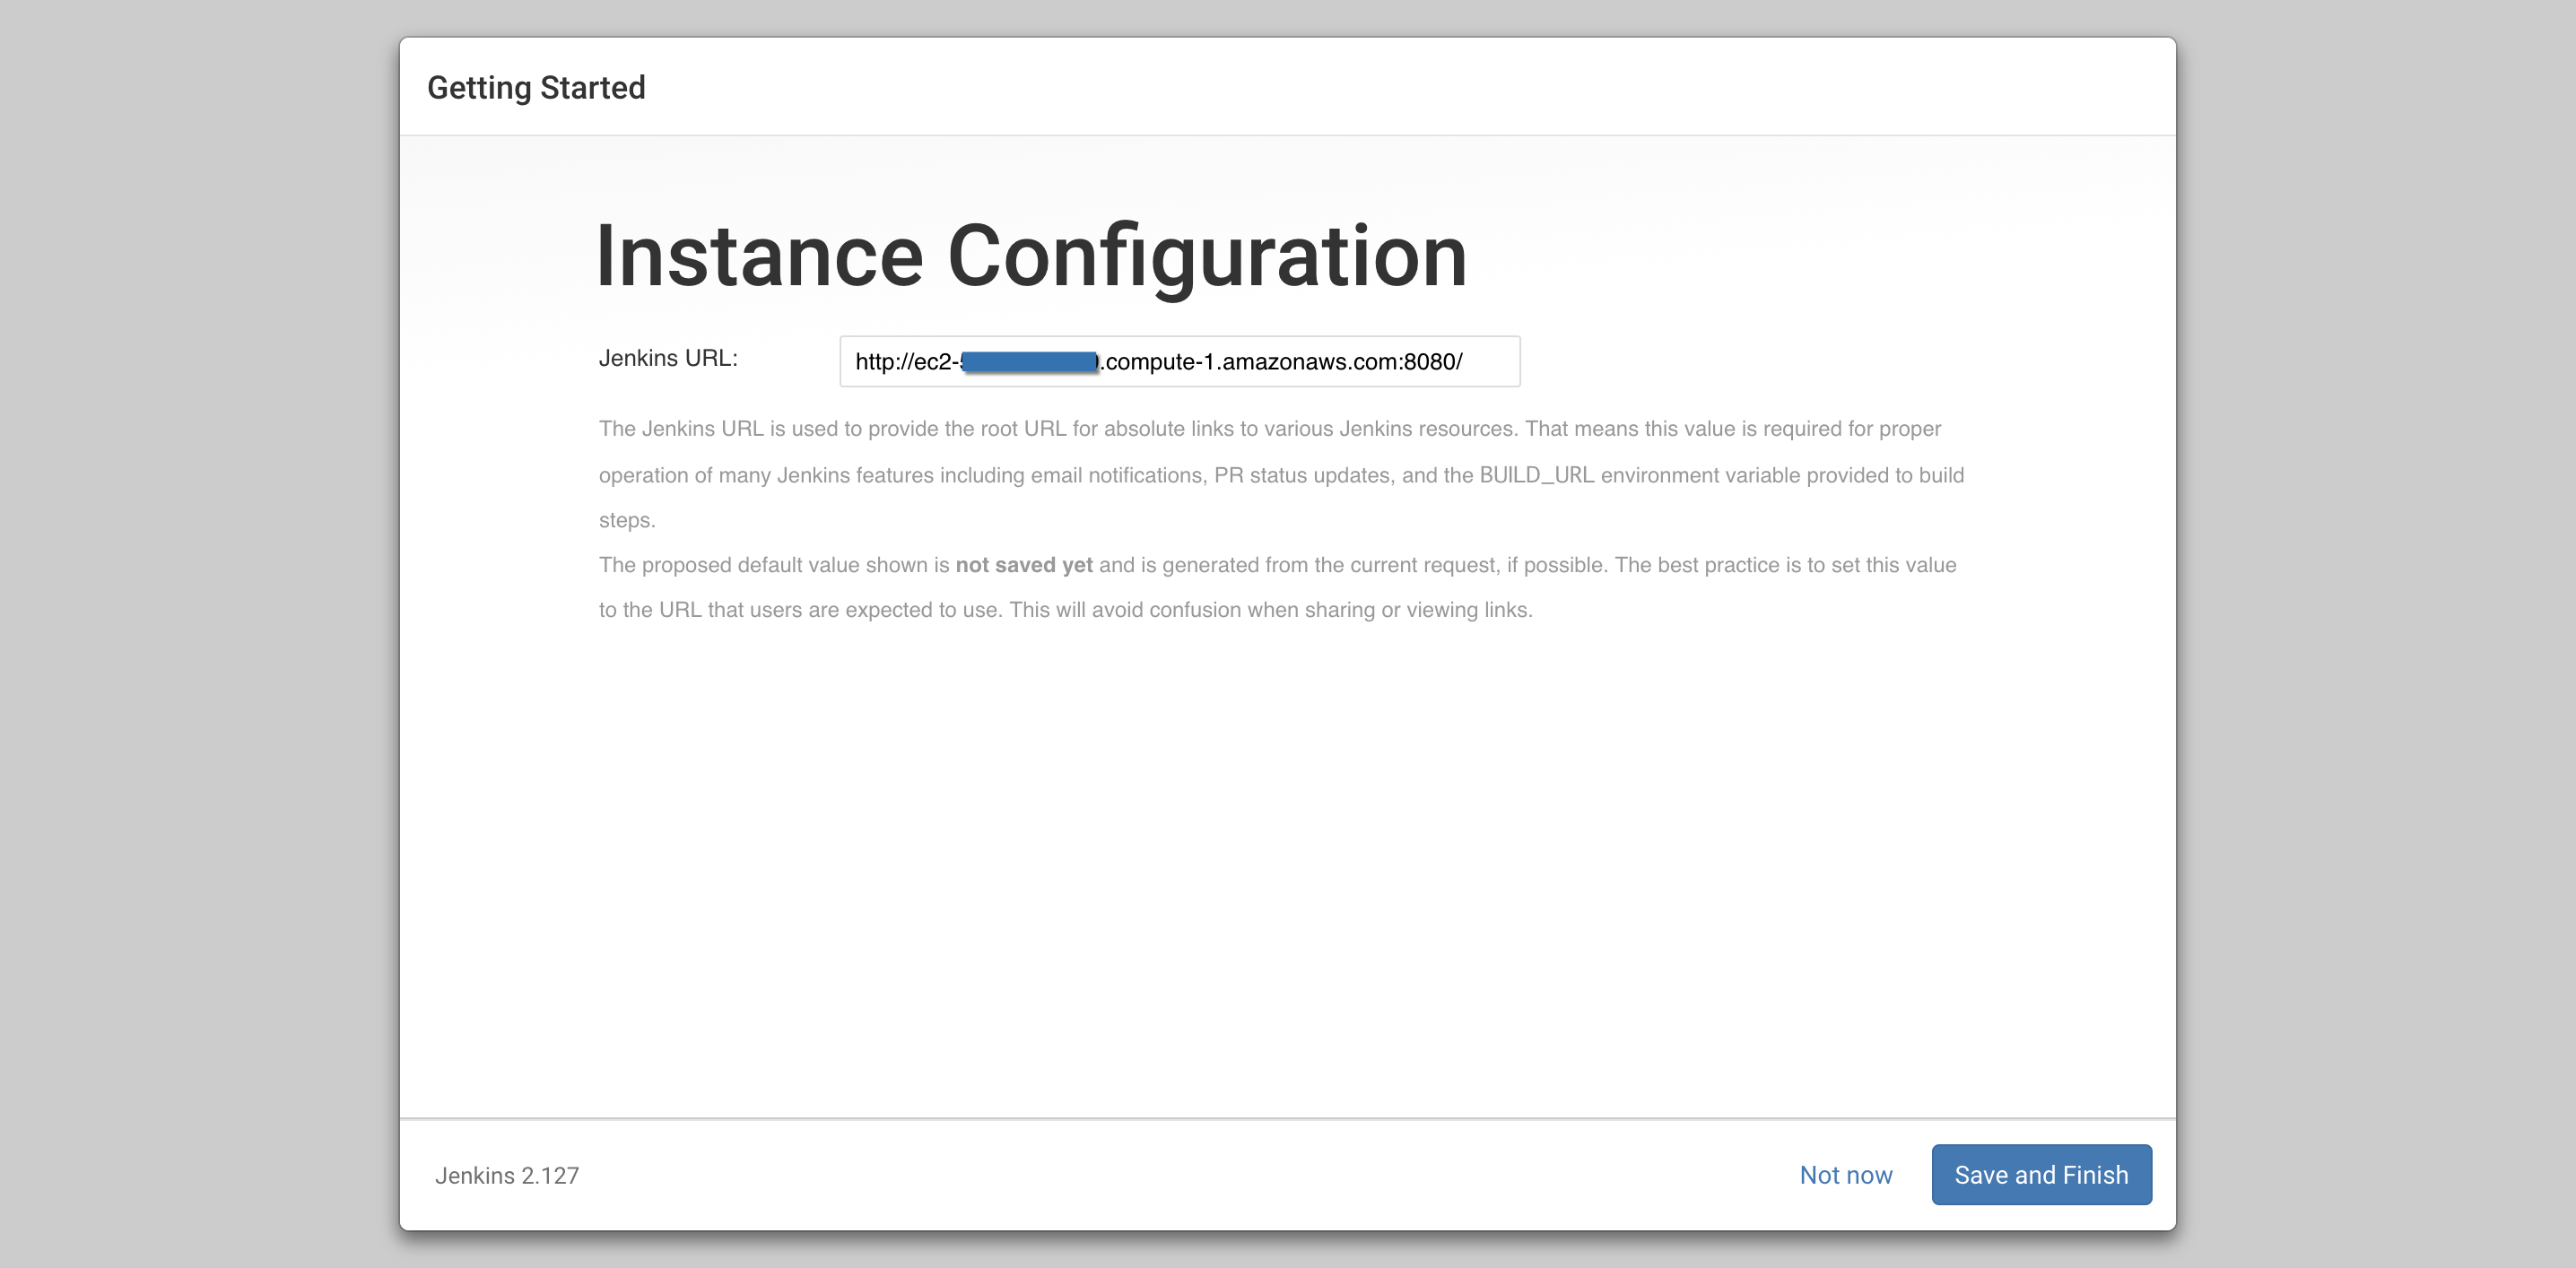
- URL の設定
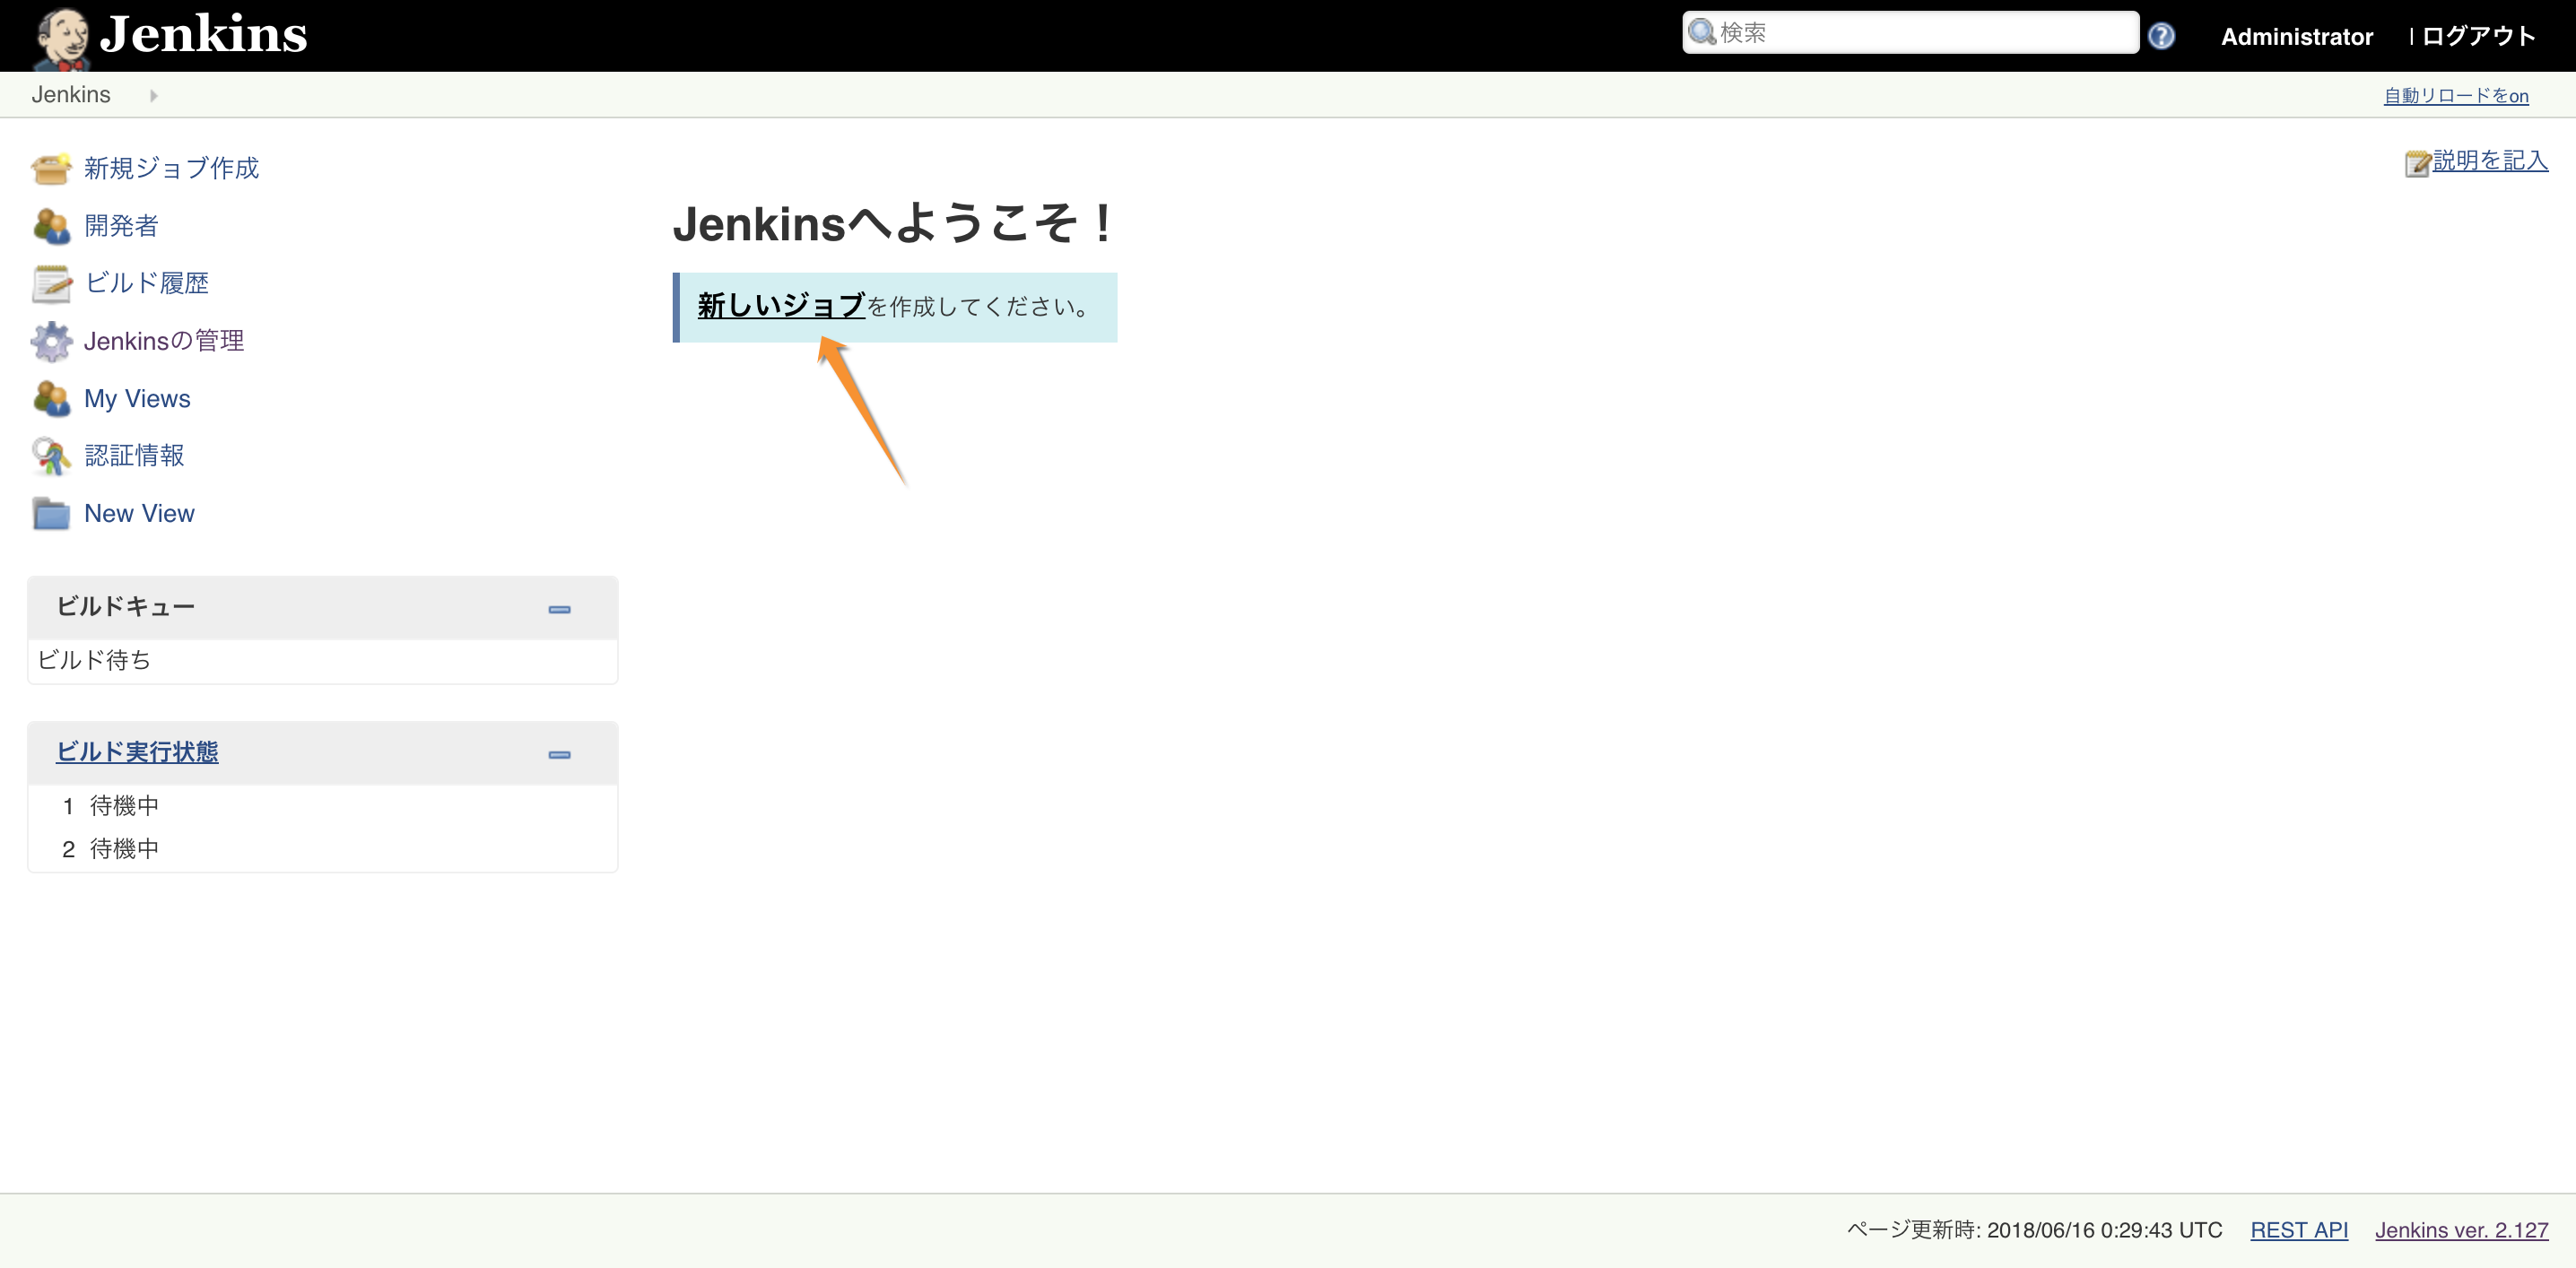
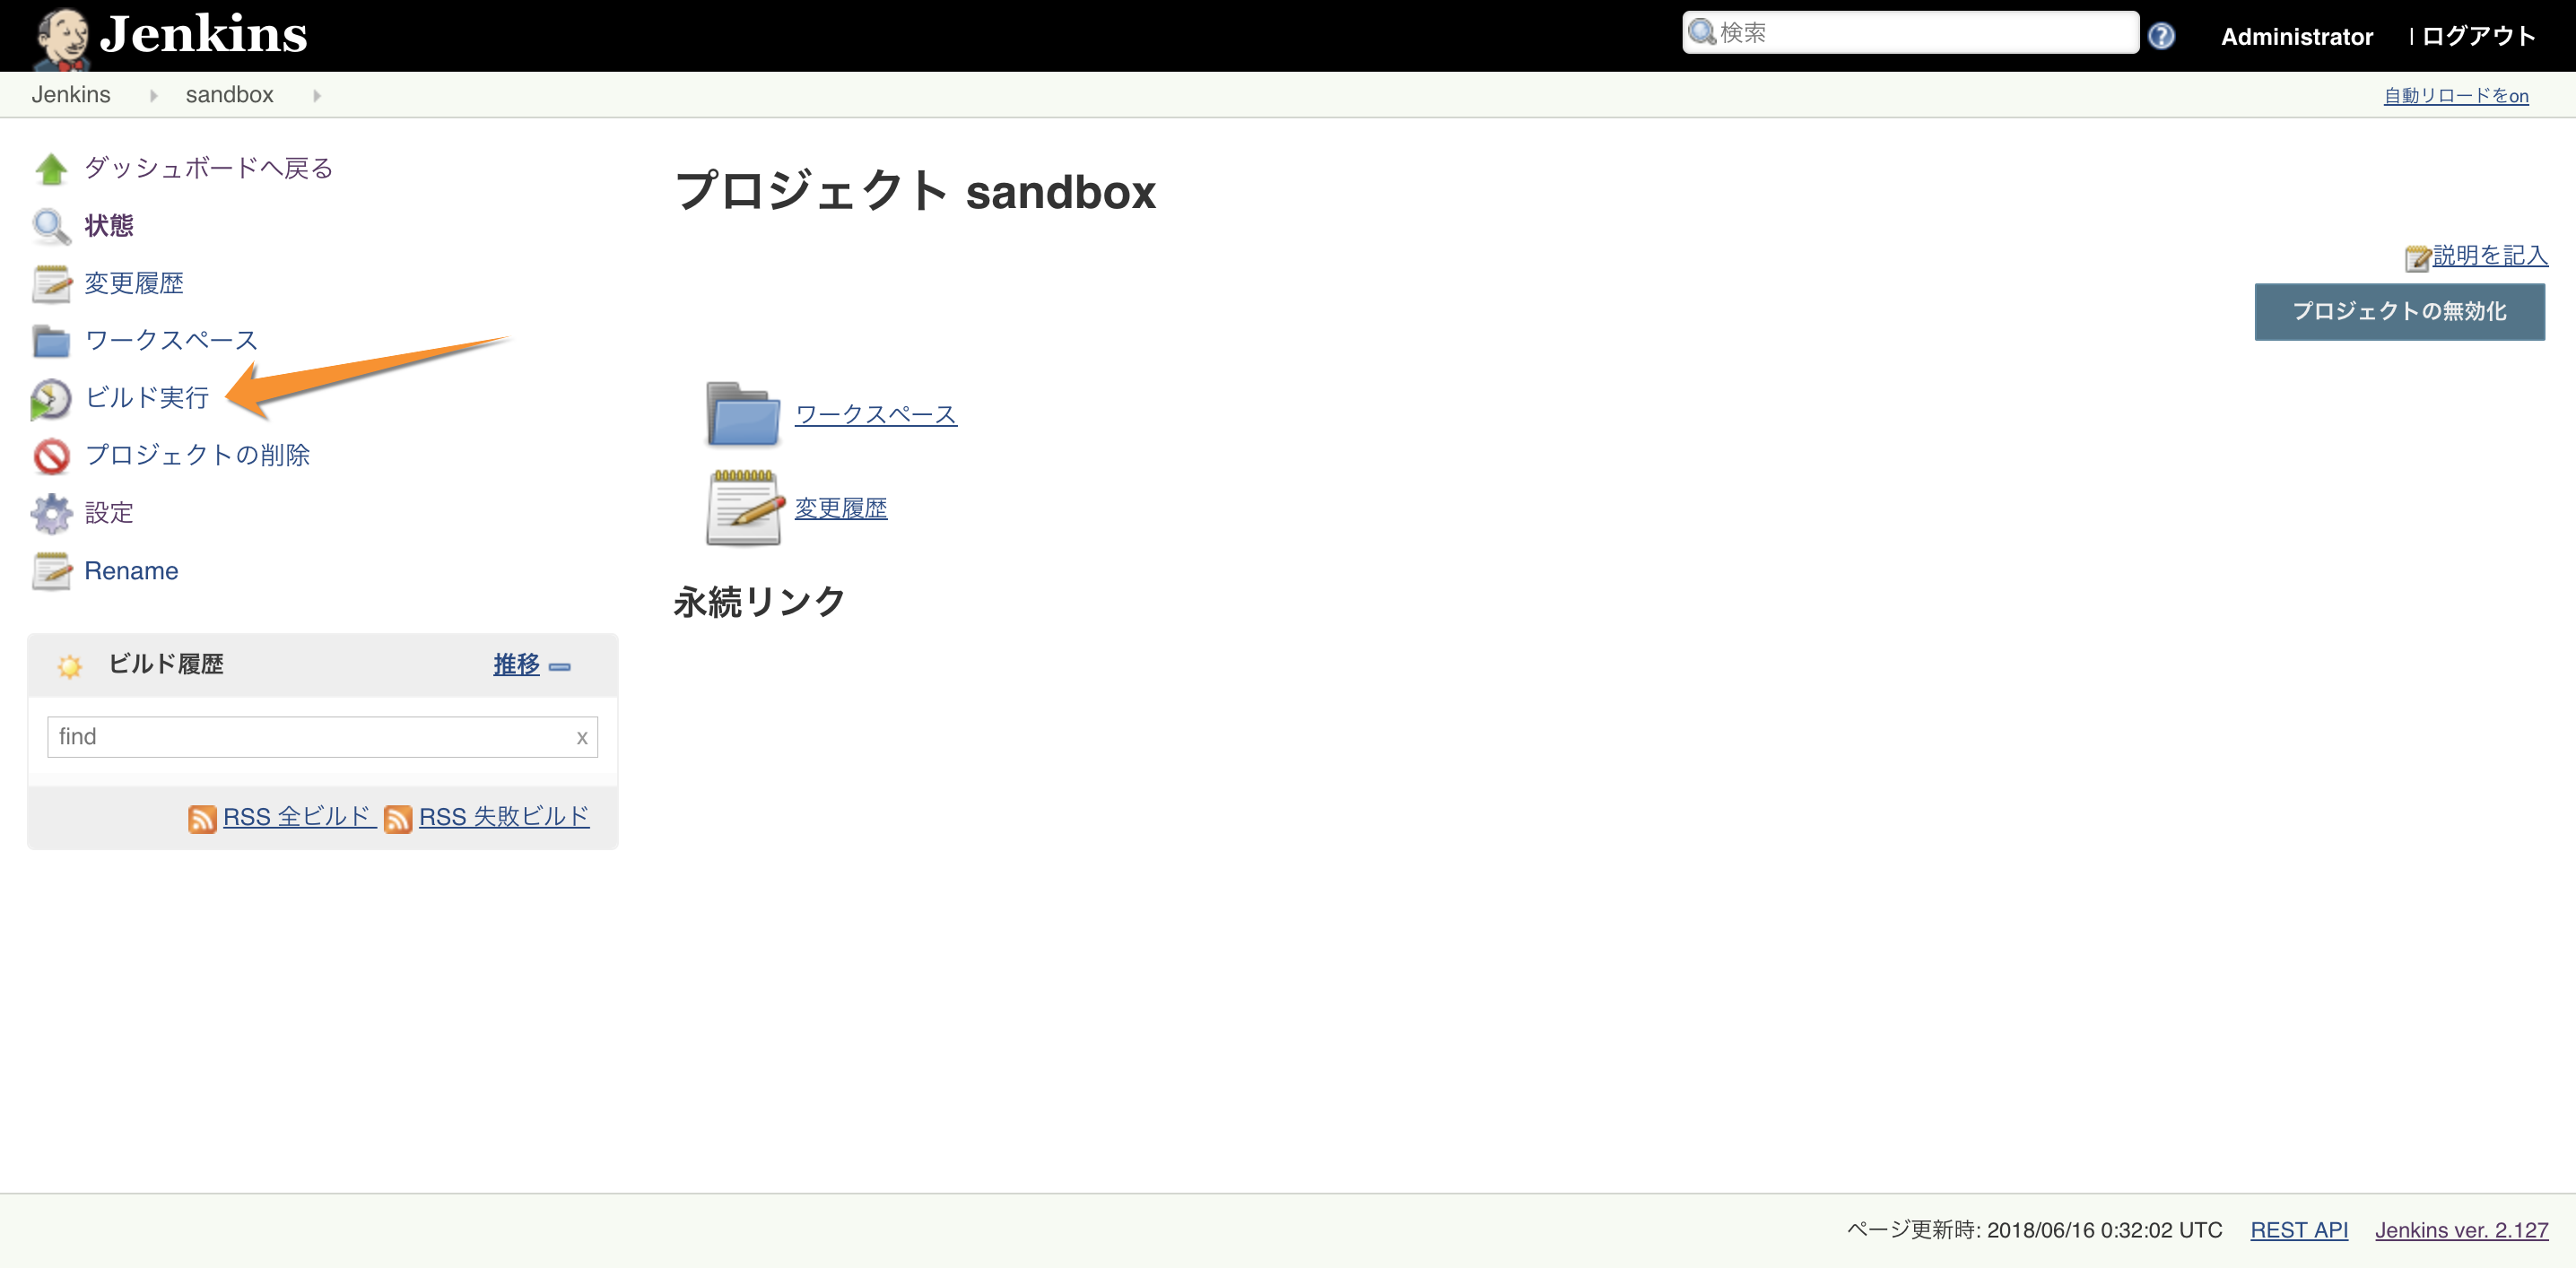
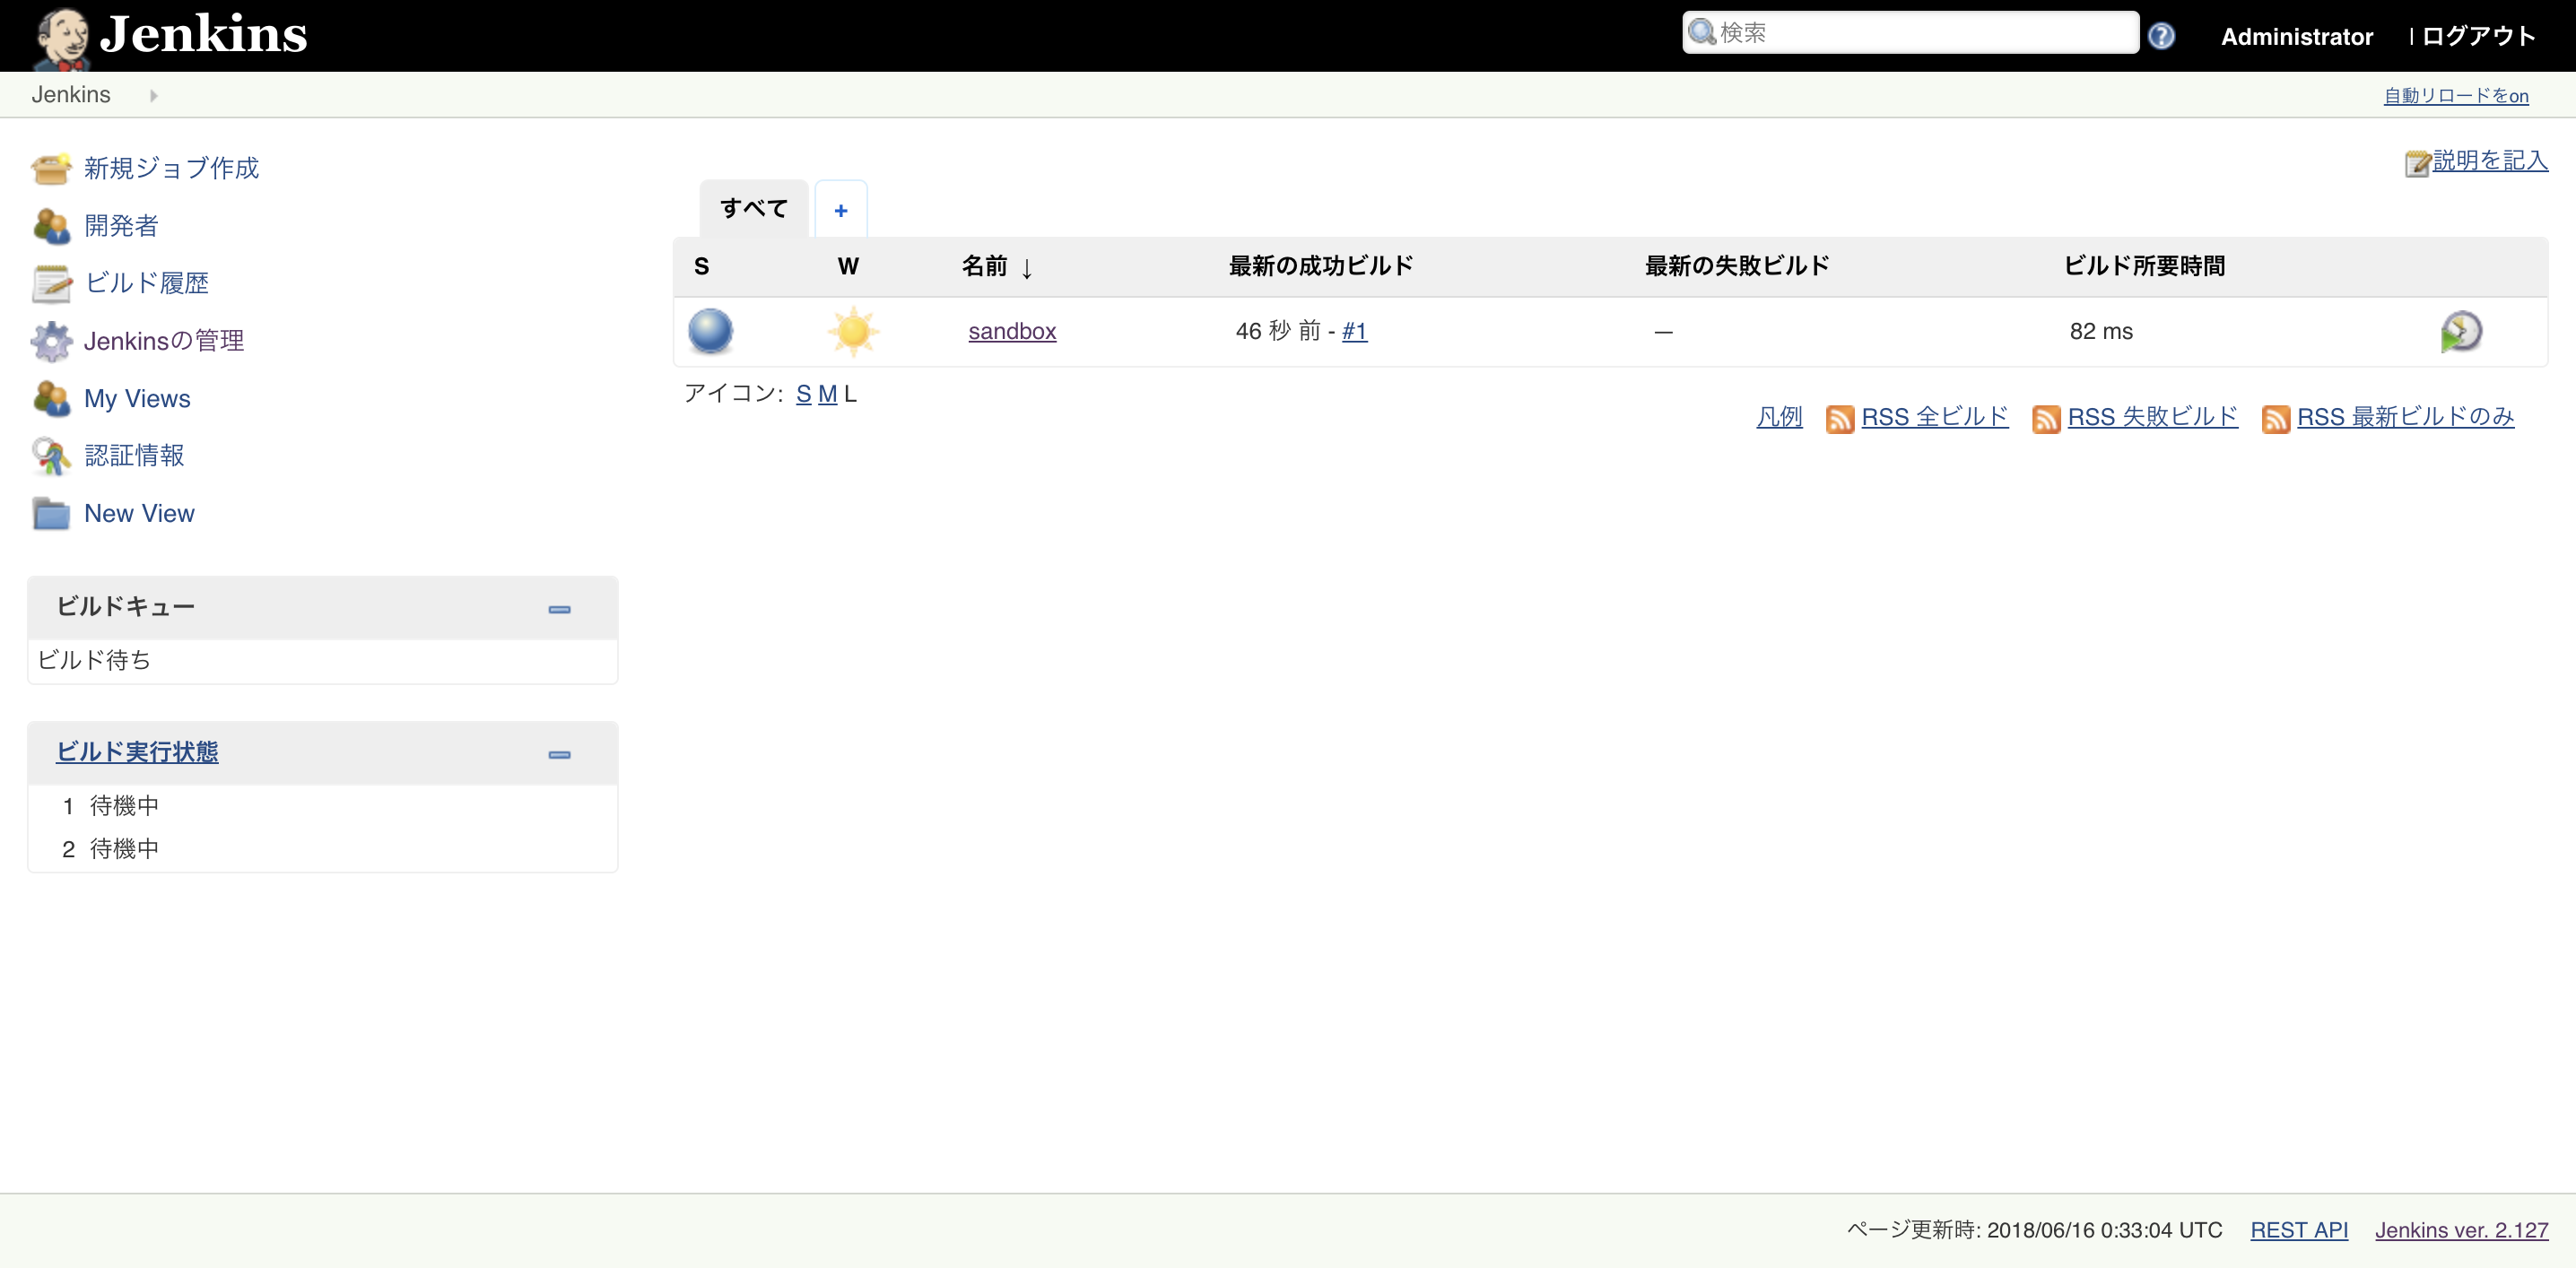
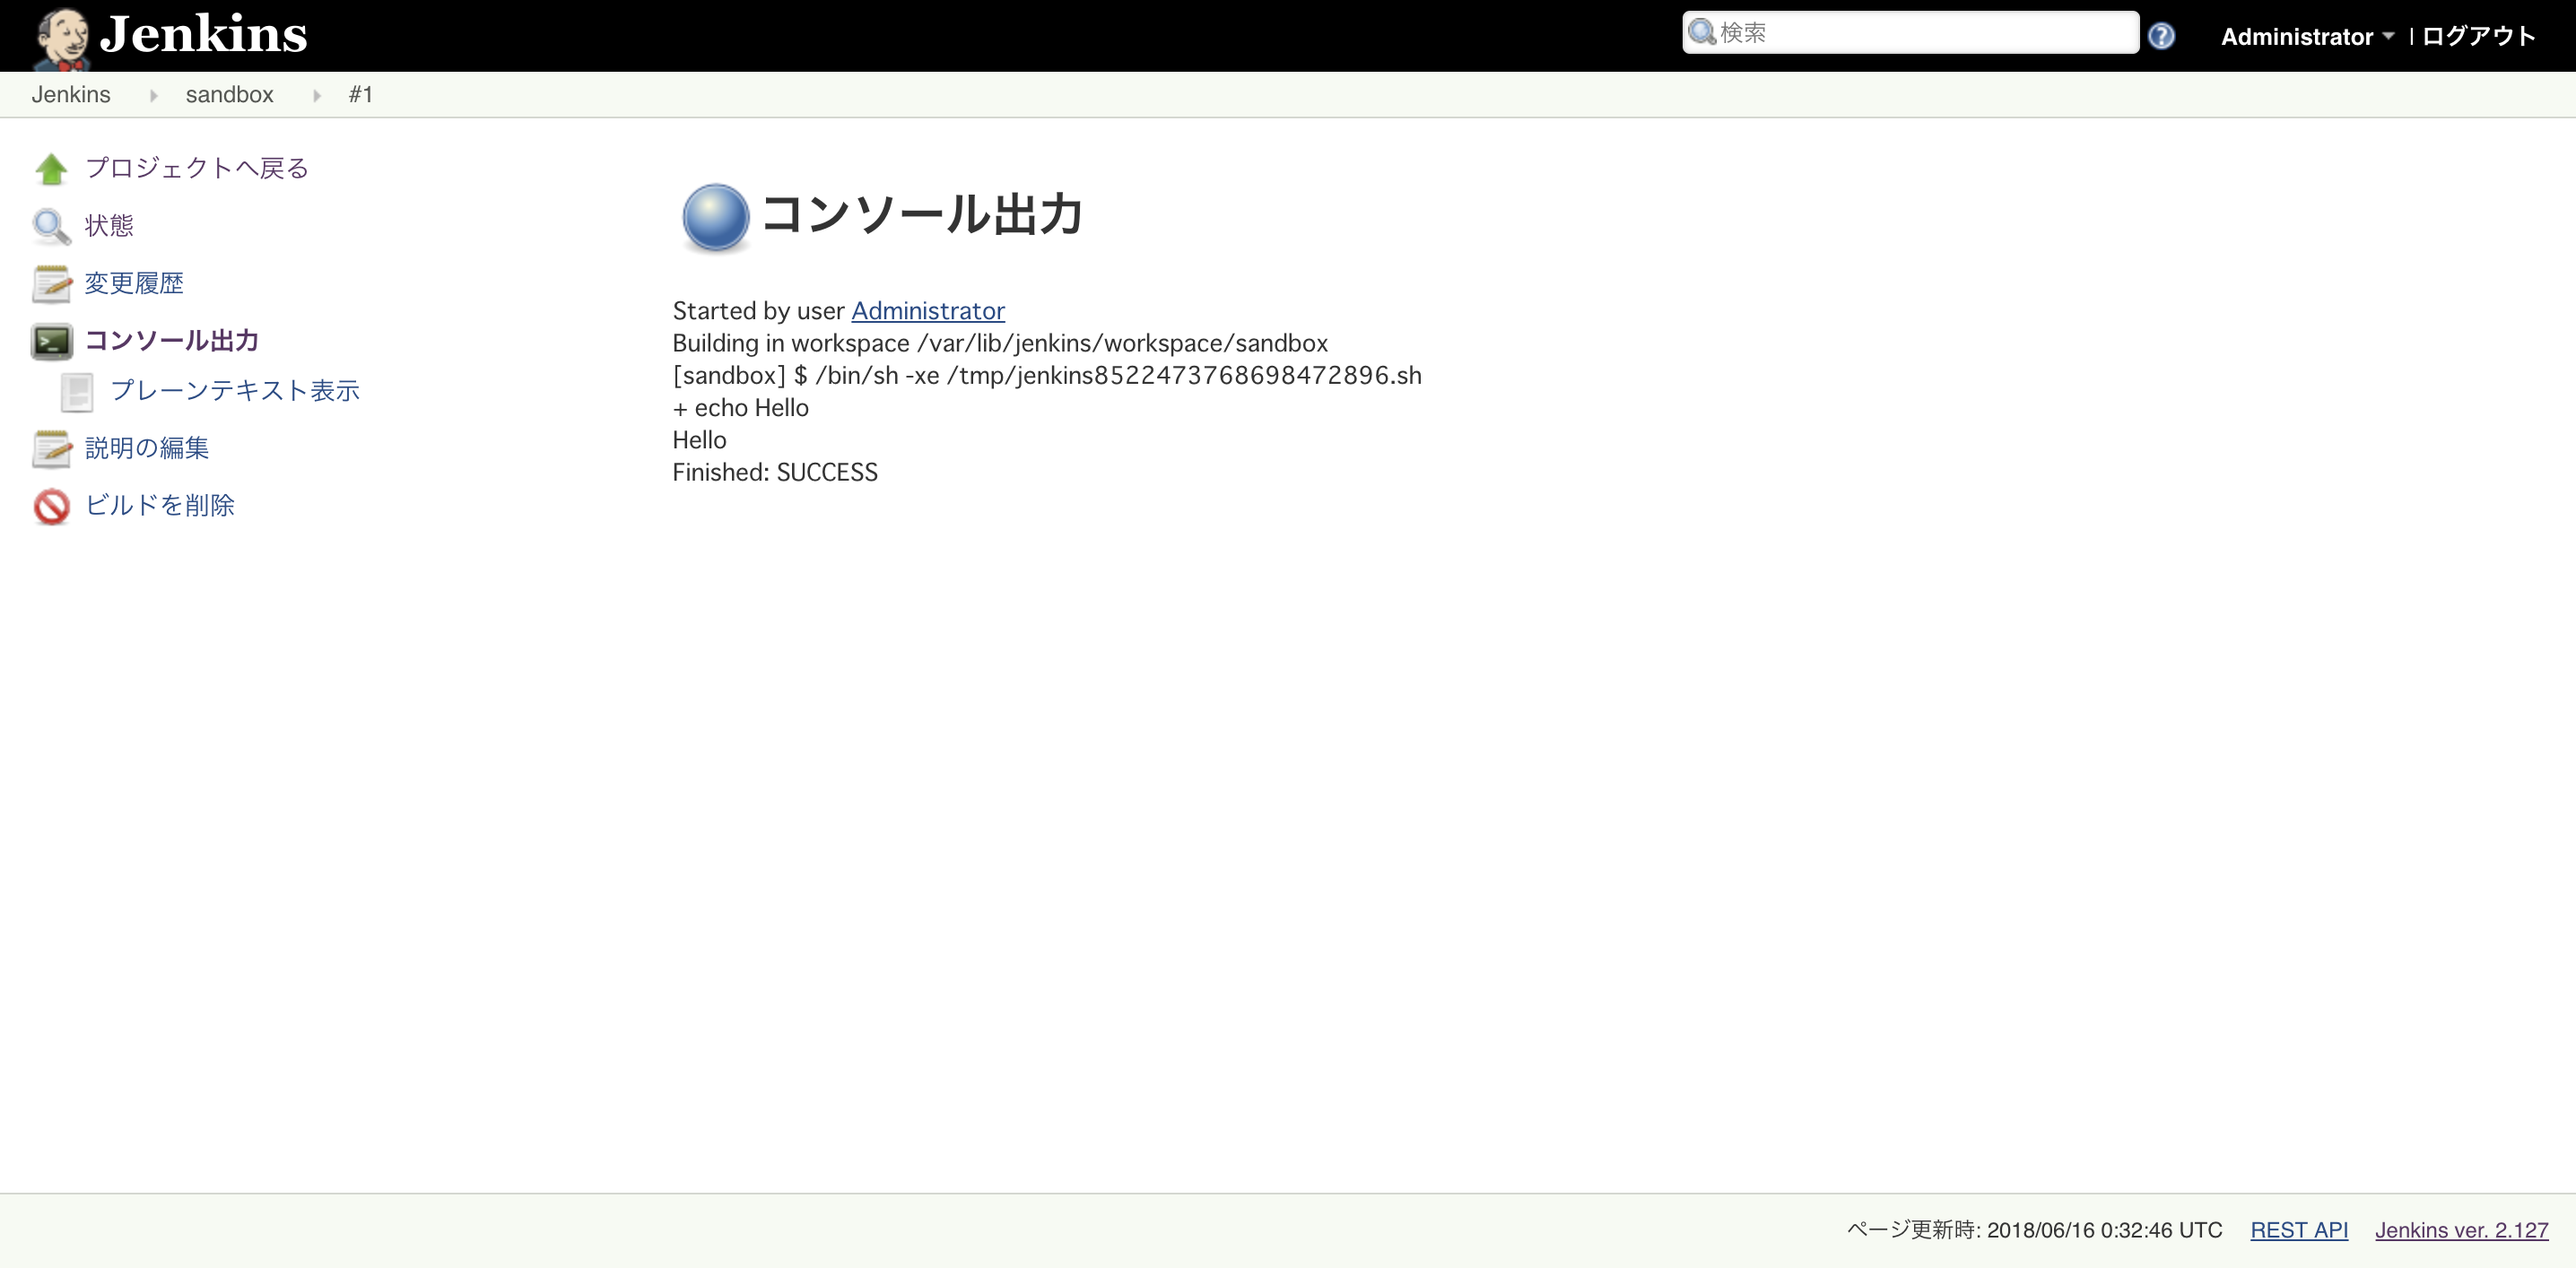
最初のビルド
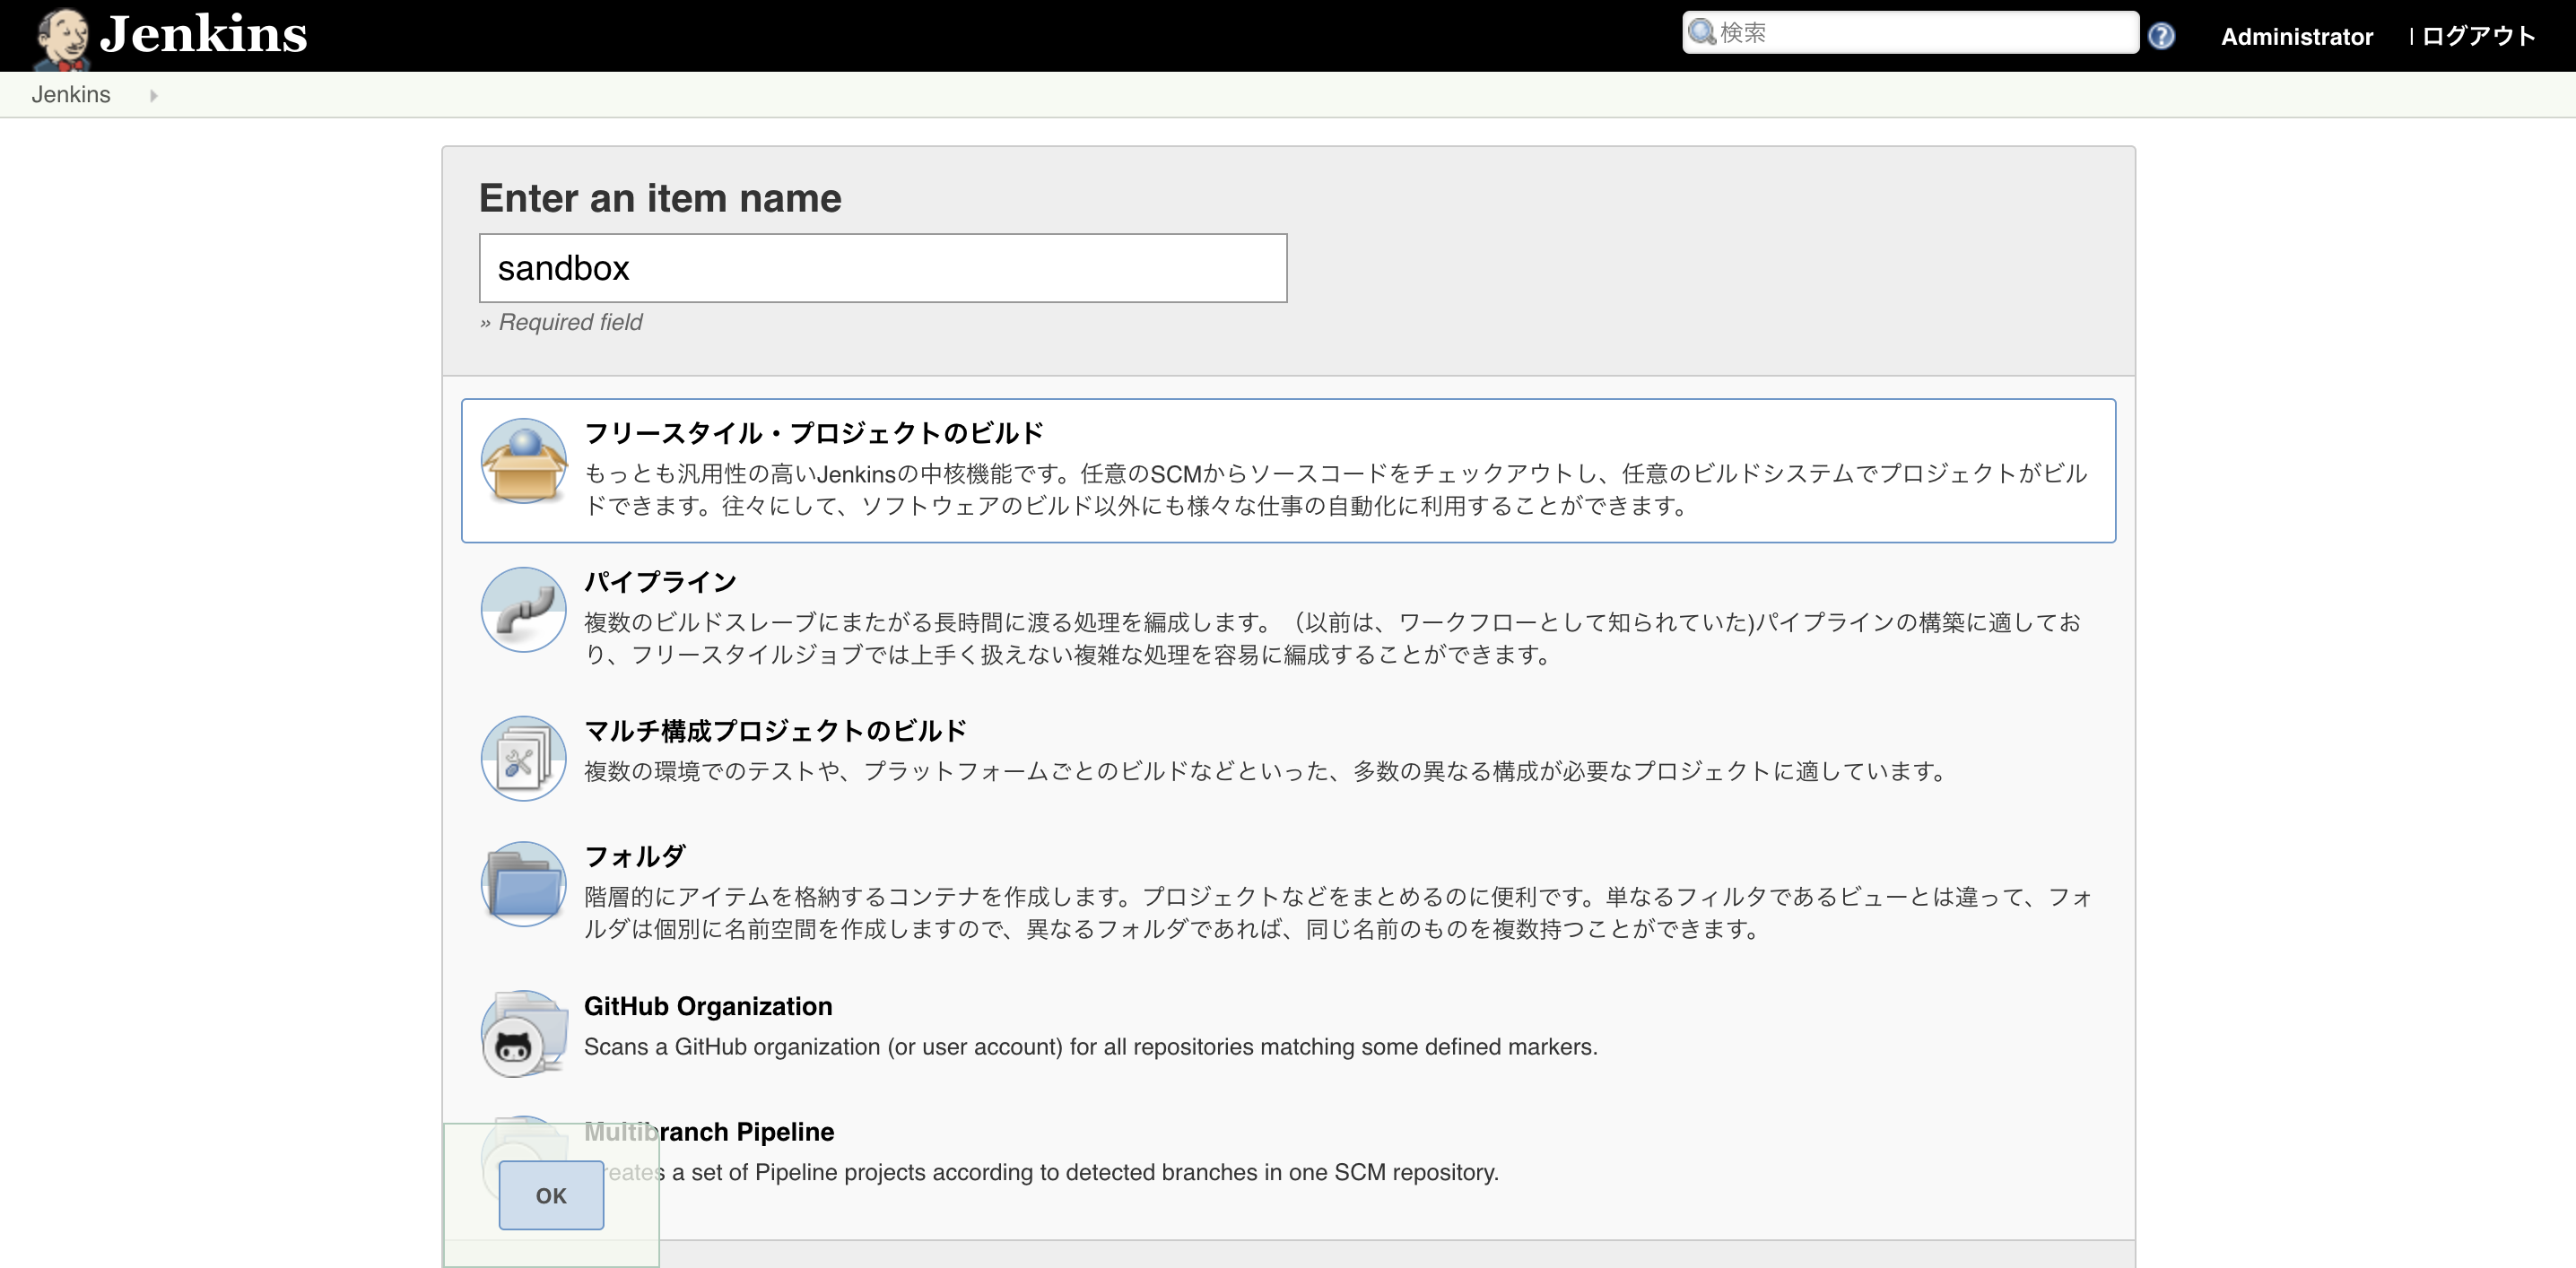
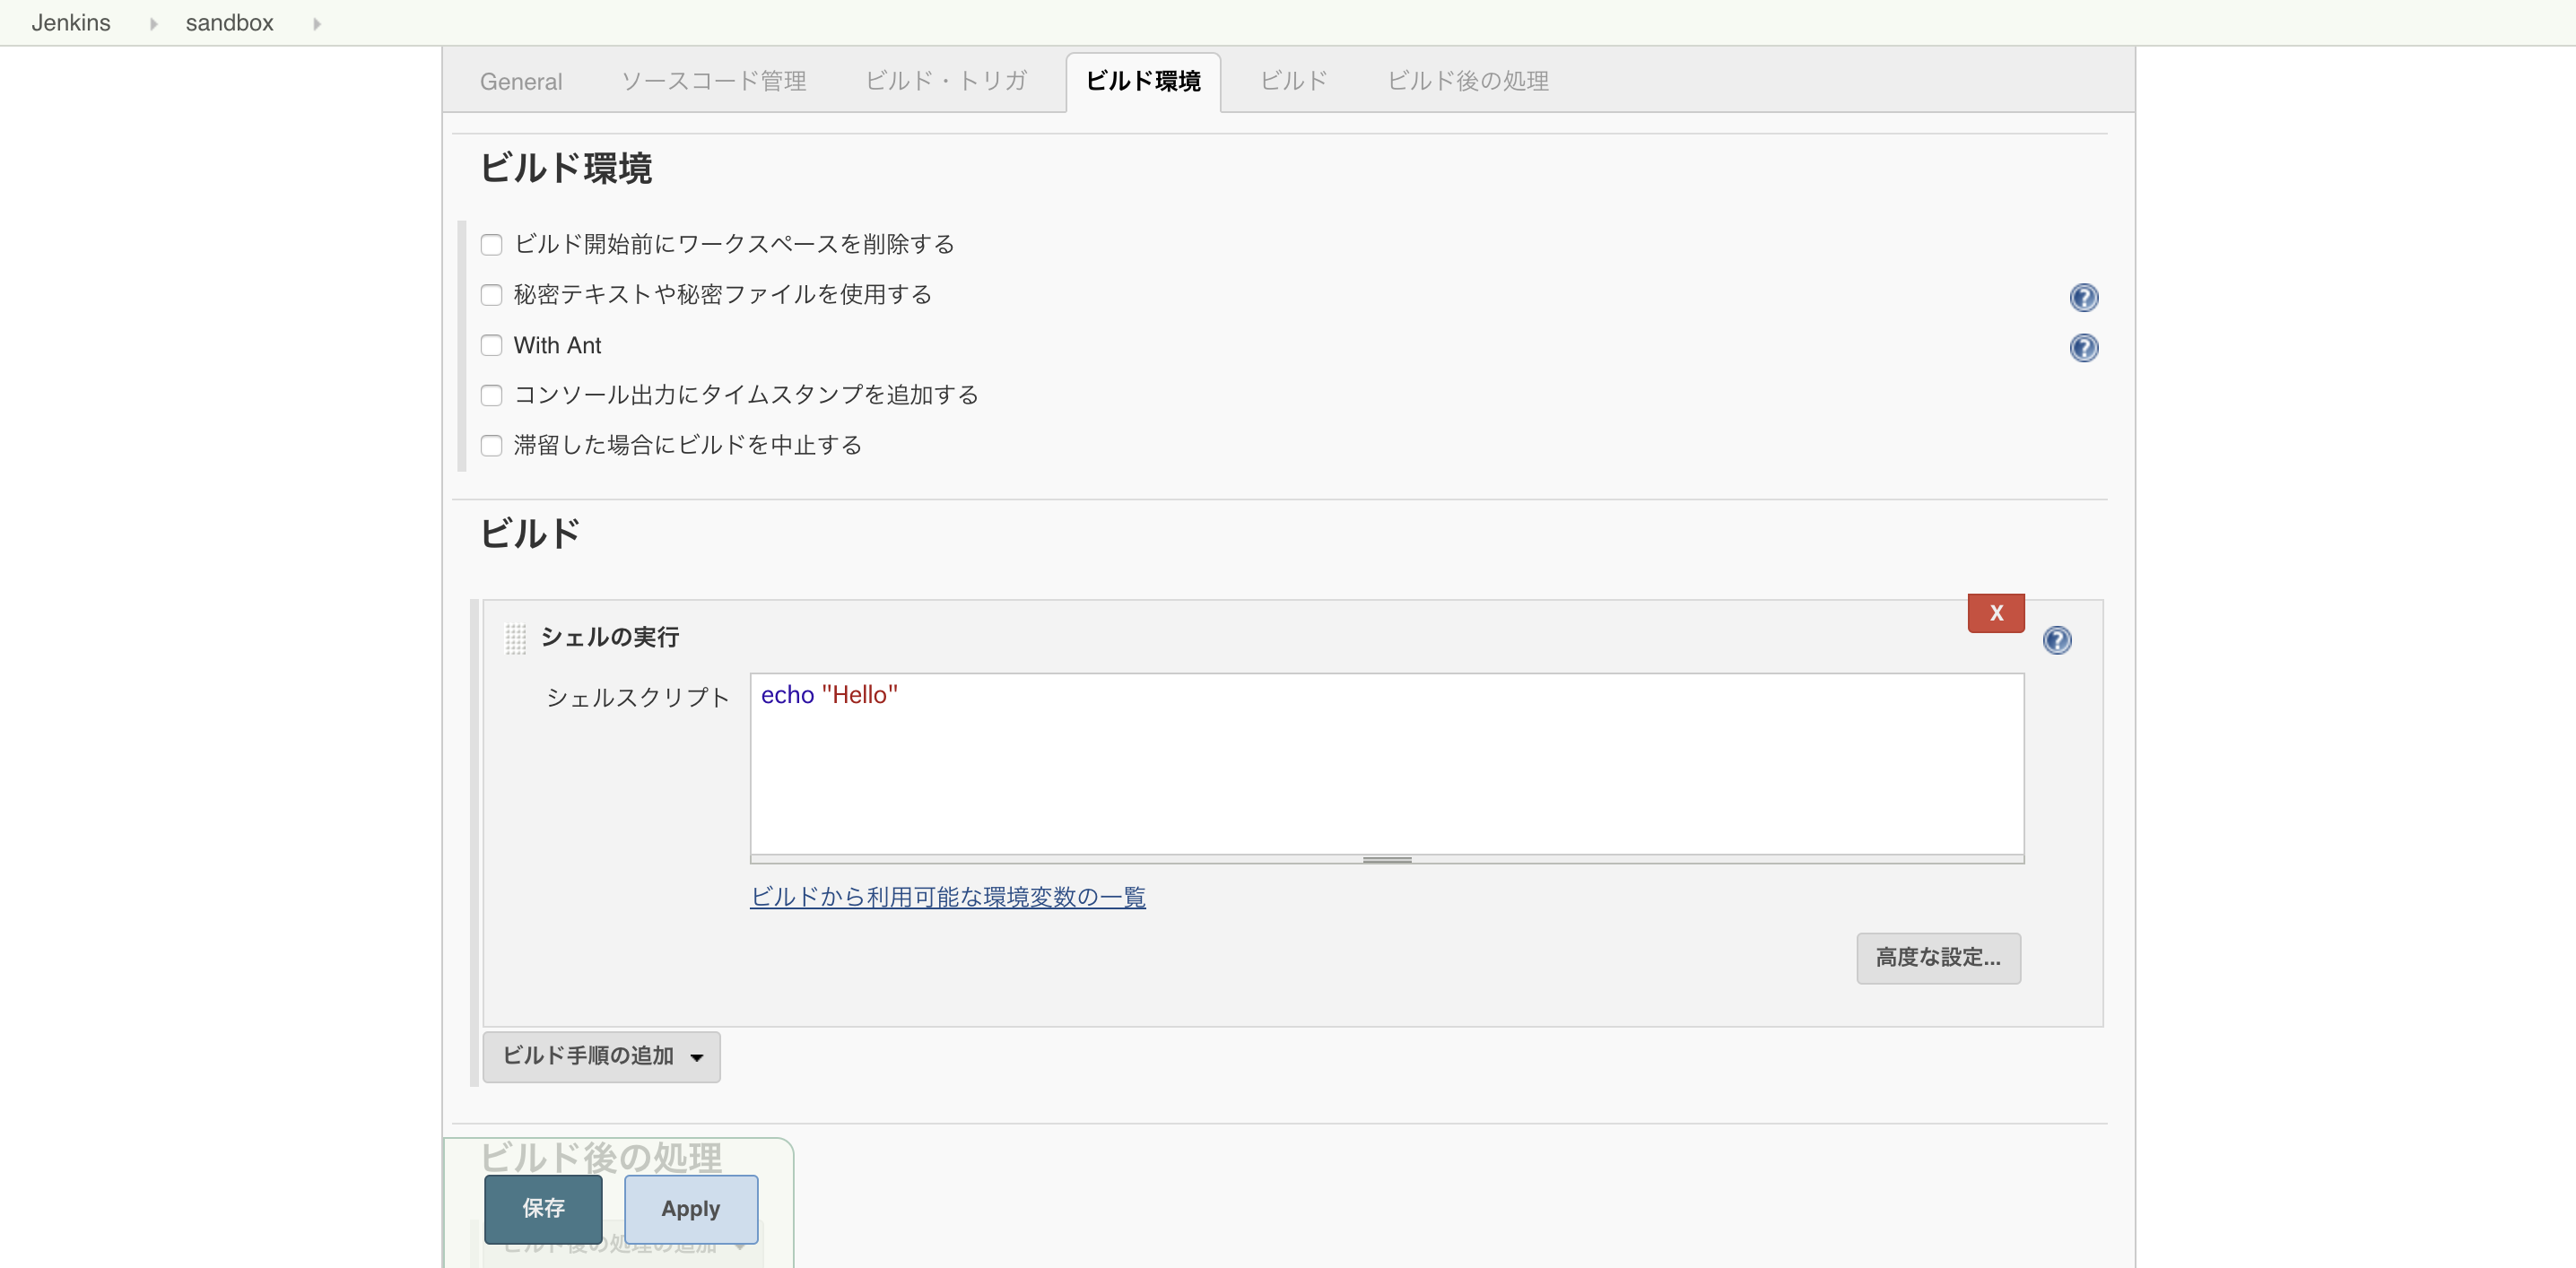
"Hello" を echo するだけのサンプルジョブを作ってみます。
シェルの実行 を選択して、シェルスクリプトを書きます。
おわりに
オールドユーザーの私にとって、セットアップウィザードが新鮮でした。
ジョブの作成手順やビルド画面は昔の Jenkins おじさんのままで安心しました。
以上でインストールと動作確認は完了です。
このあとは EC2 インスタンスの再起動後に URL が変わってしまうので、EIP を割り当てた後、Route 53 などの DNS サービスで URL を固定化してあげると良いでしょう。
