2018年6月16日に新しい記事を書きました。
AWS の EC2 インスタンス(Amazon Linux)に Jenkins 2 をインストールする
こんにちは。
ふだんはオンプレミス環境で Jenkins を利用している者です。
AWSのEC2にJenkinsを構築する手順についてメモ書き。
EC2インスタンスの作成
-
EC2インスタンスを作成します。パラメータはお好みで。私は以下のようにしました。
- AMIはAmazon Linux
- インスタンスタイプはt2.micro
- デフォルトVPC
- Public IPは有効
- セキュリティグループでSSH 22番、TCP 8080番をIPアドレス指定で許可
-
SSHログイン後、パッケージをアップデートしておきます。
$ sudo yum update
Jenkinsのインストール
- yumのリポジトリを追加します。
$ sudo wget -O /etc/yum.repos.d/jenkins.repo http://pkg.jenkins-ci.org/redhat/jenkins.repo
$ sudo rpm --import https://jenkins-ci.org/redhat/jenkins-ci.org.key
- Jenkinsをインストールします。
$ sudo yum install jenkins
- 1.617がインストールされました。
$ rpm -qa | grep jenkins
jenkins-1.617-1.1.noarch
- ランレベル3と5で自動起動になっているようです。
$ chkconfig --list jenkins
jenkins        	0:off	1:off	2:off	3:on	4:off	5:on	6:off
Jenkinsの起動
- 起動します。
$ sudo service jenkins start
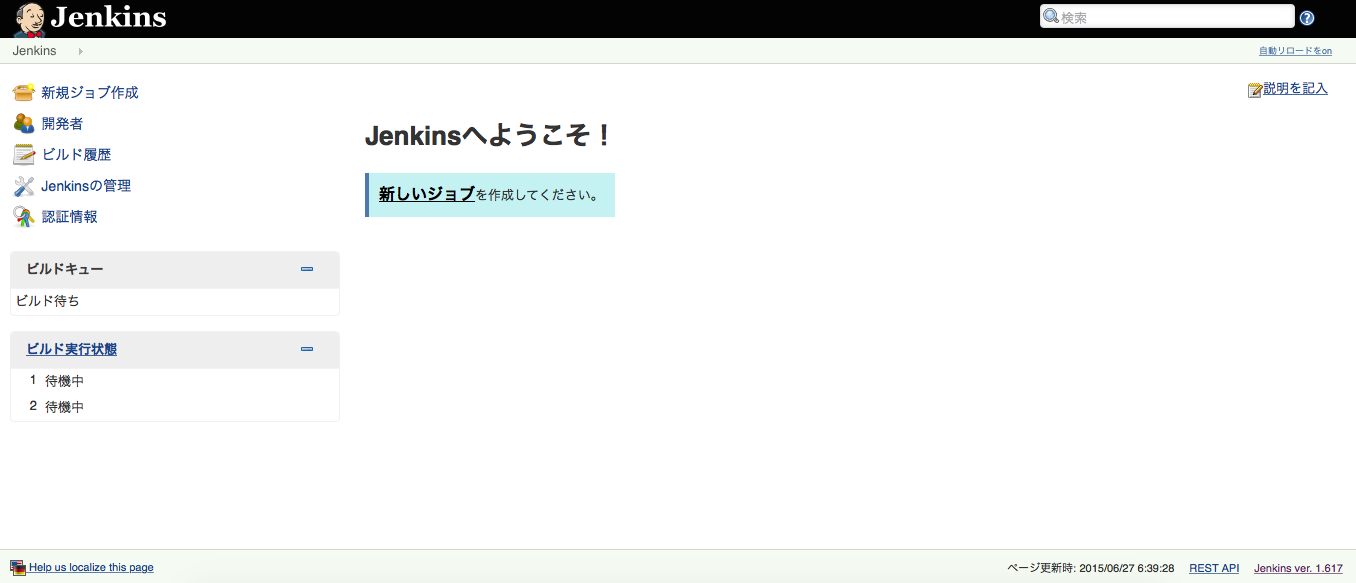
- ブラウザでJenkinsのURLにアクセスします。
http://<EC2インスタンスのパブリックDNS or IP>:8080/
- 以上でインストールは完了です。このままだとEC2インスタンスの再起動後にURLが変わってしまうので、EIPを割り当て後、Route 53などのDNSサービスでホスト名を固定化してあげると良いでしょう。
