前回
その5:Heroku設定編
前回はHeerokuのアプリの作成と設定を行いました。
今回はHerokuへデプロイを行い、botの常駐化をして行きます。
ディレクトリの構成
slack_bot/
├─ Procfile new!
├─ requirements.txt new!
├─ runtime.txt new!
├─ plugins/
│ ├─ __init__.py
│ ├─ bot_listen.py
│ └─ bot_mention.py
├─ run.py
└─ slackbot_settings.py
今回は追加したファイルは Profile,requirements.txt,runtime.txtの3つです。
python_bot: python3run.py
ProcfileはHerokuにデプロイする際、実行されるコマンドを記述します。
ここではpython_botと記述しましたがここは自由に書いて結構です。
:(コロン)以降にはコマンドラインから実行していたコマンドを記述して行きましょう。
※注意
":"(コロン)の後ろは必ず半角スペースを入れてください。Herokuへのデプロイの際にコマンドとして認識してくれません。(実際かなりつまずきました)
slackbot==0.5.1
requirements.txtはpythonの依存ライブラリの定義です。
pip3 freeze > requirements.txt
上記のコマンドでも書き込めますがpipに多くのライブラリをダウンロードしている方は全て書き込まれてしまうので、txtファイルを作り書き込んだ方が良いでしょう。
python-3.6.2
text:runtime.txtはpythonのバージョンの記述です。
デプロイ
まずbrewを使いHerokuコマンドを使えるようにしましょう。
brew install heroku
herokuにログインします。
heroku login

このようにメールアドレスとパスワードを要求されるので入力してログインしましょう。
その後はgitを使ってpushするとデプロイできます。
git init
heroku git:remote -a slack_bot
git add .
git commit -m 'heroku_deploy'
git push heroku master
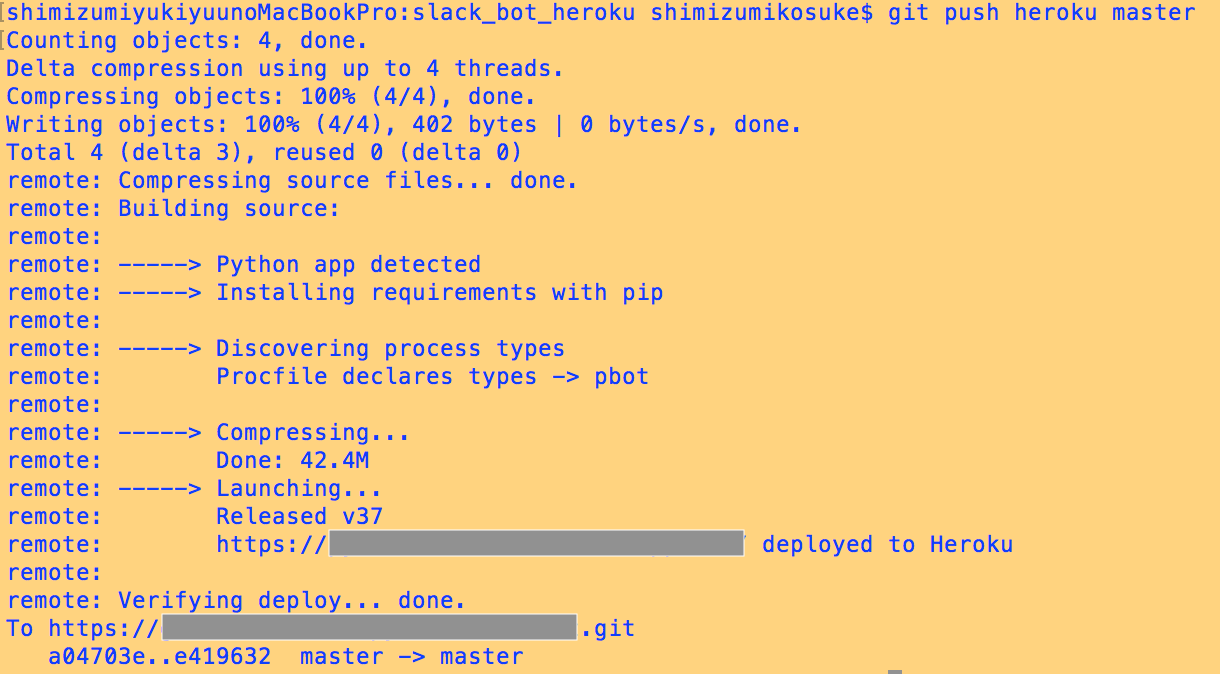
こんな感じになればOK!
起動
起動は以下のコマンドで実行
heroku ps:scale python_bot=1
これでbotの常駐化が終わりました。
以上!!!