流行りのViteを使ってフロントの環境を構築したので、備忘録として残しておきます
firebaseなどの細かい設定方法に関しては、他の解説記事を貼っておきます
環境
- Docker
- Vite
- Vue3
- firebase
M1 macを使ってます
Docker周りのファイルの作成
FROM node:12.4.0-alpine

WORKDIR /srv/app
RUN npm install -g npm@8.1.3
RUN npm install -g @vue/cli@4.5.15
RUN npm install -g @vitejs/create-app
RUN npm install -g vuex@next

ADD . /srv/app
ADD package.json /srv/app

↓ m1 macでscssを使うときは以下が必要です
RUN apk update && apk upgrade && \
  apk add --no-cache bash git openssh python make g++


RUN npm install
version: "3.4"
services:
  front:
    container_name: front
    build: ./front
    ports:
      - 8000:8000
    volumes:
      - ./front:/srv/app
    tty: true
    command: npm run dev --host
ここまでできたらdocker-compose buildでimageを作成
作成できたらdocker-compose upで立ち上げる
アプリケーションの作成と設定
立ち上げたら
docker-compose exec -it front /bin/sh
でコンテナの中に入りアプリを作成していきます。
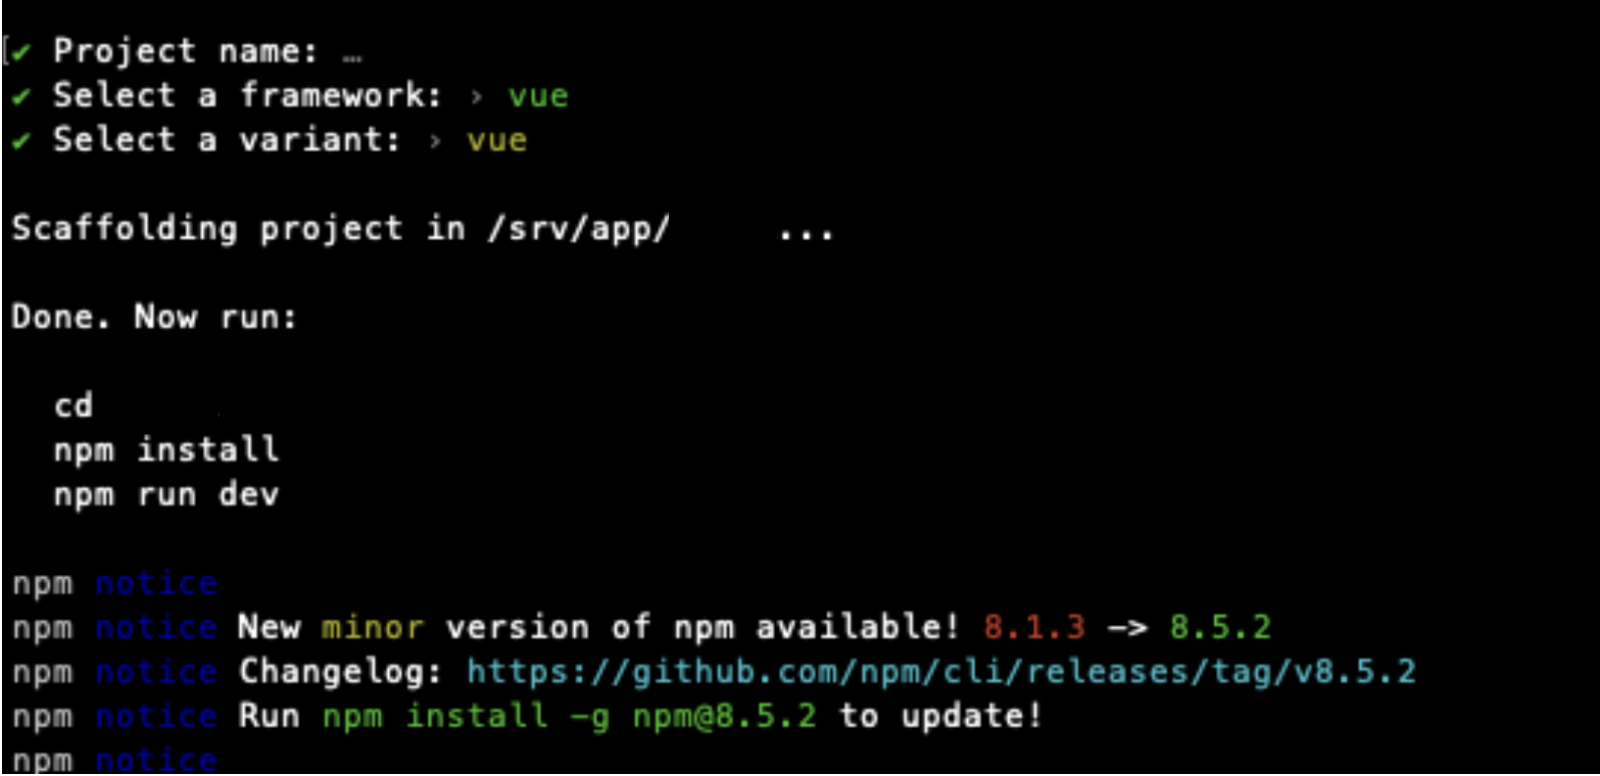
中に入れたら以下のコマンドを実行し、使いたいもの選択していきます
npm init @vitejs/app
次にポートの設定を行います
import { defineConfig } from 'vite'
import vue from '@vitejs/plugin-vue'

export default defineConfig({
  server: {    // <-- this object is added
    port: 8000
  },
  plugins: [vue()]
})
これでlocalhost:8000番に繋がるようになりました。
特に何もライブラリを入れてないのですが、既にちょっと立ち上がりが早いなと感じました。
2019年くらい?のmacで試したら明らかに早かったので、感動しました
ここまでの参考サイト
https://dev.to/jiprochazka/starting-up-a-new-vue-3-project-with-vite-and-docker-3355
開発に必要なライブラリーの設定
vue routerの設定
インストール
npm install vue-router --save
以下のように設定
基本的には、vue-cliで行うようにするのと変わらないです
routerディレクトの作成
import { createRouter, createWebHistory } from 'vue-router'
import Top from '../views/Top.vue'


const routes = [
  {
    path: '/',
    name: 'Top',
    component: Top,
    beforeEnter: requireNoAuth
  }
]

const router = createRouter({
  history: createWebHistory(),
  routes
})

export default router
import { createApp } from 'vue'
import App from './App.vue'
import router from './router'

let app
if (!app) {
  app = createApp(App)
    .use(router)
    .mount('#app')
}
使い方
<template>
</template>
<script>
import { useRouter } from 'vue-router'

export default {
  setup() {
    const router = useRouter()
    const enterChat = () => {
      // vue-cliと同じ
      router.push({ name: 'Dashboard' })
    }
    return { enterChat }
  }
}
</script>
firebaseの設定
vue firebase などで検索すればいくらでも出てくるのでそちらを参考に
firebase側で必要になる設定方法の解説記事
https://qiita.com/KWS_0901/items/4cfa588dec3545418fad
src直下にfirebaseディレクトリを作成
import { initializeApp } from 'firebase/app';
import { getAuth } from "firebase/auth";
import 'firebase/auth'

const firebaseConfig = {
  apiKey: "apiKey",
  authDomain: "authDomain",
  projectId: "projectId",
  storageBucket: "storageBucket",
  messagingSenderId: "messagingSenderId",
  appId: "appId"
};

initializeApp(firebaseConfig)
const projectAuth = getAuth();
export {projectAuth}
sign in
<template>
  <form @submit.prevent="handleSubmit">
    <input type="email" required placeholder="email" v-model="email" />
    <input type="password" required placeholder="password" v-model="password" />
    <div class="error">{{ error }}</div>
    <button>Log in</button>
  </form>
</template>

<script>

import { ref } from 'vue'
import { getAuth, signInWithEmailAndPassword } from "firebase/auth";
export default {
  setup(props, context) {
    // refs
    const email = ref('')
    const password = ref('')

    const handleSubmit = async () => {
      await signin(email.value, password.value)
      if (!error.value) {
        context.emit('login')
      }
    }

    const error = ref(null)

    const signin = async (email, password) => {
      const auth = getAuth();
      error.value = null
      try {
        const res = await signInWithEmailAndPassword(auth, email,password)
        error.value = null
        return res
      } catch(err) {
        error.value = 'Incorrect login credentials'
      }
    }

    return { email, password, handleSubmit, error }
  }
}
</script>
routerを変更し、ログインした人しかダッシュボードに飛べないようにする
import { createRouter, createWebHistory } from 'vue-router'
import { projectAuth } from '../firebase/config'
import Top from '../views/Top.vue'
import Dashboard from '../views/Dashboard.vue'

const requireAuth = (to, from, next) => {
  let user = projectAuth.currentUser
  if (!user) {
    // userが認証されていないとき
    next({ name: 'Top' })
  } else {
    next()
  }
}

// こちらは認証されているユーザーが、ログイン画面にアクセスできないようにしたい
const requireNoAuth = (to, from, next) => {
  let user = projectAuth.currentUser
  if (!user ) {
    // userが認証されていないとき
    next()
  } else {
    next({ name: 'Dashboard' })
  }
}

const routes = [
  {
    path: '/',
    name: 'Top',
    component: Top,
    beforeEnter: requireNoAuth
  },
  {
    path: '/dashboard',
    name: 'Dashboard',
    component: Dashboard,
    beforeEnter: requireAuth
  }
]

const router = createRouter({
  history: createWebHistory(),
  routes
})

export default router
その他ライブラリーに関しても基本的にはvue-cliと同じなので、今まで通りやっていただければといけるはず
