(追記事項)
- CLIにおいてID/Password方式がデフォルトで無効にされる日程は、2023年4月30日から2023年5月3日に延期されたようです。
-
https://cloud.ibm.com/iam/overview にて、以下のような画面が現れるようになったようです。

1. はじめに
以下の内容によると、2023年4月30日2023年5月3日より、IBM Cloudにおいては
- 今後は単なるID/Password方式ではなくMFA(二要素認証)の利用が推奨される。
- 少なくともCLIに関しては単純なID/Password方式でのログインを新規アカウント・既存アカウントに寄らず、デフォルトで無効にする(リスクを受け入れて、変更することも可能)。CLIに関しては、今後はAPI Key/
-ssoオプション/MFAのいずれかの利用が推奨。
というセキュリティー方針のようだ。
参考情報
- Announcement: Identity and Access Management - upcoming changes to multifactor authentication (MFA) settings
- An extra layer of security for users that don't use MFA
- Disabling CLI logins with only a password
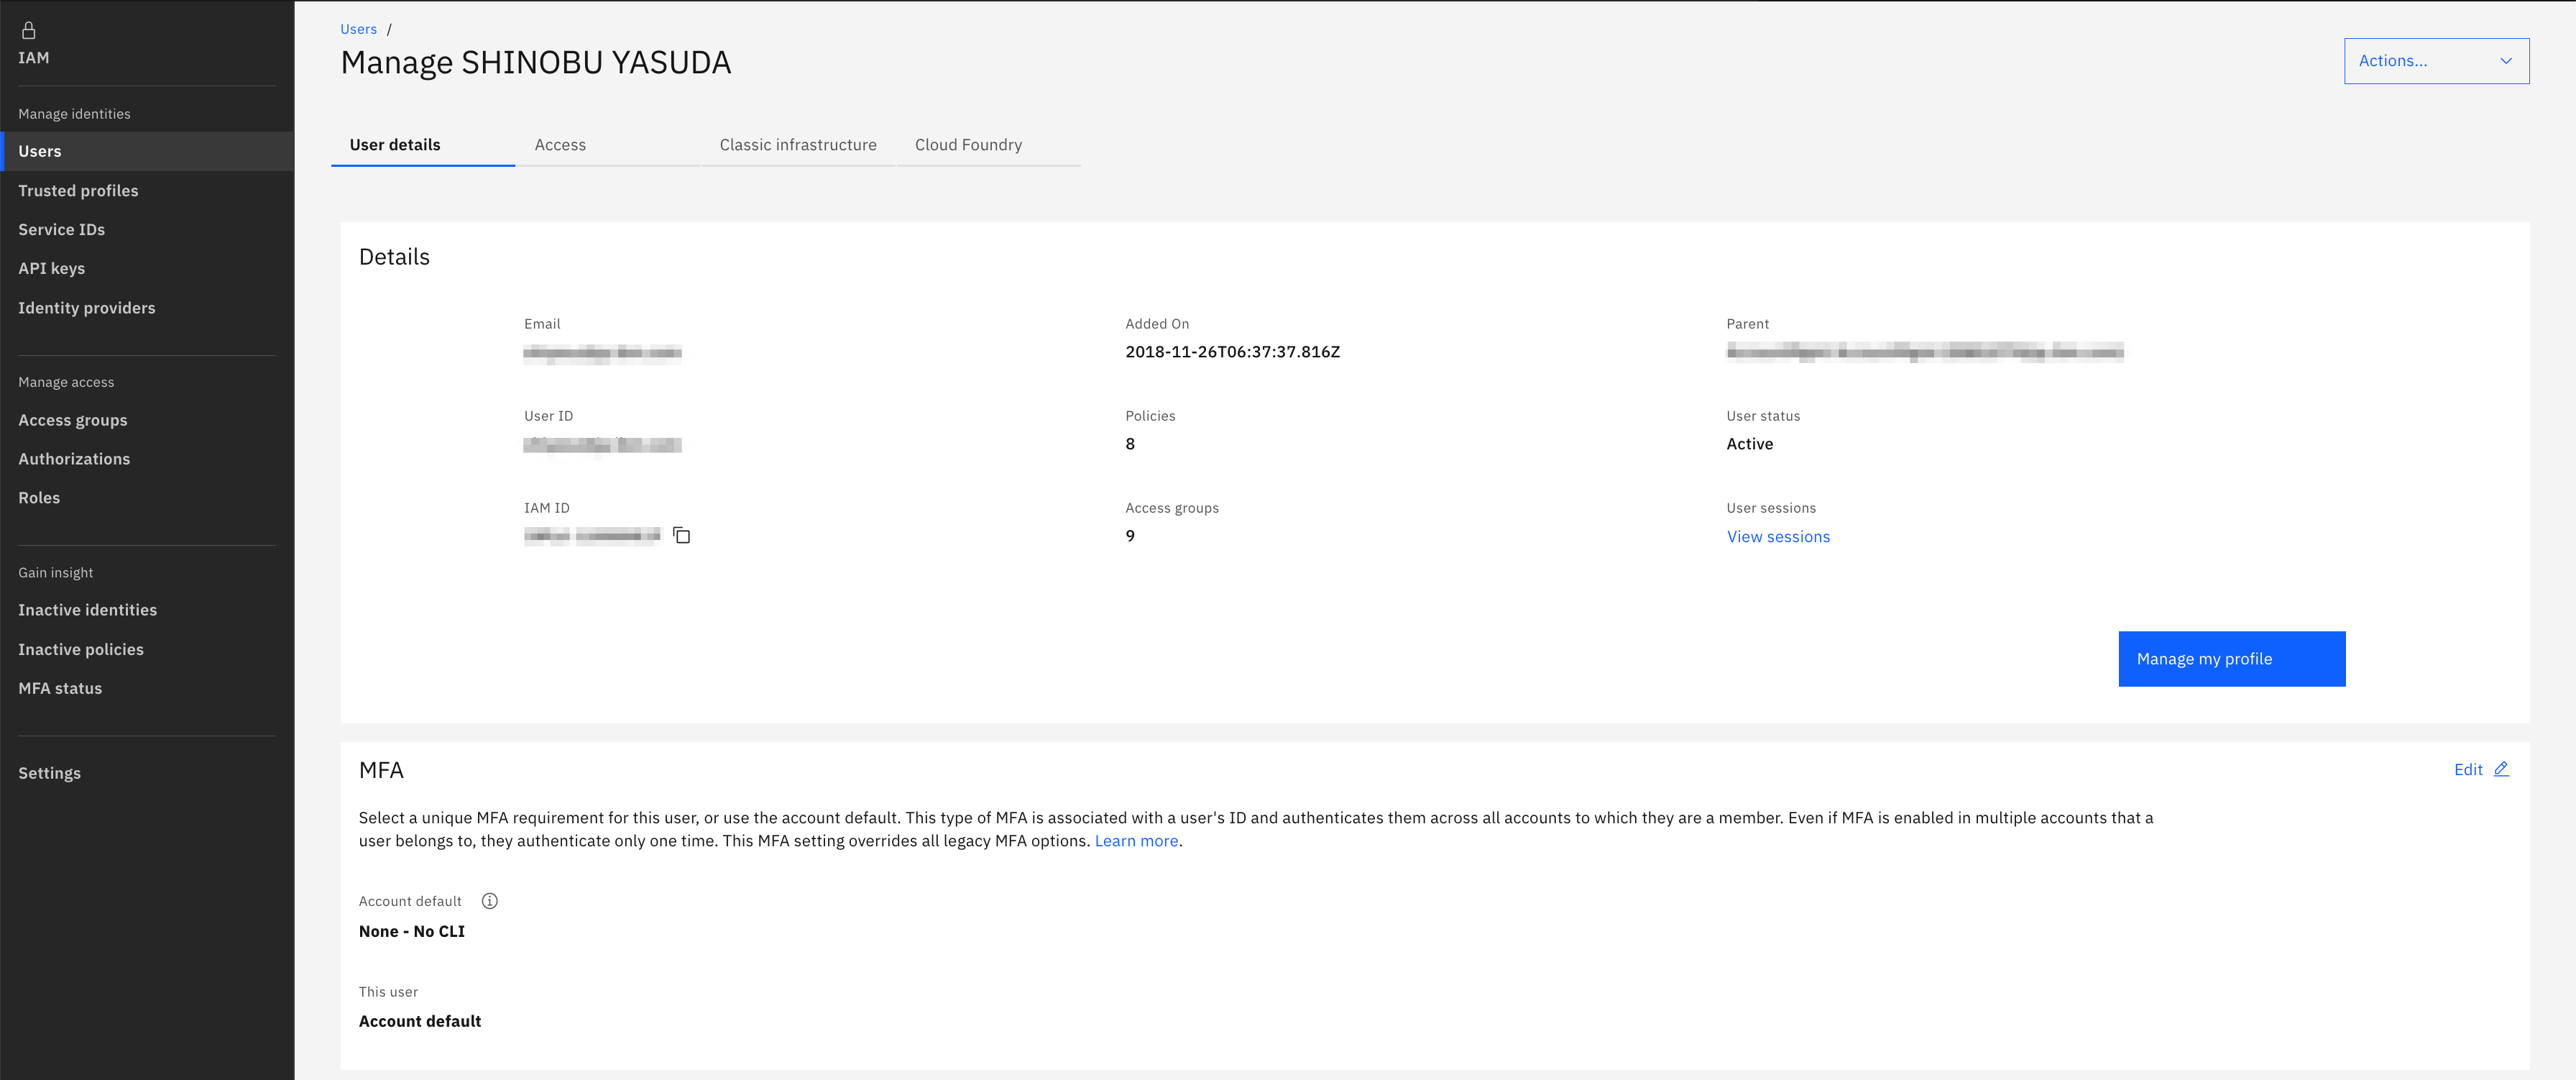
本稿では、どうやってMFAを有効にするのか、MFAを有効にした際のCLIでのログインはどうなるのかをまとめてみたい。なお、IBM Cloudのコンソールから、Manage -> Access(IAM) -> Settings -> Authenticationにて、アカウント全体に一括で適用することもできるが、今回は安全を期して、私のユーザーにだけMFAを適用してみた。
2. IBM Cloudポータル上の設定
-
Manage -> Access(IAM) -> Users -> 自分のユーザーを選択。MFAは以下のようになっている。Editボタンを選択。
- Account default:
None - No CLI - This user:
Account default
- Account default:
-
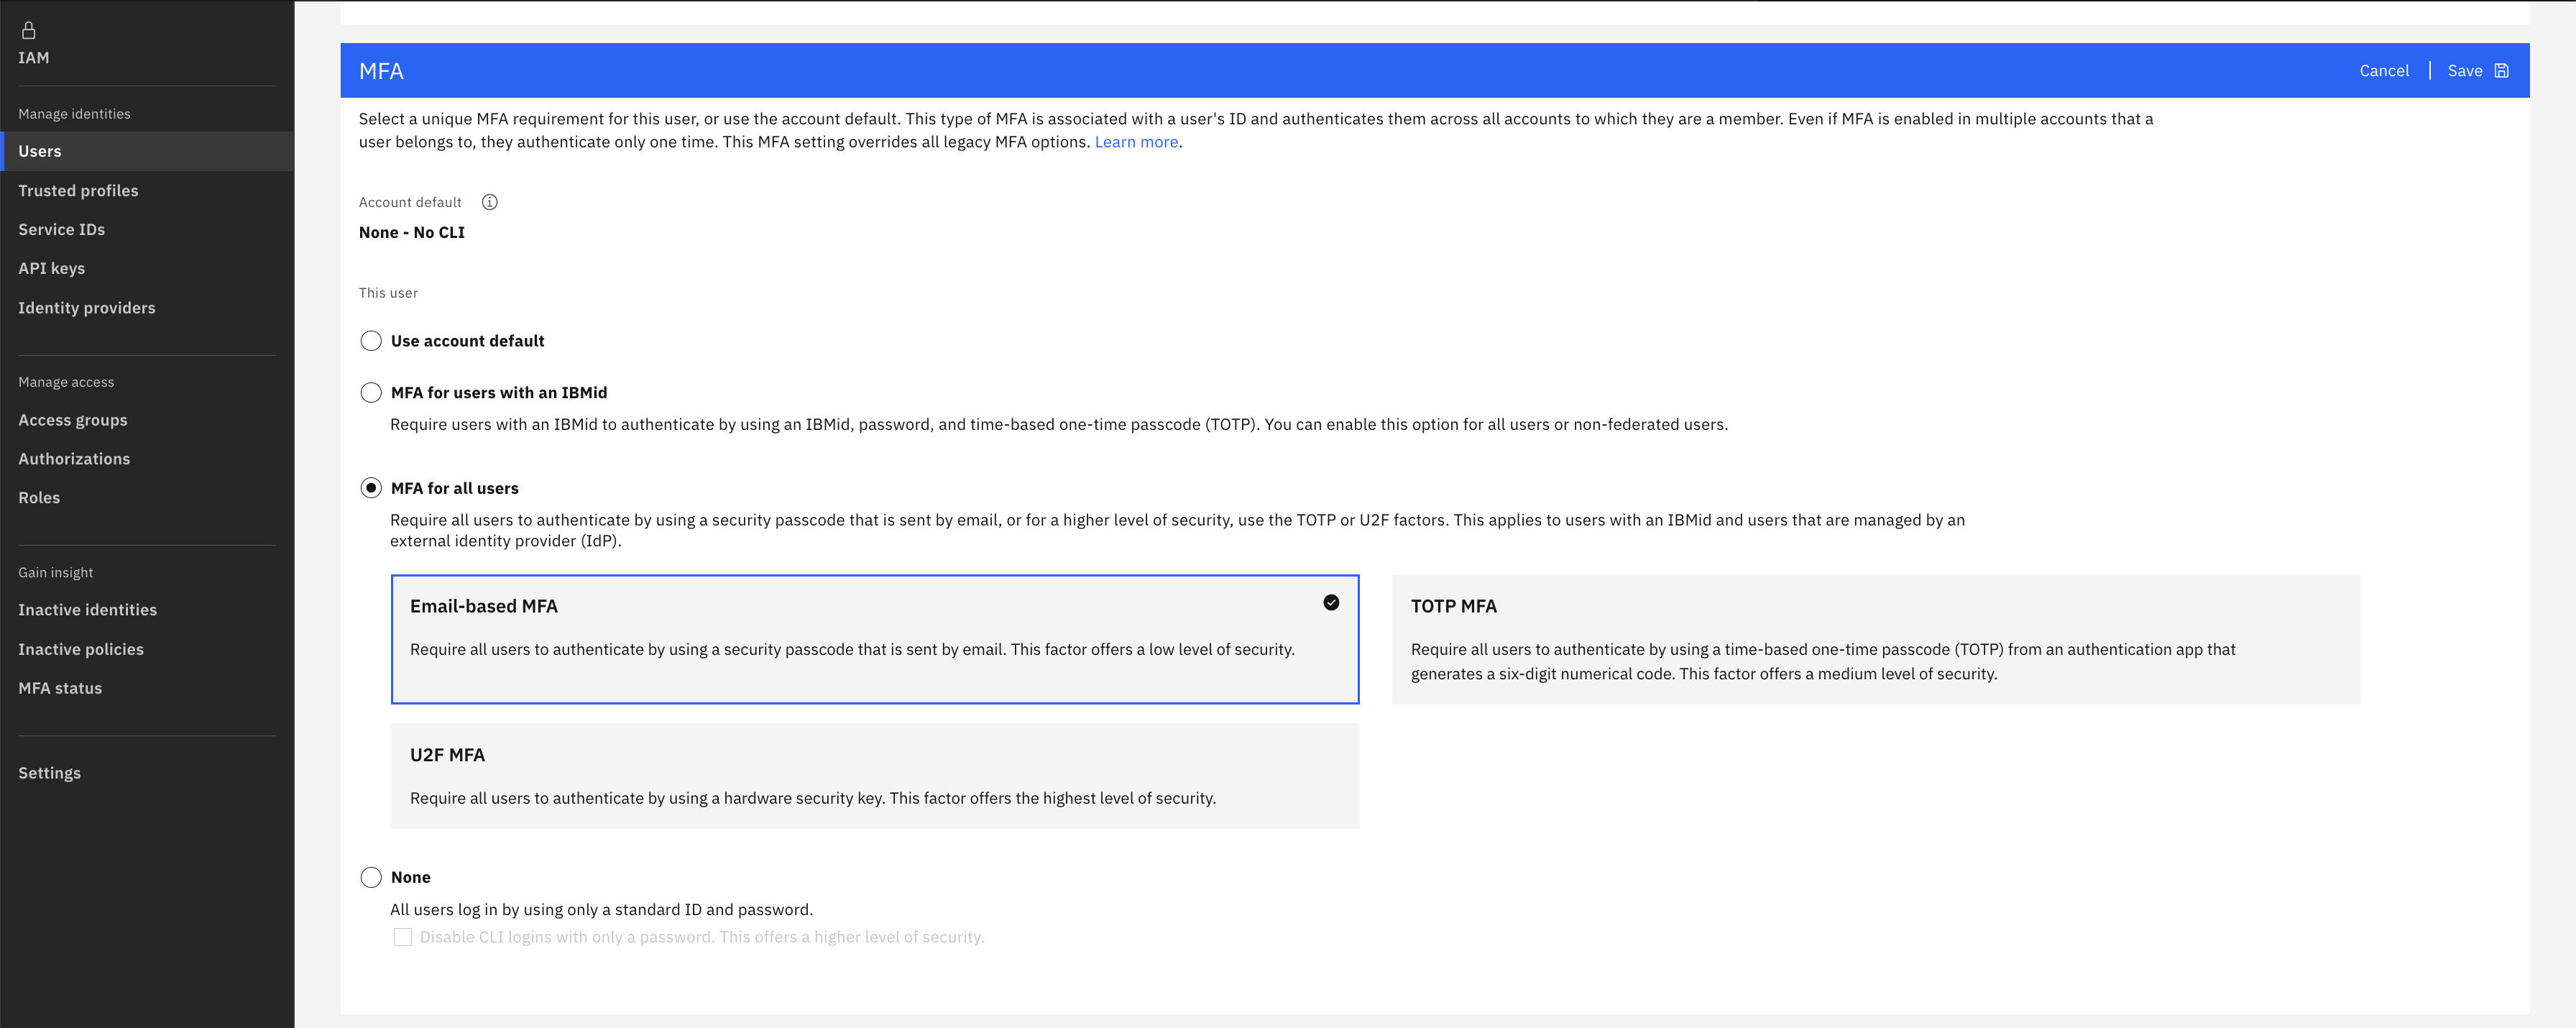
MFA for all usersの中にあるEmail-based MFAを選択して保存。私が利用しているIBMidでは、IdPが有効になっているが、Require all users to authenticate by using a security passcode that is sent by email, or for a higher level of security, use the TOTP or U2F factors. This applies to users with an IBMid and users that are managed by an external identity provider (IdP).と書かれているので、この方式であれば適用できそうだ。
3. ユーザーの個別設定
この設定の後、実際にログインをすると、ユーザーの個別設定が始まる。
-
https://cloud.ibm.com/loginからIBM Cloudにログインを試行する。

- 私のアカウントはIdPが有効になっているので会社独自のSSOが実行される。(画面省略)
- 二要素認証のセットアップが始まる。Startを押下

-
Create Verification Methodが1/2となっていることからわかるように、このセットアップではSMS/E-Mail/Voice Callの3つのうち、2つを登録してその本人確認作業が必要になるようだ。まずは、E-Mailを選択し、メールアドレスを記入してSendを押下。
- メールにOne-time verification codeが届くので、それを入力してComplete.

- 次は
SMSを選択。自分の電話番号を入れる。国際番号になるので、080-xxxx-xxxxの場合は、+8180xxxxxxxxとなる。
- SMSにOne-time verification codeが届くので、それを入力してComplete.

- 最後にSetup Authenticationのテスト。E-Mailを選択して、Testを実施。

- メールにOne-time verification codeが届くので、それを入力してComplete.

- セットアップが完了したので、Start

- MFAの実行。
OTP via Emailが選択されていることを確認して、Send
- メールにOne-time verification codeが届くので、それを入力してComplete.

- Customer Portalにログインできた。

3. 再度ログアウト、ログインしたらどうなるか?
再度IdPによるSSOが実施され(既に認証済みであればスキップされる)、再度以下の画面による認証が必要となる。

4. MFAユーザーの確認
- Update Report

- また、Manage -> Access(IAM) -> Settings -> Authenticationにて、以下のユーザーのみがユーザー個別のMFAを設定していることがわかる。

5. CLIでのログインについて
- MFAが有効になっている際のAPI Keyでのログイン
MFAが有効になっていても問題なし。
[root@new-syasuda-tok1-vpc1 ~]# ibmcloud login -a cloud.ibm.com --apikey @ibmcloud_apikey_1756623 -r jp-tok
API endpoint: https://cloud.ibm.com
Authenticating...
OK

Targeted account xxx (xxxxxxxxxxxxxxxxxxxxxxxxxxxxxxxx) <-> xxxxxxx

Targeted region jp-tok


API endpoint:      https://cloud.ibm.com
Region:            jp-tok
User:              xxxxxxx@xx.xxx.xxx
Account:           IBM (xxxxxxxxxxxxxxxxxxxxxxxxxxxxxxxx) <-> xxxxxxx
Resource group:    No resource group targeted, use 'ibmcloud target -g RESOURCE_GROUP'
CF API endpoint:
Org:
Space:
- MFAが有効になっている時の
-ssoオプション利用時のログイン
以下で、https://identity-1.ap-north.iam.cloud.ibm.com/identity/passcodeを表示するために、SSOでのログインとMFAのログインの両方を実施する必要がある。
[root@new-syasuda-tok1-vpc1 ~]# ibmcloud login -sso
API endpoint: https://cloud.ibm.com
Region: jp-tok

Get a one-time code from https://identity-1.ap-north.iam.cloud.ibm.com/identity/passcode to proceed.
Open the URL in the default browser? [Y/n] > n
One-time code >