はじめに
Docker + Rails6 + Vue.js + Vuetifyの開発環境構築手順をまとめました。
以下の記事を参考にさせて頂きました!ありがとうございます![]()
- webpackerを使ってRuby on Rails 6.0とVue.jsを連携する方法(フロントエンド編)
- Rails+Vue.js+Vuetify環境の構築手順 - Qiita
- 【Rails6】10分でRails + Vue + Vuetifyの環境を構築する - Qiita
※(2020/02/12)関連記事書きました!
【環境構築】Rails6 + Vue.jsで hello_vue.jsの名前をmain.jsに変更したいときの手順 - Qiita
環境
OS: macOS Catalina 10.15.1
zsh: 5.7.1
Ruby: 2.6.5
Rails: 6.0.2
Docker: 19.03.5
docker-compose: 1.24.1
Vue: 2.6.10
vue-router: 2.6.10
vuex: 3.1.2
vuetify: 2.1.0
1.準備
作成するアプリケーション名はhogeappとします。
まずは以下ファイルを作成して下さい。
Dockerfile
yarnが必要になるので、Dockerfileに反映しています。
※(2020/02/12)pryで日本語入力するためのENV LANG C.UTF-8を追記しました。
FROM ruby:2.6.5

RUN apt-get update -qq && \
  apt-get install -y build-essential \
  libpq-dev \
  nodejs \
  vim

RUN apt-get update && apt-get install -y curl apt-transport-https wget && \
  curl -sS https://dl.yarnpkg.com/debian/pubkey.gpg | apt-key add - && \
  echo "deb https://dl.yarnpkg.com/debian/ stable main" | tee /etc/apt/sources.list.d/yarn.list && \
  apt-get update && apt-get install -y yarn

RUN mkdir /app_name
ENV APP_ROOT /app_name
ENV LANG C.UTF-8
WORKDIR $APP_ROOT

COPY ./Gemfile $APP_ROOT/Gemfile
COPY ./Gemfile.lock $APP_ROOT/Gemfile.lock
RUN bundle install

COPY entrypoint.sh /usr/bin/
RUN chmod +x /usr/bin/entrypoint.sh
ENTRYPOINT [ "entrypoint.sh" ]
ADD . $APP_ROOT
docker-compose.yml
version: "3"
services:
  db:
    image: mysql:5.7
    environment:
      MYSQL_ROOT_PASSWORD: password
      MYSQL_DATABASE: root
    volumes:
      - db-data:/var/lib/mysql
    ports:
      - "3306:3306"
  web:
    build: .
    command: /bin/sh -c "rm -f tmp/pids/server.pid && bundle exec rails s -p 3000 -b '0.0.0.0'"
    volumes:
      - .:/app_name
    ports:
      - "3000:3000"
    links:
      - db
    tty: true
    stdin_open: true
    depends_on:
      - db
  data:
    image: busybox
    volumes:
      - db-data:/var/lib/mysql
    tty: true
volumes:
  db-data:
    driver: local
Gemfile
source 'https://rubygems.org'
git_source(:github) { |repo| "https://github.com/#{repo}.git" }

gem 'rails', '~> 6.0.2', '>= 6.0.2.1'
Gemfile.lock
中身は空で作成します。
entrypoint.sh
# !/bin/bash
set -e

# Remove a potentially pre-existing server.pid for Rails.
rm -f /app_name/tmp/pids/server.pid

# Then exec the container's main process (what's set as CMD in the Dockerfile).
exec "$@"
これで必要なファイルが揃ったので、次はRailsアプリの作成です。
2.Railsアプリの作成
rails new
$ docker-compose run web rails new . --force --database=mysql --skip-bundle
database.ymlの変更
default: &default
  adapter: mysql2
  encoding: utf8mb4
  pool: <%= ENV.fetch("RAILS_MAX_THREADS") { 5 } %>
  username: root
  password: password #ここを変更
  host: db #ここを変更
docker-compose build
ビルドします。
$ docker-compose build
コンテナが立ち上がるか確認
docker-compose up -dだとログが見えないので、無事に環境構築が完了するまでは-dなしが良いと思います。
$ docker-compose up
※このエラーが出たら
Error response from daemon: OCI runtime create failed: container_linux.go:346: starting container process caused "exec: \"rails\": executable file not found in $PATH": unknown
↓
$ docker-compose build
※何らかのgemが不足しているようなエラーが出たら
自分は以下のようなエラーが発生しました。
Could not find public_suffix-4.0.1 in any of the sources
↓
$ docker-compose run web bundle install
一度bundle installを試してみて下さい。
db:create
無事にコンテナが立ち上がったら、DBを作成しましょう。
$ docker-compose exec web rails db:create
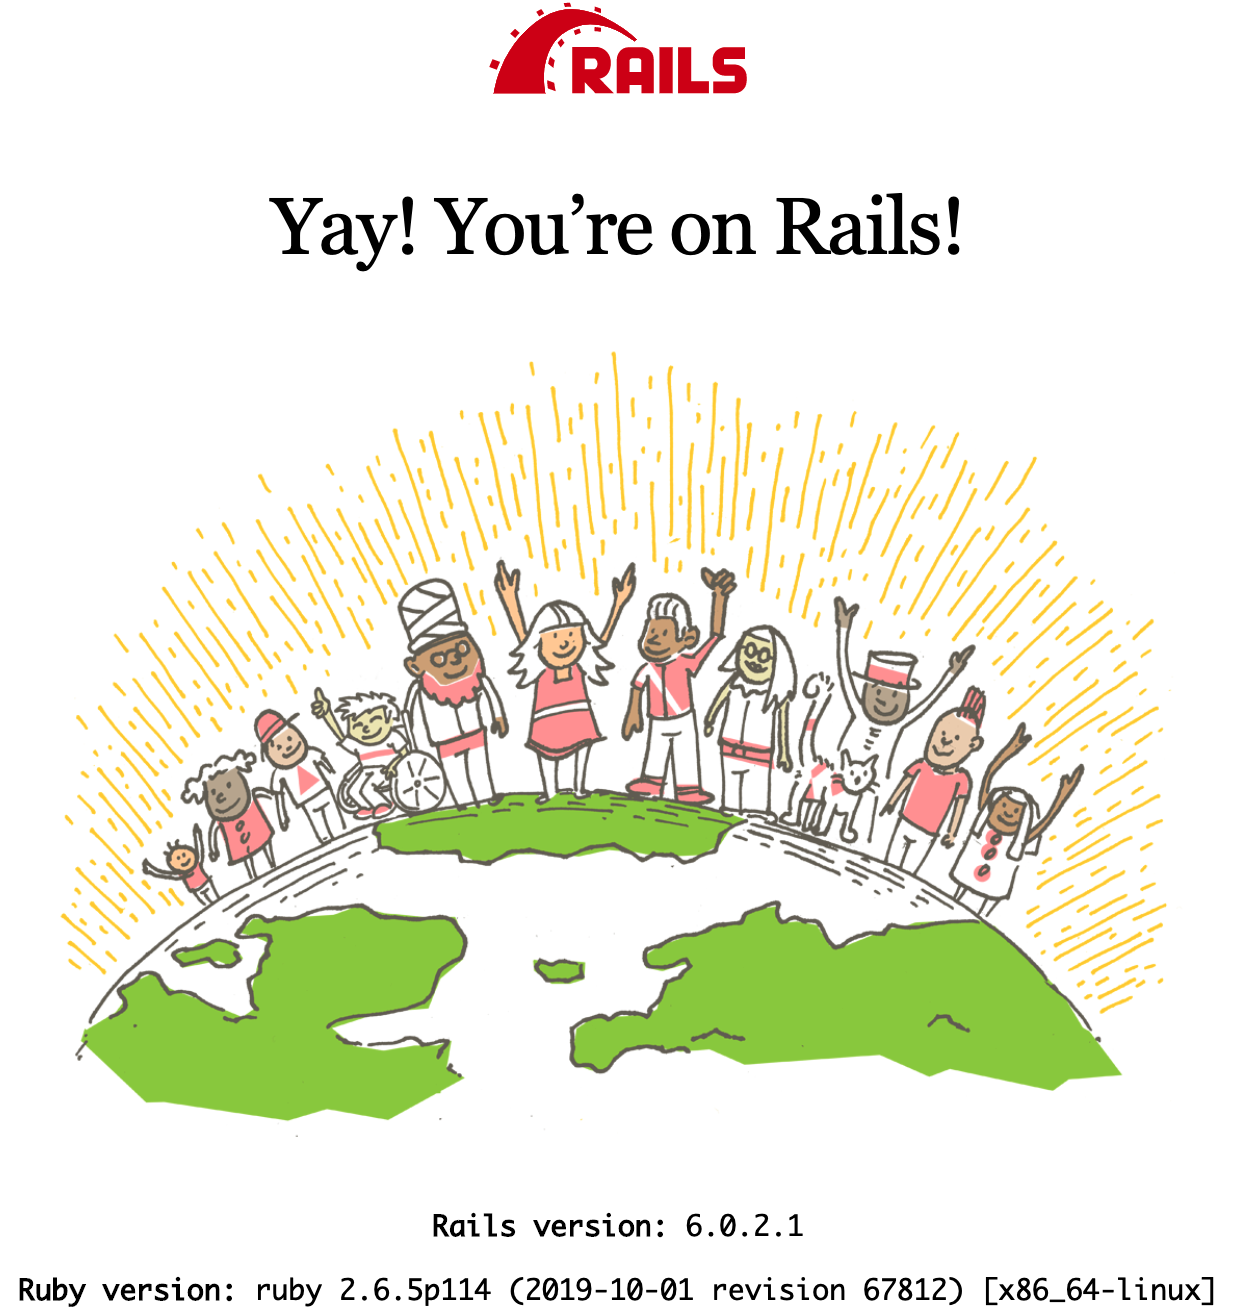
Yay! You’re on Rails!
localhost:3000にアクセスして確認してみましょう。
これでRailsはOKなので、次はVue.jsです!
3.Vue.jsの導入
webpackerのインストール
$ docker-compose exec web rails webpacker:install
Vue.jsのインストール
$ docker-compose exec web rails webpacker:install:vue
Vue.jsとの連携を確認
Railsでコントローラーを作ってみて、Vue.jsと連携出来るかを確認してみます。
$ docker-compose exec web rails g controller home index
<%= javascript_pack_tag 'hello_vue' %>
<%= stylesheet_pack_tag 'hello_vue' %>
このように変更し、hello_vue.jsを読み込みます。
※Vue.jsのインストール時にhello_vue.jsはデフォルトで作成されています。
※ここのhello_vue.jsの名前を変えたい方向けに、別記事書きました!以下ご参照下さい。
【環境構築】Rails6 + Vue.jsで hello_vue.jsの名前をmain.jsに変更したいときの手順 - Qiita
Railsのルーティングを設定
root to: 'home#index'
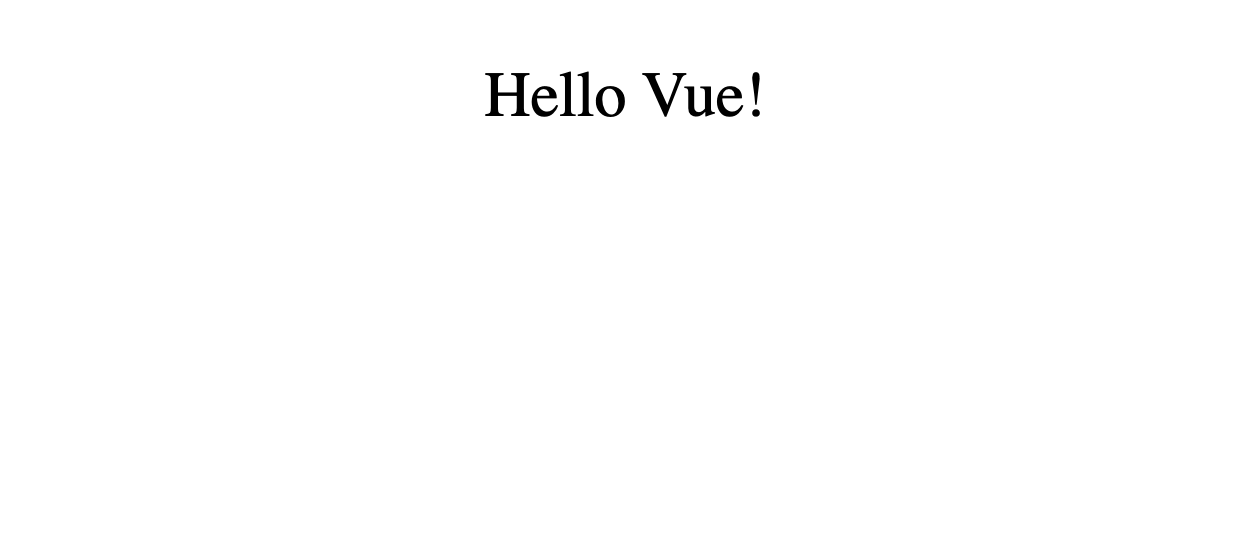
ブラウザで確認
localhost:3000にアクセスし、下記画面が出力されているか確認してみて下さい。
これでVue.jsの導入はOKですが、他の単一ファイルコンポーネントも作成し、読み込めるかどうかを確認しておきます。
4.他の単一ファイルコンポーネントが読み込めるかどうか確認する
Top.vueの作成
app/javascript/components/ディレクトリを作成し、その中にTop.vueを作成します。
Top.vueの中身は以下のようにしました。
<template>
  <section id="top">
    <h1>This is Top.vue!</h1>
  </section>
</template>

<script>
  export default {
    name: 'Top'
  }
</script>

<style>
  h1 {
    text-align: center;
  }
</style>
app.vueを変更
<template>
  <div id="app">
    <p>{{ message }}</p>
    <Top/> //追記
  </div>
</template>

<script>
import Top from "./components/Top"; //追記

export default {
  data: function () {
    return {
      message: "Hello Vue!"
    }
  },
  components: {
    Top, //追記
  }
}
</script>
...以下略
ブラウザで確認
再度読み込みすると、以下のような画面になっているはずです。
これできちんと単一ファイルコンポーネントが読み込まれていることが確認できたので、Vue.jsはOKです。
次はラスト!Vuetifyの導入です。
5.Vuetifyの導入
Vuetifyのインストール
$ docker-compose exec web yarn add vuetify
hello_vue.jsに追記
import Vue from 'vue'
import Vuetify from 'vuetify' //追加
import "vuetify/dist/vuetify.min.css" //追加
import App from '../app.vue'

Vue.use(Vuetify) //追加

const vuetify = new Vuetify(); //追加

document.addEventListener('DOMContentLoaded', () => {
  const app = new Vue({
    vuetify, //追加
    render: h => h(App)
  }).$mount()
  document.body.appendChild(app.$el)

  console.log(app)
})
application.html.erbの変更
application.html.erbでVuetify用にフォントとアイコンの読み込みと不要な箇所の削除を行います。
  <head>
...略
    <link href="https://fonts.googleapis.com/css?family=Roboto:100,300,400,500,700,900" rel="stylesheet">
    <link href="https://cdn.jsdelivr.net/npm/@mdi/font@4.x/css/materialdesignicons.min.css" rel="stylesheet">
...略
  </head>
下記タグは不要なので削除しておきます。
<%= javascript_pack_tag 'application', 'data-turbolinks-track': 'reload' %>
これで準備が整ったので、あとはVuetifyのコンポーネントが反映されるかどうか、作成して確認してみましょう。
Header.vueの作成
新規にHeader.vueを作成し、<v-app-bar>を組み込んでみます。
<template>
  <header id="header">
    <v-app-bar>
      <v-app-bar-nav-icon></v-app-bar-nav-icon>
      <v-toolbar-title>This is Header.vue</v-toolbar-title>
    </v-app-bar>
  </header>
</template>

<script>
  export default {
    name: 'Header',
  }
</script>
app.vueを変更
Header.vueを読み込みつつ、全体をまとめている<div>を<v-app>タグに変更しておきます。
<template>
  <v-app id="app"> //divから変更
    <Header/> //追記
    <h1>This is app.vue</h1> //一応追記。どっちでもいいです
    <p>{{ message }}</p>
    <Top/>
  </v-app>
</template>

<script>
import Header from "./components/Header"; //追記
import Top from "./components/Top";

export default {
  data: function () {
    return {
      message: "Hello Vue!"
    }
  },
  components: {
    Header, //追記
    Top,
  }
}
</script>
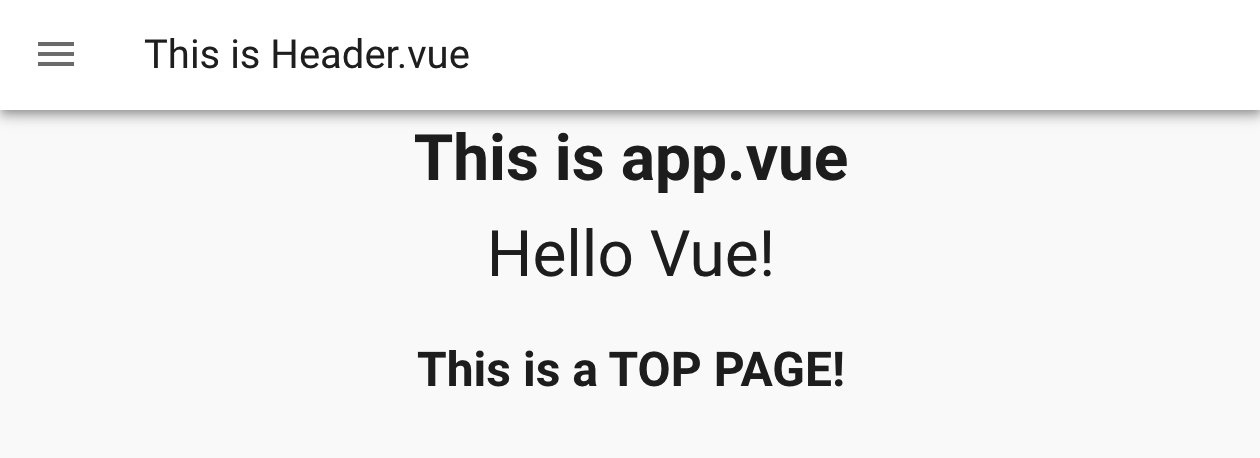
これで再度localhost:3000にアクセスし、問題ないかを確認してみます。
無事に画像のようなヘッダーが表示されていれば完了です!
以上です!お疲れ様でした!![]()
(2020/02/12)関連記事書きました!
【環境構築】Rails6 + Vue.jsで hello_vue.jsの名前をmain.jsに変更したいときの手順 - Qiita
おわりに
最後まで読んで頂きありがとうございました![]()
どなたかのお役に立てれば幸いです![]()


