前提条件
- Rails6
- Vue.js 2.6.10
- vuetify 2.1.13
- yarnが入っていること
構築手順
1. rails newでプロジェクトを作成
この時、--webpack=vueを指定する
bash
rails new --webpack=vue
この時yarnやwebpacker関連のエラーが出た場合は以下の記事を参考にしてください
Rails6 開発時につまづきそうな webpacker, yarn 関係のエラーと解決方法
サーバーを起動
bash
rails s
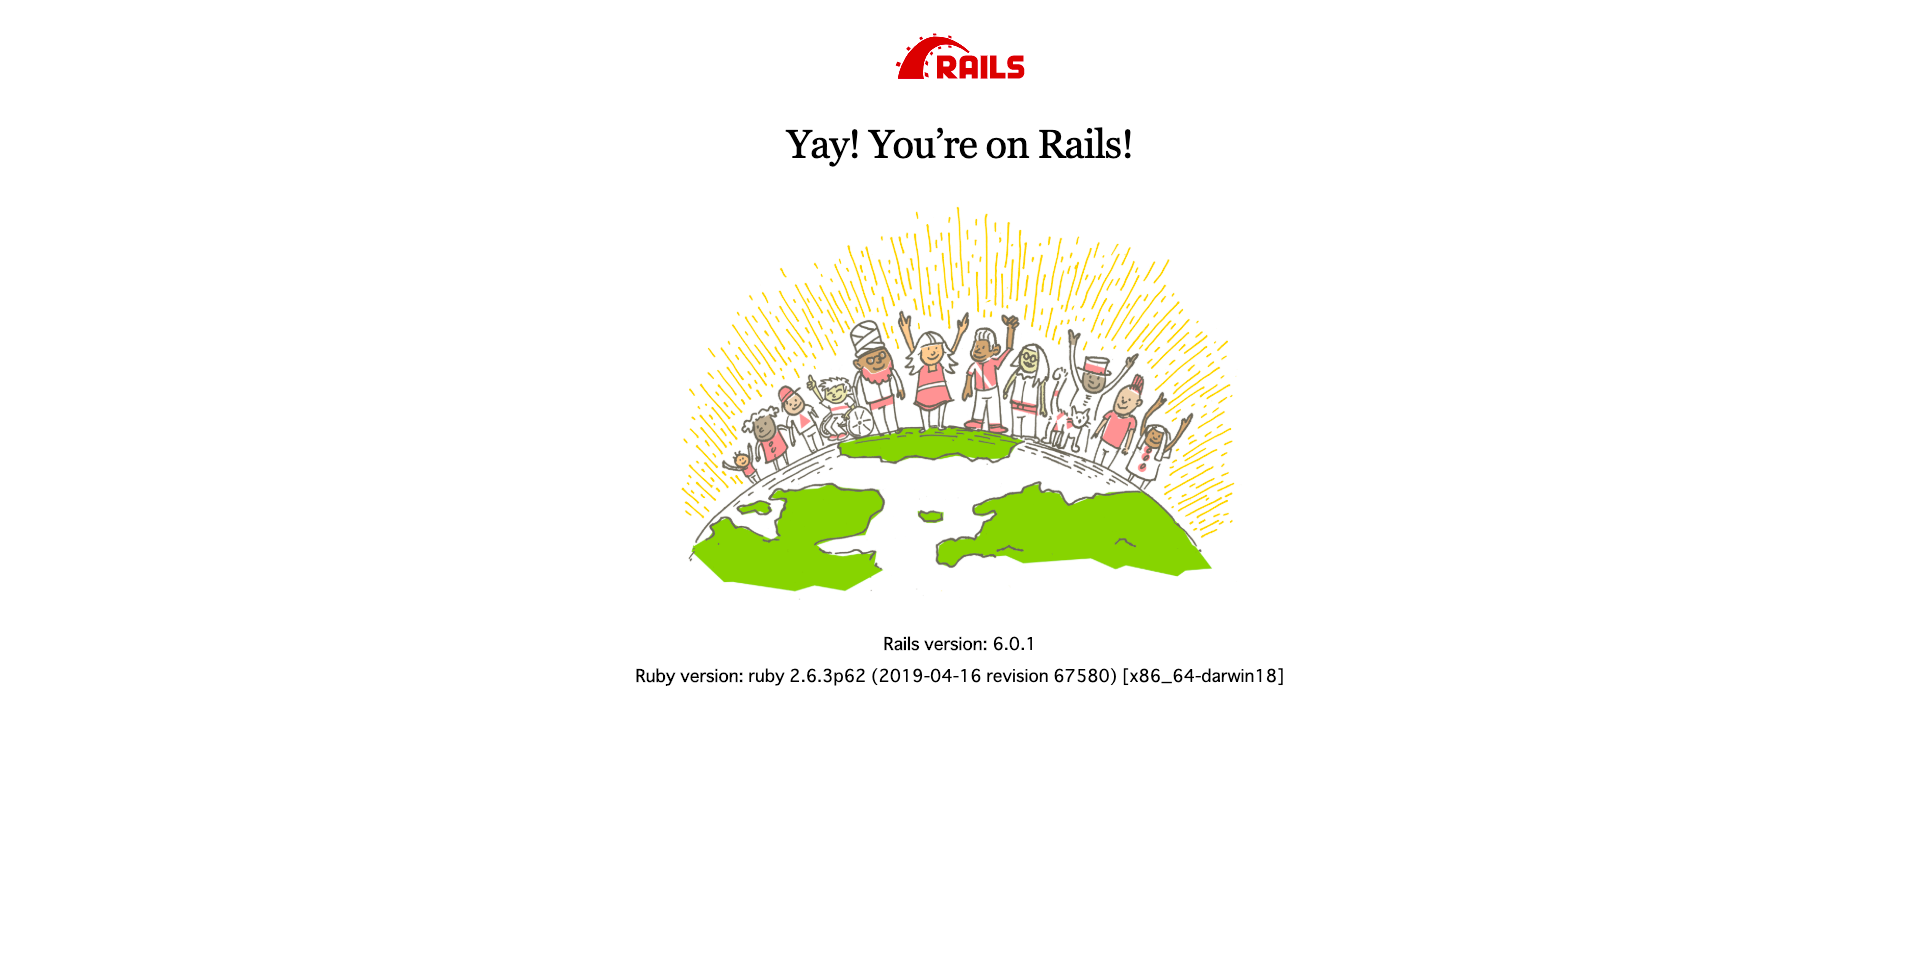
http://localhost:3000/ に接続して以下の画面が表示されればOKです。

2.VueのHello Worldを表示させる
データベースを作成
bash
rails db:create
コントローラー作成
bash
rails g controller home index
ルーティングを設定
config/routes.rb
Rails.application.routes.draw do
  root to: 'home#index'
  # For details on the DSL available within this file, see https://guides.rubyonrails.org/routing.html
end
viewを作成
app/views/home/index.html.erb
<%= javascript_pack_tag 'hello_vue' %>
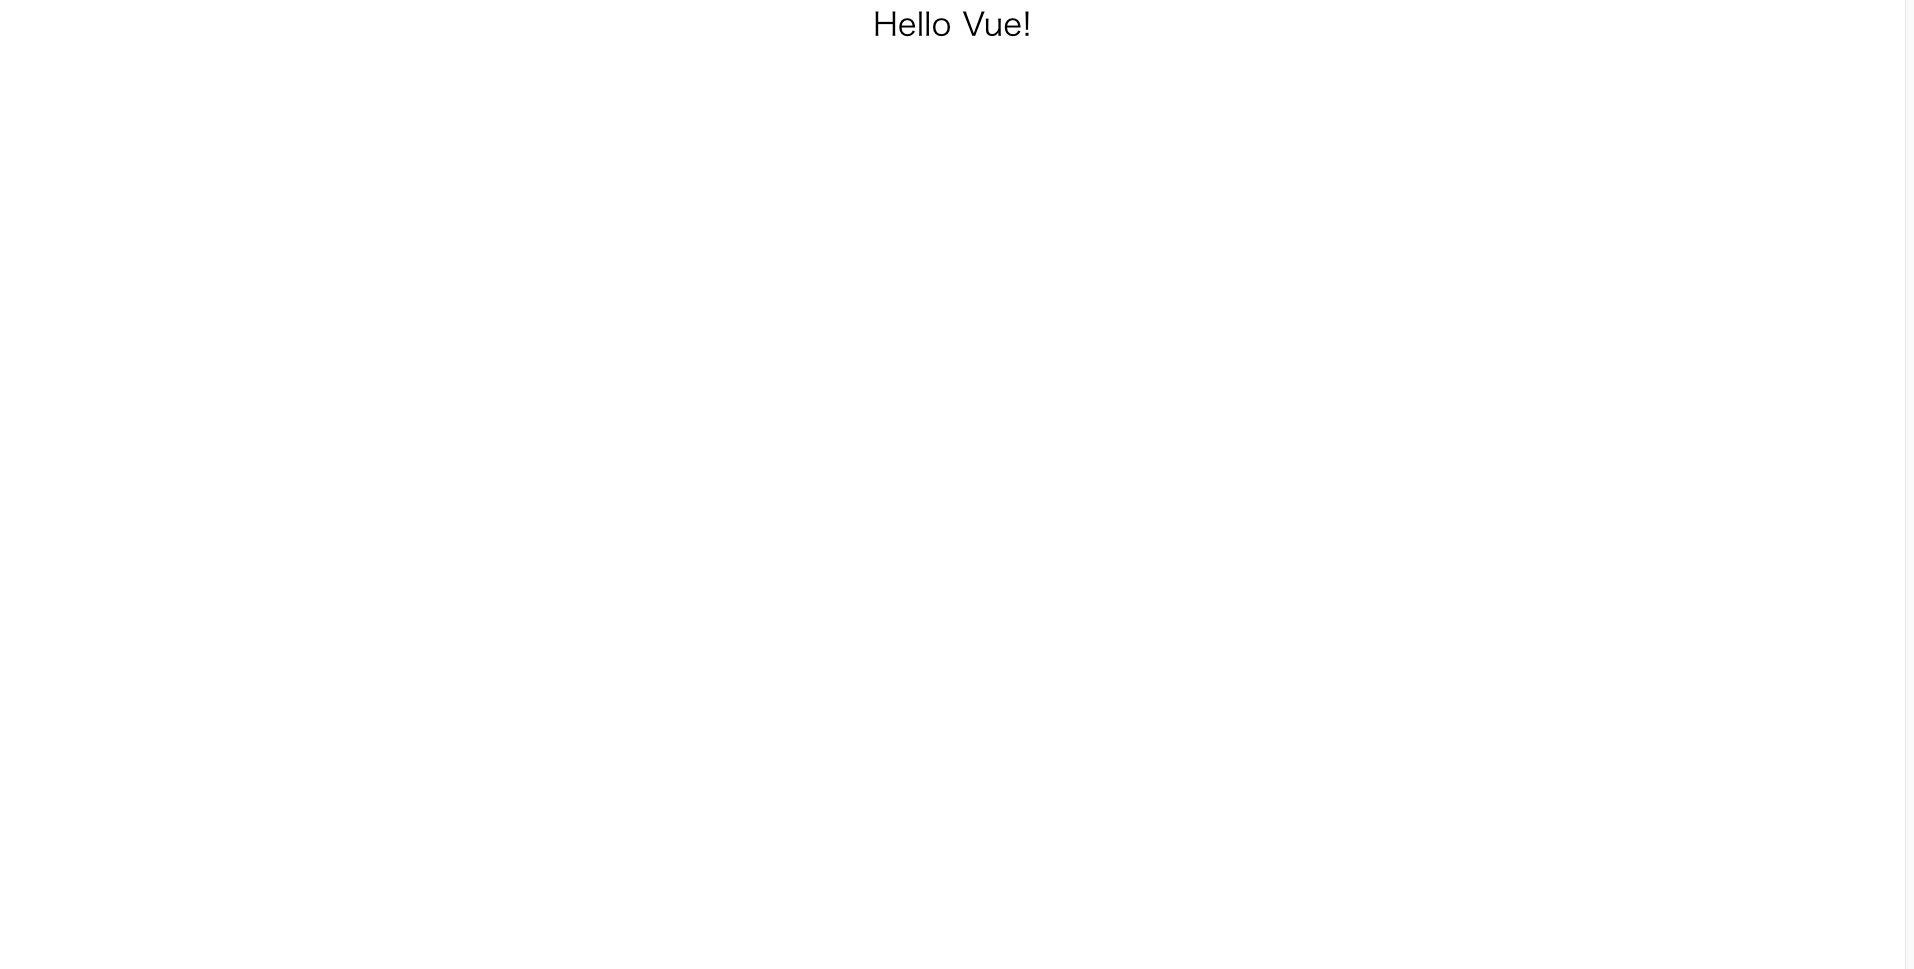
再びhttp://localhost:3000 に接続して以下の画面が表示されればVueの環境構築は完了です。
3. Vuetifyをインストール
yarnを使ってvuetifyをインストールします
bash
yarn add vuetify
以下の表示がされればインストール完了です
bash
✨ Done in 7.03s.
4. Vuetifyのボタンを表示させる
Vuetifyの読み込み
rails new --webpack=vueのおかげでデフォルトで作成されていると思います
app/javascript/packs/hello_vue.js
import Vue from "vue";
import App from "../app.vue";


document.addEventListener("DOMContentLoaded", () => {
  const app = new Vue({
    render: h => h(App)
  }).$mount();
  document.body.appendChild(app.$el);

  console.log(app);
});
このファイルを編集していきます。
app/javascript/packs/hello_vue.js
import Vue from "vue";
import Vuetify from "vuetify"; // 追加
import "vuetify/dist/vuetify.min.css"; // 追加
import App from "../app.vue";

Vue.use(Vuetify); // 追加
const vuetify = new Vuetify(); // 追加

document.addEventListener("DOMContentLoaded", () => {
  const app = new Vue({
    vuetify, // 追加
    render: h => h(App)
  }).$mount();
  document.body.appendChild(app.$el);

  console.log(app);
});
Vuetifyで表示させるファイルを作成
こちらもデフォルトで作成されていると思います
app/javascript/app.vue
<template>
  <div id="app">
    <p>{{ message }}</p>
  </div>
</template>

<script>
export default {
  data: function() {
    return {
      message: "Hello Vue!"
    };
  }
};
</script>

<style scoped>
p {
  font-size: 2em;
  text-align: center;
}
</style>
こちらのファイルにVuetifyのボタンを追加します。
app/javascript/app.vue
<template>
  <v-app id="app"> <!-- 追加 -->
    <v-btn>Vuetifyのボタン</v-btn> <!-- 追加 -->
    <div>  <!-- 更新 -->
      <p>{{ message }}</p>
    </div>
  </v-app> <!-- 追加 -->
</template>

<script>
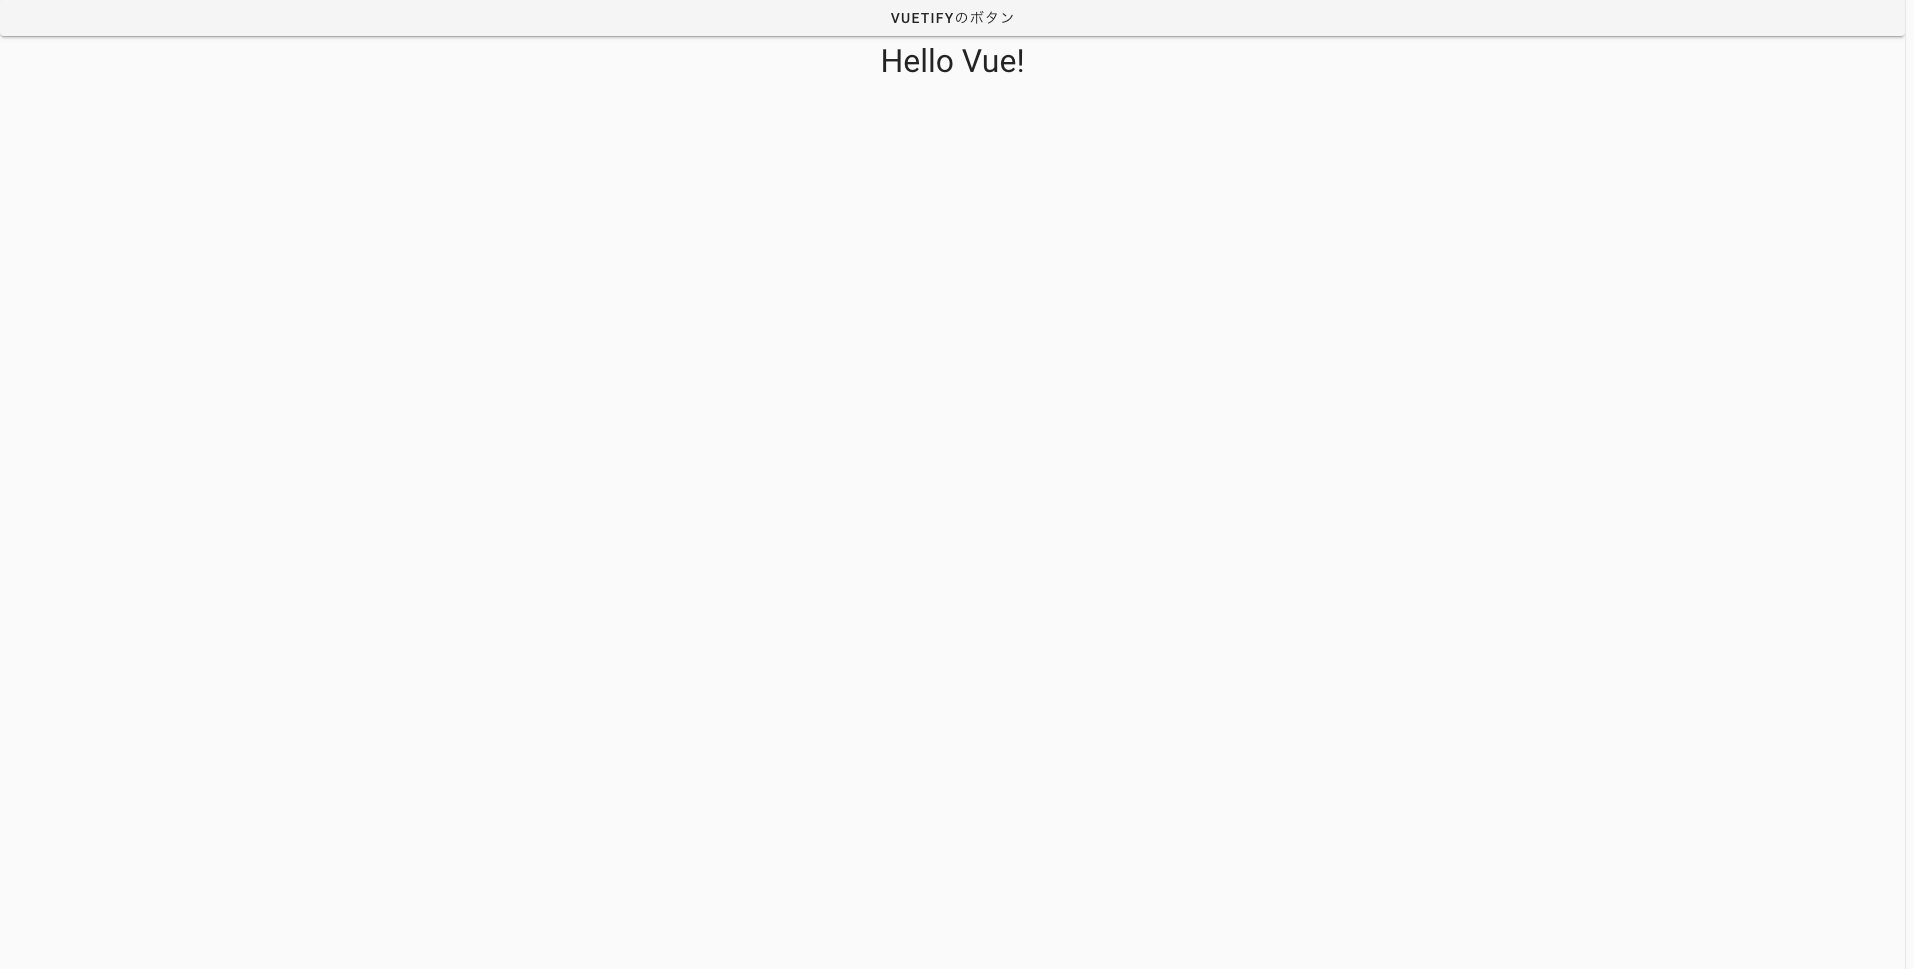
これでhttp://localhost:3000 に接続し、以下のような表示になれば
Rails + Vue + Vuetifyの環境構築は完了です!
おつかれさまでした!
終わりに
この記事が皆様のRailsライフのお役にたてれば幸いです。
この他にもRails中心の記事を書いています!

