〇概要
SPA(SinglePageApplication)の勉強のため、MEANスタックを構築してみることにしたが、MEAN.ioでパパっと構築しようと思ったが、手順通りにやってもうまく動かなかったのと、余計なファイルや設定が多そうなので、自分で1から構築してみることにした。
(2019/11/19追記)
Angular+Express.jsでの構築に興味がある方は以下も見てみると良いかもしれません
MEANスタックはもう古い?Angular+Nest.js+OpenAPIでTypescriptオンリー環境を構築する
〇環境
- Windows10
〇準備
- Node.jsのインストール
〇手順
◆Angularのテンプレートプロジェクトを生成
Angular CLIのインストール
Angular CLIとはAngularのCommand Line Interfaceのこと。
プロジェクトの生成や、ビルド等を行える。
- 「npm install -g @angular/cli」
テンプレートプロジェクトを生成
- 「ng new angular-test」
※angular-testの部分は任意
◆Express.jsのテンプレートプロジェクトを生成
Express-Generatorのインストール
- 「npm install express-generator -g」
テンプレートプロジェクトを生成
- 「express express-test」
※express-testの部分は任意
◆2つのテンプレートプロジェクトをマージする
AngularプロジェクトをベースにExpressをマージしていくほうが楽(だと思う)
- Express側から以下を移動
- binフォルダ
- routesフォルダ
- app.js
- routes/index.jsのレスポンスを修正
res.json({ message: 'success!!!' });
→デフォルトだとExpressのViewsフォルダ内の画面を表示するようになっている
今回はAngularの画面を出したいので、Express側はjsonを返すAPIのみを定義する - package.jsonをマージ
- scriptsのstartをExpress側の値(node ./bin/www)で修正
- Express側のdependenciesをすべてAngular側に移動
- Express側のappフォルダをAngular側に丸々移動
ここまでの対応でExpress側のコードは動くようにはなっている。
※npm install→npm startした後に、ブラウザでhttp://localhost:3000にアクセスすると{ message: 'success!!!' }が表示される
◆Angular側の画面を表示できるように対応する
- app.jsを修正
var app = express();

// ↓↓↓削除↓↓↓
// view engine setup
//app.set('views', path.join(__dirname, 'views'));
//app.set('view engine', 'jade');
// ↑↑↑削除↑↑↑

// ↓↓↓修正↓↓↓
app.use('/api/', indexRouter);
app.use('/api/users', usersRouter);
// ↑↑↑修正↑↑↑

// ↓↓↓追記↓↓↓
// Angular側のルーティング設定
// Express側(API)のルーティングより後におくこと!!!
app.use(express.static(path.join(__dirname, '/dist/angular-test')));
app.use('/*', express.static(path.join(__dirname, '/dist/angular-test/index.html')));
// ↑↑↑追記↑↑↑
※distはAngularのトランスパイル後のjsファイル格納フォルダ
初期状態では存在しないが、ng bulidでAngular側をビルドすると生成される
dist直下のフォルダ名はプロジェクト名となるため、プロジェクトごとに変更(定義はangular.jsonのoutpuPathで定義)
〇動作確認
-
npm installでExpress側の必要なパッケージをインストール -
ng buildでAngularのビルド -
npm startでサーバー起動
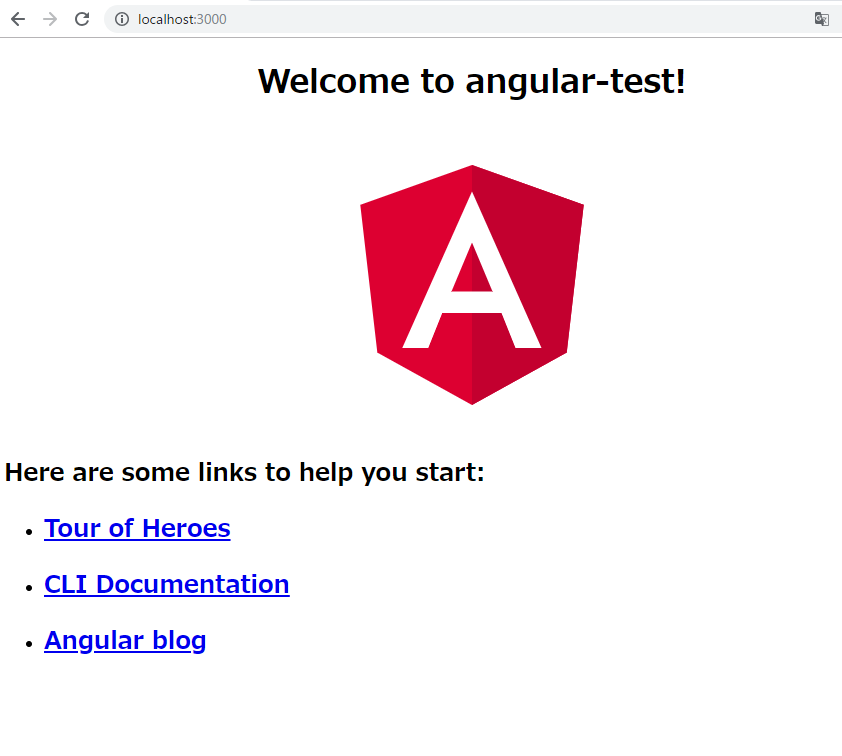
●http://localhost:3000/にアクセス
●http://localhost:3000/apiにアクセス
あとはExpress側でAPIを作成し、Angular側からHttpClientでAPIにアクセスすればOK!
作成したプロジェクトは以下に公開しています。
https://github.com/teracy55/mean-sample

