MEANスタック(MongoDB+Express.js+Angular+Node.js)良いですよね。
でも、Express.jsがJavascriptなので、Angularとのギャップにモヤモヤしませんか?
それを解決するため、NestJSを導入します。
NestJSはExpress.jsをベースに作られていて、Angularにインスパイアされたというだけあって、Angularのようなコードで書くことができます。
MEANスタックを使ったことがある人であれば、すんなり使えるフレームワークだと思います。
今回は1つのプロジェクトでAngularとNestJSをまとめたMEANスタックのような環境を1から構築してみます。
ついでにクライアント⇔サーバー間はOpenAPIでタイプセーフにアクセスできるようにもします。
(追記)
この記事ではモノリスな環境を構築します。
そのため、package.jsonにクライアント/サーバーのパッケージが混在したり管理が複雑になります。
AngularとNestJSを独立しつつ1プロジェクトで管理したい場合は以下の記事をご参照ください。
Angular+Nest.jsのモノリスプロジェクトを、Lernaを使いプロジェクト内でクライアント/サーバーのコード分割をしてみる
(さらに追記)
シンプルに作る場合の記事を新たに執筆しました。
Angular+NestJSのモノリポ環境をなるべくシンプルに作る
前提
- Node.jsインストール済み
- nestjs/cliインストール済み
- angular/cliインストール済み
テンプレートプロジェクトの生成
サーバーサイド(NestJS)のテンプレートプロジェクト生成
nest newコマンドでテンプレートプロジェクトを生成します。
nest new angular-nest
※途中でnpmかyarnか聞かれますが、今回はとりあえずnpmを採用します
クライアントサイド(Angular)のテンプレートプロジェクト生成
ng newコマンドでテンプレートプロジェクトを生成します
ng new client --routing --style=scss
クライアントとサーバーのコードをマージする
サーバーサイドの編集
srcディレクトリのリネーム
- クライアントサイドのコードを
srcにしたいので、サーバーサイドのコードはapiディレクトリに移動します。
mv ./angular-nest/src ./angular-nest/api
nest-cli.jsonの修正
-
sourceRootの値をapiに変更します
{
  "collection": "@nestjs/schematics",
  "sourceRoot": "api"
}
ビルド設定の修正
tsconfigの修正
-
tsconfig.jsonのcompilerOptionsをtsconfig.build.jsonに移動します。- ※tsconfig.jsonはAngularと共通になるため
-
outDirを./dist/serverに変更します -
includeでapiディレクトリ下のtsファイルを指定 -
excludeでsrcを対象外に指定
{
  "extends": "./tsconfig.json",
  "compilerOptions": {
    "module": "commonjs",
    "declaration": true,
    "removeComments": true,
    "emitDecoratorMetadata": true,
    "experimentalDecorators": true,
    "target": "es2017",
    "sourceMap": true,
    "outDir": "./dist/server",
    "baseUrl": ".",
    "incremental": true
  },
  "include": ["api/**/*.ts"],
  "exclude": ["node_modules", "dist", "test", "src"]
}
- この時点では
tsconfig.jsonはexcludeだけとなります
{
  "exclude": ["node_modules", "test", "dist", "**/*spec.ts"]
}
起動設定の変更
-
package.jsonのstart:prodスクリプトの実行ファイルをdist/server/mainに変更します
  "scripts": {
    "prebuild": "rimraf dist",
    "build": "nest build",
    "format": "prettier --write \"src/**/*.ts\" \"test/**/*.ts\"",
    "start": "nest start",
    "start:dev": "nest start --watch",
    "start:debug": "nest start --debug --watch",
    "start:prod": "node dist/server/main",
    "lint": "tslint -p tsconfig.json -c tslint.json",
    "test": "jest",
    "test:watch": "jest --watch",
    "test:cov": "jest --coverage",
    "test:debug": "node --inspect-brk -r tsconfig-paths/register -r ts-node/register node_modules/.bin/jest --runInBand",
    "test:e2e": "jest --config ./test/jest-e2e.json"
  },
起動できるか確認
- この時点で一旦起動できるか確認しておきましょう
npm run build
npm run start:prod
↓ こんな感じで起動出来たら

↓ ブラウザで「http://{ホスト}:3000」にアクセス

クライアントサイドの編集
srcディレクトリを移動
mv client/src angular-nest/src
tsconfigの修正
-
tsconfig.jsonの内容をtsconfig.app.jsonに持ってきます
{
  "extends": "./tsconfig.json",
  "compileOnSave": false,
  "compilerOptions": {
    "baseUrl": "./",
    "outDir": "./dist/out-tsc",
    "sourceMap": true,
    "declaration": false,
    "downlevelIteration": true,
    "experimentalDecorators": true,
    "module": "esnext",
    "moduleResolution": "node",
    "importHelpers": true,
    "target": "es2015",
    "typeRoots": [
      "node_modules/@types"
    ],
    "lib": [
      "es2018",
      "dom"
    ]
  },
  "angularCompilerOptions": {
    "fullTemplateTypeCheck": true,
    "strictInjectionParameters": true
  },
  "files": [
    "src/main.ts",
    "src/polyfills.ts"
  ],
  "include": [
    "src/**/*.ts"
  ],
  "exclude": [
    "src/test.ts",
    "src/**/*.spec.ts"
  ]
}
必要なファイルを移動
mv client/angular.json angular-nest/
mv client/browserslist angular-nest/
mv client/tsconfig.app.json angular-nest/
package.jsonのマージ
- 依存パッケージ情報のマージ
-
@angular/**系とtslib、zone.jsを持っていきます
-
  "dependencies": {
    "@angular/animations": "~8.2.13",
    "@angular/common": "~8.2.13",
    "@angular/compiler": "~8.2.13",
    "@angular/core": "~8.2.13",
    "@angular/forms": "~8.2.13",
    "@angular/platform-browser": "~8.2.13",
    "@angular/platform-browser-dynamic": "~8.2.13",
    "@angular/router": "~8.2.13",
    ・・・
    "tslib": "^1.10.0",
    "zone.js": "~0.9.1"
  },
  "devDependencies": {
    ・・・
    "typescript": "~3.5.3"
- スクリプトのマージ
-
buildをbuild:serverにリネーム -
build:clientを追加 -
buildを追加
-
  "scripts": {
    "prebuild": "rimraf dist",
    "build:client": "ng build --prod",
    "build:server": "nest build",
    "build": "npm run build:client && npm run build:server",
ビルド確認
npm install
npm run build
→distディレクトリ下にserverとclientができていればOKです
Angularのルーティング有効化
-
api/main.tsを修正し、サーバーとクライアントそれぞれのルーティングが通るようにします- /api => サーバーサイド
- /api以外 => クライアントサイド
import { NestFactory } from '@nestjs/core';
import { AppModule } from './app.module';
// add start
import * as express from 'express';
// add end

async function bootstrap() {
  const app = await NestFactory.create(AppModule);

  // add start
  // サーバーサイドのルーティングを/apiで始まるURLのみに適用
  app.setGlobalPrefix('api');

  // /apiから始まらないURLの場合はクライアントサイドのルーティングを適用
  const clientPath = __dirname + '/../client';
  app.use(express.static(clientPath));
  app.use(/^(?!\/api).*$/, express.static(clientPath + '/index.html'));
  // add end

  await app.listen(3000);
}
bootstrap();
ルーティングの確認
ビルド&起動
npm install
npm run build
npm run start:prod
サーバーサイドの確認
-
http://{ホスト}:3000/apiにアクセスします
「Hello World」が表示されます!
クライアントサイドの確認
-
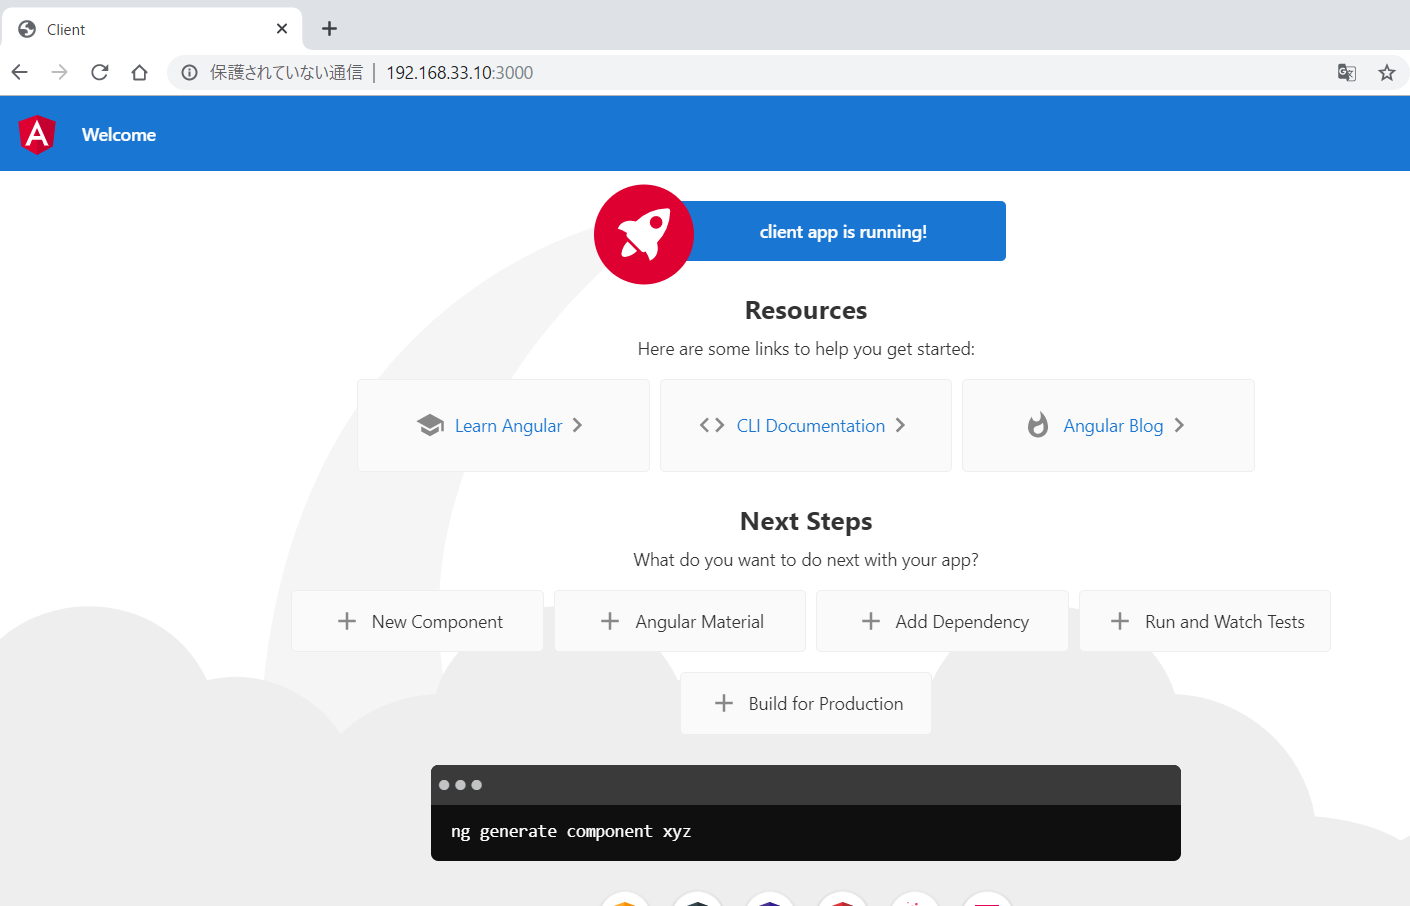
http://{ホスト}:3000にアクセスします
Angularの画面が出ます!
サーバーサイドにOpenAPIを導入する
リファレンスに従って導入していきます
導入
- 必要なパッケージのインストール
npm install --save @nestjs/swagger swagger-ui-express
main.tsの修正
- SwaggerUIの表示URLは
/api/docsにしておきます
import { NestFactory } from '@nestjs/core';
import { AppModule } from './app.module';
// add start
import { SwaggerModule, DocumentBuilder } from '@nestjs/swagger';
import * as express from 'express';
// add end

async function bootstrap() {
  const app = await NestFactory.create(AppModule);

  // add start
  // サーバーサイドのルーティングを/apiで始まるURLのみに適用
  app.setGlobalPrefix('api');

  const options = new DocumentBuilder()
  .setTitle('Cats example')
  .setDescription('The cats API description')
  .setVersion('1.0')
  .addTag('cats')
  .build();
  const document = SwaggerModule.createDocument(app, options);
  SwaggerModule.setup('api/docs', app, document);

  // /apiから始まらないURLの場合はクライアントサイドのルーティングを適用
  const clientPath = __dirname + '/../client';
  app.use(express.static(clientPath));
  app.use(/^(?!\/api).*$/, express.static(clientPath + '/index.html'));
  // add end

  await app.listen(3000);
}
bootstrap();
再起動
npm run build:server
npm run start:prod
確認
-
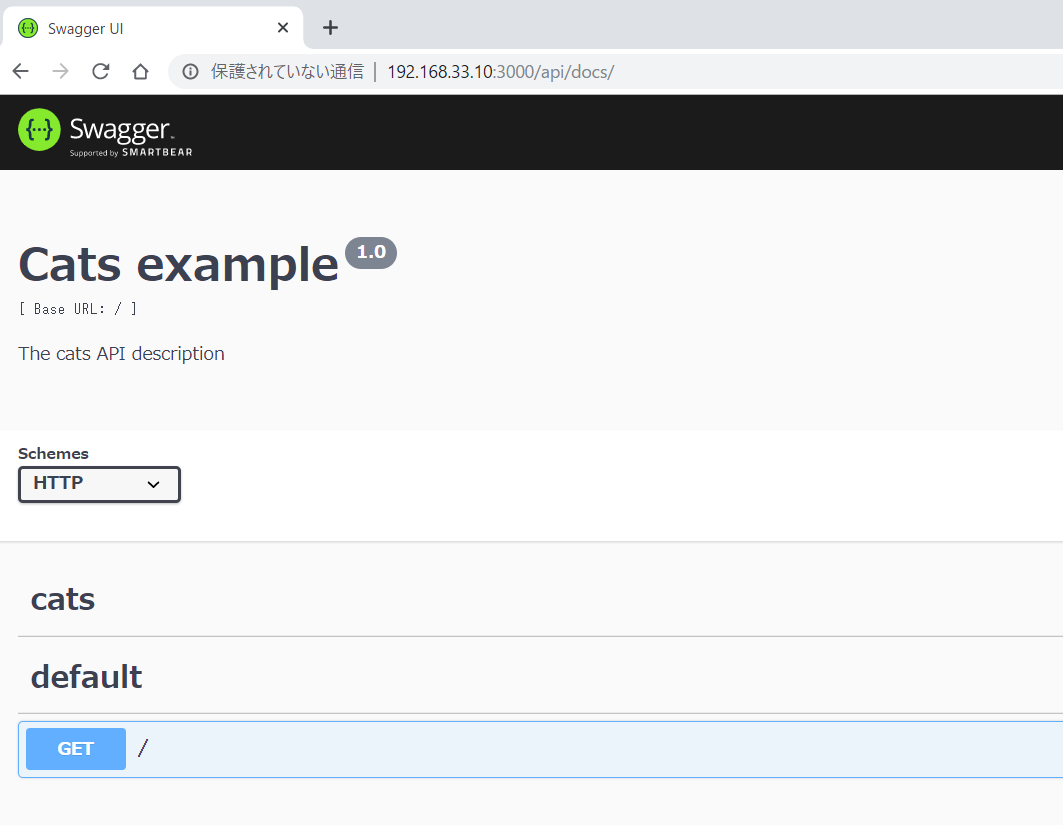
http://{ホスト}:3000/api/docsにアクセスします
SwaggerUIが表示されました!!
- ちなみに
http://{ホスト}:3000/api/docs-jsonにアクセスすると、specファイルの中身を出力することができます。
APIクライアントを自動生成する
openapi-generatorを使うと、specファイルからAPIクライアントを自動生成することができます。
openapi-generatorの導入
openapi-generatorはJavaで作られているツールのため、普通に動かそうとするとJREが必要でめんどくさいので、docker方式を採用します。
- 毎回コマンドを打つのはめんどくさいので、package.jsonにスクリプトを登録しておきます。
-
-i先ほどのspecファイル表示URLを指定します -
-g出力形式(typescript-angular)を指定します。 -
-odocker内での出力ディレクトリを指定します
-
"scripts": {
    ・・・
    "generate:api-client": "docker run --rm -v ${PWD}/src/app/api-client:/local/api-client openapitools/openapi-generator-cli generate -i http://192.168.33.10:3000/api/docs-json -g typescript-angular -o /local/api-client"
}
Angularの説明はここに書いてあります
サーバーサイドでDTOファイルを最低1つは作成する
Modelも生成されるのですが、これが1つもないとAngular側のビルドがエラーとなってしまうため、DTOファイルを作成しておきます。
import { ApiModelProperty } from "@nestjs/swagger";

export class HelloDto {
    @ApiModelProperty()
    message: string;
}
- controllerの
@ApiResponseで型を指定することで、SwaggerUIでModelとして認識されるようになります。
import { Controller, Get } from '@nestjs/common';
import { AppService } from './app.service';
import { HelloDto } from './dto/hello.dto';
import { ApiResponse } from '@nestjs/swagger';

@Controller()
export class AppController {
  constructor(private readonly appService: AppService) { }

  @Get()
  @ApiResponse({ status: 200, type: HelloDto})
  getHello(): HelloDto {
    const message = this.appService.getHello();
    return { message };
  }
}
- サーバーサイドをビルドしなおしておきます
npm run build:server
APIクライアントの生成
- ターミナルを2つ開き、片方のターミナルで
npm run start:prodでサーバーを起動します - もう片方のターミナルで以下を実行します
npm run generate:api-client
→src/app/api-clientにAPIクライアントコードが生成されます。
APIコール
モジュールのインポート
- app.module.tsで
ApiModuleをインポートします- basePathを指定します。
- クライアントとサーバーが同一サーバー内なので、ホストやポートは特に指定せず、
/apiだけにします
- HttpClientModuleも必要になるので、忘れずにインポートします
import { BrowserModule } from '@angular/platform-browser';
import { NgModule } from '@angular/core';

import { AppRoutingModule } from './app-routing.module';
import { AppComponent } from './app.component';
import { ApiModule, Configuration } from './api-client';
import { HttpClientModule } from '@angular/common/http';

export function apiConfigFactory(): Configuration {
  return new Configuration({ basePath: '/api' });
}

@NgModule({
  declarations: [
    AppComponent
  ],
  imports: [
    BrowserModule,
    AppRoutingModule,

    HttpClientModule,
    ApiModule.forRoot(apiConfigFactory),
  ],
  providers: [],
  bootstrap: [AppComponent]
})
export class AppModule { }
DefaultServiceをDI
- constructorでDefaultServiceをDIします
- 好きなタイミングでAPIクライアントを使ってAPIを呼び出します
import { Component } from '@angular/core';
import { DefaultService } from './api-client';
import { HelloDto } from './api-client/model/helloDto';

@Component({
  selector: 'app-root',
  templateUrl: './app.component.html',
  styleUrls: ['./app.component.scss']
})
export class AppComponent {
  title = 'client';

  constructor(private api: DefaultService) {}

  async onClickTest() {
    const result: HelloDto = await this.api.rootGet().toPromise();
    this.title = result.message;
  }
}
-
this.api.rootGetが自動生成されたAPIクライアントです- この関数を呼ぶだけで対象のAPIがコールされます
- サーバーサイドで作成したHelloDtoもAPIクライアントと同時に生成されているため、クライアントサイドでも使用することができます。
<button (click)="onClickTest()">test</button>
動作確認
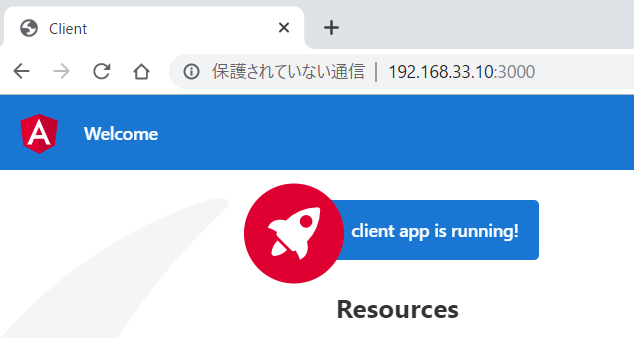
- まずは普通に
http://{ホスト}:3000にアクセスします
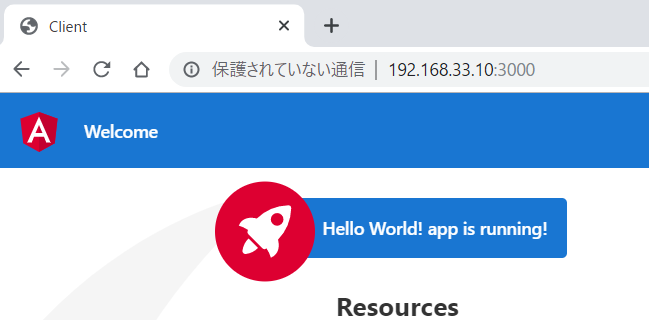
- ボタンを押下します
サーバーから取得した値で更新されました!!
最後に
構築は結構めんどくさいですが、作ってしまえばタイプセーフだし、APIクライアントも自動生成できるので、型周りでやきもきすることがなくなるかと思います。
今回作ったものは以下に置いてあります。
https://github.com/teracy55/angular-nest
補足
このままだと開発しづらいので、concurrency入れるとかして、サーバーとクライアントをウォッチモードでビルドするようにすると良いと思います。


