前置き
この記事はElixir Advent Calendar 2016の8日目の記事です。
Ruby + Rails + RSpecを使ったウェブアプリケーション開発は定番だと思いますが、Elixir + Phoenix + ESpecの日本語の情報が少ないようなので書きます。
ソースはこちら
環境作り
Erlang, Elixir, Node
Erlang, Elixir, Nodeのバージョン管理をasdfの1つで行えるので重宝しています。
asdfを使わない場合はInstalling Elixirを参考にどうぞ。
Phoenix
インストールは公式サイトにあるように
$ mix archive.install hex phx_new 1.5.5
でok
PostgreSQL
ubuntuであればapt、macであればhomebrewで入ると思います。
僕はdocker-composeで入れて動かしています。
postgres:
  image: postgres
  environment:
    POSTGRES_USER: postgres
    POSTGRES_PASSWORD: postgres
  volumes:
    - ./docker/data:/var/lib/postgresql/data/
  ports:
    - 5432:5432
volumesはお好みで。
動作環境
- Ubuntu16.10
- Elixir 1.3.4
- Phoenix 1.2.1
- Erlang 19.1
- Node.js 7.2
- PostgreSQL 9.6.1
Phoenixアプリケーションの準備
$ mix phoenix.new my_app
Fetch and install dependencies?と聞かれますが、yでokです。yだとmix deps.getとnpm installをしてくれます。
作られたプロジェクトに移動して
$ mix ecto.create
$ mix phoenix.server
PostgreSQLのusername, passwordの設定が必要な場合はconfig/dev.exsを書き換えてください。
mix phoenix.serverでサーバが立ち上がるのでlocalhost:4000をブラウザで開くとWelcomeページが見えると思います。
HTMLリソースを作る
タイトルに「BDD」と書いたので先にテストを書くべきなのでしょうが、分かりやすさを優先して先に実装を行います(タイトル詐欺)
今回はArticleというリソースを作ってみましょう。mix phoenix.gen.htmlタスクを使います。
このタスクはマイグレーション、モデル、コントローラー、ビュー、テンプレートを一度に作ってくれます。railsで言うところのscaffoldです。ちなみにjson apiを作るためのphoenix.gen.jsonというものもあります。
$ mix phoenix.gen.html Article articles title:string body:string
モデルの単数形と複数形とカラムを指定します。詳しくはMix Tasks · Phoenixをどうぞ
Add the resource to your browser scope in web/router.ex:

    resources "/articles", ArticleController

Remember to update your repository by running migrations:

    $ mix ecto.migrate
と言われるので指示に従います。
scope "/", MyApp do
  pipe_through :browser

  get "/", PageController, :index
  resources "/articles", ArticleController # ここを追加
end
$ mix ecto.migrate
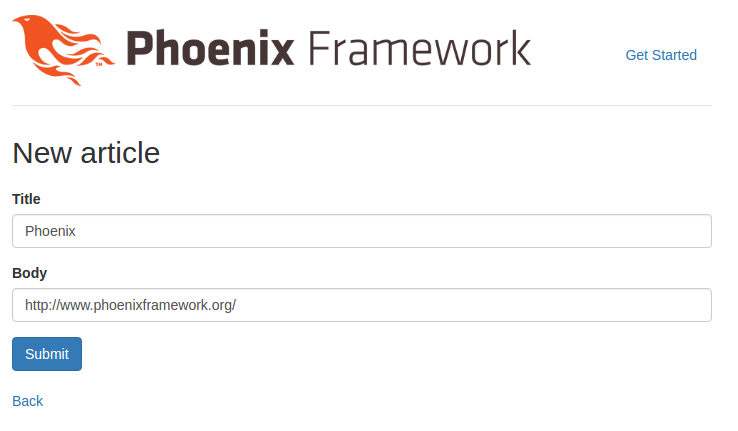
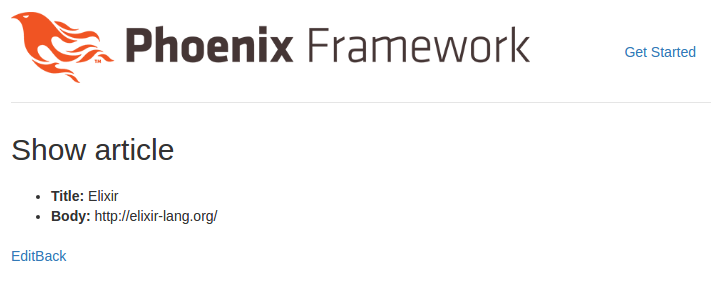
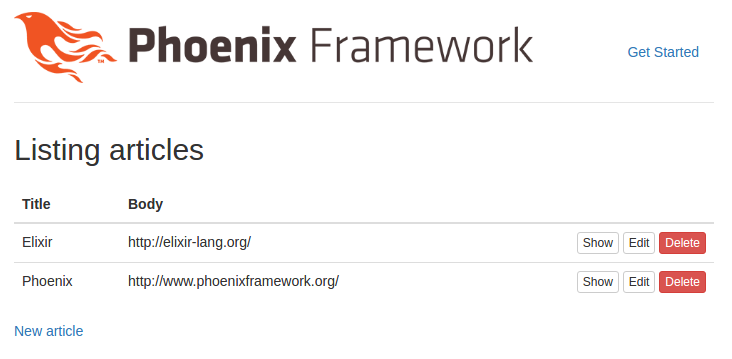
サーバを再起動して/articlesを開いて遊んでみてください。
ESpec, ESpecPhoenix導入
一応説明しておくとESpecはRSpecインスパイアのテスティングフレームワーク、ESpecPhoenixはPhoenixのテストを書く際に必要なディレクティブやヘルパーを導入してくれるライブラリです。
ESpec, ESpecPhoenixのセットアップ
mix.exsのdepsにespecとespec_phoenixを追加します。
def deps do
  ...
  {:espec, "~> 1.2.0", only: :test},
  {:espec_phoenix, "~> 0.6.4", only: :test}
  ...
end
mix espec実行時にMIX_ENV=testを付けなくてもよくするための設定をconfig.exsに追加
def project do
  ...
  preferred_cli_env: [espec: :test],
  ...
end
ダウンロードとESpce,ESPecPhoenixの導入とテスト用のデータベース作成
$ mix deps.get
$ MIX_ENV=test mix espec.init
$ MIX_ENV=test mix espec_phoenix.init
$ MIX_ENV=test mix ecto.create
この時点でmix especを実行すると0件ですがespecが動くと思います。
$ mix espec


	0 examples, 0 failures

	Finished in 0.01 seconds (0.01s on load, 0.0s on specs)

	Randomized with seed 25252
PhoenixESpecの設定
spec/spec_helper.exsを書き換えます。
Code.require_file("#{__DIR__}/phoenix_helper.exs")

ESpec.configure fn(config) ->
  config.before fn(_tags) ->
    :ok = Ecto.Adapters.SQL.Sandbox.checkout(MyApp.Repo)
  end

  config.finally fn(_shared) ->
    Ecto.Adapters.SQL.Sandbox.checkin(MyApp.Repo, [])
  end
end
MyApp.Repoの部分は作ったプロジェクトのものにしてください。mix phoenix.new my_appとして作った場合はMyApp.Repoです。
Specを書く
ではいよいよ作ったArticleに対してスペックを書いていきます。RSpecを使ったことがある人ならあまり苦労することなくESpecを使えると思います。
注意として、スペックを書くファイルは必ず_spec.exsで終わる名前にしてください。
関数型らしく、割とパラメータは明示的なのでテストしやすい印象。
ModelSpec
defmodule MyApp.ArticleSpec do
  use ESpec.Phoenix, model: Article, async: true
  alias MyApp.Article

  subject do: Article.changeset(%Article{}, attrs).valid?

  describe "changeset" do
    context "with valid attributes" do
      let :attrs, do: %{title: "国木田花丸", body: "未来ずら"}
      it do: is_expected |> to(be_true)
    end

    context "with invalid attributes" do
      let :attrs, do: %{}
      it do: is_expected |> to(be_false)
    end
  end
end
Phoenix(正確にはDBラッパーであるEcto)でのレコードの作成、更新は基本的にChangesetを経由して行います。従って、Changesetが正しく作られることをテストしています。
「ModelはRepoをDIすることによりModelの関数はできるだけ純粋にする」という思想がPhoenixにはある気がします(要出典)。
ControllerSpec
全部の関数のテストをしたいところですが執筆時点で時間がないのでshowとcreateだけ適当に書き殴ります。
defmodule MyApp.ArticleControllerSpec do
  use ESpec.Phoenix, controller: ArticleController
  alias MyApp.Repo
  alias MyApp.Article

  let :attrs, do: %{title: "国木田花丸", body: "未来ずら"}
  let :assigns, do: conn.assigns
  let :template, do: conn.private.phoenix_template

  describe "show" do
    context "when id is existent" do
      let! :article, do: Article |> struct(attrs) |> Repo.insert!
      let :conn, do: get build_conn, article_path(build_conn, :show, article.id)

      it "returns 200" do
        conn.status |> should(eq 200)
      end

      it "assigns chosen resource" do
        assigns.article |> should(eq article)
      end
    end

    context "when id is nonexistent" do
      let :conn, do: get build_conn, article_path(build_conn, :show, -1)
      it "returns 404" do
        assert_error_sent 404, fn -> conn end
      end
    end
  end

  describe "create" do
    context "with vlid attributes" do
      let :conn, do: post build_conn, article_path(build_conn, :create), article: attrs

      it "returns 302" do
        conn.status |> should(eq 302)
      end

      it "redirects to index page" do
        assert redirected_to(conn) == article_path(build_conn, :index)
      end

      it "creates a article" do
        expect(&conn/0) |> to(change(fn -> Article |> Repo.all |> Enum.count end, 0, 1))
      end
    end

    context "with invalid attributes" do
      let! :conn, do: post build_conn, article_path(build_conn, :create), article: %{}

      it "renders new template" do
        template |> should(eq "new.html")
      end

      it "assigns invalid changeset" do
        assert assigns.changeset
      end

      it "doesn't create articles" do
        expect(&conn/0) |> to_not(change(fn -> Article |> Repo.all |> Enum.count end))
      end
    end
  end
end
PhoenixのControllerはあくまでも「connとリクエストパラメータを受け取って、connを返す関数」なので、必要な情報は大体connに入っています。
createした時のHTTPステータスコードが302なのにはちょっと驚きました。
ViewSpec
こちらも代わり映えしないのでshowだけ・・・
defmodule MyApp.ArticleViewSpec do
  use ESpec.Phoenix, view: MyApp.ArticleView, async: true
  alias MyApp.Article

  let :article, do: %Article{id: 1, title: "国木田花丸", body: "未来ずら" }

  describe "show" do
    let :response, do: render_to_string(@view, "show.html", conn: build_conn, article: article)
    it "renders show template" do
      assert response =~ "国木田花丸"
      assert response =~ "未来ずら"
    end
  end
end
テンプレートをrenderしたの結果を見ています。
RequestSpec
(書く時間が無いので)むーりぃー…
getとかpostしてconn.resp_bodyとかを見れば良いんじゃないでしょうか。json apiの時はrequest specかview specはガッツリ書きたいところです。
最後に
以上、Phoenixアプリの作成からテストを書くところまででした。関数型言語だけあって明示的に引数を渡し、それに対応した結果が返ってくるので分かりやすい仕組みだと思います。(データベースの更新などは思いっきり副作用ですがしょうがないですね)
ESpecらしいところの1つにasyncオプションがあるところがあります。今回のテストぐらいの量では誤差レベルの差しかありませんが、もっと多くなってくると大きな差になると思います。ただし、グローバルな状態を持つ処理はasyncにできないので、できるだけ副作用を局所化し、純粋な関数を書くように心がけましょう。
疲れた・・・魂が…消えますけど…。