セットアップ
以下、特に変わったことはしてません。
CLI のインストール
https://aws-amplify.github.io/docs/
Android のTerminalなどで以下を叩く
npm install -g @aws-amplify/cli
amplify configure
設定例
38f9d34ee7b1:amplify user$ ls
amplify.iml             app                     build.gradle            gradle                  gradle.properties       gradlew                 gradlew.bat             local.properties        settings.gradle
38f9d34ee7b1:amplify user$ amplify configure
Follow these steps to set up access to your AWS account:

Sign in to your AWS administrator account:
https://console.aws.amazon.com/
Press Enter to continue

Specify the AWS Region
? region:  ap-northeast-1
Specify the username of the new IAM user:
? user name:  test-amplify
Complete the user creation using the AWS console
...
Press Enter to continue

Enter the access key of the newly created user:
? accessKeyId: **********
? secretAccessKey:  ********************
This would update/create the AWS Profile in your local machine
? Profile Name:  amplify
Android Studioセットアップ
BasicActivityを作ります。
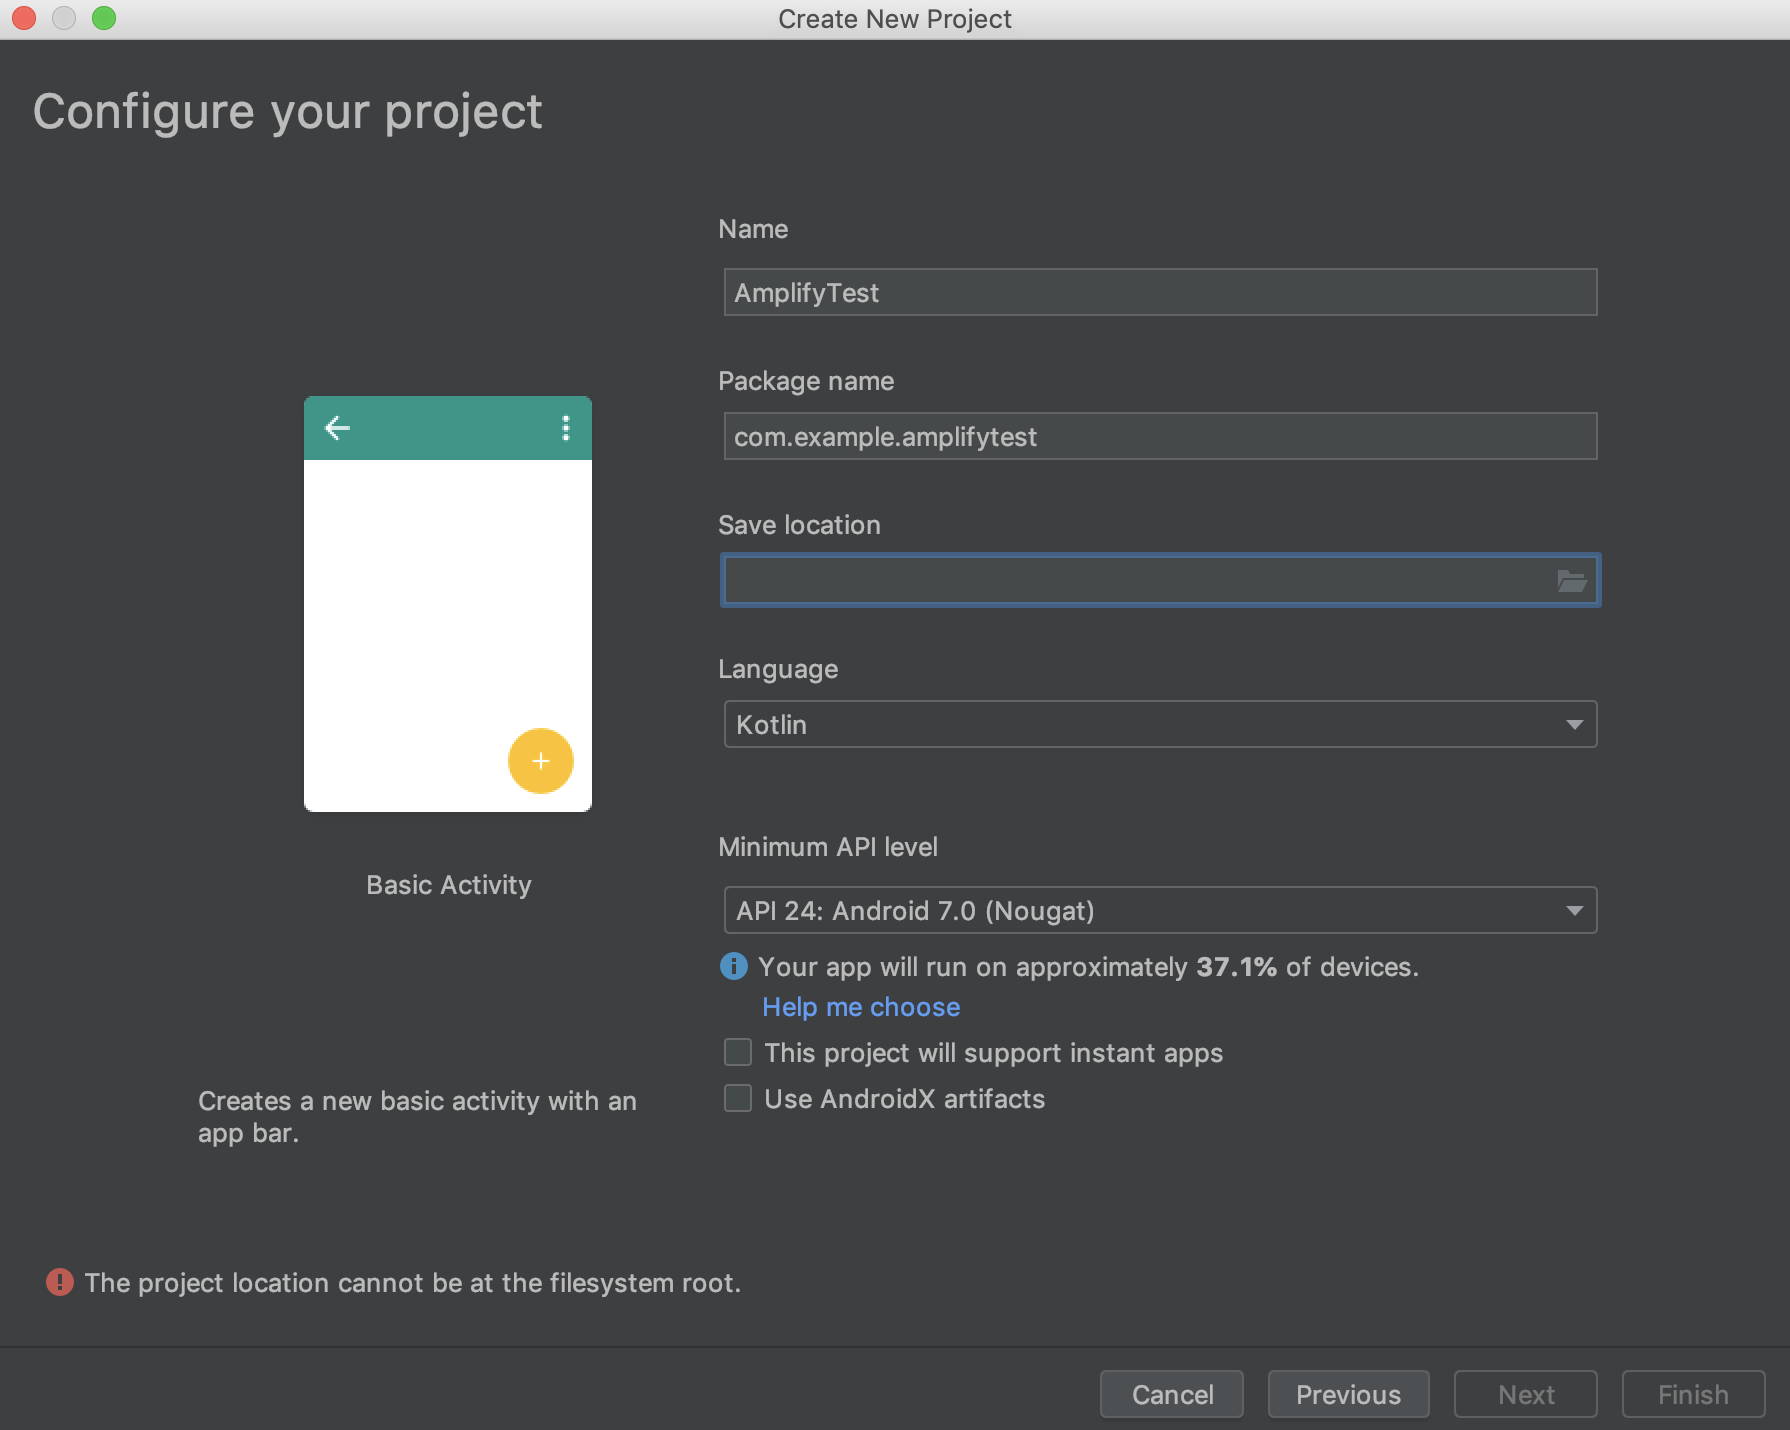
Kotlinで書きます。
amplifyセットアップ
プロジェクトを作成したら、Android StudioのTerminalなどで以下を実行します。
38f9d34ee7b1:amplify user$ amplify init
Note: It is recommended to run this command from the root of your app directory
? Enter a name for the project amplify
? Enter a name for the environment dev
? Choose your default editor: IDEA 14 CE
? Choose the type of app that you're building android
Please tell us about your project
? Where is your Res directory:  app/src/main/res
Using default provider  awscloudformation

For more information on AWS Profiles, see:
https://docs.aws.amazon.com/cli/latest/userguide/cli-multiple-profiles.html

? Do you want to use an AWS profile? Yes
? Please choose the profile you want to use amplify
⠦ Initializing project in the cloud...
その後、amplify push すると、 ./app/src/main/res/raw に、awsconfiguration.json ができます。
analytics を追加
基本的な流れはこちら
https://aws-amplify.github.io/docs/android/analytics
amplify add analytics
amplify push
Androidのコード
サンプルでは、Javaで書かれているので、Kotlinになおします。
MainActivity.ktに以下を追加
    private val TAG = MainActivity::class.java.simpleName

    var pinpointManager: PinpointManager? = null

    fun getPinpointManager(applicationContext: Context) {
        if (pinpointManager == null) {
            // Initialize the AWS Mobile Client
            val awsConfig = AWSConfiguration(applicationContext)
            AWSMobileClient.getInstance()
                .initialize(applicationContext, awsConfig, object : Callback<UserStateDetails> {
                    override fun onResult(userStateDetails: UserStateDetails) {
                        Log.i("INIT", userStateDetails.userState.name)
                    }

                    override fun onError(e: Exception) {
                        Log.e("INIT", "Initialization error.", e)
                    }
                })

            val pinpointConfig = PinpointConfiguration(
                applicationContext,
                AWSMobileClient.getInstance(),
                awsConfig
            )

            pinpointManager = PinpointManager(pinpointConfig)
        }
    }
onCreateに以下を追加。
        getPinpointManager(applicationContext)
        pinpointManager?.sessionClient?.startSession()
onDestroy を追加。
    override fun onDestroy() {
        pinpointManager?.sessionClient?.stopSession()
        pinpointManager?.analyticsClient?.submitEvents()
        super.onDestroy()
    }
以上で実装は完了。アプリをビルドし、実行します。
Pinpointを確認
Pinpointの挙動確認。以下のコマンドで起動します。
amplify console analytics