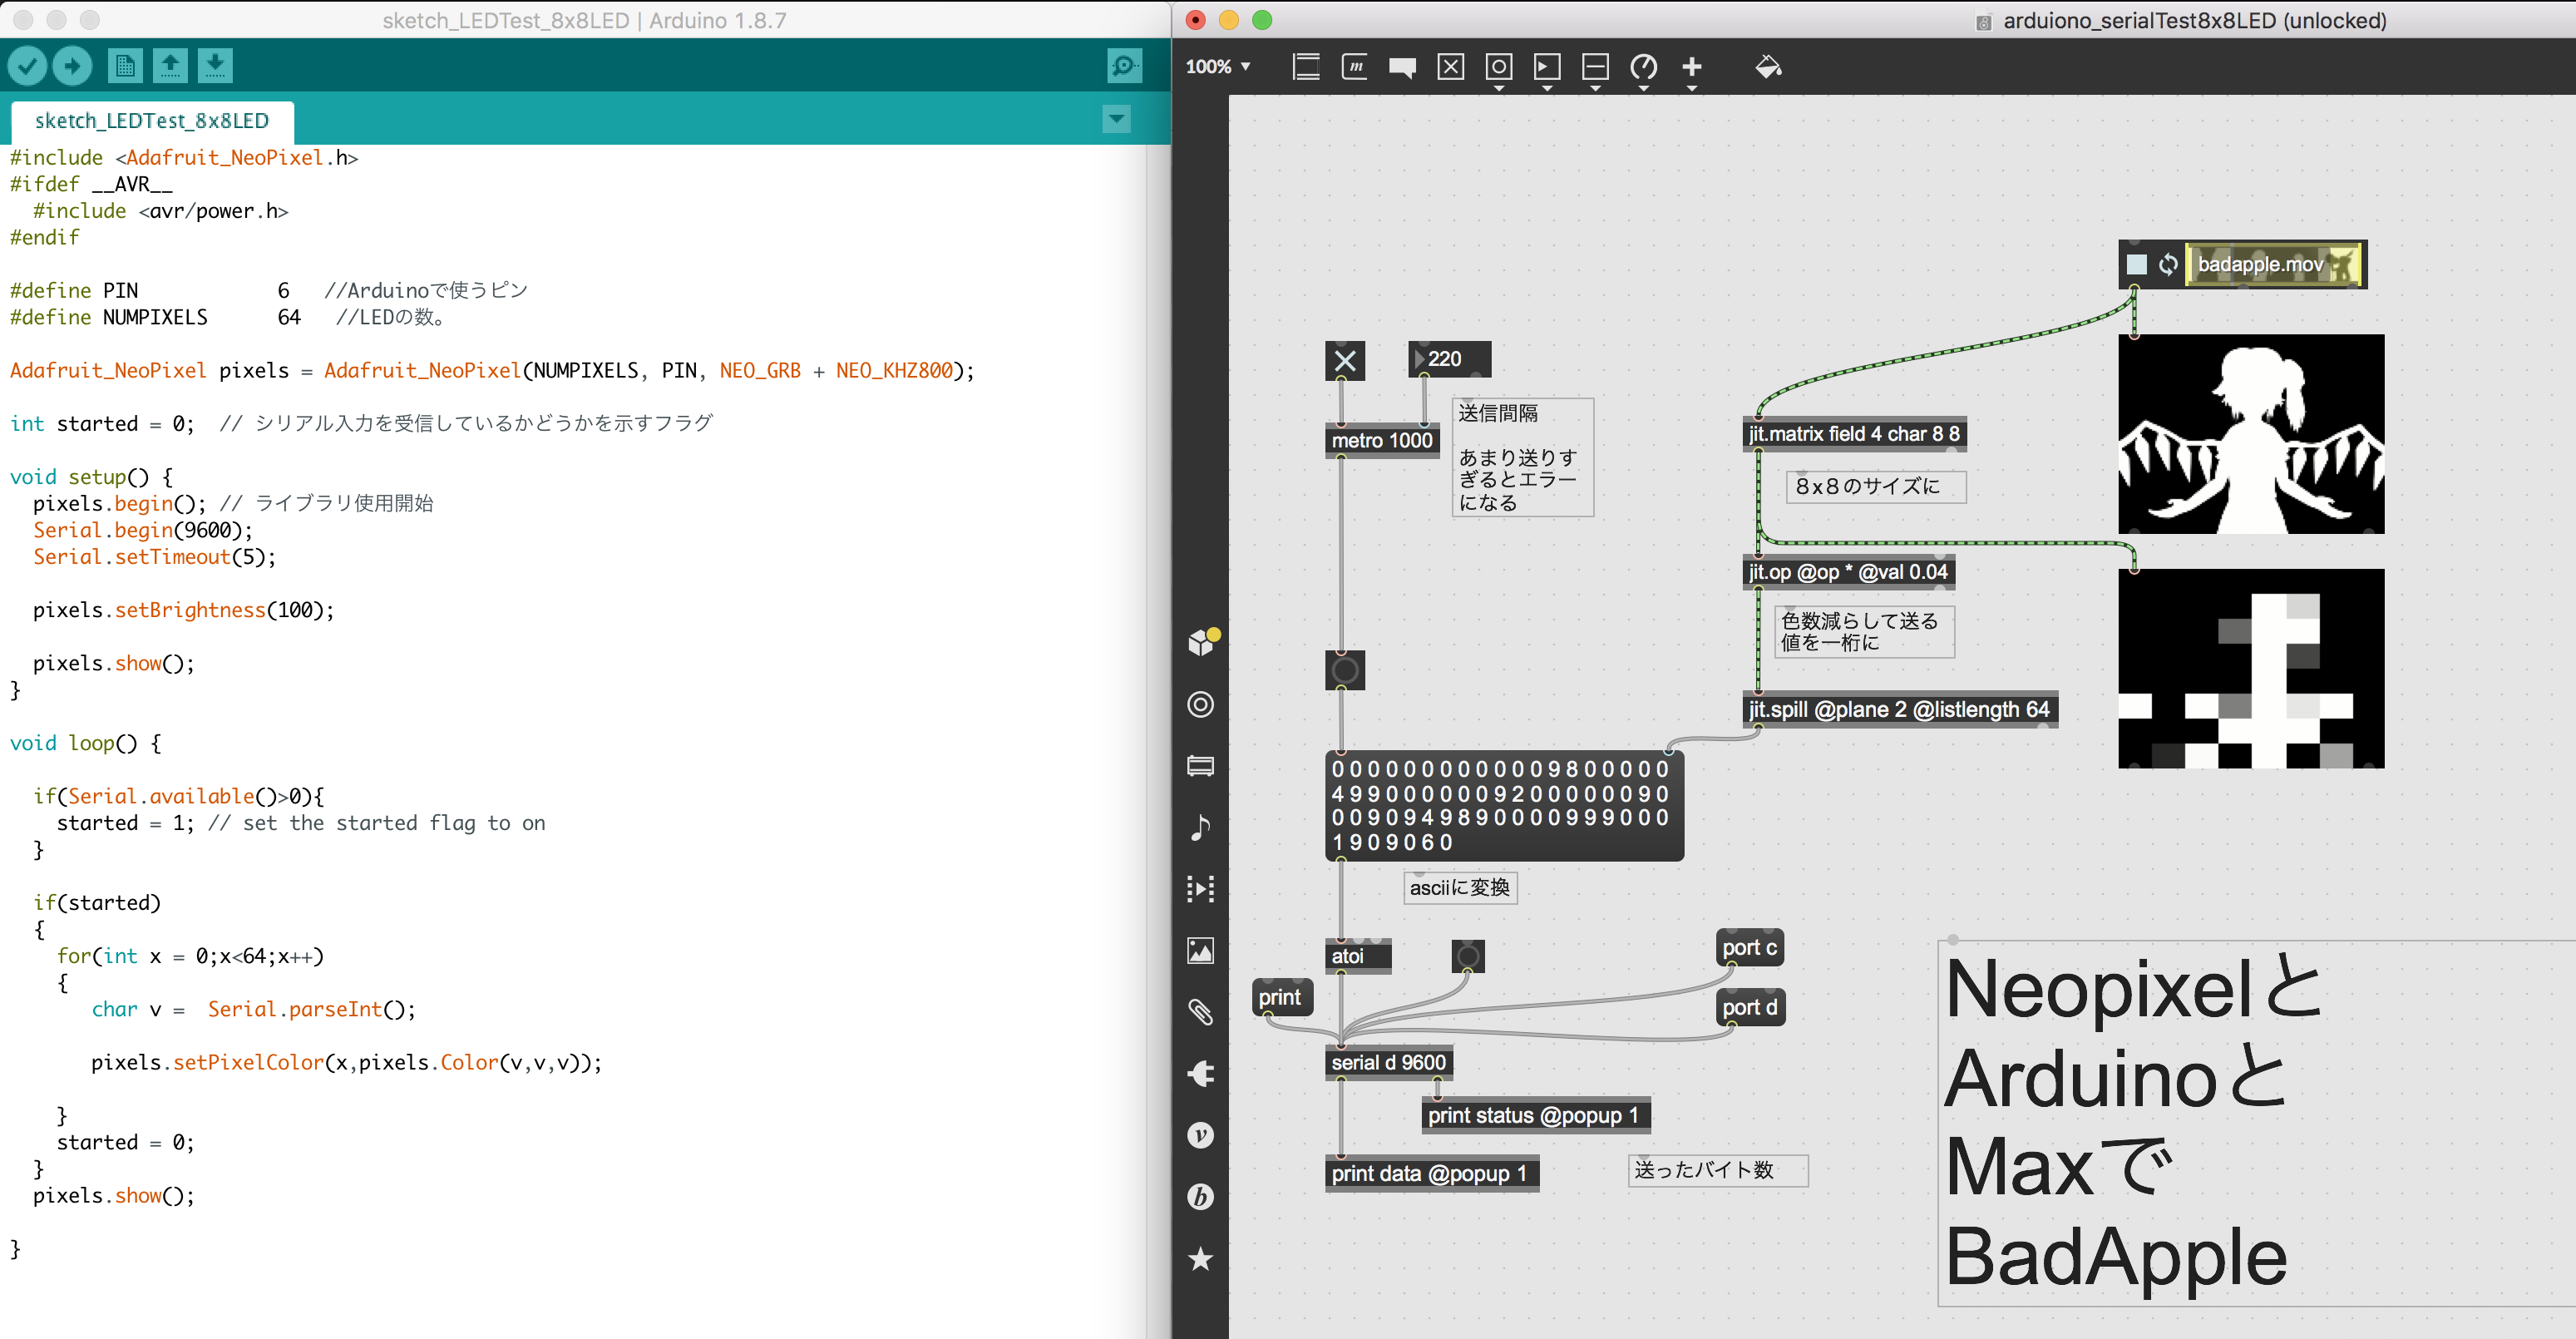
NeoPixelをMaxで光らせるまでの続きの記事です。
Maxからムービー再生して制御
【動画】NeopixelとMaxとArduinoでBad Apple!!影絵 https://t.co/T4G2jtWiaC を投稿しました。 #sm34208509
— tatmos (@tatmos) 2018年11月21日
8x8led.ino
# include <Adafruit_NeoPixel.h>
# ifdef __AVR__
  #include <avr/power.h>
# endif

# define PIN            6   //Arduinoで使うピン
# define NUMPIXELS      64   //LEDの数。

Adafruit_NeoPixel pixels = Adafruit_NeoPixel(NUMPIXELS, PIN, NEO_GRB + NEO_KHZ800);

int started = 0;  // シリアル入力を受信しているかどうかを示すフラグ

void setup() {
  pixels.begin(); // ライブラリ使用開始
  Serial.begin(9600);
  Serial.setTimeout(5);

  pixels.setBrightness(100);

  pixels.show();
}

void loop() {

  if(Serial.available()>0){
    started = 1; // set the started flag to on
  }

  if(started)
  {
    for(int x = 0;x<64;x++)
    {
       char v =  Serial.parseInt();

       pixels.setPixelColor(x,pixels.Color(v,v,v));

    }
    started = 0;
  }
  pixels.show();
}
シリアル通信を文字列からバイナリに変更して高速化
文字列だと数値の桁数とかで変動するので、バイナリをそのまま送るように変更。
83mesec間隔くらいまでなら送っても大丈夫そう。
あまり間隔が短いと書き込みエラーになる。
あと、バイナリで送っている分にはtimeoutの設定も関係ない様子。
8x8LED_24.ino
# include <Adafruit_NeoPixel.h>
# ifdef __AVR__
  #include <avr/power.h>
# endif

# define PIN            6   //Arduinoで使うピン
# define NUMPIXELS      64   //LEDの数。

Adafruit_NeoPixel pixels = Adafruit_NeoPixel(NUMPIXELS, PIN, NEO_GRB + NEO_KHZ800);

int started = 0;  // シリアル入力を受信しているかどうかを示すフラグ

void setup() {
  pixels.begin(); // ライブラリ使用開始
  Serial.begin(9600);
  Serial.setTimeout(50);

  pixels.setBrightness(100);

  pixels.show();
}

char field[NUMPIXELS];

void loop() {
 if(Serial.available()>0){
    Serial.readBytes(field, NUMPIXELS);

    for(int x = 0;x<NUMPIXELS;x++)
       pixels.setPixelColor(x,pixels.Color(0,field[x],field[x]));

    pixels.show();
  }
}
通信情報を圧縮して転送
64byte送信から8byteにまで圧縮。
色のありなしを1bitにして、1バイトで8個のLEDの情報を送り、
arduino側で展開しています。
例えば0から255まで数値を変化させると表示はこんな感じに変化します。
bitで表示 pic.twitter.com/WgpG8eMSmY
— tatmos (@tatmos) 2018年11月29日
【動画】NeopixelとMaxとArduinoでBad Apple!!影絵30fps https://t.co/tBudXdjgRa を投稿しました。 #sm34246166
— tatmos (@tatmos) 2018年11月29日

# include <Adafruit_NeoPixel.h>
# ifdef __AVR__
  #include <avr/power.h>
# endif

# define PIN            6   //Arduinoで使うピン
# define NUMPIXELS      64   //LEDの数。

Adafruit_NeoPixel pixels = Adafruit_NeoPixel(NUMPIXELS, PIN, NEO_GRB + NEO_KHZ800);

int started = 0;  // シリアル入力を受信しているかどうかを示すフラグ

void setup() {
  pixels.begin(); // ライブラリ使用開始
  Serial.begin(9600);
  Serial.setTimeout(50);

  pixels.setBrightness(100);

  pixels.show();
}

byte field[8];

void loop() {
 if(Serial.available()>0){
    Serial.readBytes(field, 8);

    for(int x = 0;x<8;x++)
    {
      byte v =(field[x] & 0x01) != 0;
       pixels.setPixelColor(7+x*8,pixels.Color(0,v*50,v*100));

       v =(field[x] & 0x02) != 0;
       pixels.setPixelColor(6+x*8,pixels.Color(0,v*60,v*100));

       v =(field[x] & 0x04) != 0;
       pixels.setPixelColor(5+x*8,pixels.Color(0,v*70,v*100));

       v =(field[x] & 0x08) != 0;
       pixels.setPixelColor(4+x*8,pixels.Color(0,v*80,v*100));

       v =(field[x] & 0x10) != 0;
       pixels.setPixelColor(3+x*8,pixels.Color(0,v*90,v*100));

       v =(field[x] & 0x20) != 0;
       pixels.setPixelColor(2+x*8,pixels.Color(0,v*100,v*100));

       v =(field[x] & 0x40) != 0;
       pixels.setPixelColor(1+x*8,pixels.Color(0,v*110,v*100));

       v =(field[x] & 0x80) != 0;
       pixels.setPixelColor(0+x*8,pixels.Color(0,v*120,v*100));

    }
    pixels.show();
  }
}
