はじめに
ROLI BLocksで光らせたりするのととりあえず試すために
Blocks Codeを手に入れる
https://juce.com/blocks/code
インストールして起動
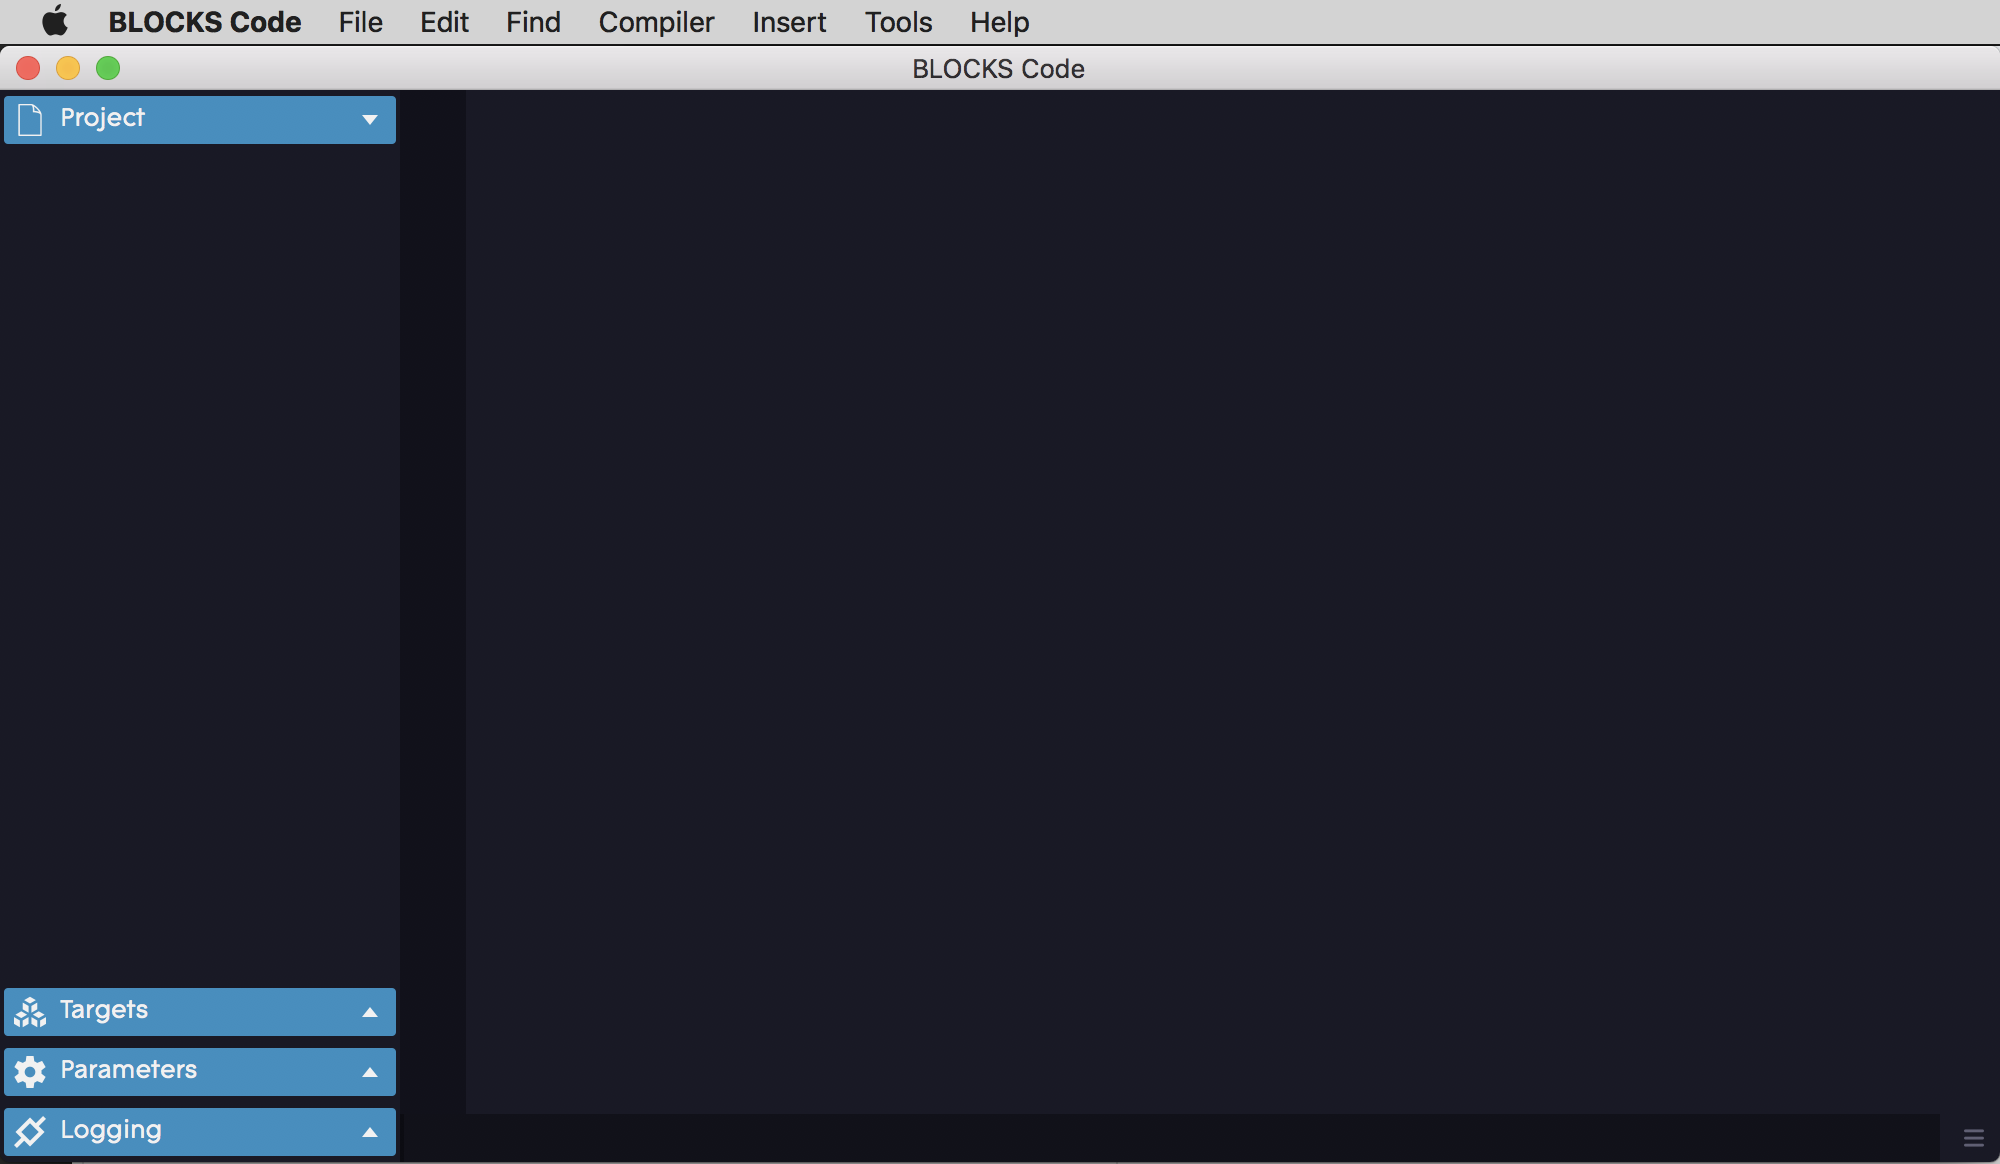
ROLI Blocksを繋ぐ
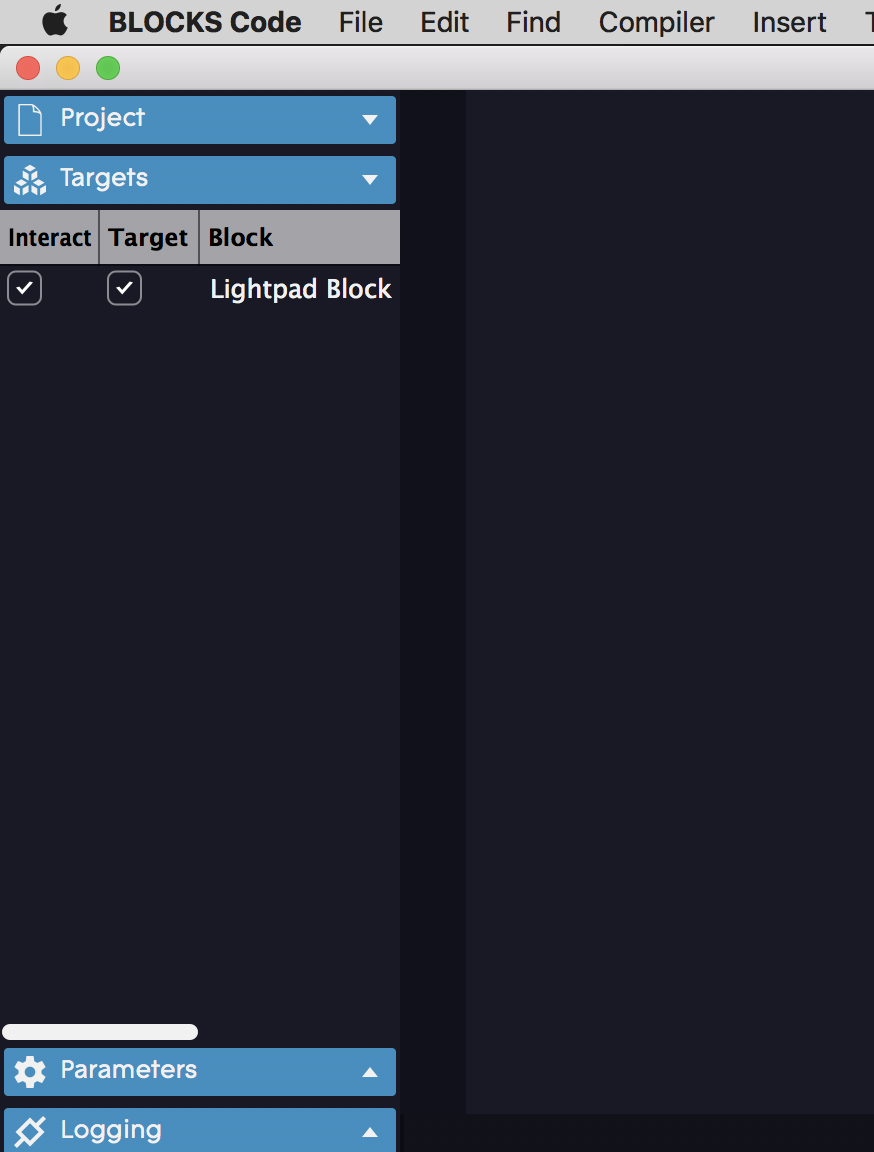
Lightpad Blockが認識されているのを確認
試す
ファイルメニューからNewFile

ファイルができる

コードを入力
AkiyukiOkayasuさんのGitHubから
https://github.com/AkiyukiOkayasu/BLOCKS_Etude
AkiyukiOkayasu/BLOCKS_Etude
をペーストします
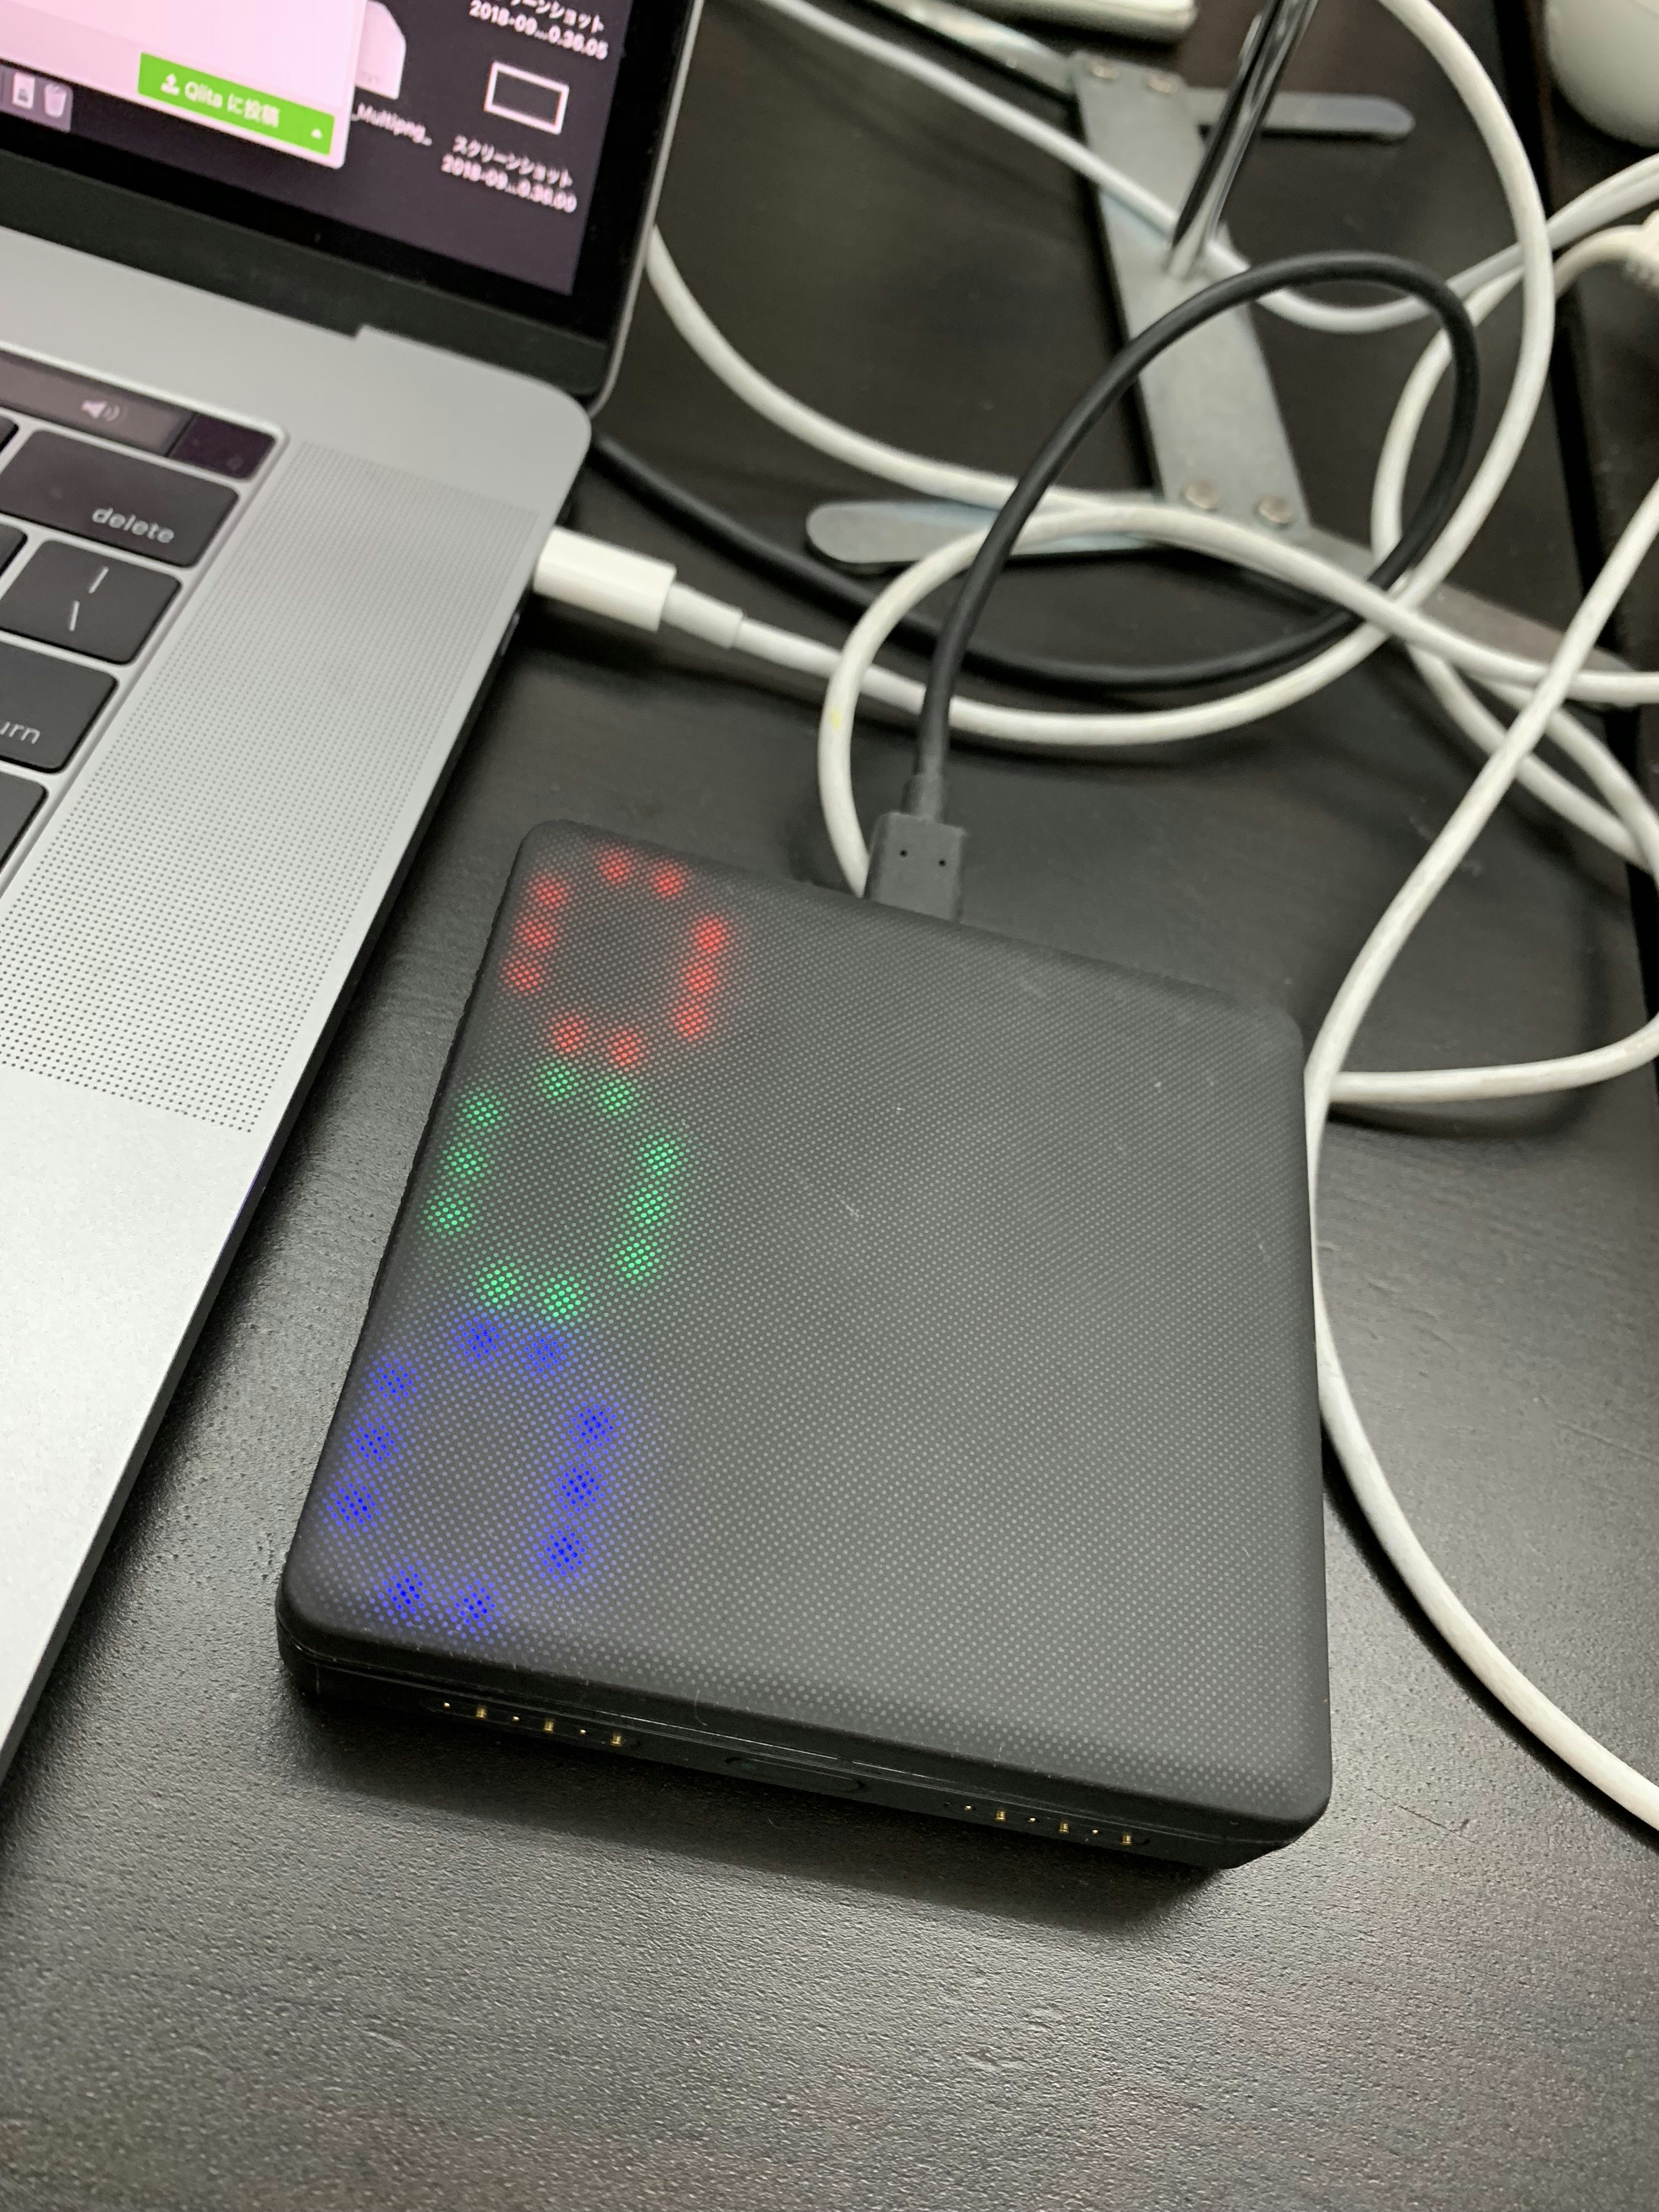
これだけで、うまくいっていれば、Blocksが光ります
情報源
リンク集
関数リファレンス的な
https://docs.juce.com/master/group__LittleFootFunctions.html
The BLOCKS SDK
https://docs.juce.com/blocks/downloading_the_sdk.html
LittleFoot Example
https://docs.juce.com/blocks/example_scripts.html
LittleFootの言語仕様
https://github.com/WeAreROLI/JUCE/blob/master/modules/juce_blocks_basics/littlefoot/LittleFoot%20Language%20README.txt
sinとか 自作が必要
tjsurumeさんonomutaさん (TokyoBlocksHackathon2017のじゃんけんのコード)
にmy_sinがある
https://github.com/onomuta/tbh2017/blob/master/blockBattle.littlefoot
タッチしたら赤く光る
とりあえず、光らせるとアガるので。
眠らせているBLOCKSに命が入る。
void touchStart (int index, float x, float y, float z, float vz)
{
    addPressurePoint (0xFFFFFFFF, x, y, z * 10.0);
}

void touchMove (int index, float x, float y, float z, float vz)
{
    addPressurePoint (0xFFFF0000, x, y, z * 10.0);
}

void touchEnd (int touchIndex, float x, float y, float z, float vz)
{
}

void repaint()
{
    clearDisplay();
    drawPressureMap();
    fadePressureMap();
}
何か押したところが綺麗に光るもの
void touchStart (int index, float x, float y, float z, float vz)
{
    addPressurePoint (0xFFFFFFFF, x, y, z * 10.0);
}

void touchMove (int index, float x, float y, float z, float vz)
{
    addPressurePoint (0xFFFF0000, x-0.1, y, z * 2.0);
    addPressurePoint (0xFF00FF00, x, y+0.1, z * 5.0);
    addPressurePoint (0xFF0000BB, x+0.1, y, z * 10.0);
}

void touchEnd (int touchIndex, float x, float y, float z, float vz)
{
}

void repaint()
{
    clearDisplay();
    drawPressureMap();
    fadePressureMap();
}
VJソフトのパラメータを動かしてみる
押し込みとかで少しズームするのはありかも
と思いつつ、座標XY ズームをZで操作。
AkiyukiOkayasuさんのコードをお借りしつつ
/*
<metadata description="Minimal XYZ Pad" details="XY pad with the addition of pressure (Z), sending out MIDI CC. You can set MIDI channel."
          target="Lightpad"
          tags="MIDI;Controller;">
    <variables>
        <variable name="channel" displayName="MIDI Channel" type="int" min="1" max="16" value="1" displayMode="stepper" tooltip="The MIDI channel that values are sent on" />
    </variables>
</metadata>
*/

int ccX;
int ccY;
int ccZ;

void touchStart (int index, float x, float y, float z, float vz)
{
    addPressurePoint (0xFFFFFFFF, x, y, z * 10.0);
}

void touchMove (int index, float x, float y, float z, float vz)
{
    addPressurePoint (0xFFFF0000, x-0.1, y, z * 2.0);
    addPressurePoint (0xFF00FF00, x, y+0.1, z * 5.0);
    addPressurePoint (0xFF0000BB, x+0.1, y, z * 10.0);

    ccX = int(map(x, 0.07, 1.93, 0.0, 127.0));//X座標のデータ(0.07~1.93)を0~127に変換
    ccY = int(map(y, 0.07, 1.93, 0.0, 127.0));//Y座標のデータ(0.07~1.93)を0~127に変換
    ccZ = int(map(z, 0.0, 1.0, 0.0, 127.0));//Z(プレッシャー)のデータを(0.0~1.0)を0~127に変換
    sendCC ((channel - 1), 60, ccX);//X座標 CC60
    sendCC ((channel - 1), 61, ccY);//Y座標 CC61
    sendCC ((channel - 1), 62, ccZ);//プレッシャー  CC62
}

void touchEnd (int touchIndex, float x, float y, float z, float vz)
{
}

void repaint()
{
    clearDisplay();
    drawPressureMap();
    fadePressureMap();
}
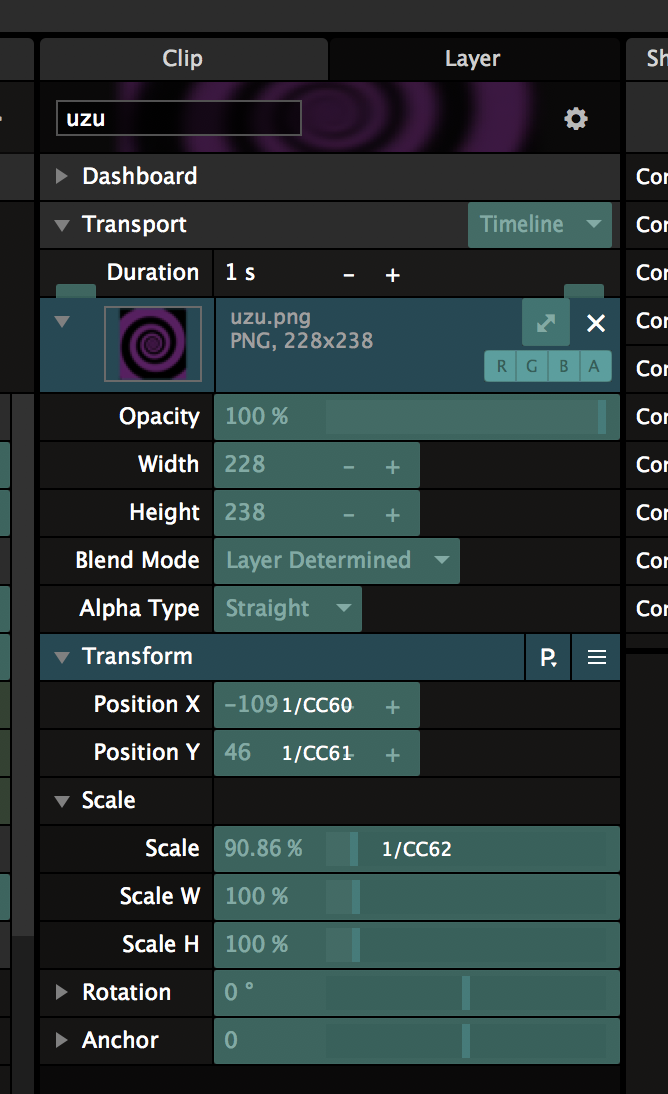
ResolumeのパラメータもMIDI経由で動かせた pic.twitter.com/ptWIDkSAfU
— tatmos (@tatmos) 2018年10月27日
Resolume側の設定
実際やってみて
・・・ Resloumeとの連携をMIDIでいじるということは、
clipの選択とかがResolumeで選ばないといけないとか、
clip切り替えを別デバイス(LaunchPadとか)にしたとしても、切り替え時の設定リセットとか、
ちょっと工夫が必要そう・・・間にMaxとか挟まないとかなぁという感じ。
OSC経由にしても、clip切り替え時のリセットがちょっと煩雑になるなぁなど。
タッチした周辺をゆらゆら色が動くような
マルチタッチ
— tatmos (@tatmos) 2018年10月27日
タッチした周辺を揺ら揺ら色が動く pic.twitter.com/ER1K0WFszA
/*
<metadata description="Minimal XYZ Pad" details="XY pad with the addition of pressure (Z), sending out MIDI CC. You can set MIDI channel."
          target="Lightpad"
          tags="MIDI;Controller;">
    <variables>
        <variable name="channel" displayName="MIDI Channel" type="int" min="1" max="16" value="1" displayMode="stepper" tooltip="The MIDI channel that values are sent on" />
    </variables>
</metadata>
*/

int ccX;
int ccY;
int ccZ;
int counter;

float pi;

void initialise()
{
    pi = 3.141592;
    counter = 0;
}

float my_sin(float x){

    int nMAX = 10;
    x -= (int(x / (2 * pi)) * 2 * pi);

    float sum = x;// 合計値
    float t = x;

    for(int n=1;n<=nMAX;n++){
        t *= - (x * x) / ((2 * n + 1) * (2 * n));
        sum += t;
    }

    sum = (sum + 1)/2;
    return sum;
}

void touchStart (int index, float x, float y, float z, float vz)
{
    addPressurePoint (0xFFFFFFFF, x, y, z * 10.0);
}

void touchMove (int index, float x, float y, float z, float vz)
{
    addPressurePoint (0xFFFF0000, x+my_sin(counter*0.3)*0.75-0.25, y, z * 20.0);
    addPressurePoint (0xFF00FF00, x, y+my_sin(counter*0.2)*0.5-0.25, z * 50.0);
    addPressurePoint (0xFF0000BB, x+my_sin(counter*0.1)*0.75-0.25, y, z * 10.0);

    ccX = int(map(x, 0.07, 1.93, 0.0, 127.0));//X座標のデータ(0.07~1.93)を0~127に変換
    ccY = int(map(y, 0.07, 1.93, 0.0, 127.0));//Y座標のデータ(0.07~1.93)を0~127に変換
    ccZ = int(map(z, 0.0, 1.0, 0.0, 127.0));//Z(プレッシャー)のデータを(0.0~1.0)を0~127に変換
    sendCC ((channel - 1), 60, ccX);//X座標 CC60
    sendCC ((channel - 1), 61, ccY);//Y座標 CC61
    sendCC ((channel - 1), 62, ccZ);//プレッシャー  CC62
}

void touchEnd (int touchIndex, float x, float y, float z, float vz)
{
}

void repaint()
{
   clearDisplay();
   drawPressureMap();
   fadePressureMap();
   counter++;
}
タッチIndexで動きをばらつかせる
指ごとにすこし周期をずらしてより複雑な感じに
/*
<metadata description="Minimal XYZ Pad" details="XY pad with the addition of pressure (Z), sending out MIDI CC. You can set MIDI channel."
          target="Lightpad"
          tags="MIDI;Controller;">
    <variables>
        <variable name="channel" displayName="MIDI Channel" type="int" min="1" max="16" value="1" displayMode="stepper" tooltip="The MIDI channel that values are sent on" />
    </variables>
</metadata>
*/

int ccX;
int ccY;
int ccZ;
int counter;

float pi;

void initialise()
{
    pi = 3.141592;
    counter = 0;
}

float my_sin(float x){

    int nMAX = 10;
    x -= (int(x / (2 * pi)) * 2 * pi);

    float sum = x;// 合計値
    float t = x;

    for(int n=1;n<=nMAX;n++){
        t *= - (x * x) / ((2 * n + 1) * (2 * n));
        sum += t;
    }

    sum = (sum + 1)/2;
    return sum;
}

void touchStart (int index, float x, float y, float z, float vz)
{
    addPressurePoint (0xFFFFFFFF, x, y, z * 10.0);
}

void touchMove (int index, float x, float y, float z, float vz)
{
    addPressurePoint (0xFFFF0000, x+my_sin((counter+index*5)*0.3)*0.75-0.25, y, z * 20.0);
    addPressurePoint (0xFF00FF00, x, y+my_sin((counter+index*12)*0.2)*0.5-0.25, z * 50.0);
    addPressurePoint (0xFF0000BB, x+my_sin((counter+index*10)*0.1)*0.75-0.25, y, z * 10.0);

    ccX = int(map(x, 0.07, 1.93, 0.0, 127.0));//X座標のデータ(0.07~1.93)を0~127に変換
    ccY = int(map(y, 0.07, 1.93, 0.0, 127.0));//Y座標のデータ(0.07~1.93)を0~127に変換
    ccZ = int(map(z, 0.0, 1.0, 0.0, 127.0));//Z(プレッシャー)のデータを(0.0~1.0)を0~127に変換
    sendCC ((channel - 1), 60, ccX);//X座標 CC60
    sendCC ((channel - 1), 61, ccY);//Y座標 CC61
    sendCC ((channel - 1), 62, ccZ);//プレッシャー  CC62
}

void touchEnd (int touchIndex, float x, float y, float z, float vz)
{
}

void repaint()
{
   clearDisplay();
   drawPressureMap();
   fadePressureMap();
   counter++;
}
ランダムに自動でタッチする
押していなくても
repaintで、たまに勝手に発火するような。線香花火のような表示。
ランダムに表示する #ROLIBLOCKS #JUCE pic.twitter.com/zOQv9iGKlV
— tatmos (@tatmos) 2018年10月27日
/*
<metadata description="Minimal XYZ Pad" details="XY pad with the addition of pressure (Z), sending out MIDI CC. You can set MIDI channel."
          target="Lightpad"
          tags="MIDI;Controller;">
    <variables>
        <variable name="channel" displayName="MIDI Channel" type="int" min="1" max="16" value="1" displayMode="stepper" tooltip="The MIDI channel that values are sent on" />
    </variables>
</metadata>
*/

int ccX;
int ccY;
int ccZ;
int counter;

float pi;

void initialise()
{
    pi = 3.141592;
    counter = 0;
}

float my_sin(float x){

    int nMAX = 10;
    x -= (int(x / (2 * pi)) * 2 * pi);

    float sum = x;// 合計値
    float t = x;

    for(int n=1;n<=nMAX;n++){
        t *= - (x * x) / ((2 * n + 1) * (2 * n));
        sum += t;
    }

    sum = (sum + 1)/2;
    return sum;
}

void touchStart (int index, float x, float y, float z, float vz)
{
    addPressurePoint (0xFFFFFFFF, x, y, z * 10.0);
}

void touchMove (int index, float x, float y, float z, float vz)
{
    addPressurePoint (0xFFFF0000, x+my_sin((counter+index*5)*0.3)*0.75-0.25, y, z * 20.0);
    addPressurePoint (0xFF00FF00, x, y+my_sin((counter+index*12)*0.2)*0.5-0.25, z * 50.0);
    addPressurePoint (0xFF0000BB, x+my_sin((counter+index*10)*0.1)*0.75-0.25, y, z * 10.0);

    ccX = int(map(x, 0.07, 1.93, 0.0, 127.0));//X座標のデータ(0.07~1.93)を0~127に変換
    ccY = int(map(y, 0.07, 1.93, 0.0, 127.0));//Y座標のデータ(0.07~1.93)を0~127に変換
    ccZ = int(map(z, 0.0, 1.0, 0.0, 127.0));//Z(プレッシャー)のデータを(0.0~1.0)を0~127に変換
    sendCC ((channel - 1), 60, ccX);//X座標 CC60
    sendCC ((channel - 1), 61, ccY);//Y座標 CC61
    sendCC ((channel - 1), 62, ccZ);//プレッシャー  CC62
}

void touchEnd (int touchIndex, float x, float y, float z, float vz)
{
}

void repaint()
{
   if(getRandomInt(5) == 0)
    {
        float x = getRandomFloat()+0.5;
        float y = getRandomFloat()+0.5;
        float z = getRandomFloat()+0.5;

        int index = 0;

        addPressurePoint (0xFFFF0000, x+my_sin((counter+index*5)*0.3)*0.75-0.25, y, z * 20.0);
        addPressurePoint (0xFF00FF00, x, y+my_sin((counter+index*12)*0.2)*0.5-0.25, z * 50.0);
        addPressurePoint (0xFF0000BB, x+my_sin((counter+index*10)*0.1)*0.75-0.25, y, z * 10.0);
    }


   clearDisplay();
   drawPressureMap();
   fadePressureMap();
   counter++;
}
アイデア
ここまでやってみて
- blutoothで接続して、クリックしたらMax経由でNode.jsでAmazonに注文 とかできそう。
- スタンドアローンにならないので、ホストのminiPCみたいなのをBlocksの裏側にはりつけとくとか。
- タップすると「いいね」が出せるとか。
- 大きめの「お気に入り」ボタン とか。
アイコン付きのボタンとしての用途が思いつく。
- メガデモ を作るのもありかも (littlefootメモリ容量は8KBくらいの様子)
littlefootで作ると良い点
blocksの中で処理するので 反応が良い
メモリが限られているので あまり複雑なことはできない
ホストが繋がっていないといけない
USBかBluetoothで
スタンドアローンの押して光るデバイスではないのか 要調査
言語がシンプル&コンパイルが早い ライブコーディング的
Processing
GLSL っぽい感じ
おわりに
今回はJUCEもくもく会で得られた知見でした。
ここから始められそうです。
いろいろ作ってみよう。