はじめに
先日 Raspberry Pi 3 で Qt 5 をビルドして動かす方法 という記事を書き、Raspberry Pi 上で Qt アプリを開発するための準備をしました。
今回は、Qt Creator を利用して、実際にアプリケーションを書いて、実機上で動かしてみましょう。
Qt Creator の設定
クロスコンパイラの登録
Option > Kits > Compilers を開き、クロスコンパイラの用意 で用意したものを登録します。

~/com/github/raspberrypi/tools/arm-bcm2708/gcc-linaro-arm-linux-gnueabihf-raspbian-x86/bin/arm-linux-gnueabihf-gcc
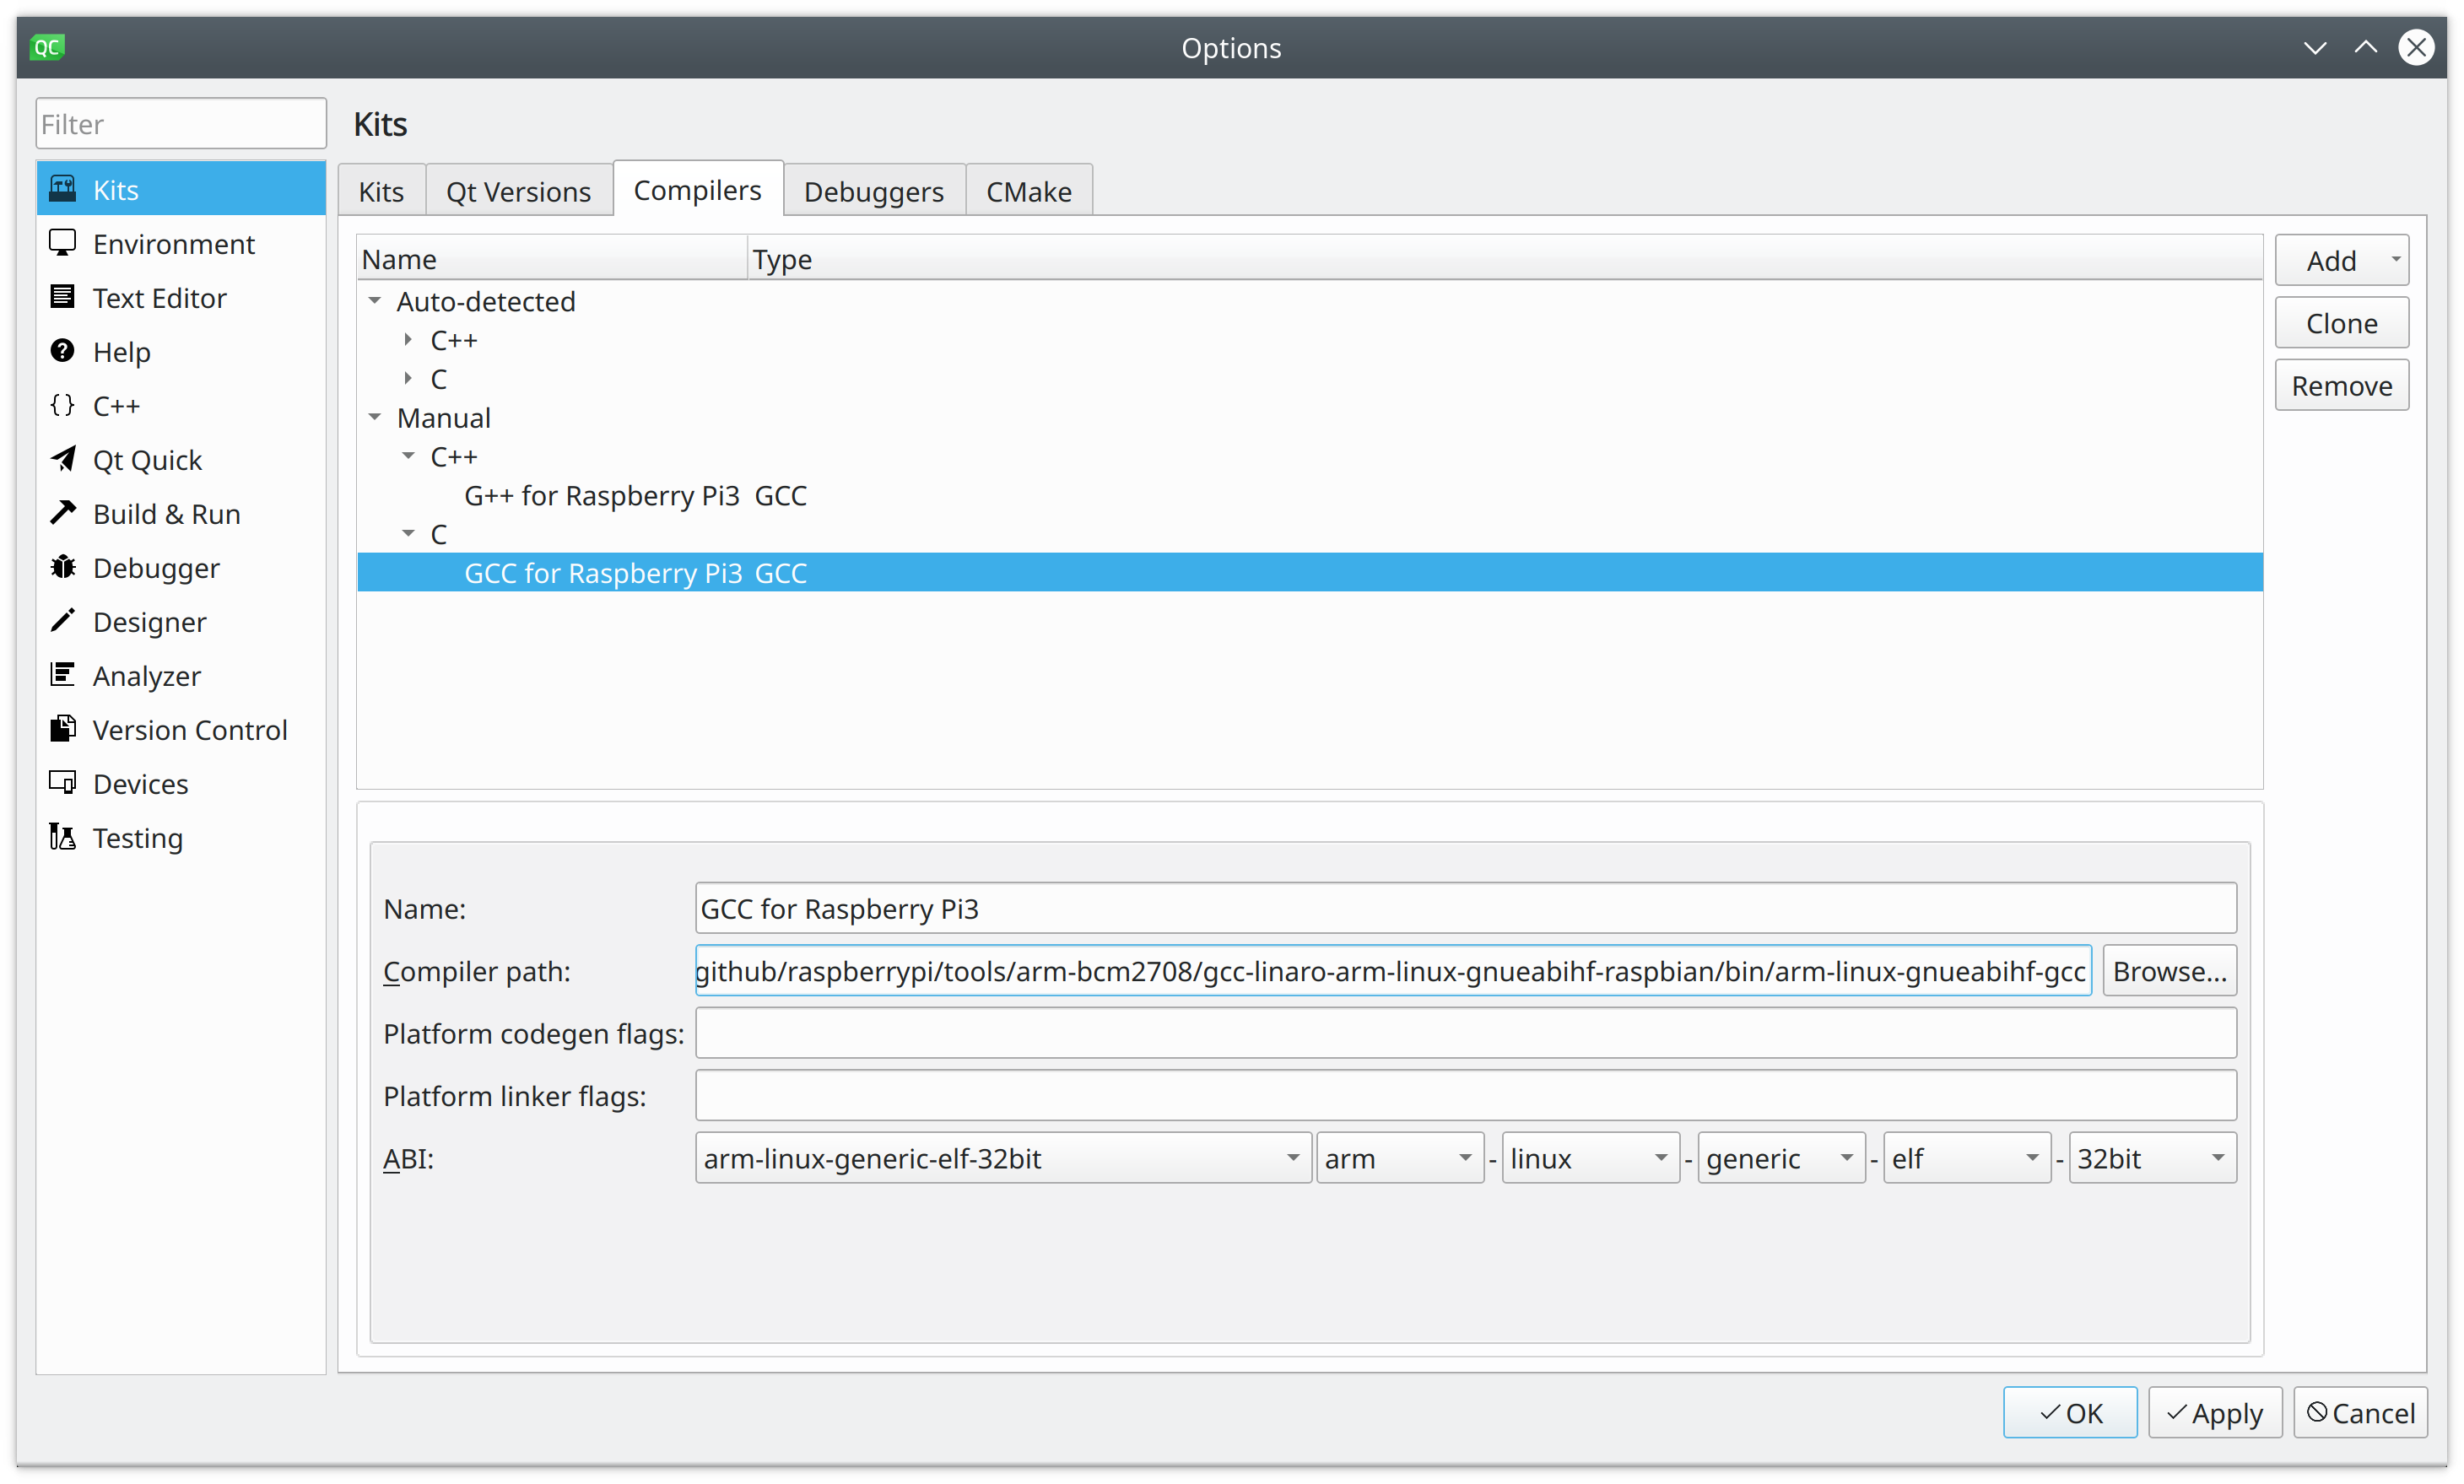
~/com/github/raspberrypi/tools/arm-bcm2708/gcc-linaro-arm-linux-gnueabihf-raspbian-x86/bin/arm-linux-gnueabihf-g++
Apply をクリックして、設定を反映させます。
デバッガの登録
同じように gdb も登録したいところですが、raspbian が提供している gdb は Python がサポートされていないため、Qt Creator からは利用できませんでした。
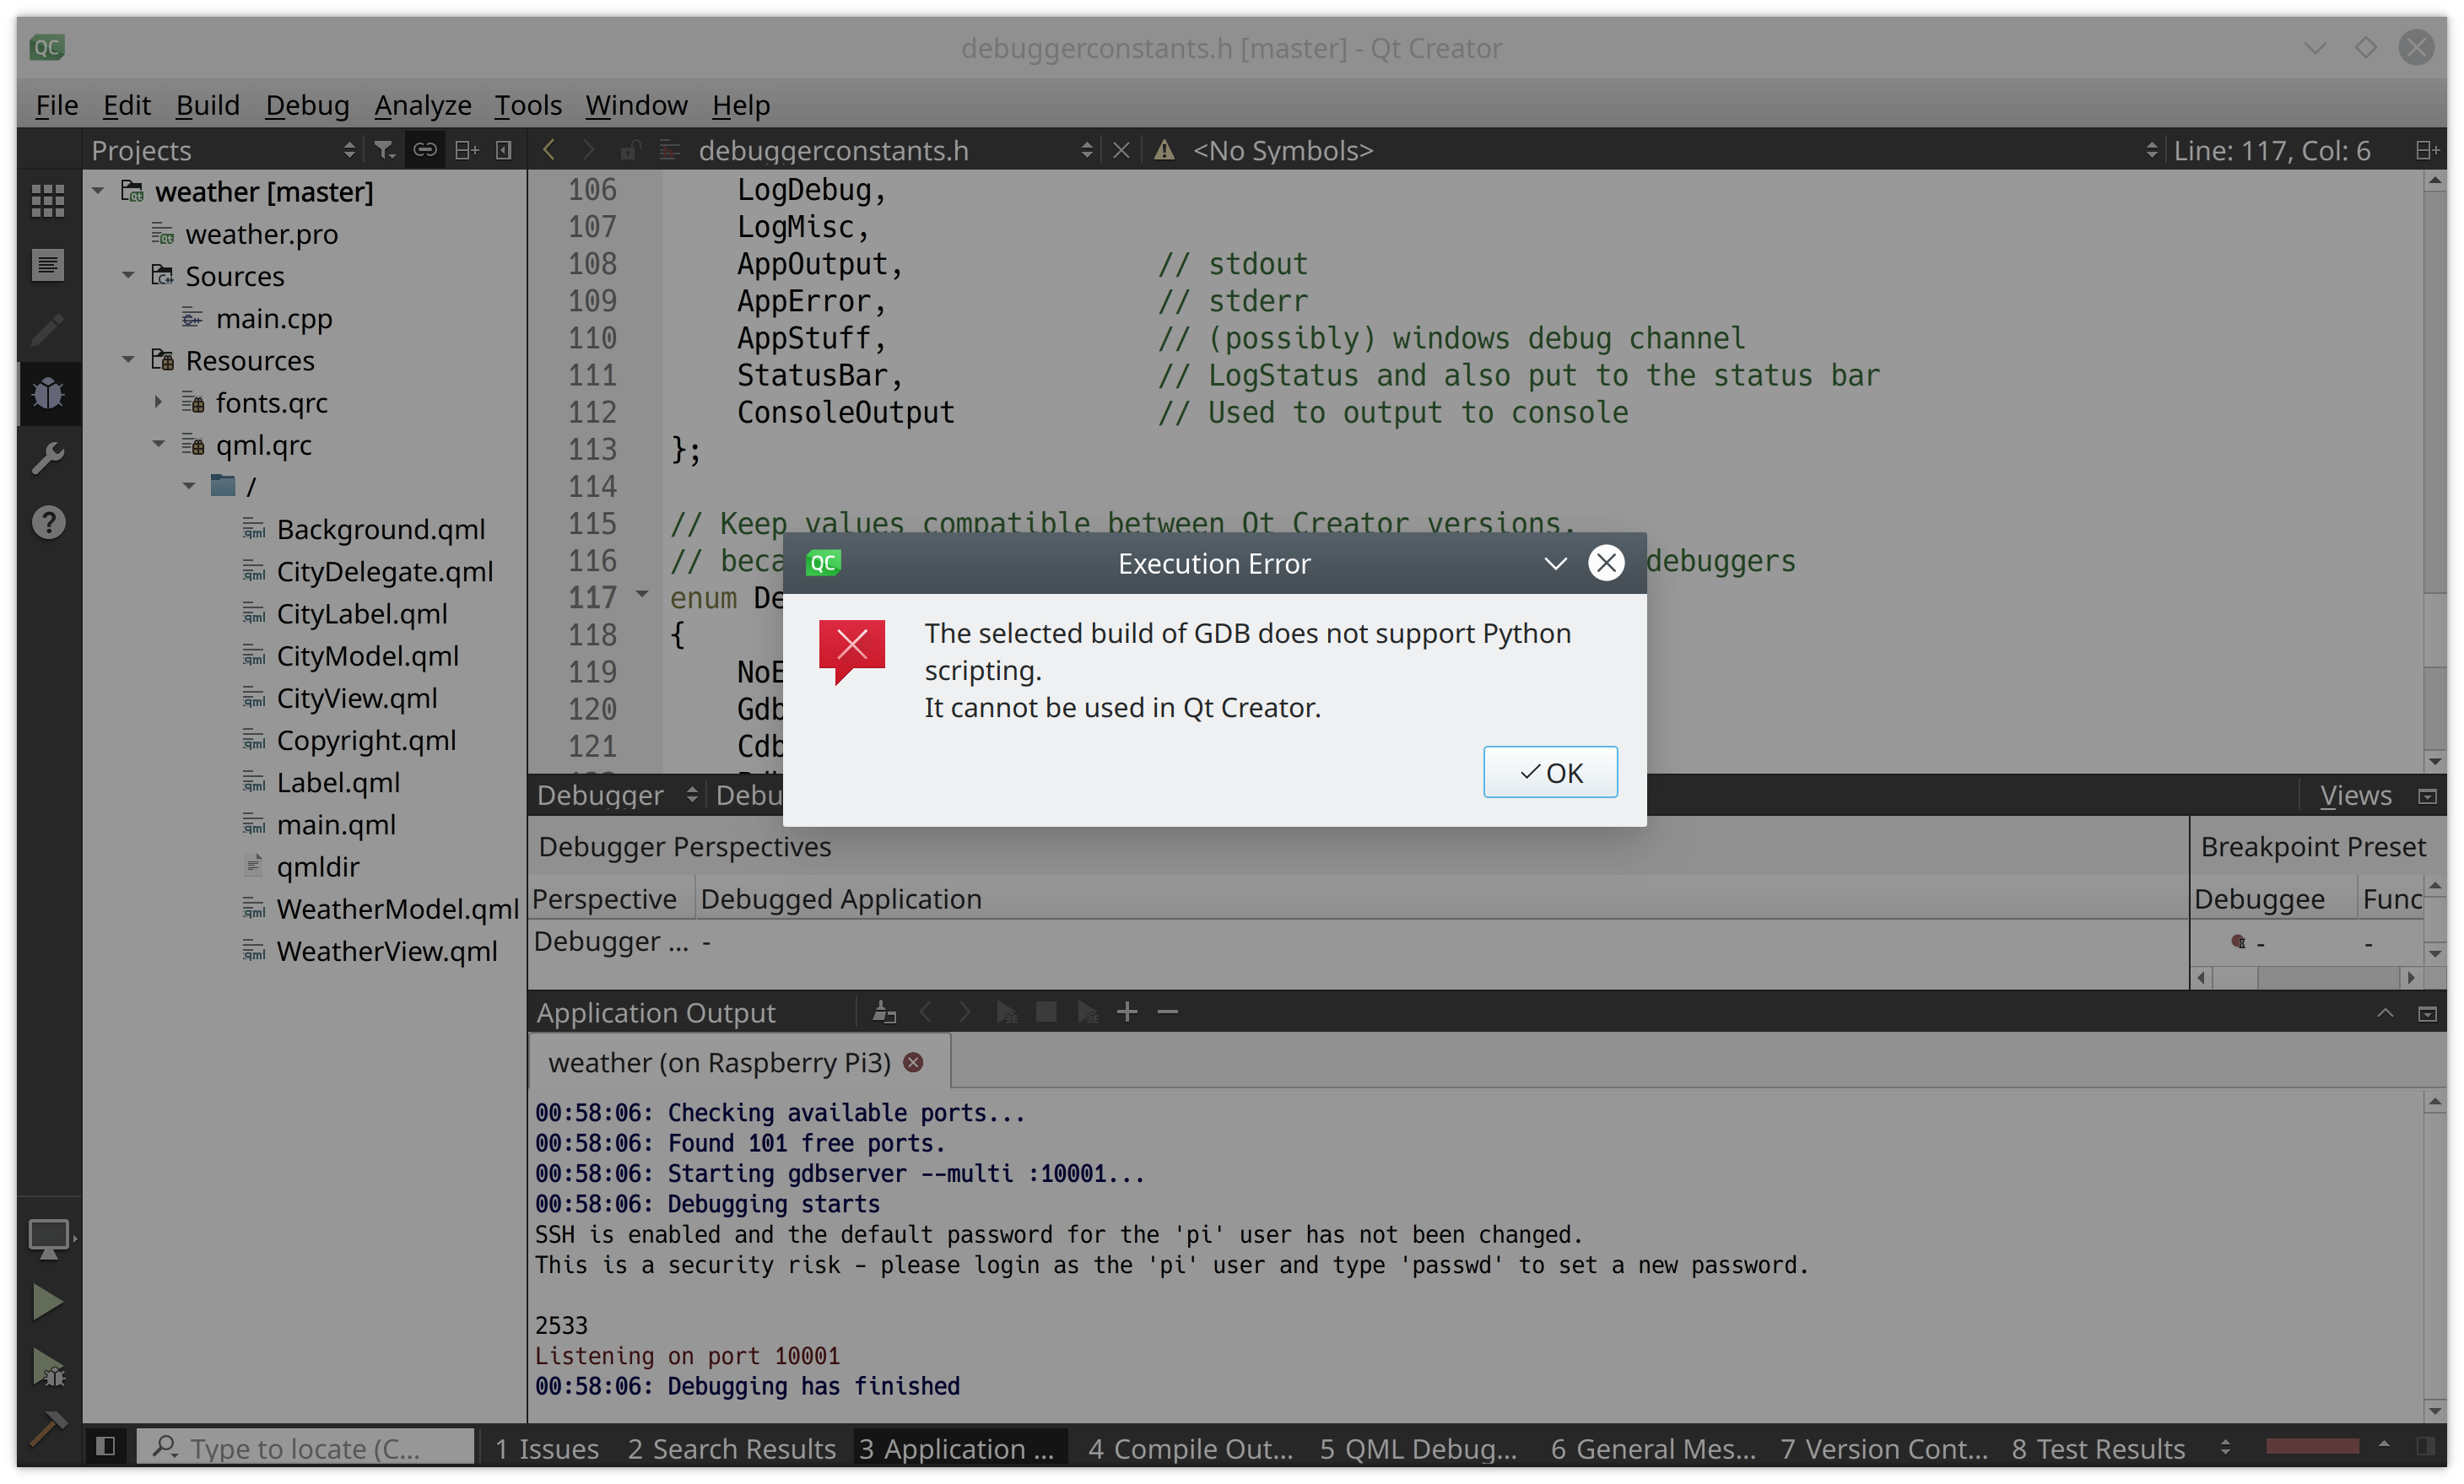
~/com/github/raspberrypi/tools/arm-bcm2708/gcc-linaro-arm-linux-gnueabihf-raspbian-x86/bin/arm-linux-gnueabihf-gdb
Qt の登録
Qt のビルド でインストールした qmake を登録します。
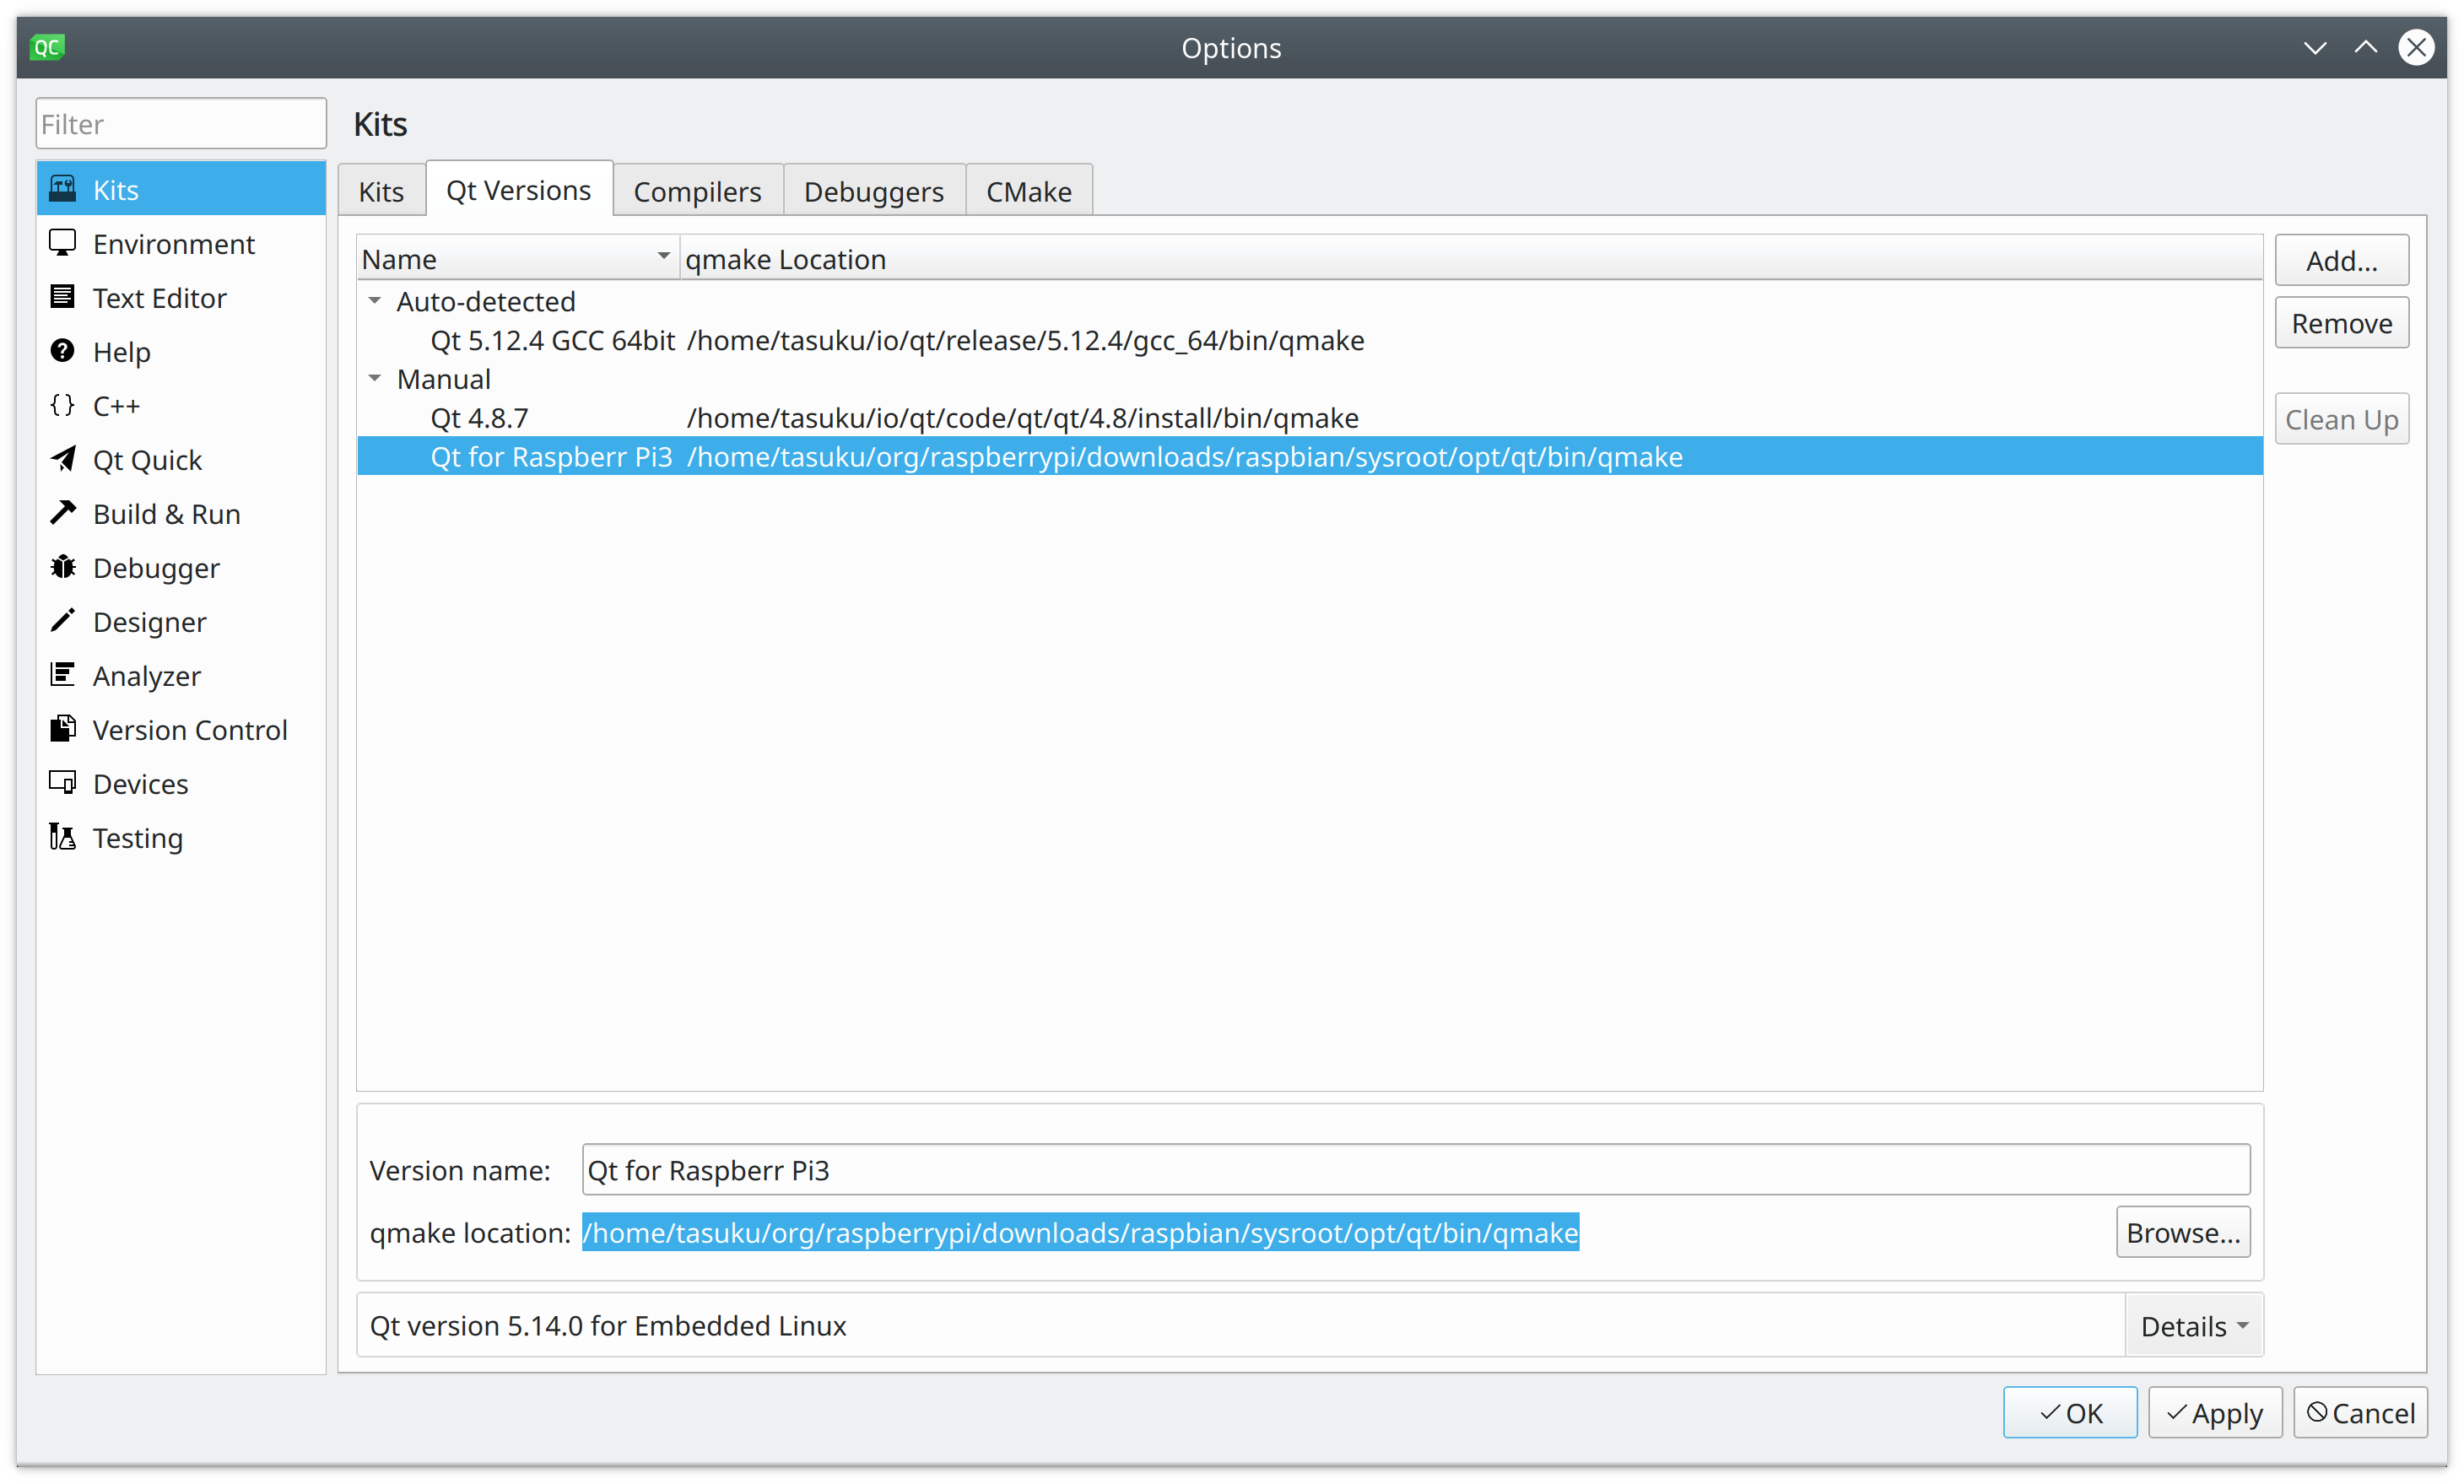
Apply をクリックして、設定を反映させます。
デバイスの登録
Devices を選択し、 Add... をクリックします。
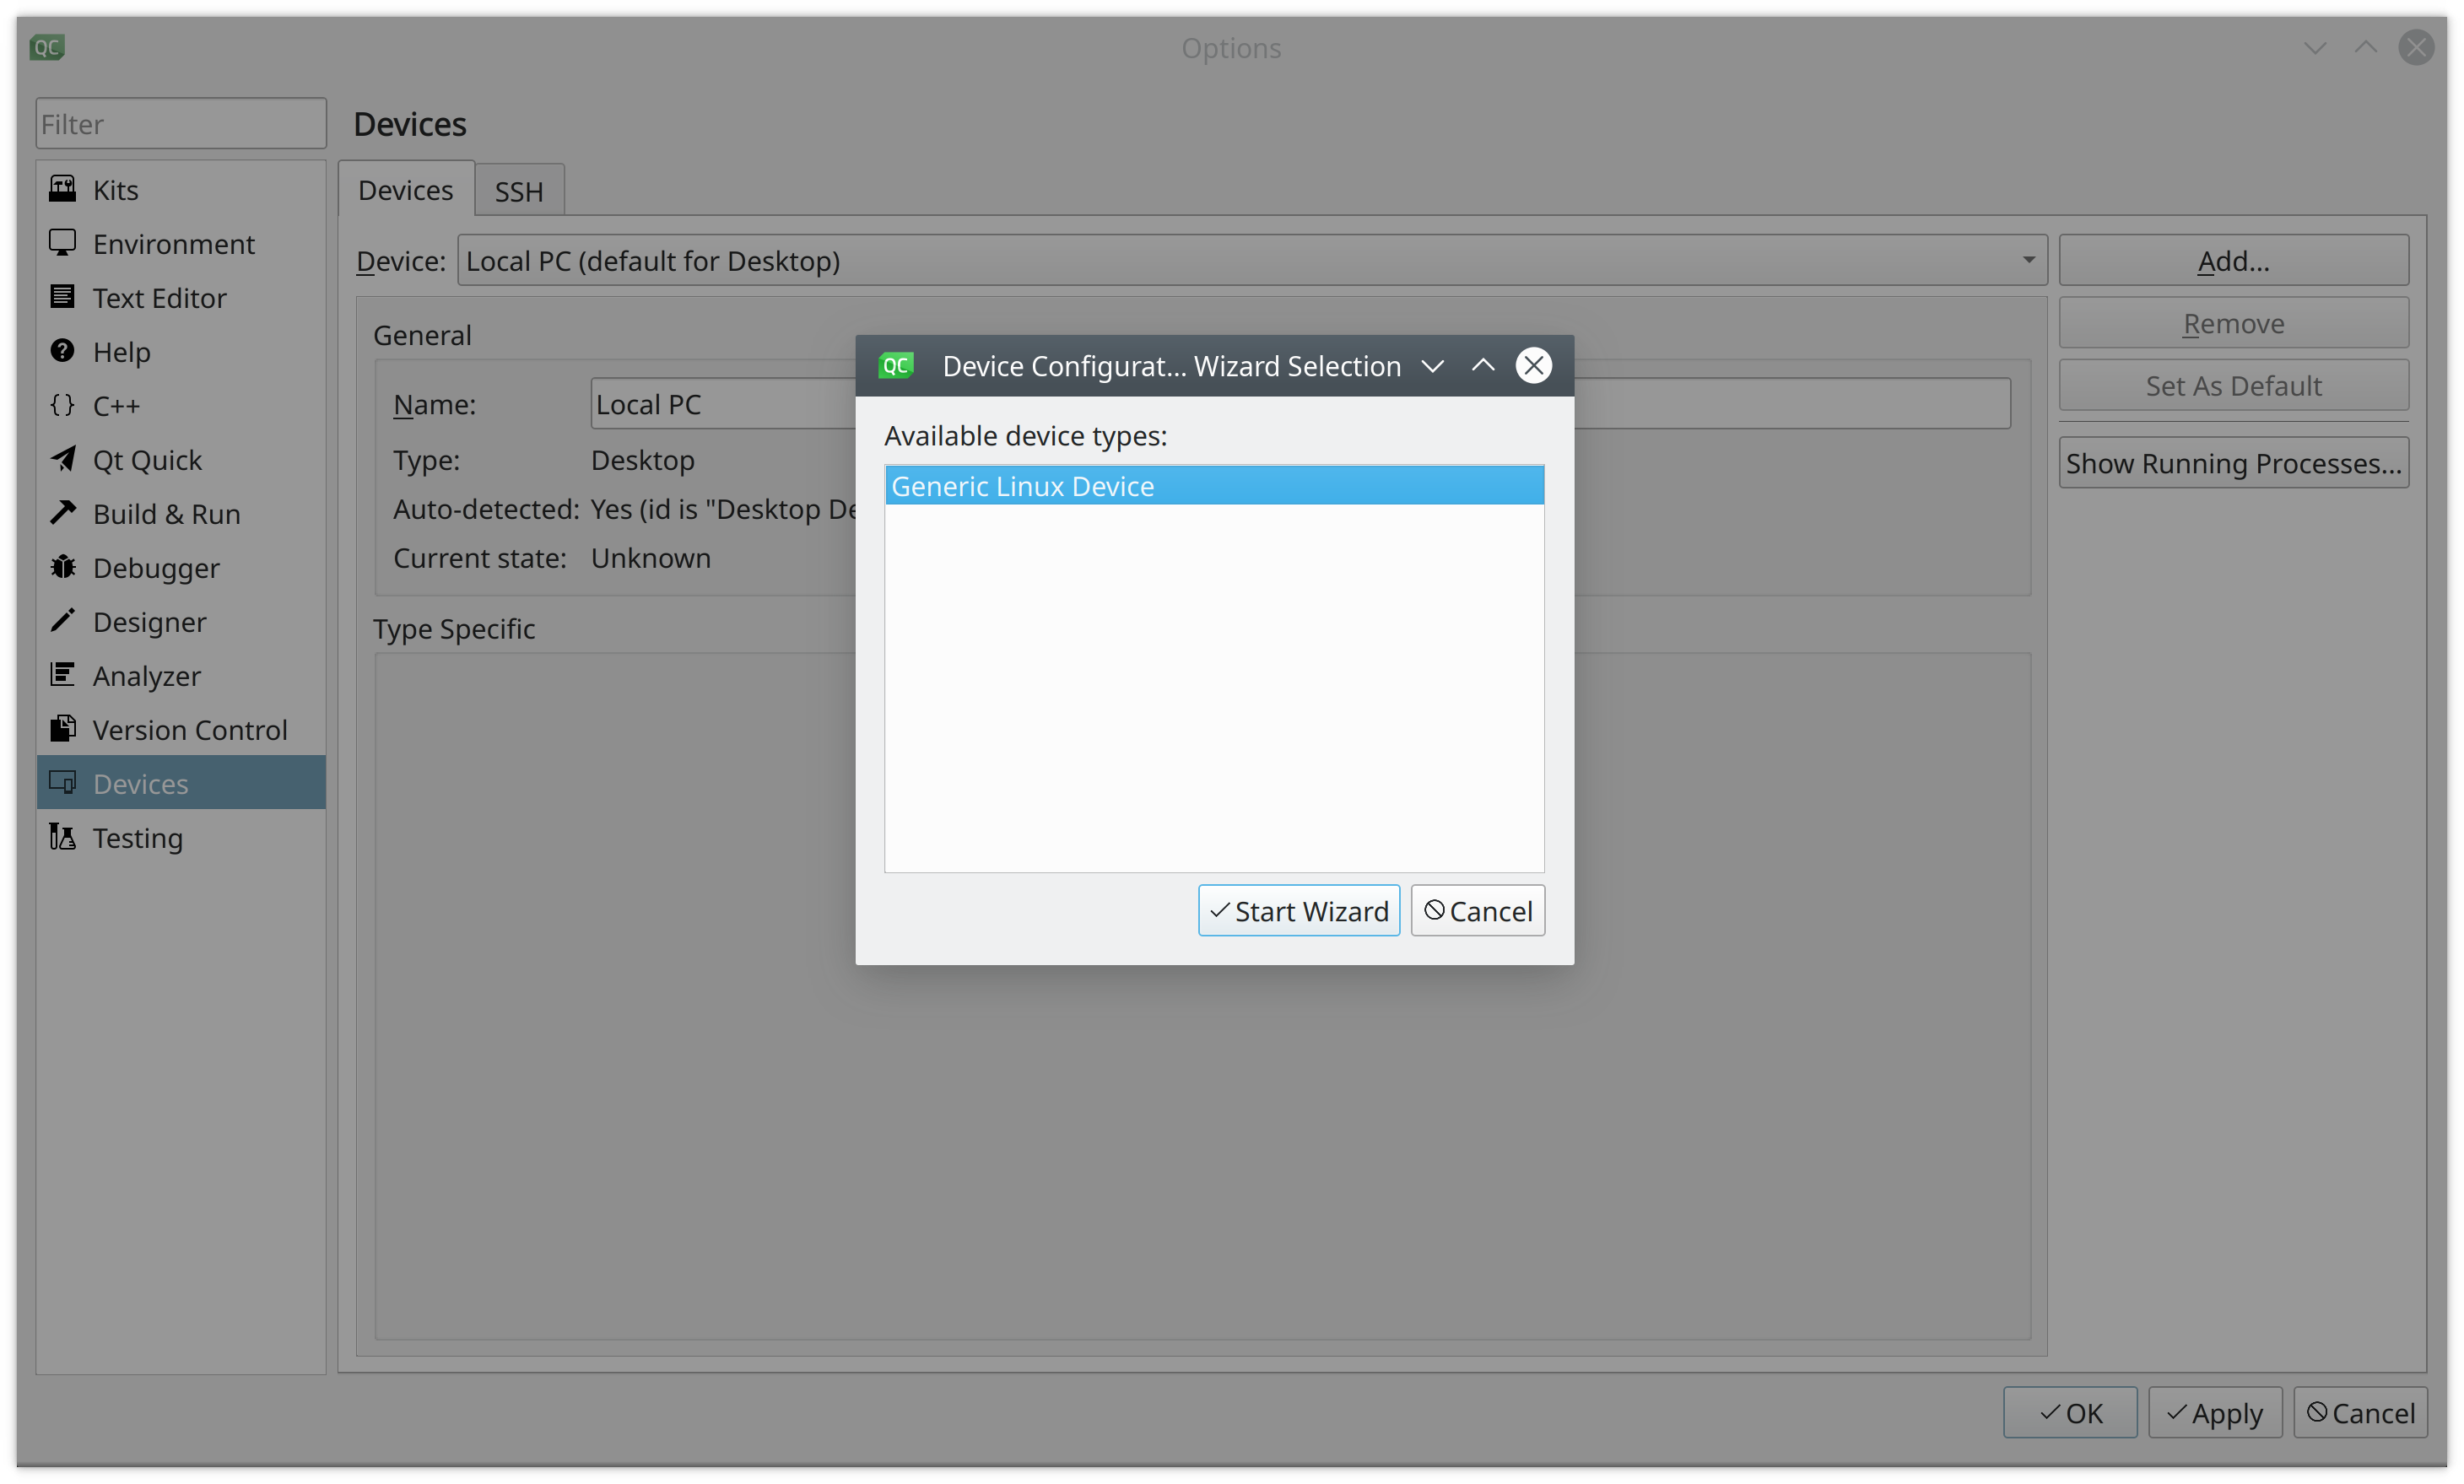
Generic Linux Device を選択し、Start Wizard をクリックします。
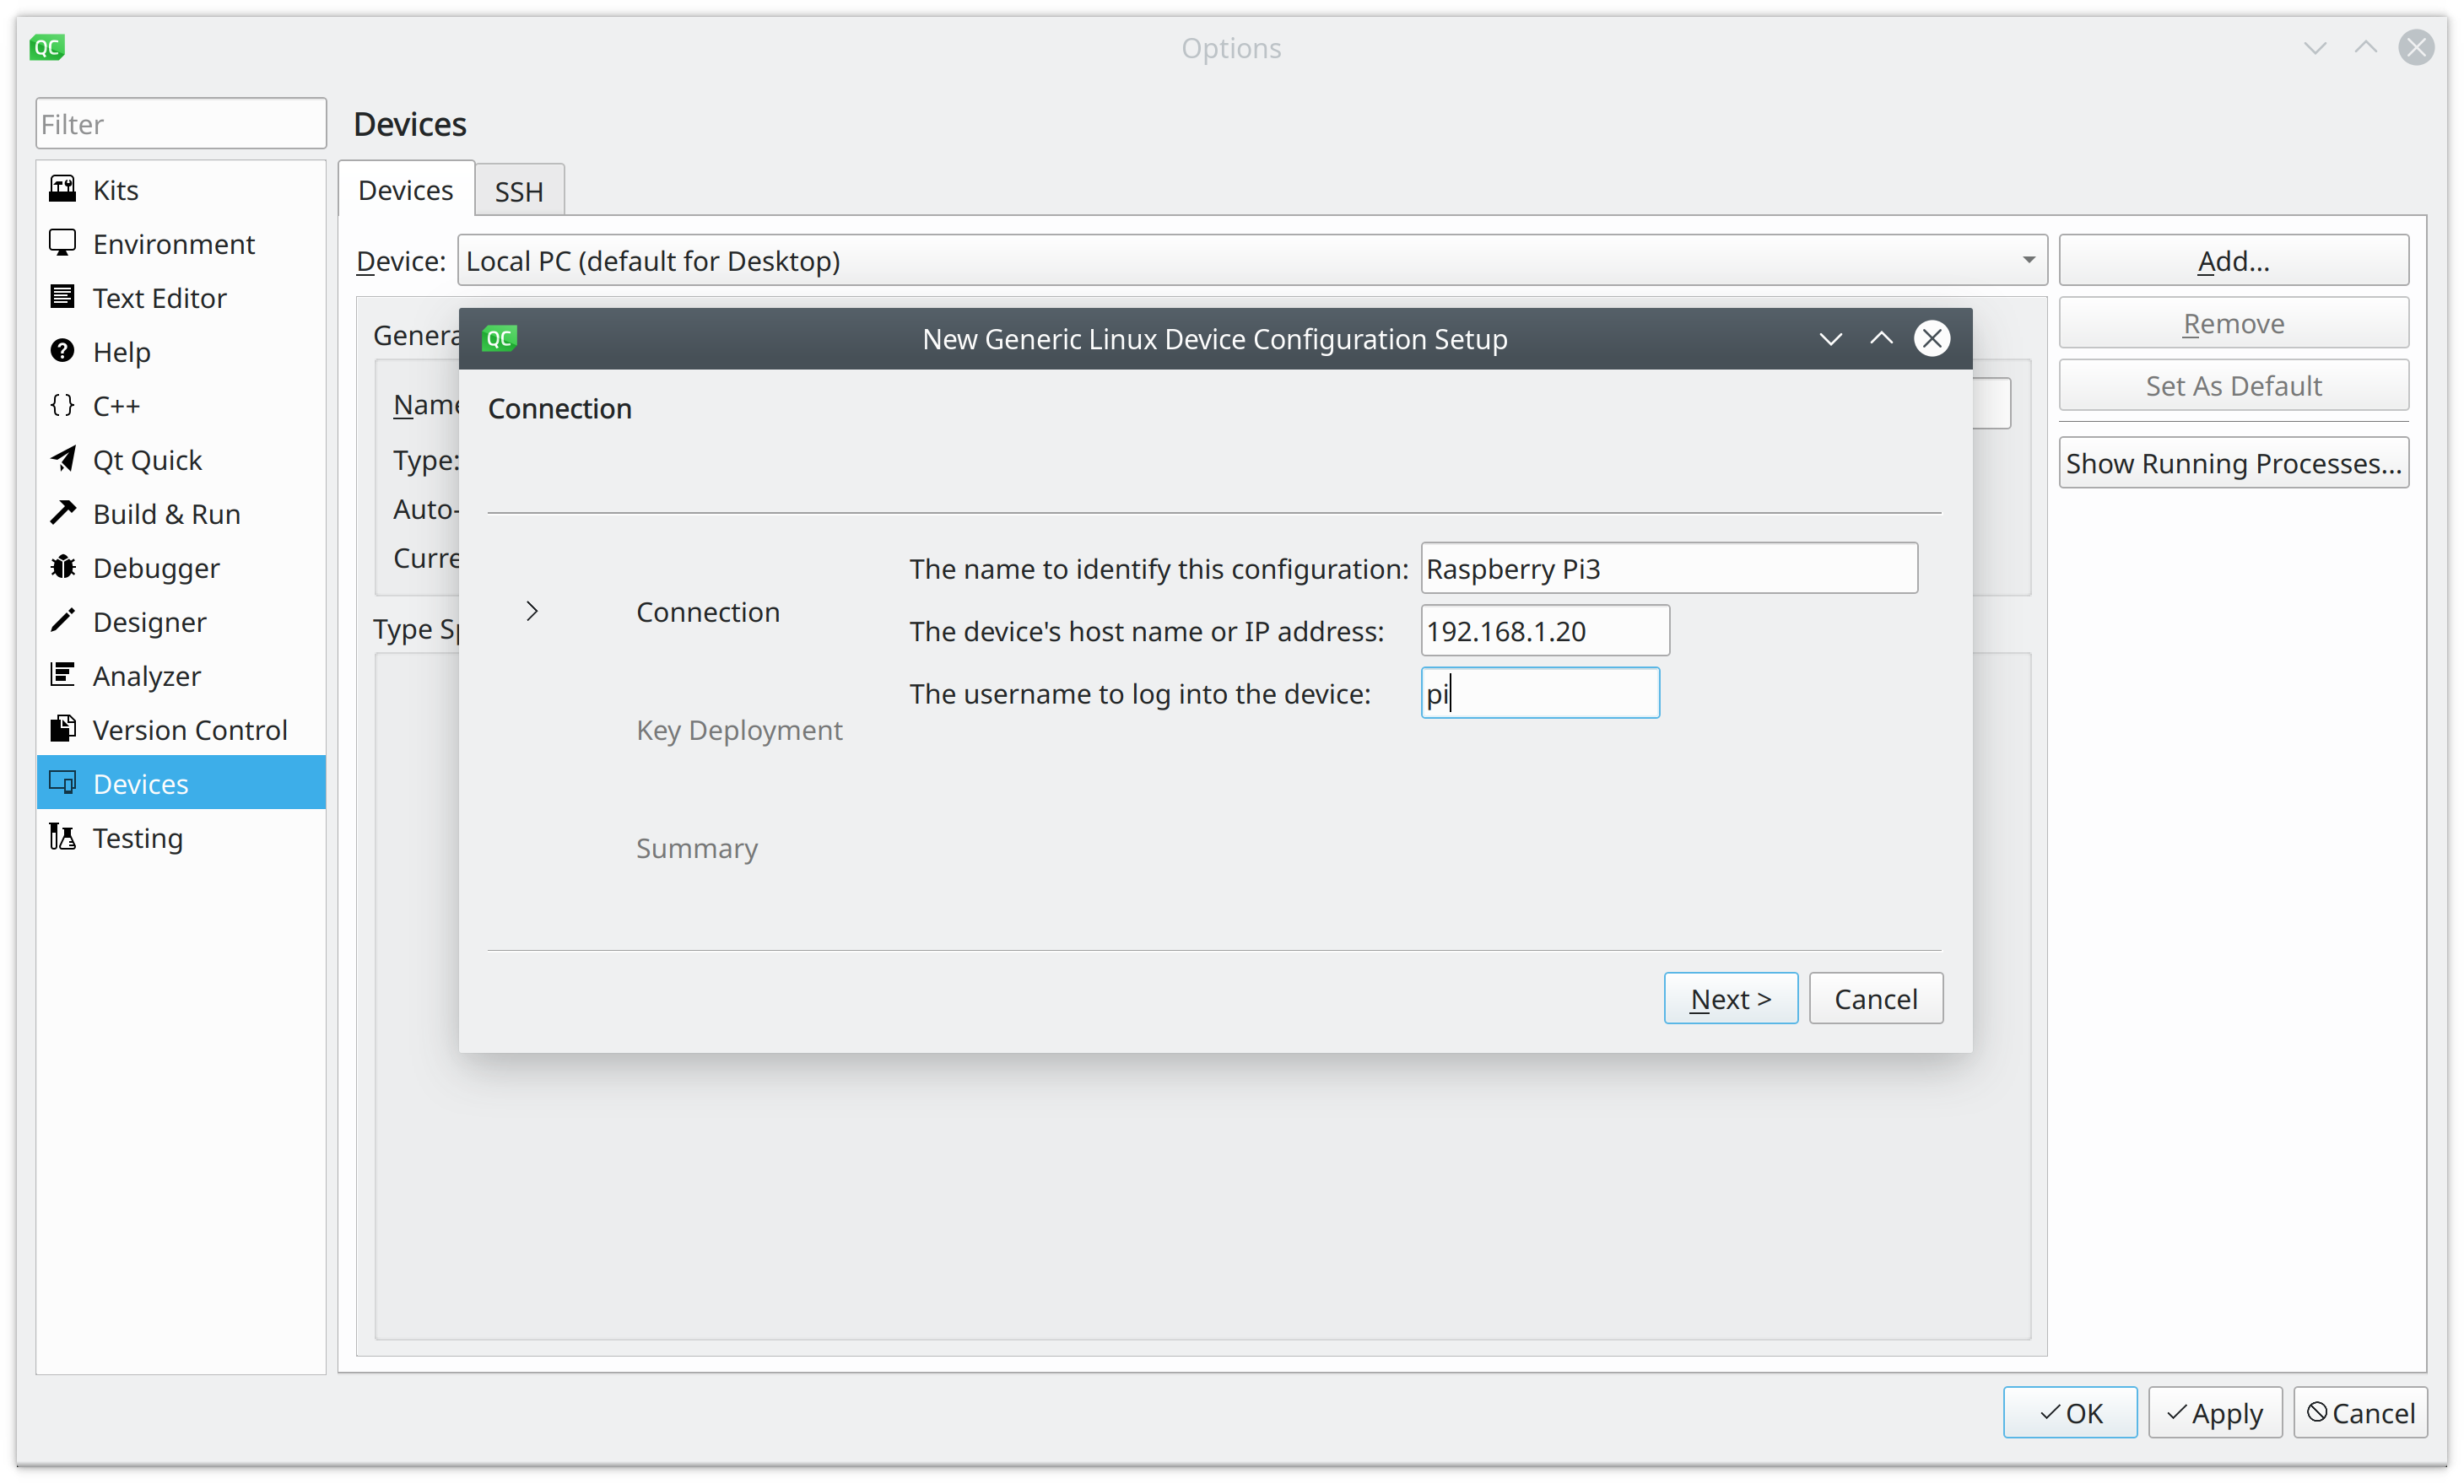
任意の名前と、IPアドレス、デバイスにログインするユーザー名を入力し、Next > をクリックします。
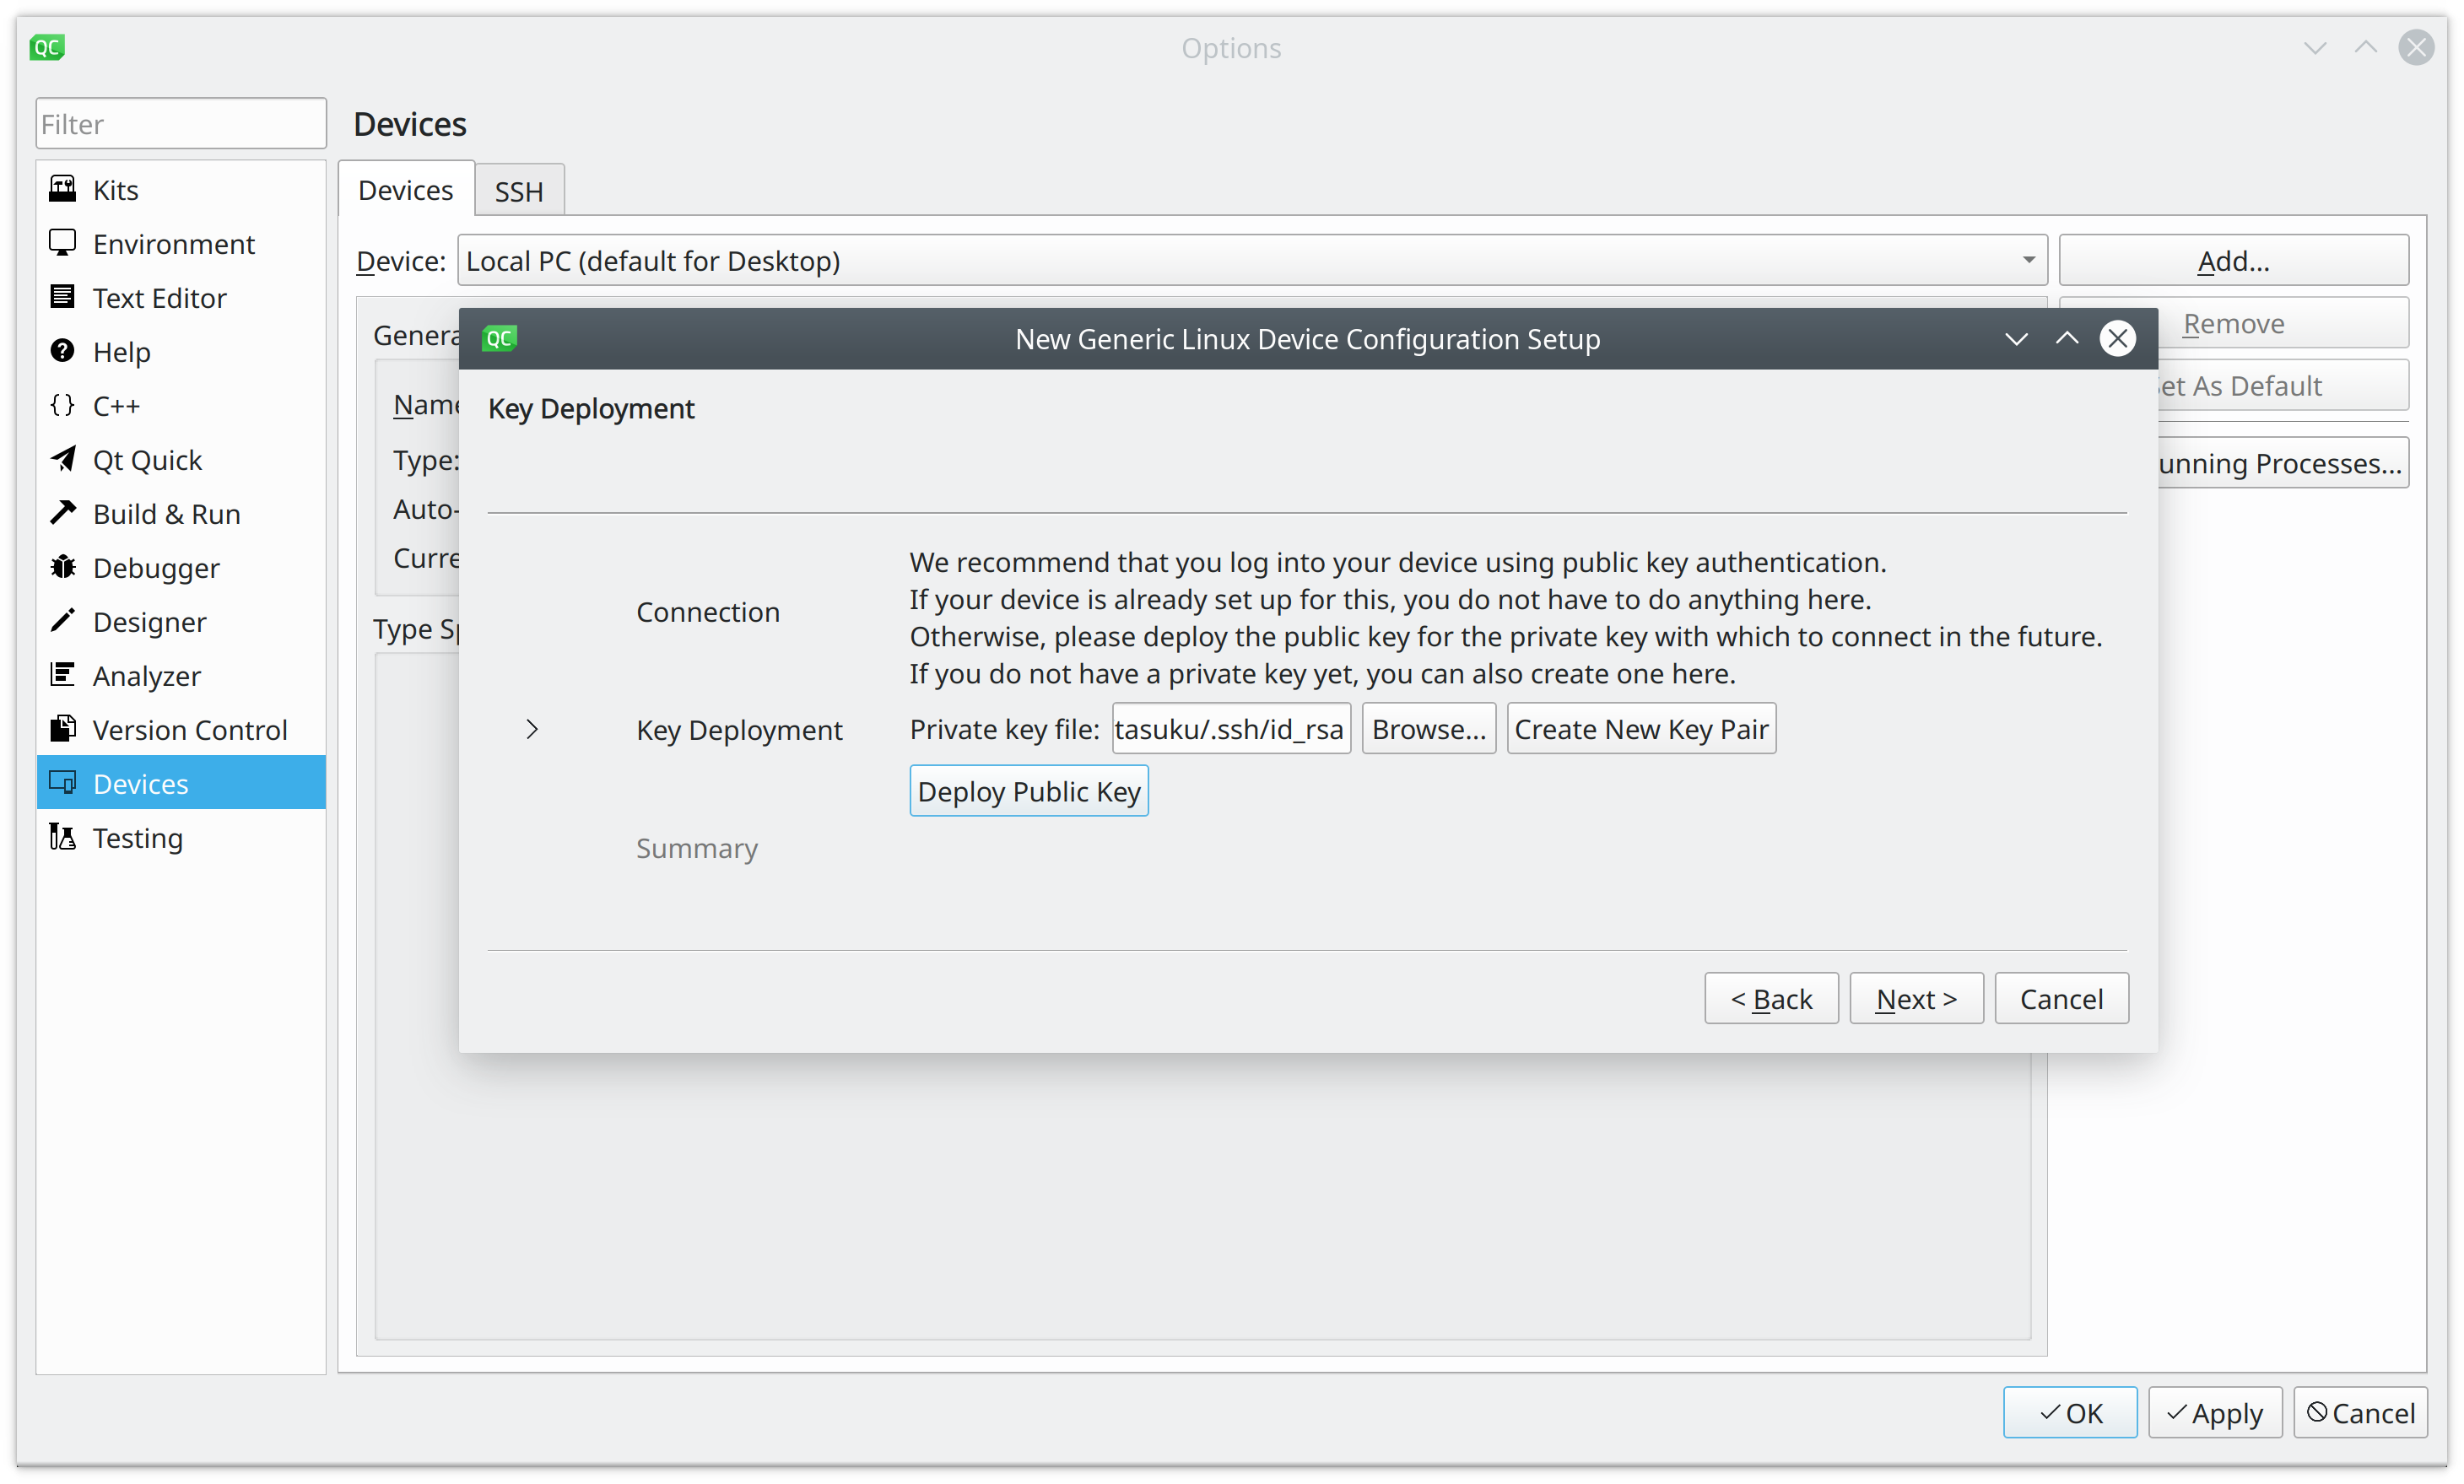
ssh の公開鍵をデバイスに転送し、Next > をクリックします。
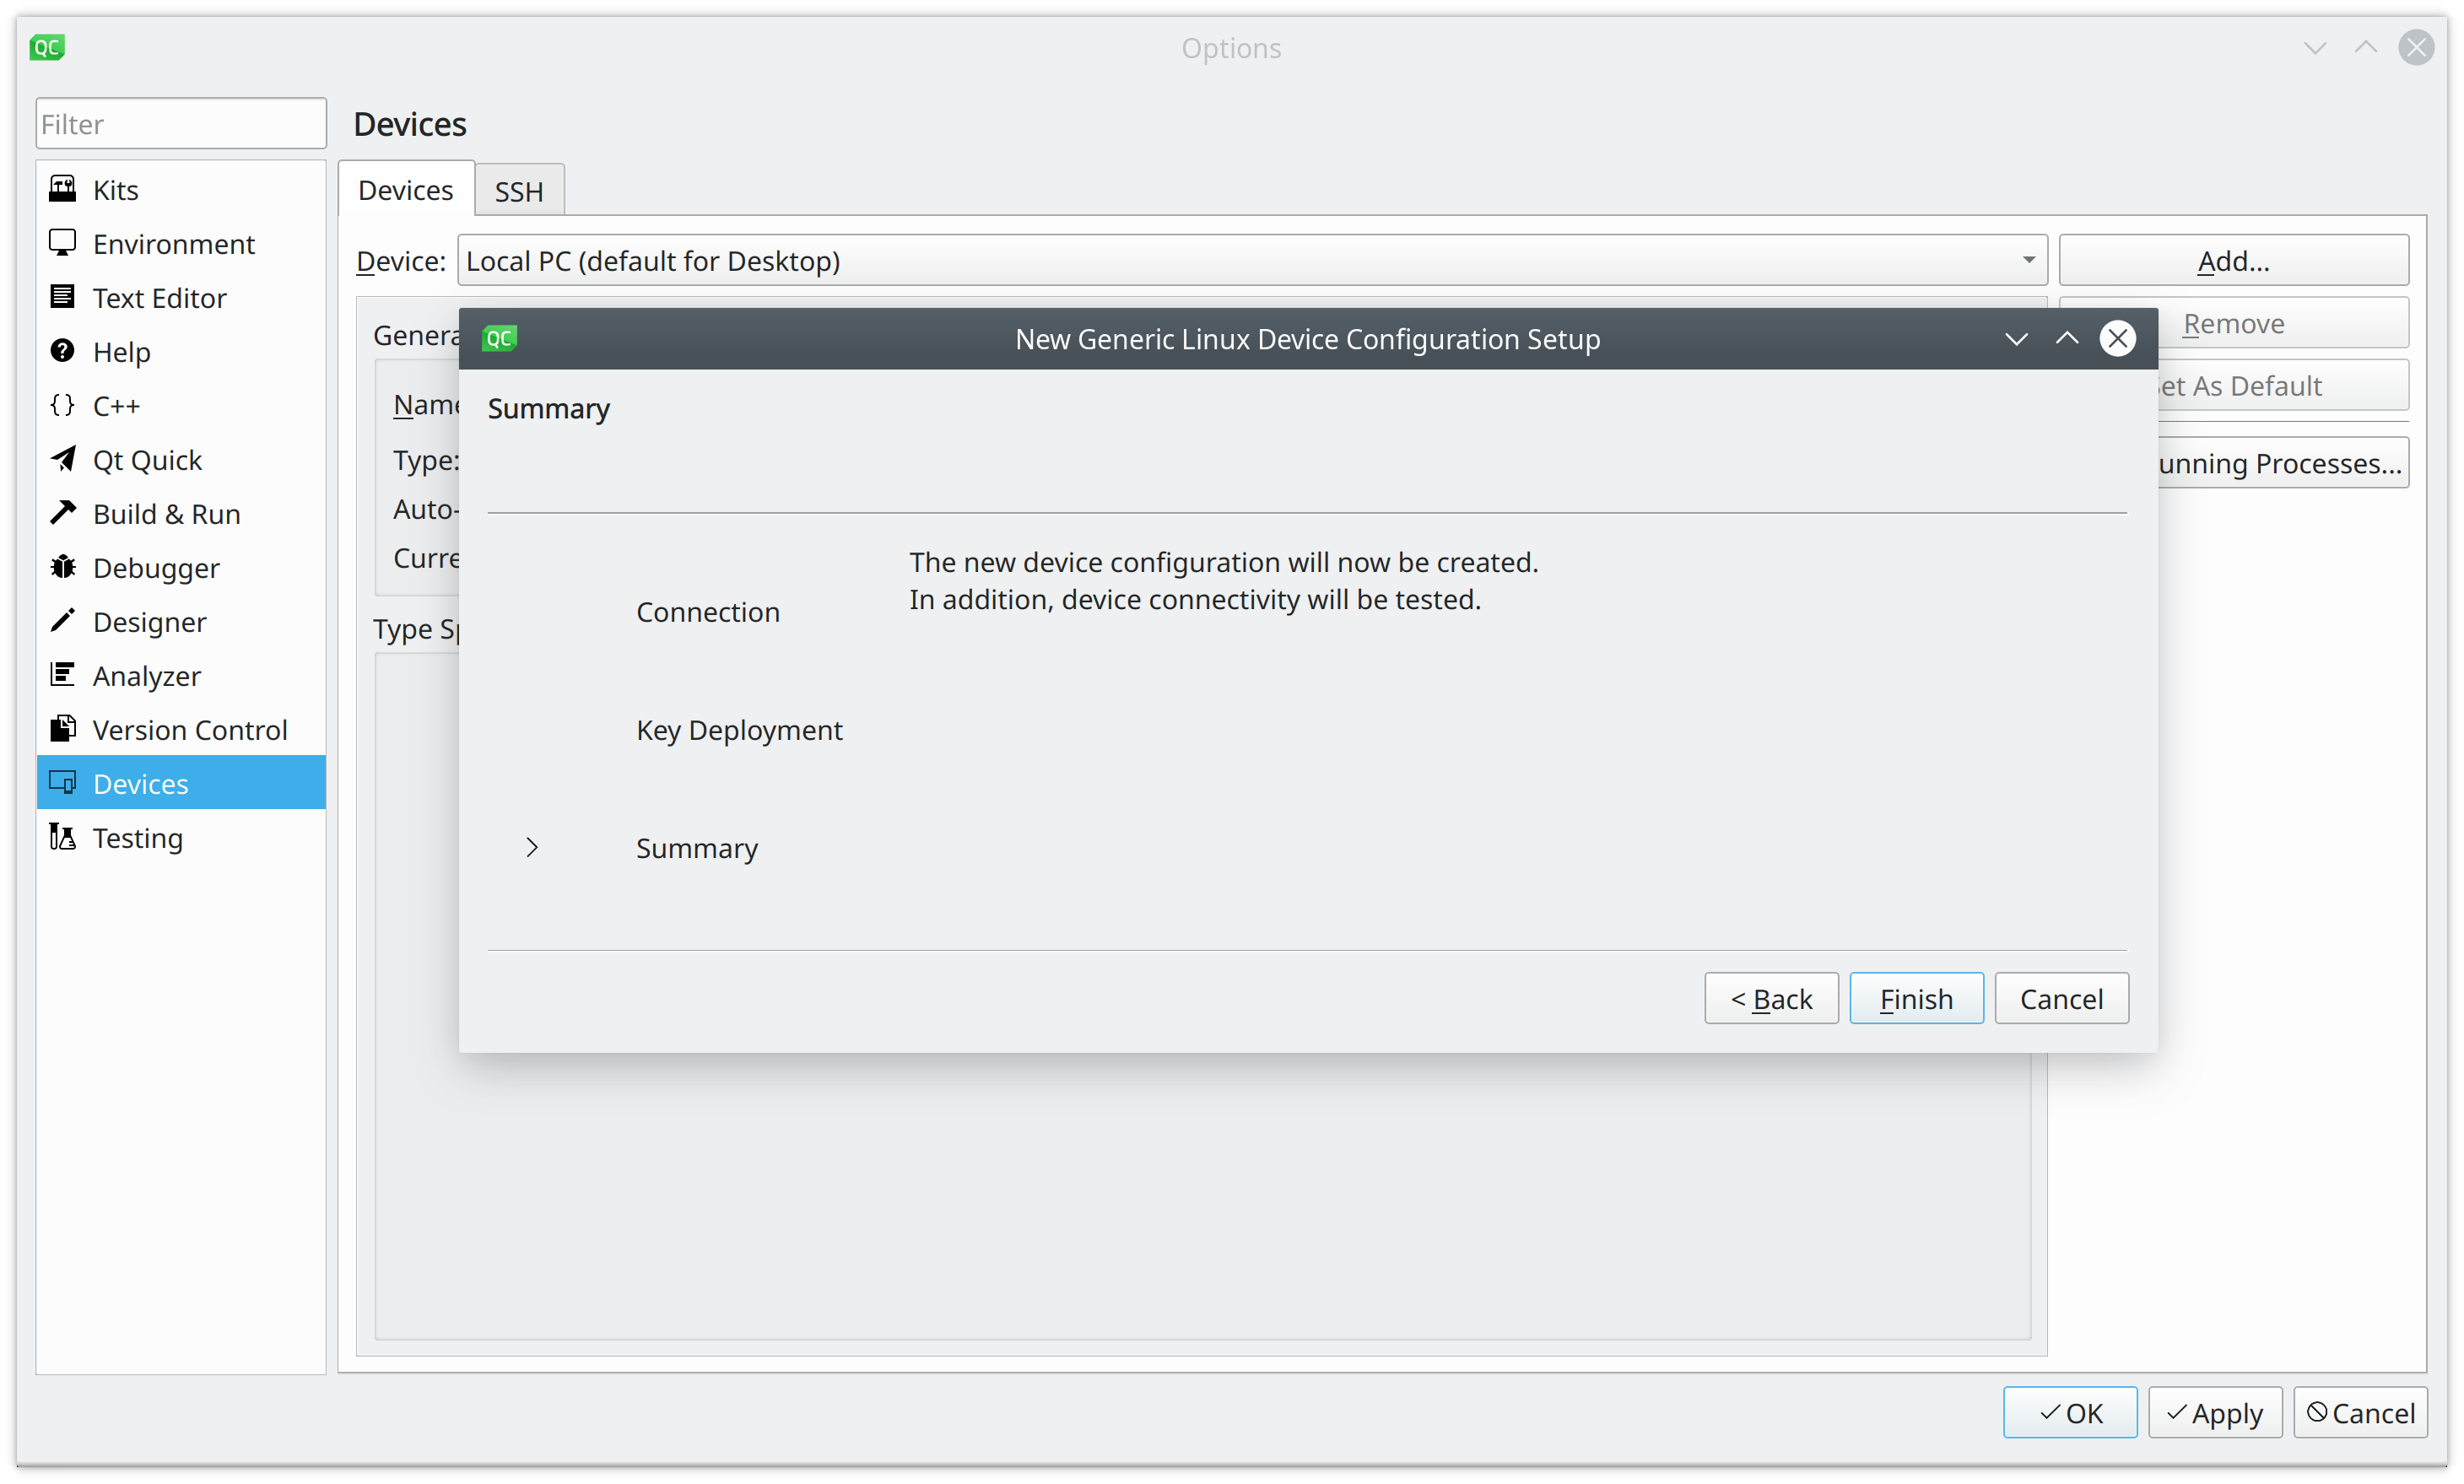
デバイスを登録する準備は完了です。Finish をクリックします。
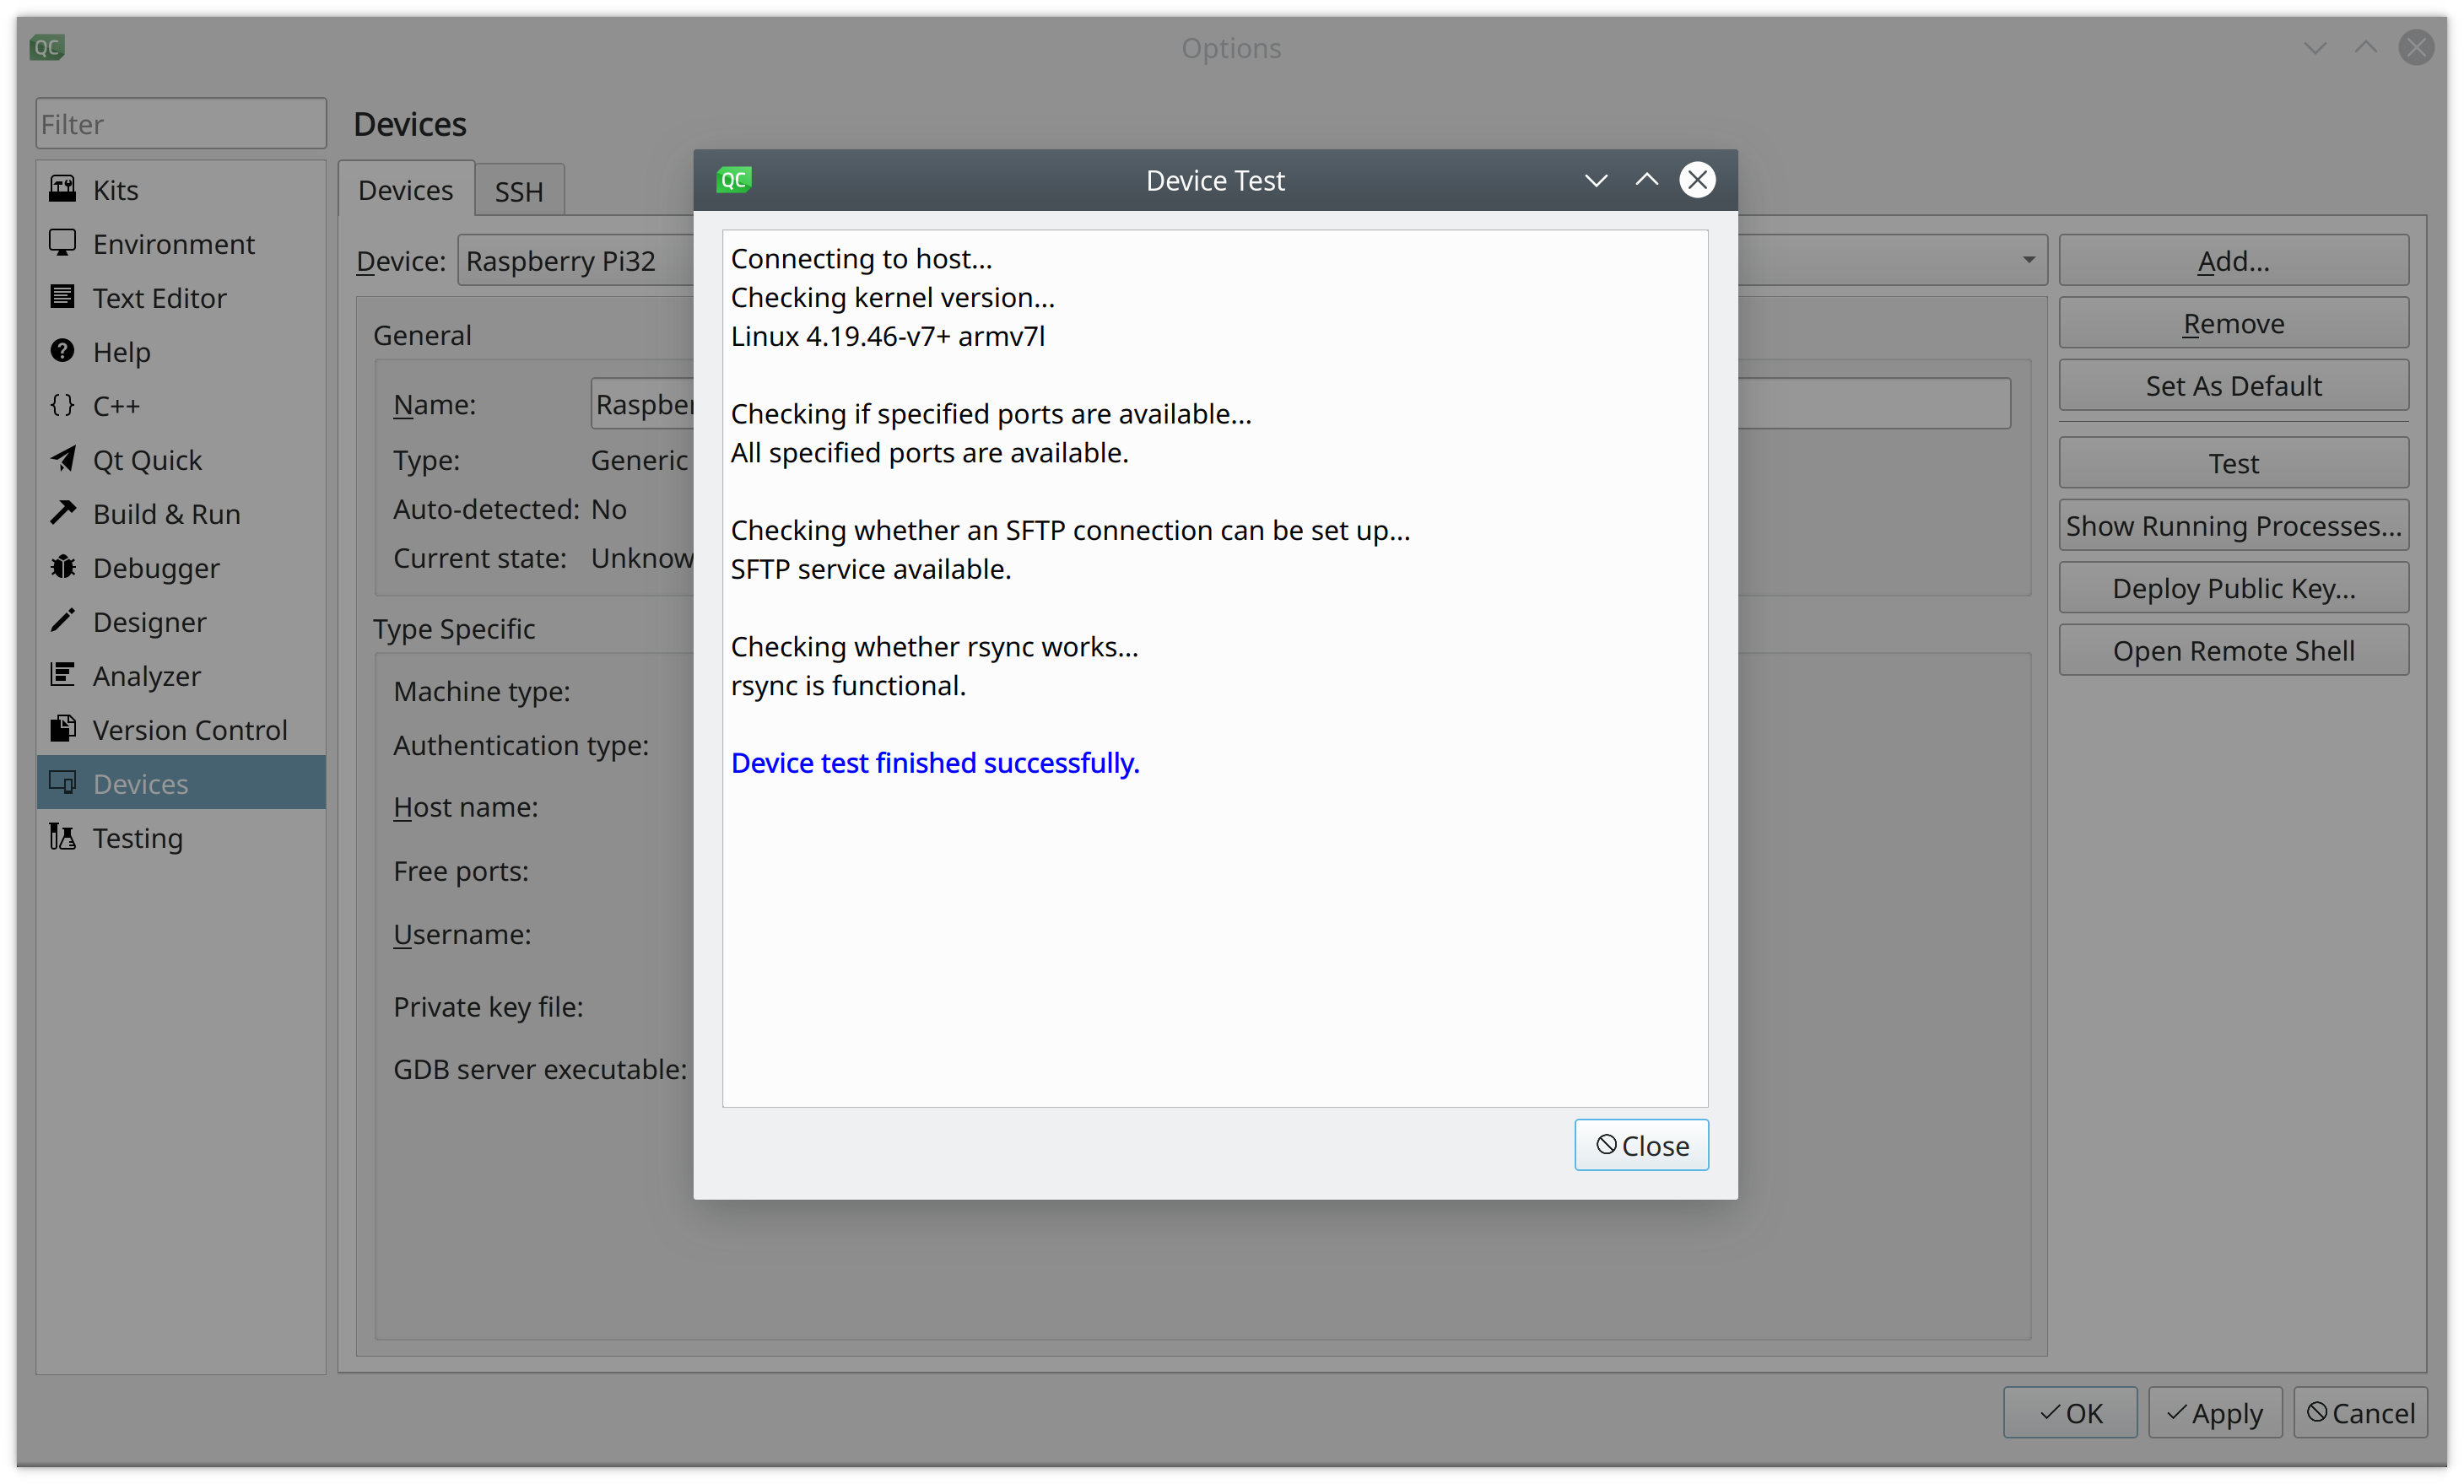
接続テストが行われます。Close で閉じましょう。

Apply をクリックして、設定を反映させます。
Kit の作成
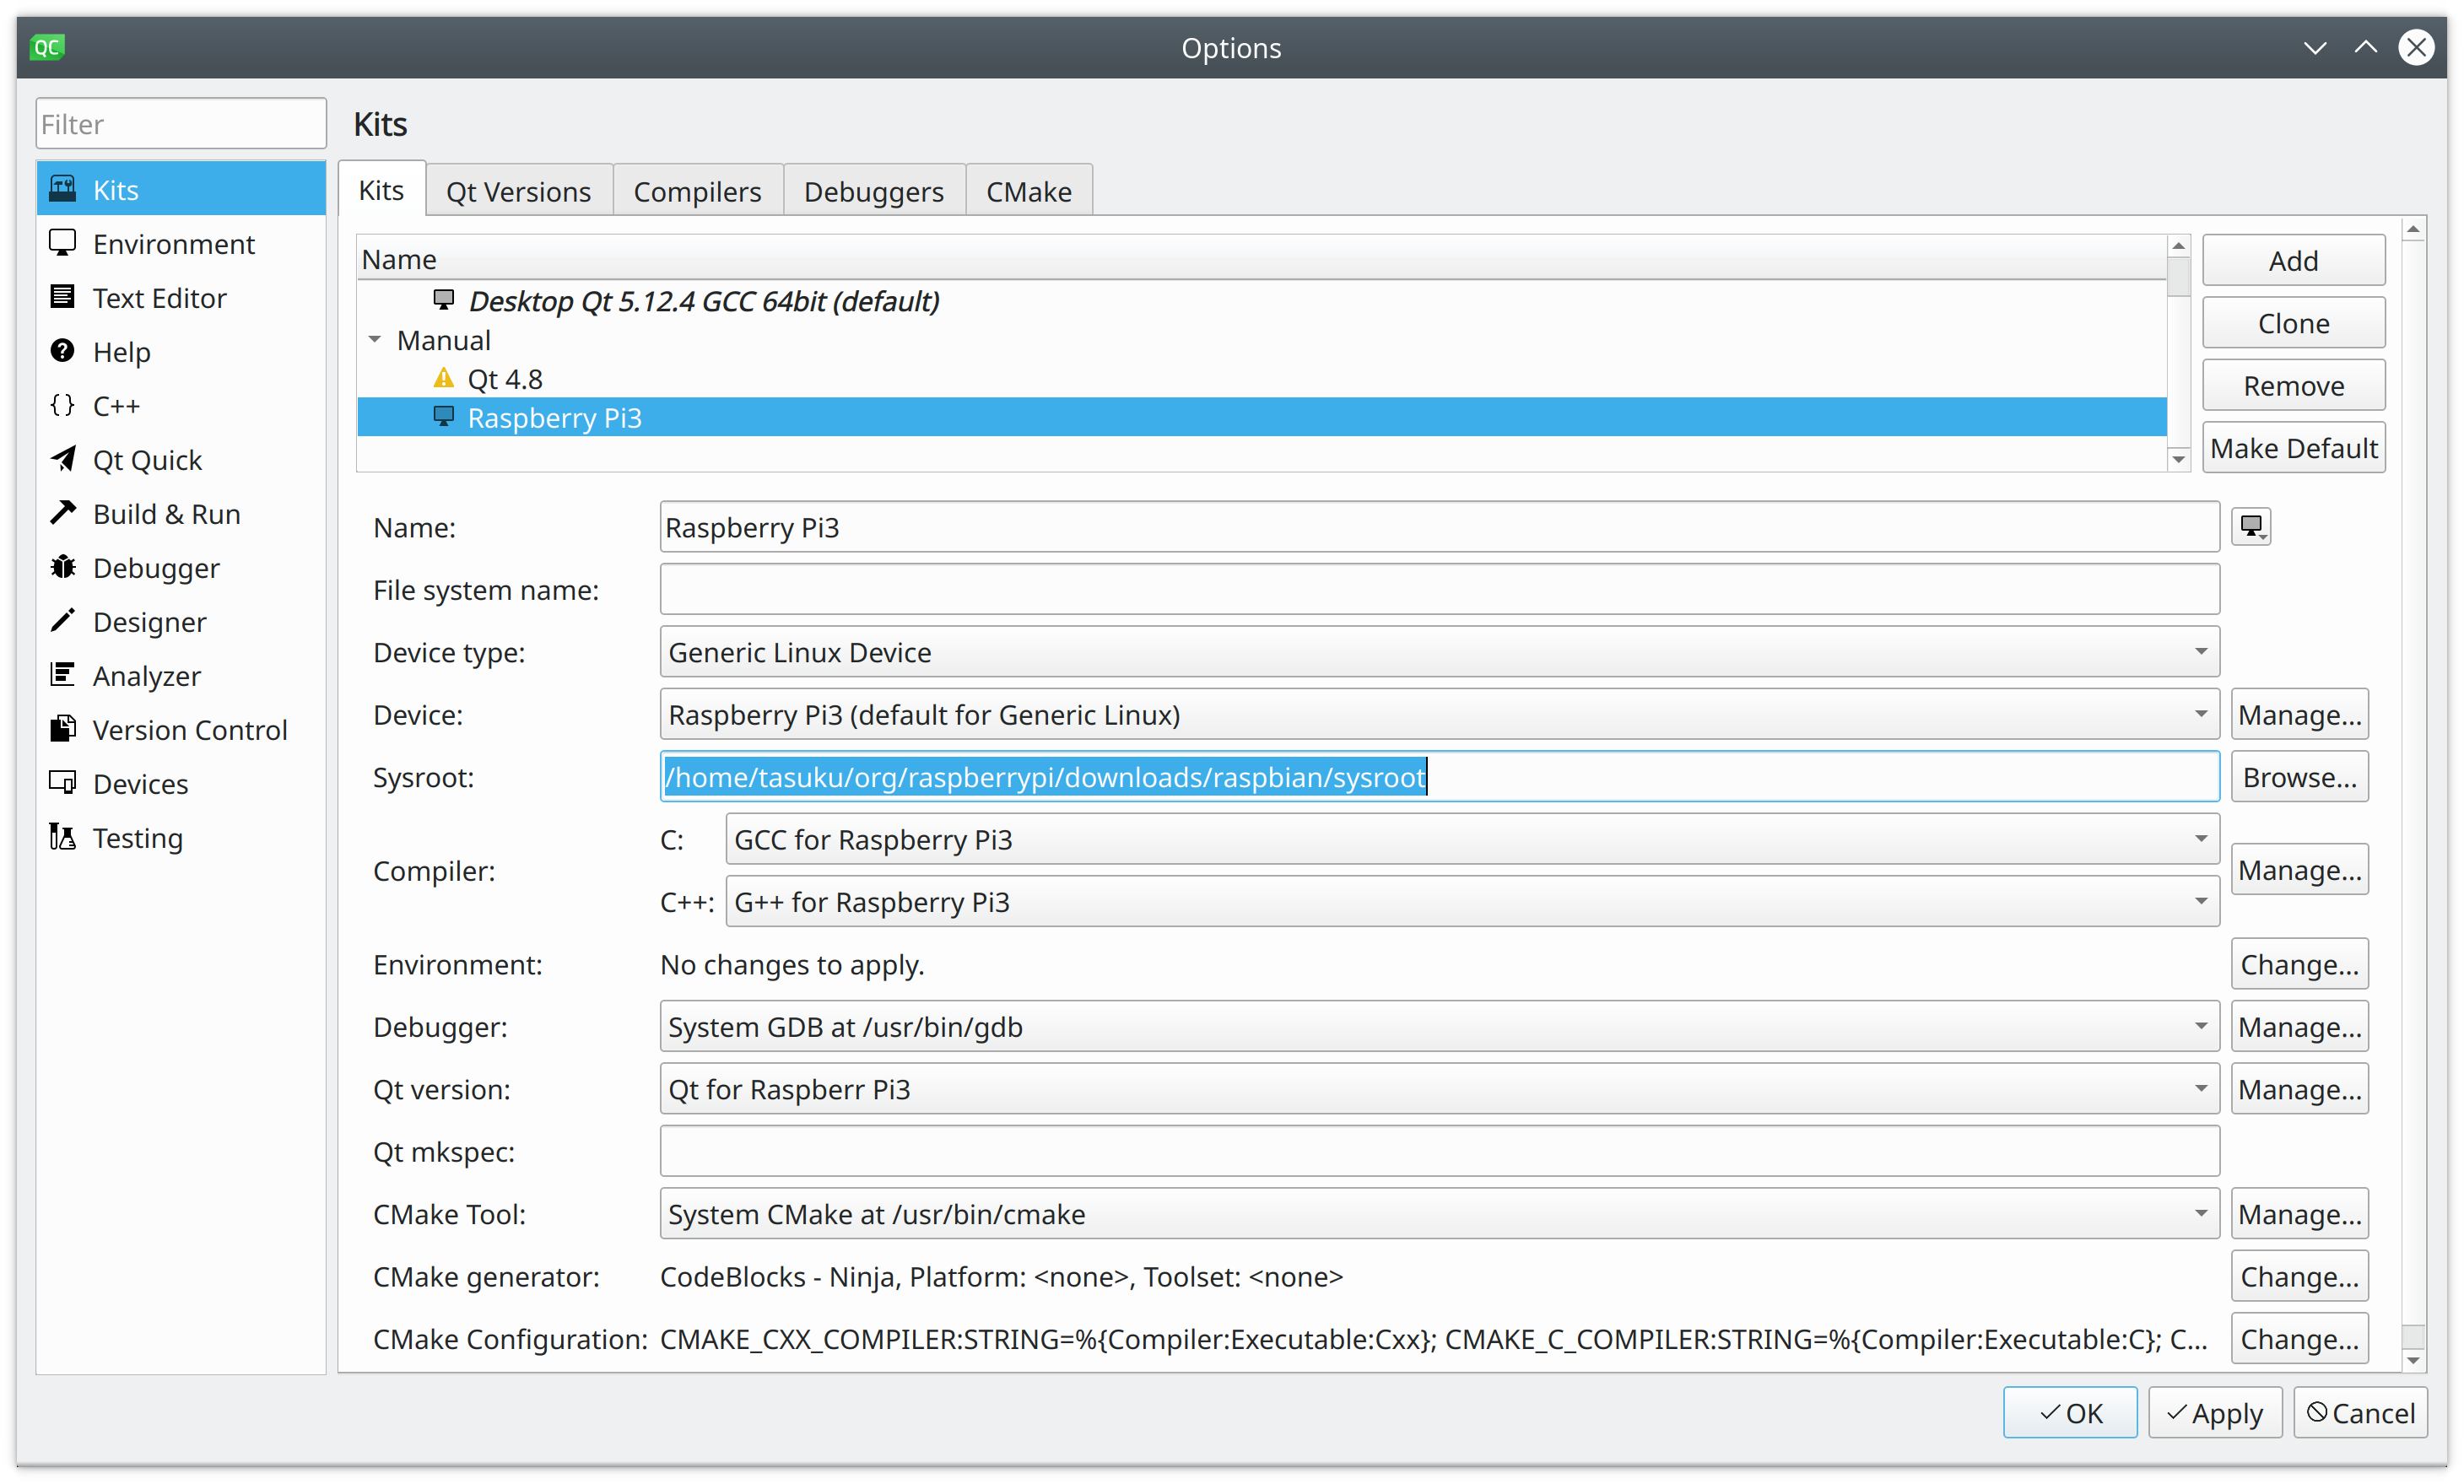
一通りの情報を選択・設定します。
OK ボタンで設定は完了です。
アプリケーションの作成
では、早速アプリケーションを作ってみましょう。
と言いたいところですが、ここでは、既存のアプリケーションを動かすことにします。
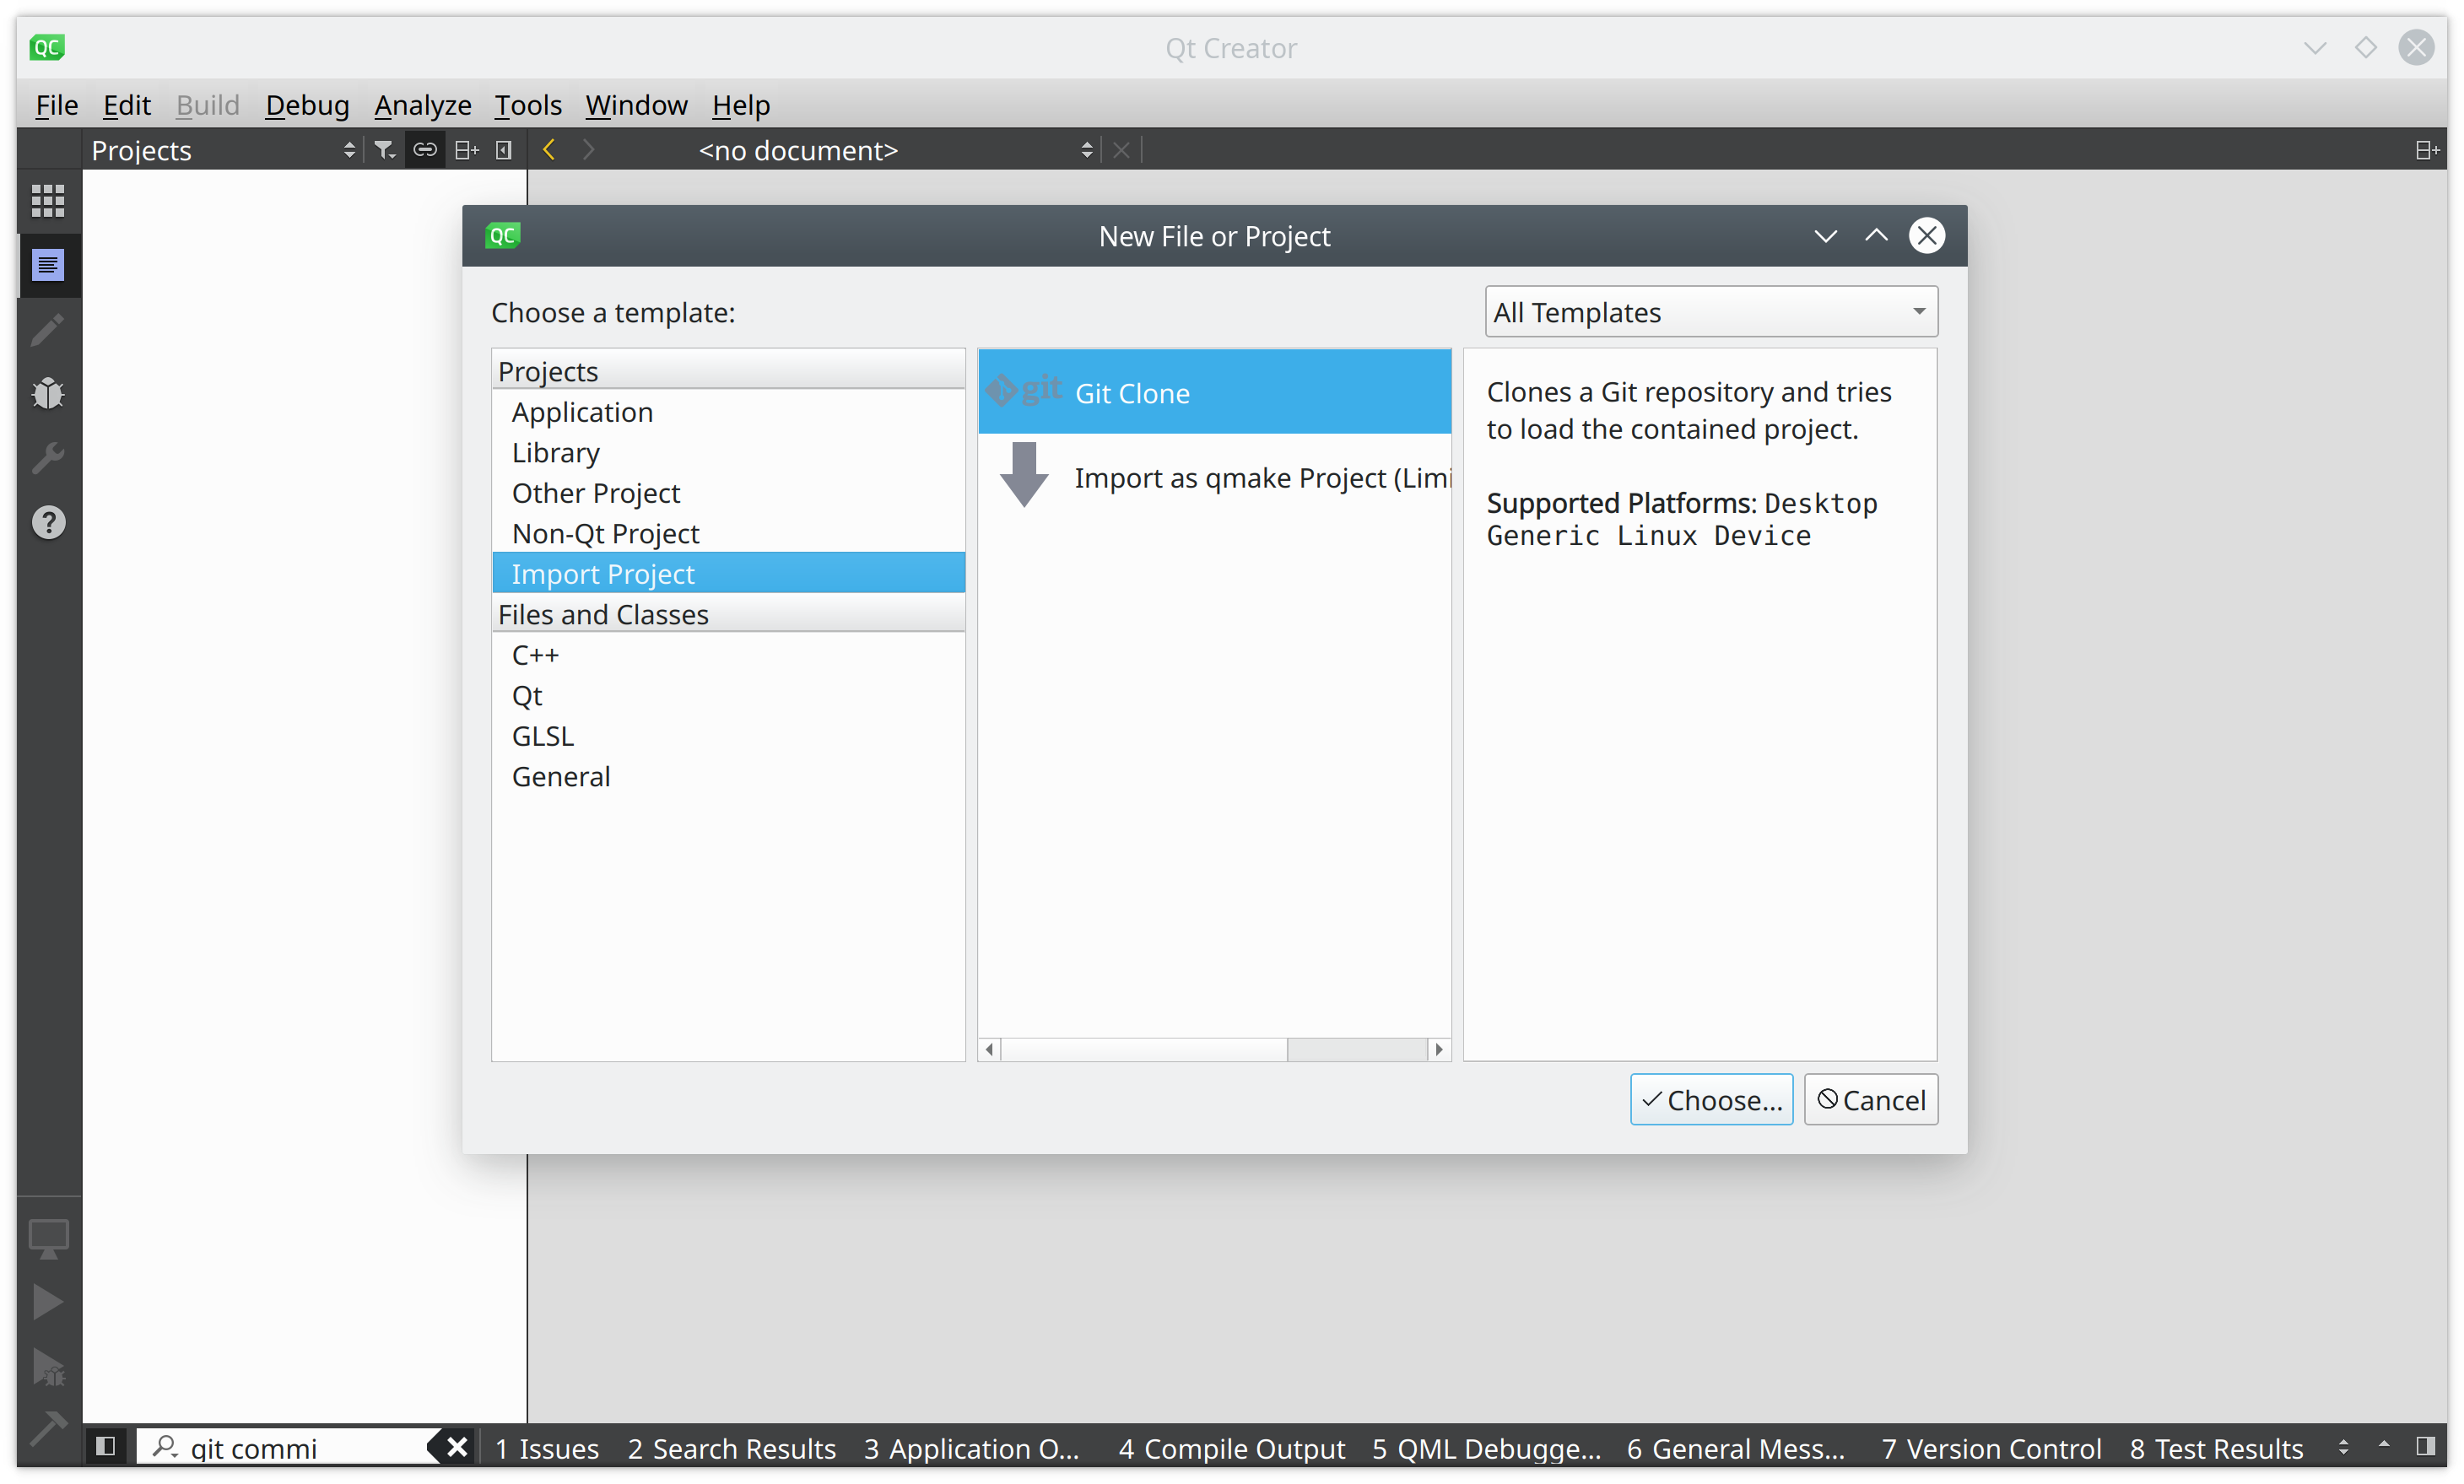
Qt Creator で、File > Open File or Project... をクリックし、Import Project > Git Clone を選択し、Choose... をクリックします。
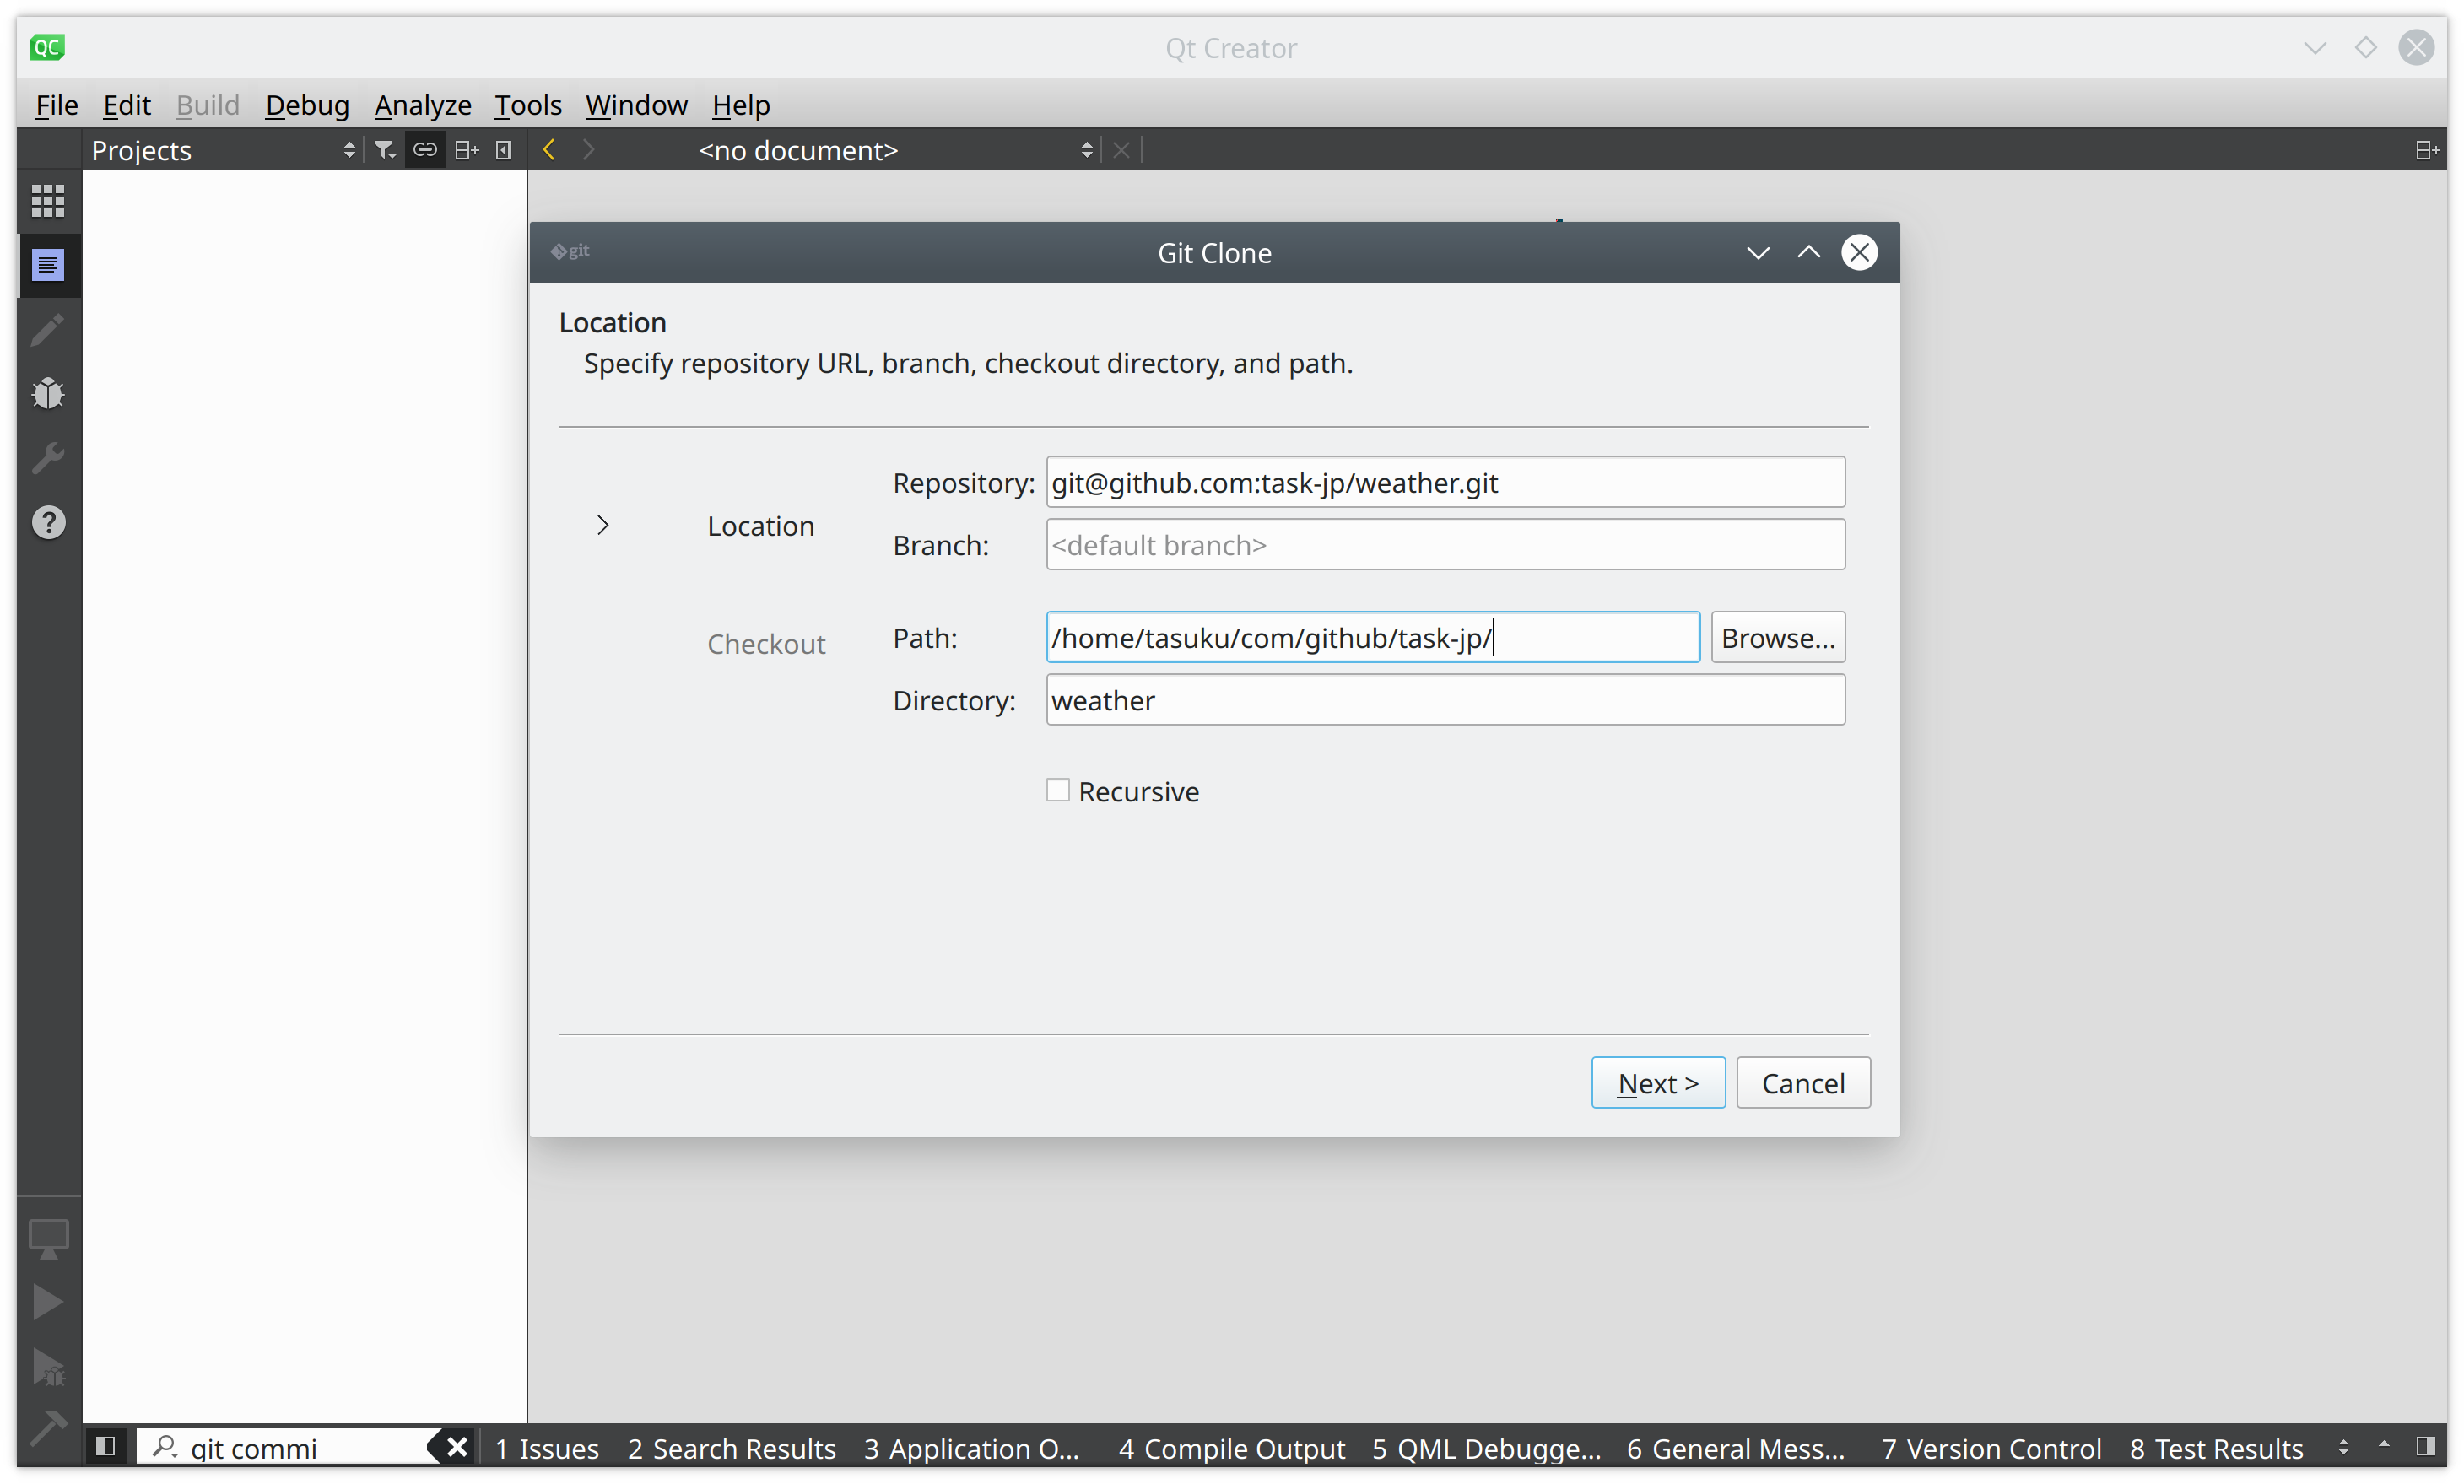
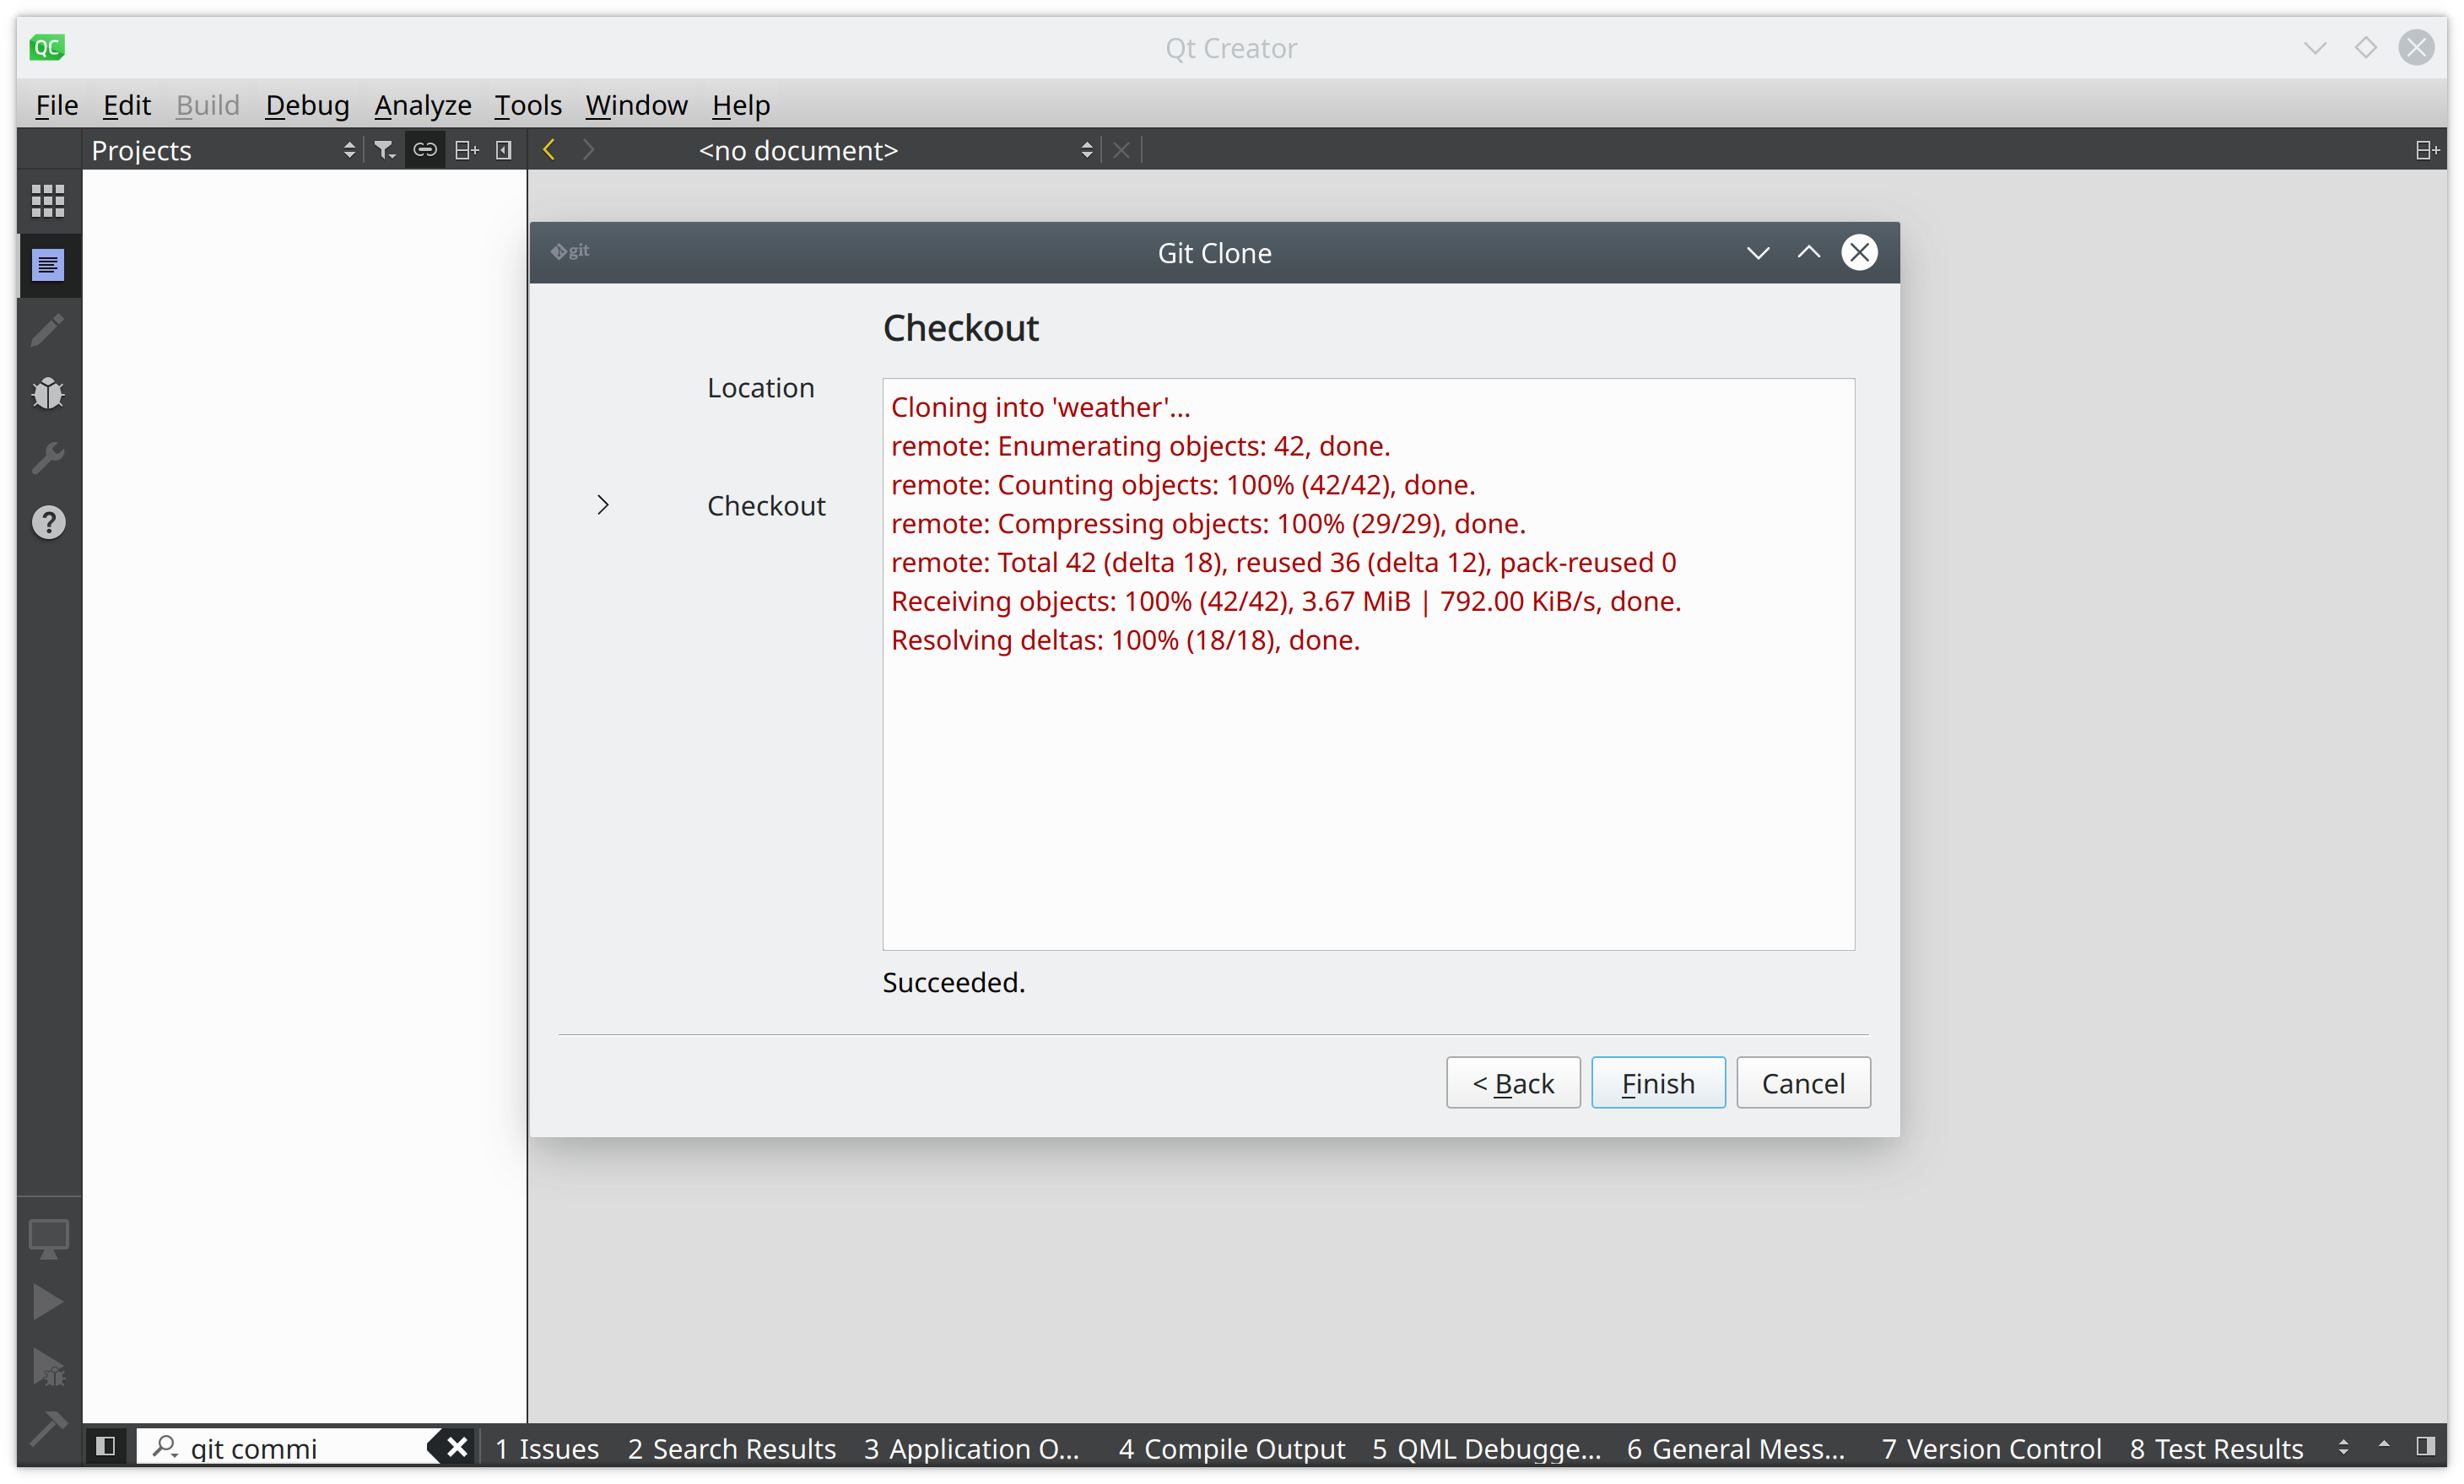
git@github.com:task-jp/weather.git (もしくは https://github.com/task-jp/weather.git) を任意のディレクトリにクローンします。
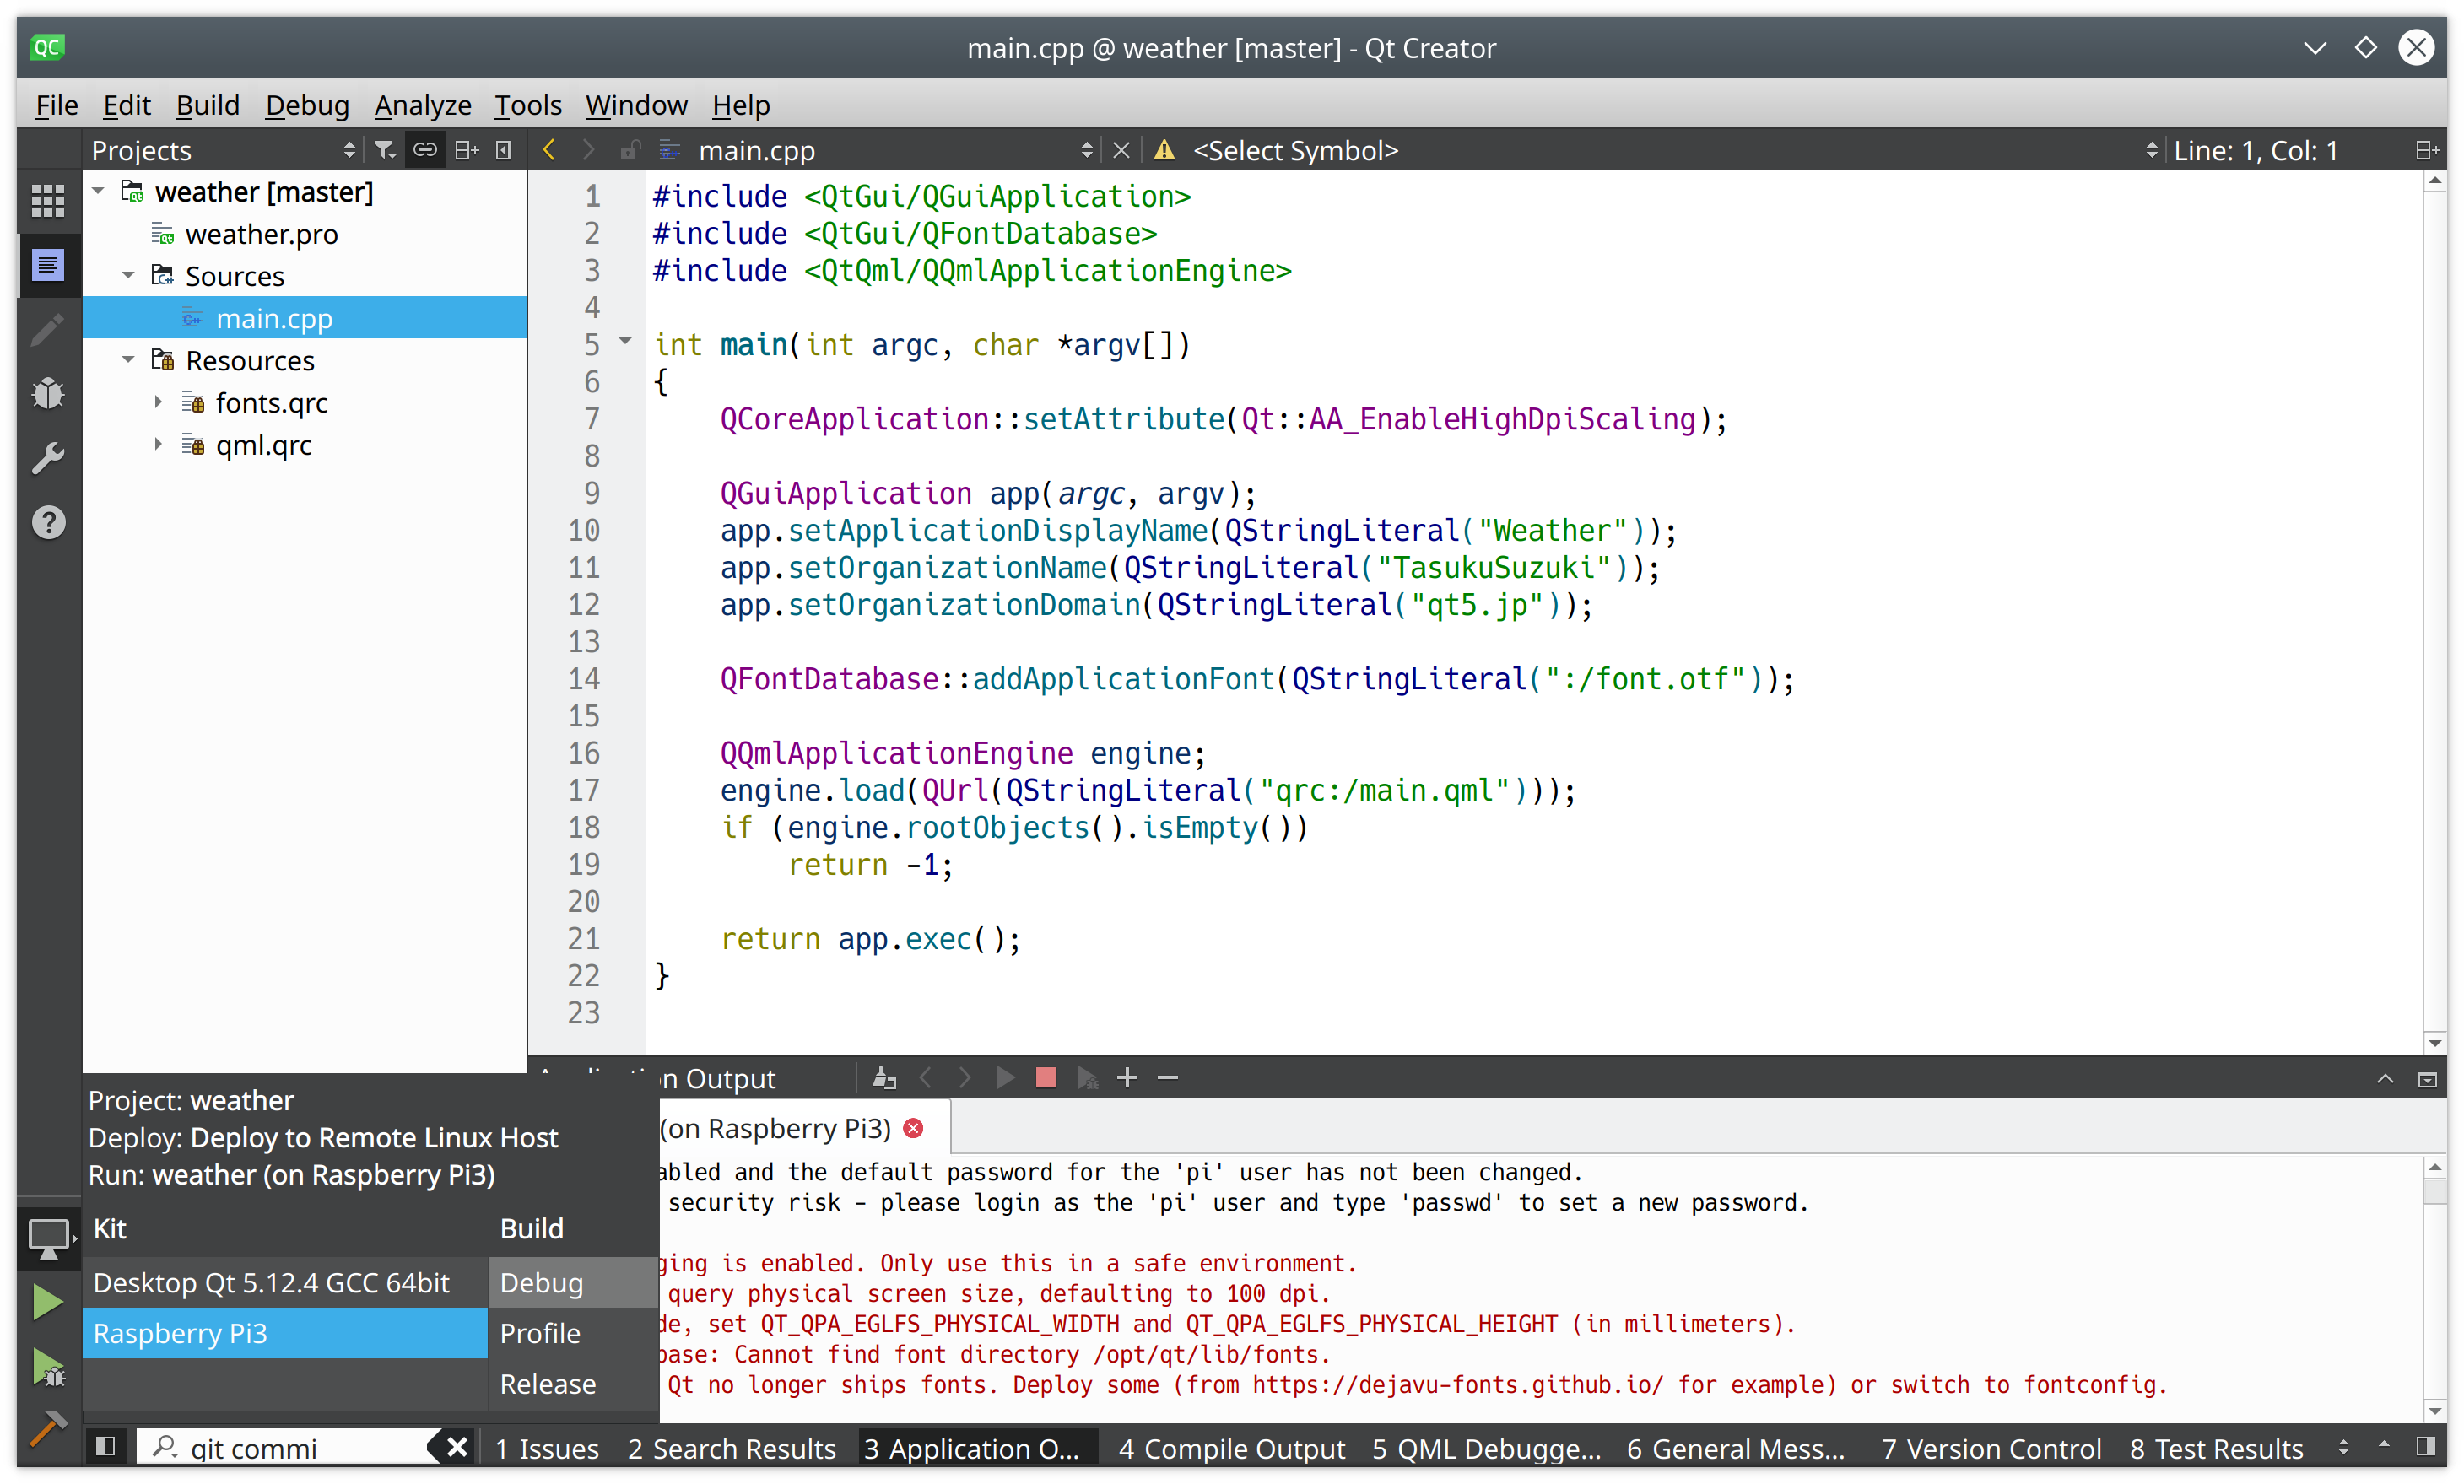
先ほど作成した Raspberry Pi3 向けの Kit を有効にしましょう。
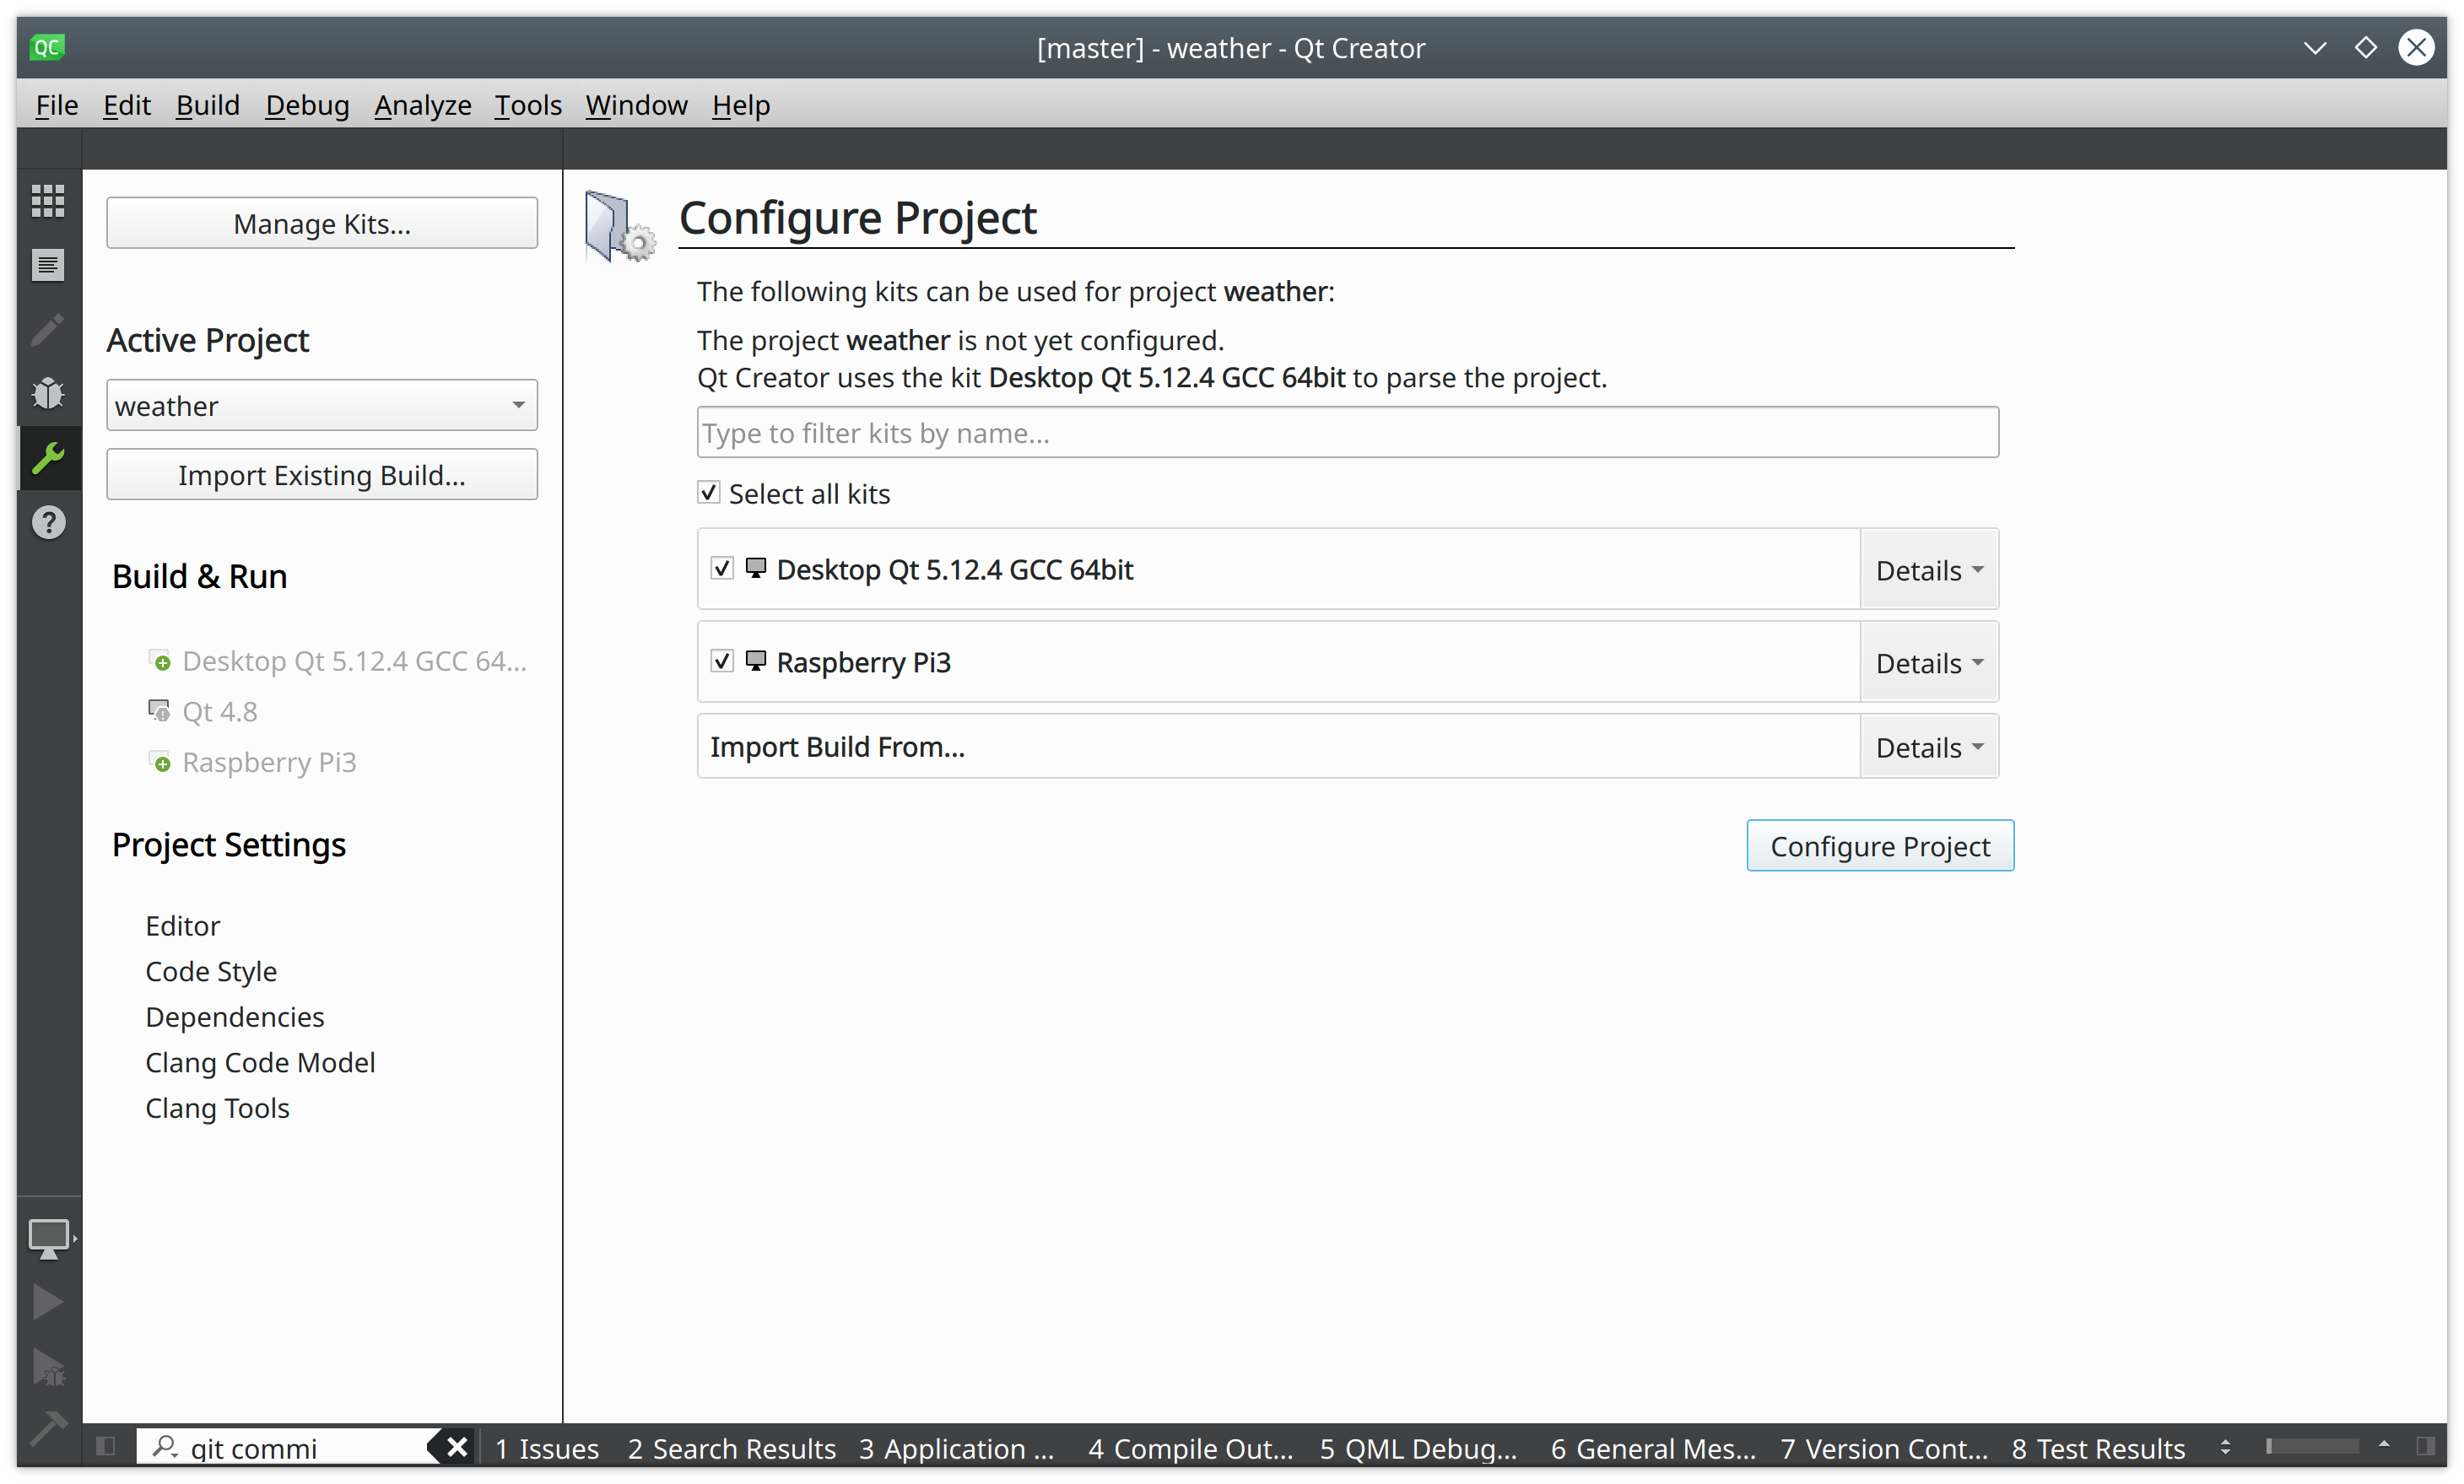
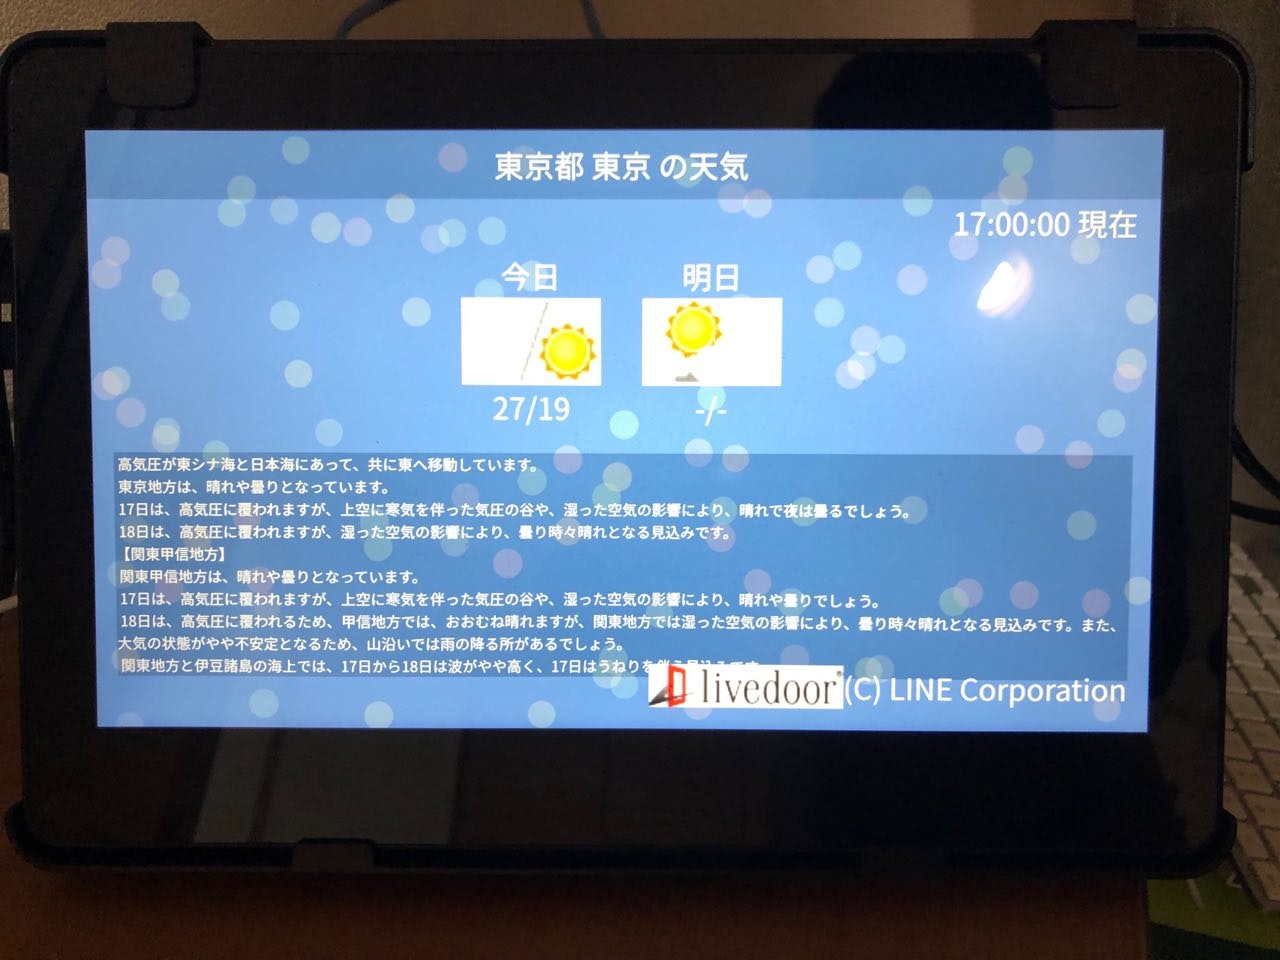
Raspberry Pi3 の Kit でビルドをし、実行してみましょう!
おわりに
Qt Creator に Raspberry Pi3 向けの設定をし、ボタン一つで実機上でアプリケーションを動作させることができました。
gdb の設定の関係で、C++ のデバッグはできていない状態ですが、QML のデバッガは利用可能になっています。
是非、色々作って実機上でサクッと動かしてみてください。