「Applibot Advent Calendar 2020」4日目の記事になります。
前日は @taratarai さんの
パッシブスキル「話しかけられ力」の作り方という記事でした!
はじめに
大学で深層学習について研究していたので、その学習データ集めの実装方法についてご紹介します。
記事の作成は初めてで、拙い説明やコードになると思いますが、温かい目で読んでいただけると幸いです。
概要
今回は3Dモデルから2D画像を自動生成する方法をご紹介します。
この実装により、1つの3Dモデルから複数の2D画像を一気に生成し、集めることを目的としています。
3Dモデルを中心に、そのモデルの周りをぐるっと移動しながら3Dモデルの画像を撮影します。
これをblenderのpython APIを使って自動で行います。
実装するツールのダウンロードからご紹介するので、Macを持っている方は今からでも始めることができると思います!
動作環境
macOS Catalina バージョン10.15.7
Python 2.7.16
流れ
1.Blenderのインストール
2.Blenderをターミナルから起動する
3.モデルのダウンロード
4.画像自動生成の実装
5.実装結果
6.問題点
7.まとめ
8.おわりに
1. Blenderのインストール
こちらにアクセスして以下のページに移動します。
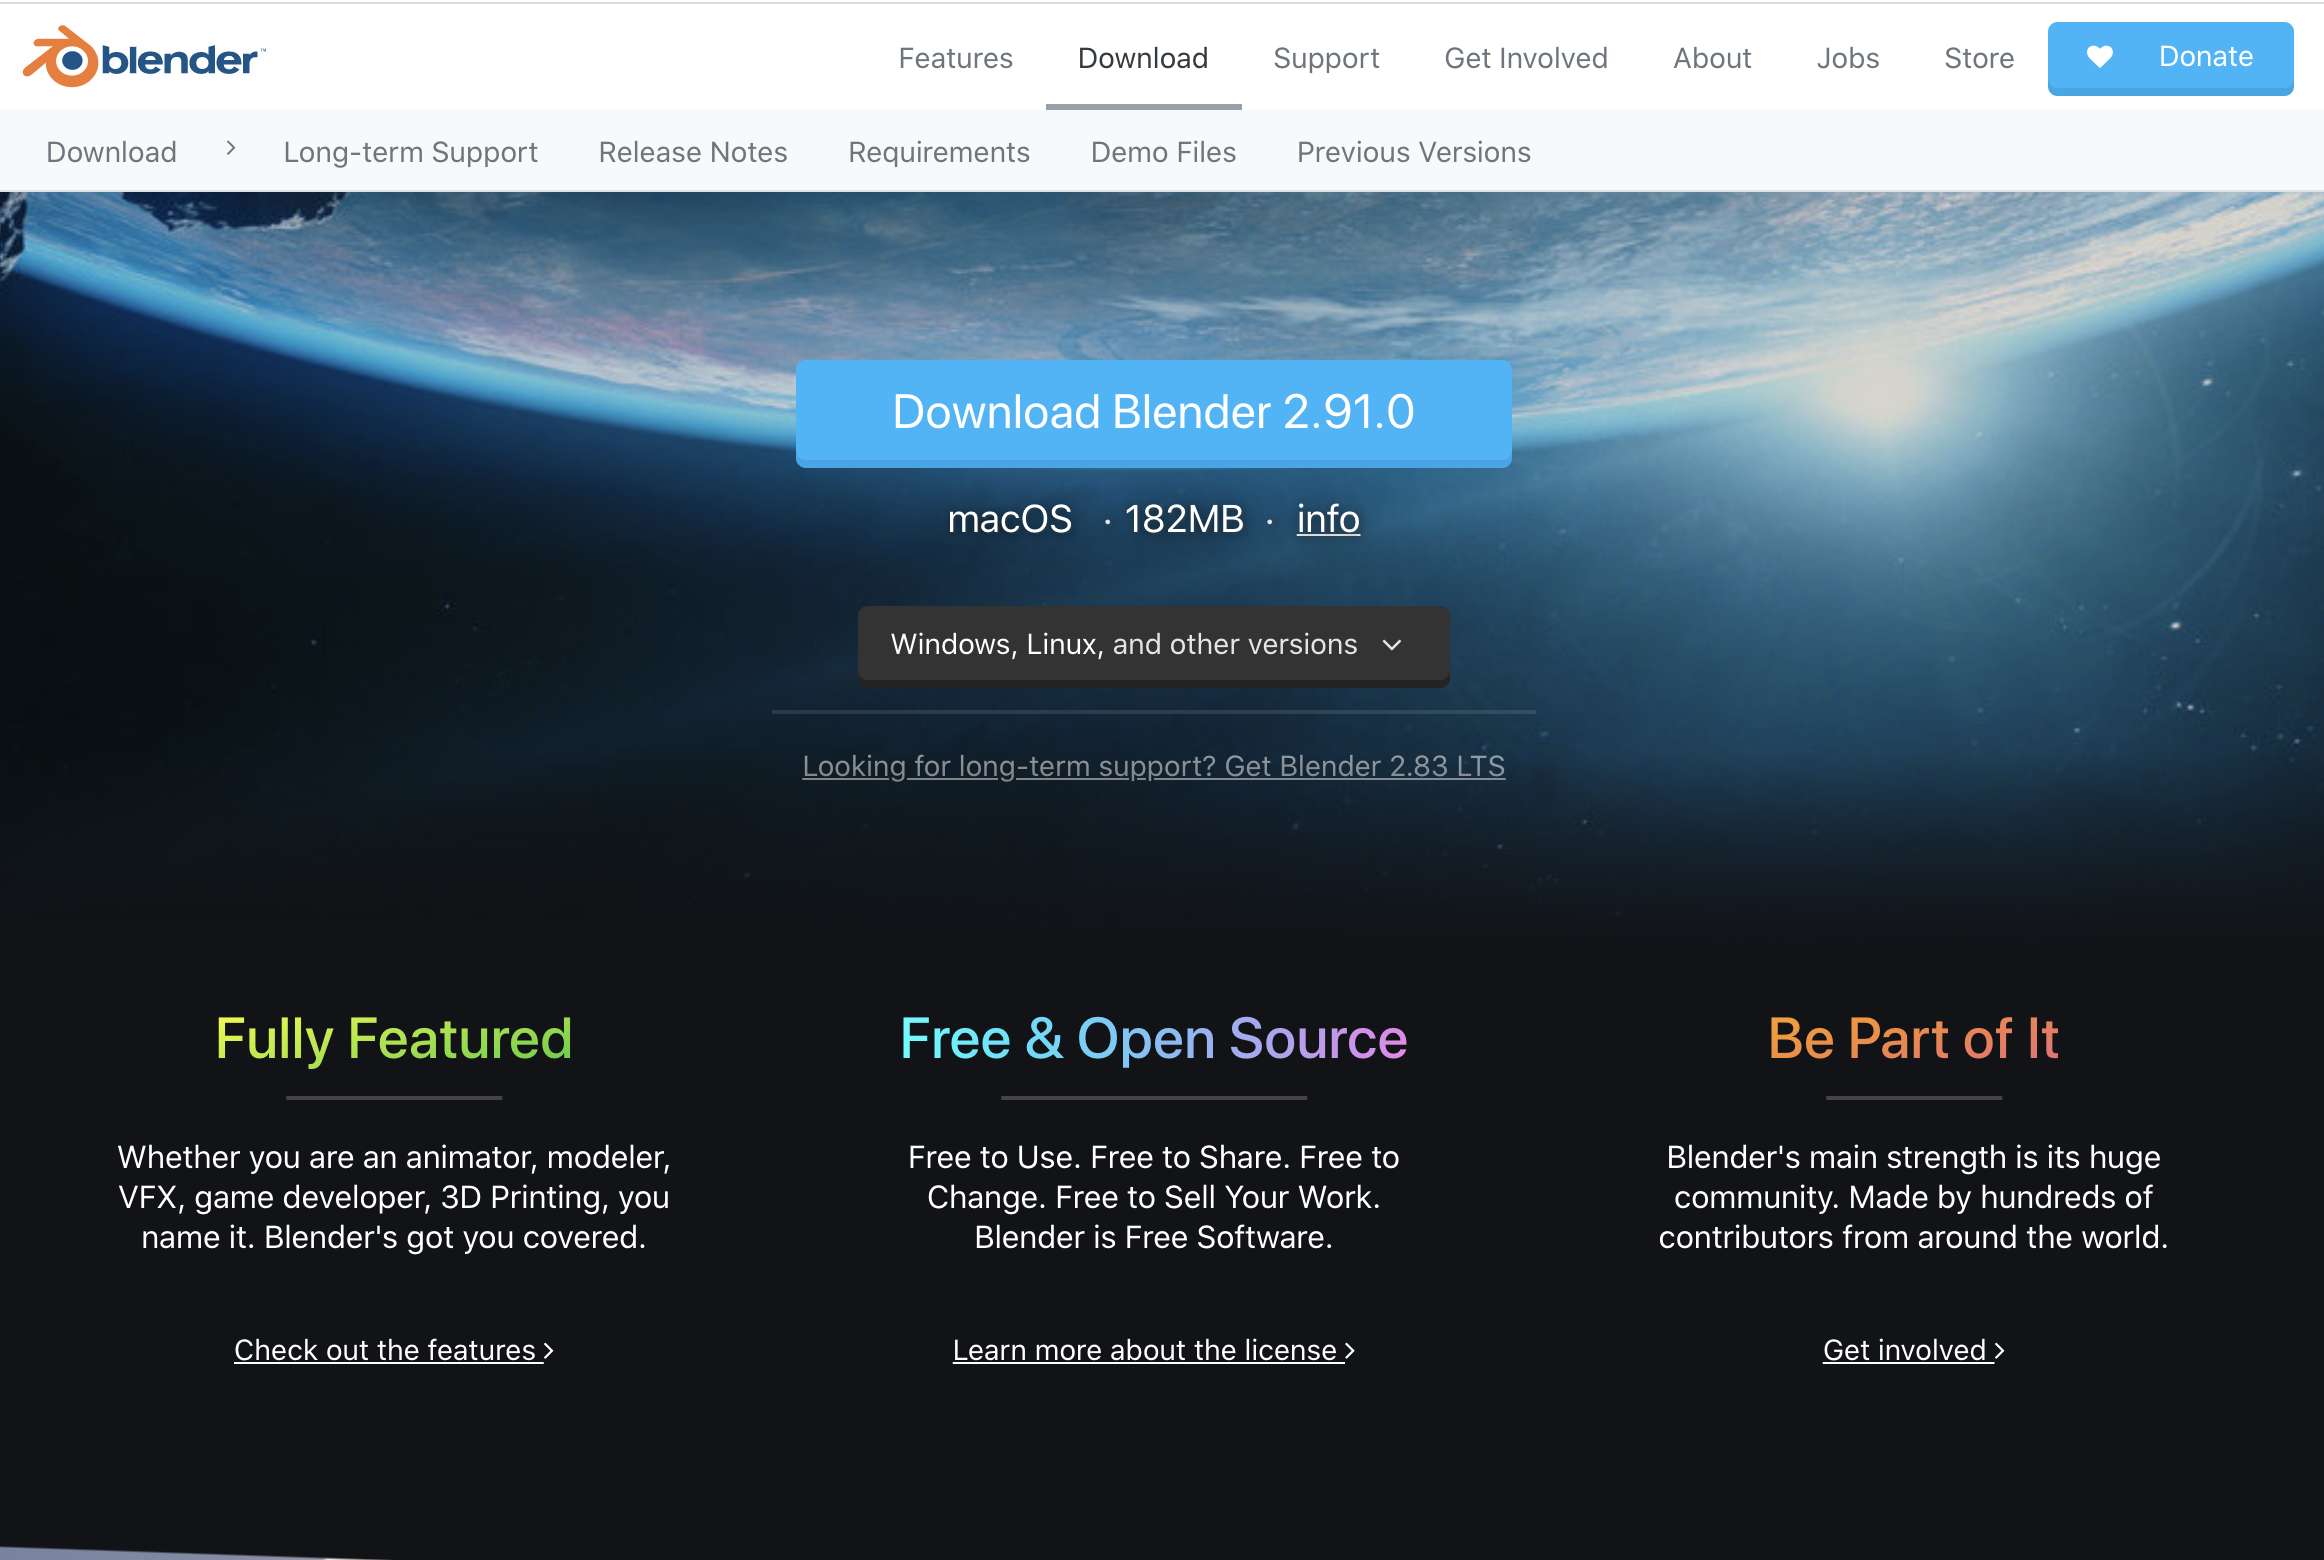
[Download Blender 2.91.0]をクリックしダウンロードしてください。
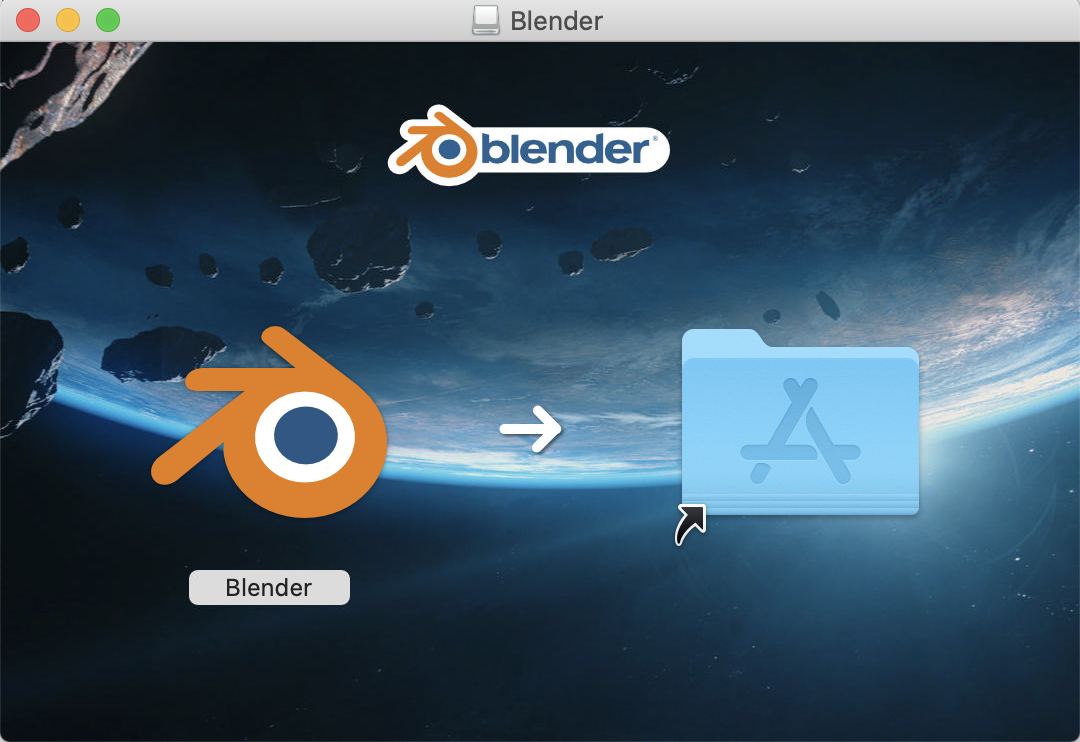
上の画像よりBlenderアイコンをドラッグし、ファイルをコピーしてください。
アプリケーションをクリックして上の画像のように起動できる状態にしたらインストール完了です。
2. Blenderをターミナルから起動する
コードで自動生成する上でターミナルで起動する必要があります。
そのために、ターミナル(bash)で起動できる環境の設定を行います。
以下のコマンドでBlenderが起動すると思います。
※違う場合はFinder内のアプリアイコン右クリック>[パッケージ内容を表示]で開かれるファイルの場所を確認できます。
$ /Applications/Blender.app/Contents/MacOS/Blender
これを以下で起動するように設定します。
$ blender
ターミナルでの起動はこちらの記事に書かれている流れで進めました。
以下のコマンドでvimで~/.bashrcを開きます。
$ vim ~/.bashrc
~/.bashrcに以下のコードを追加
alias blender='/Applications/Blender.app/Contents/MacOS/Blender'
以下を入力で更新
$ source .bashrc
これで以下のコマンドで起動できる状態になりました。
$ blender
3. モデルのダウンロード
3Dモデルについては事前にこちらのサイトからモデルをダウンロードしました。
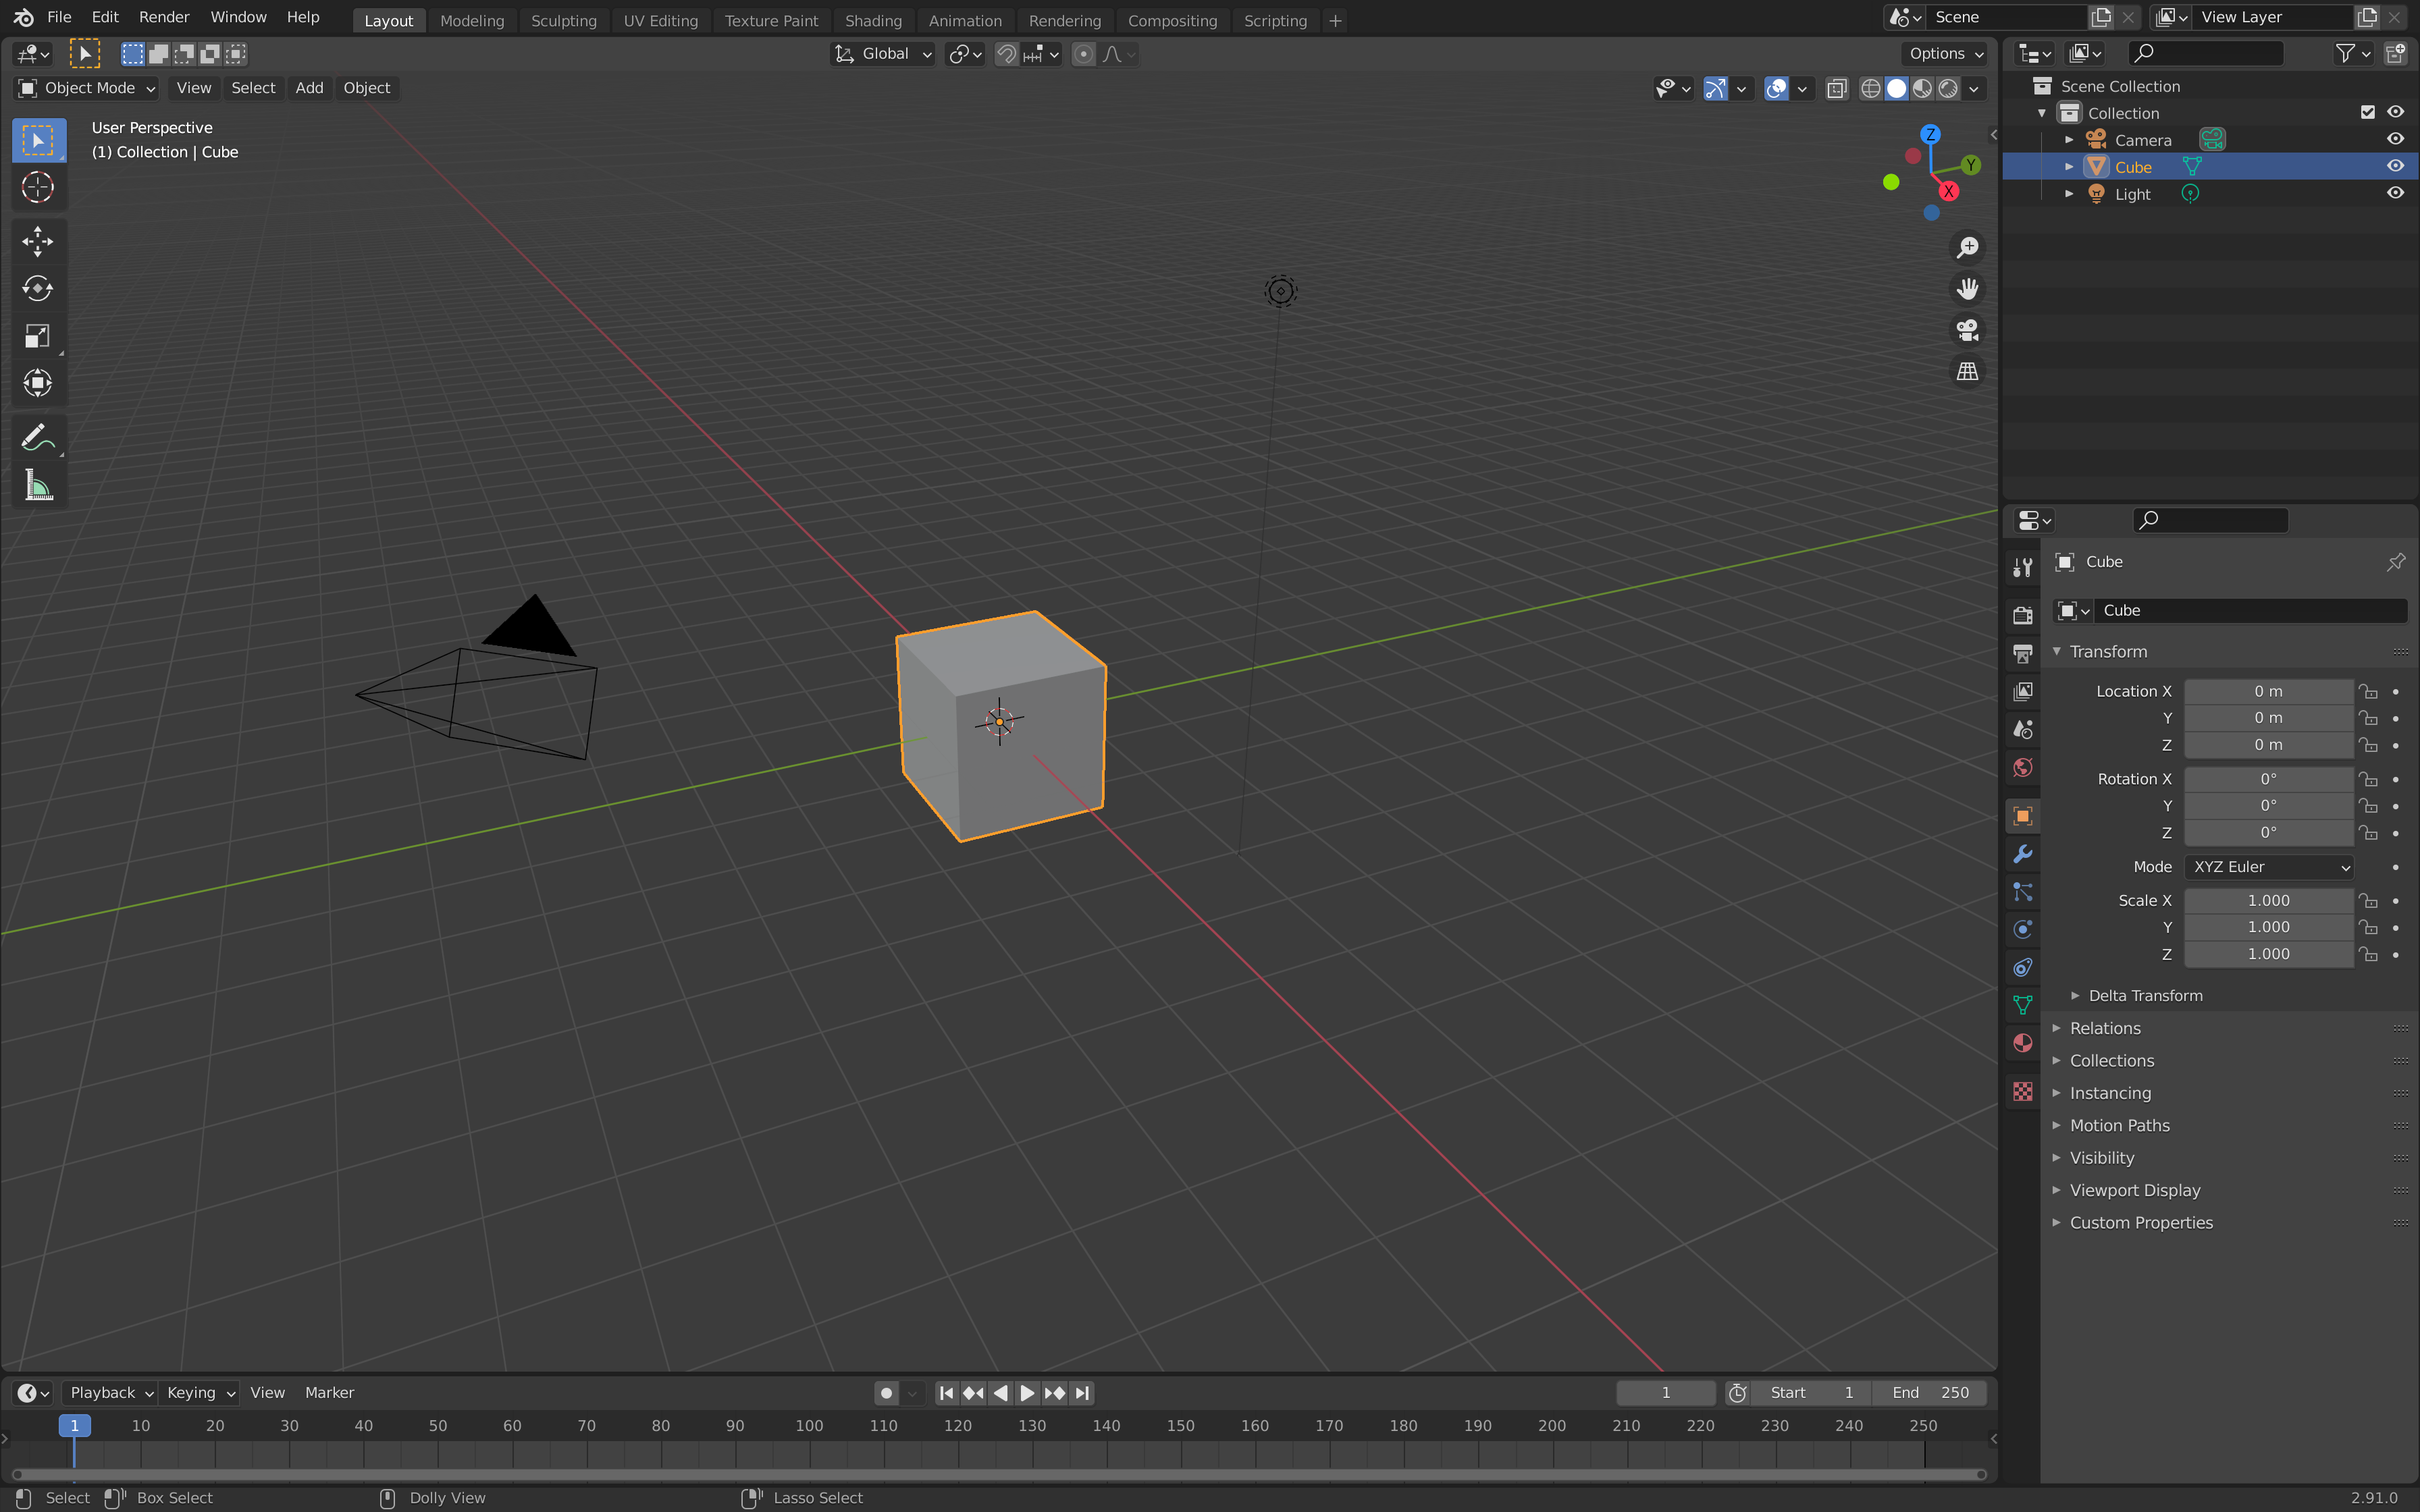
.blendファイルを開くとこんな感じで表示されます。
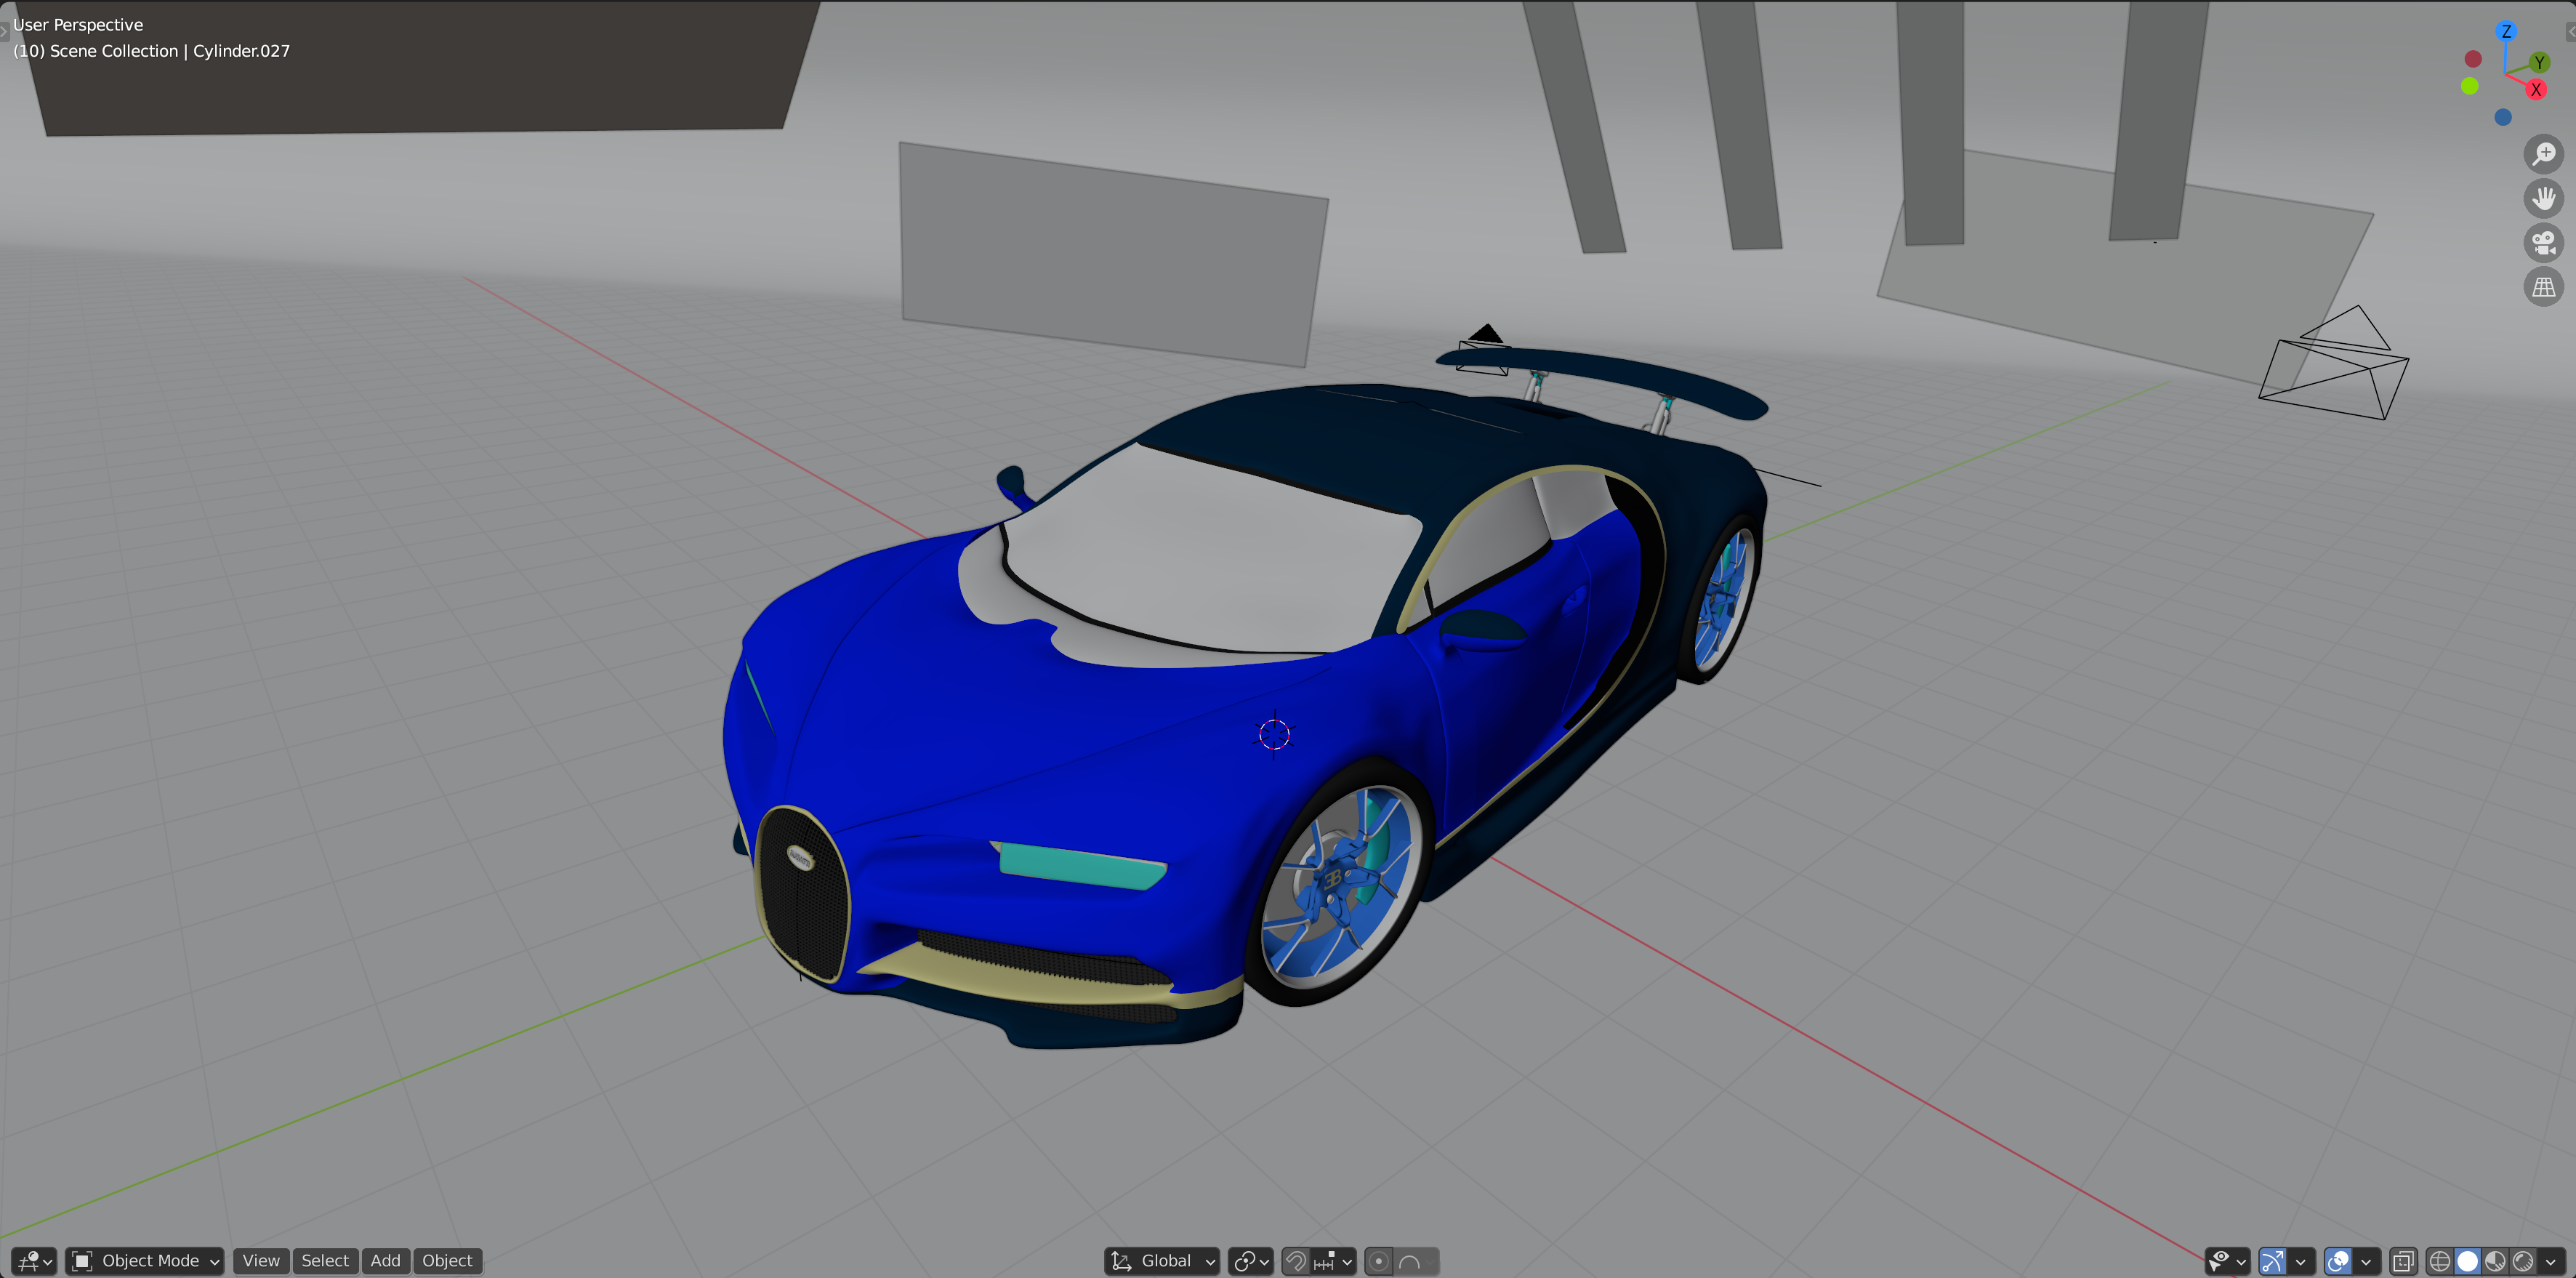
今回はobjファイルを使用します。
4. 画像自動生成の実装
以下のスクリプトを作成してください。
import bpy
import numpy as np
import os
import re
def object_shift(object, locate_x, locate_y, locate_z, rotate_x, rotate_y, rotate_z):
'''-----------------------
関数obj_shiftの役目
object:移動したいオブジェクト
locate_xyz:移動座標
rotate_xyz:変更方向
------------------------'''
obj = object
obj.location.x = locate_x
obj.location.y = locate_y
obj.location.z = locate_z
obj.rotation_euler[0] = rotate_x
obj.rotation_euler[1] = rotate_y
obj.rotation_euler[2] = rotate_z
def rendering(camera_num,size):
'''-----------------------
camera_num:正の整数:カメラの角度
size:配列:画像サイズ
-----------------------'''
scene = bpy.context.scene
scene.render.resolution_x = size[0]
scene.render.resolution_y = size[1]
scene.render.resolution_percentage = 100
#カラー表示
scene.render.image_settings.color_mode = 'RGBA'
#背景が白っぽくなる?
bpy.data.worlds["World"].node_tree.nodes["Background"].inputs[0].default_value = (1.0, 1.0, 1.0, 1)
#レンダリングの処理で終わるまで次の実行はできない
bpy.ops.render.render()
bpy.data.images['Render Result'].save_render(filepath = os.path.dirname(os.path.abspath(__file__)) + '/image/' + str("{0:03d}".format(camera_num)) +'.jpg')
if __name__ == "__main__":
#カメラ以外のオブジェクト削除
for item in bpy.data.objects:
item_name = item.name
if(item_name != "Camera"):
bpy.data.objects.remove(item)
for item in bpy.data.meshes:
bpy.data.meshes.remove(item)
for item in bpy.data.materials:
bpy.data.materials.remove(item)
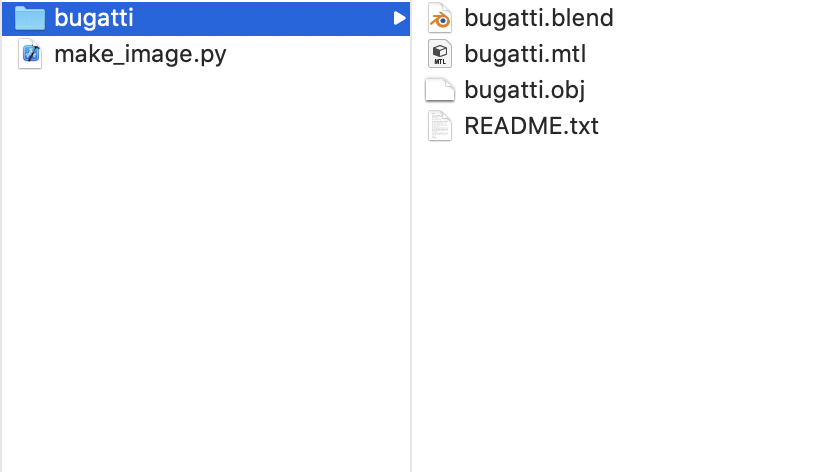
# path取得
path = os.path.dirname(os.path.abspath(__file__)) + '/' + 'bugatti' + '/'
# オブジェクトファイルの名前の取得
file_list = os.listdir(path)
# 'obj'がつくデータobj_listに追加
obj_list = [item for item in file_list if item[-3:] == 'obj']
item = obj_list[0]
full_path_to_file = os.path.join(path, item)
#オブジェクトを配置
bpy.ops.import_scene.obj(filepath=full_path_to_file, axis_forward='X', axis_up='Y')
#設定
objectfile_name = 'bugatti' #変換したいオブジェクトが入ったファイル名
rendering_count = 36 #1つのオブジェクトごとに作成する画像の数
image_size = [512,512] #作成する画像サイズ
rendering_distance = 25 #オブジェクトとカメラの距離
camera_height = 2 #カメラの高さ
# カメラの取得
obj = bpy.data.objects["Camera"]
# カメラを回しながら画像をレンダリング
for camera_num in range(rendering_count):
rad = camera_num * np.pi * 2 / rendering_count
object_shift(obj, rendering_distance * np.cos(rad),rendering_distance * np.sin(rad)+2,camera_height,np.pi/2,0,rad + np.pi/2)
rendering(camera_num=camera_num,
size =image_size)
# blenderを終了
bpy.ops.wm.quit_blender()
スクリプトを作成したディレクトリで以下をターミナルで実行
$ blender -P make_image.py
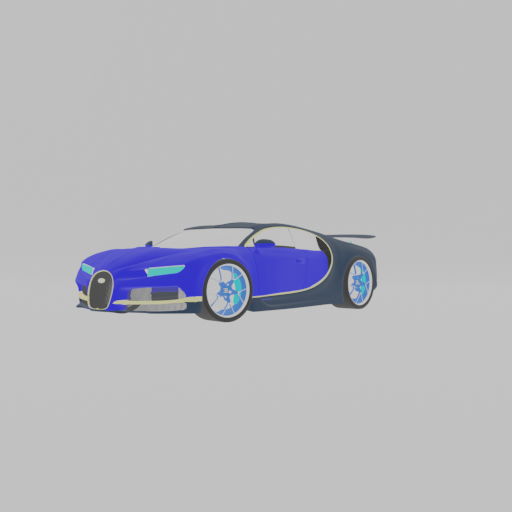
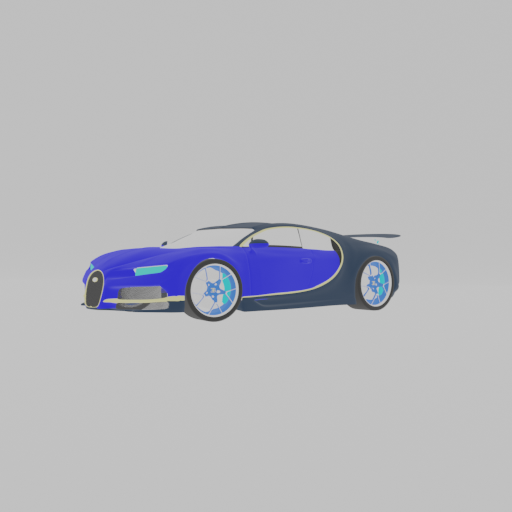
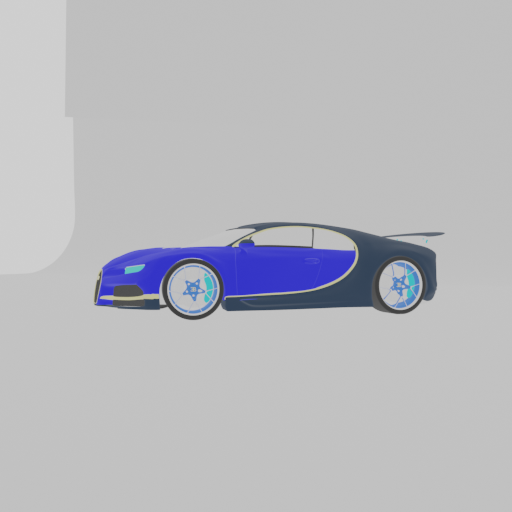
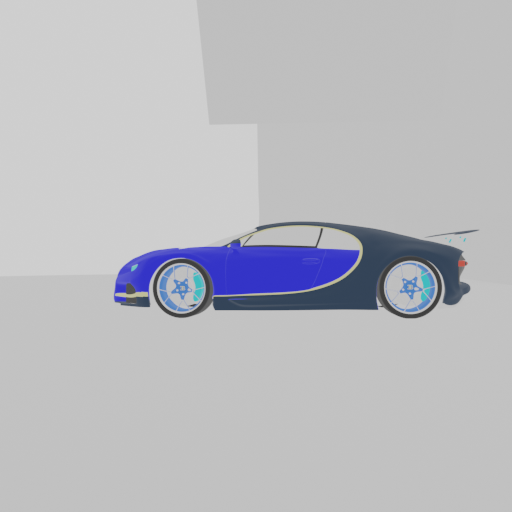
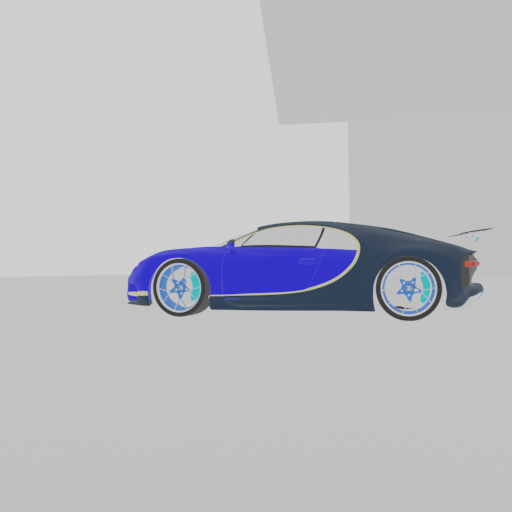
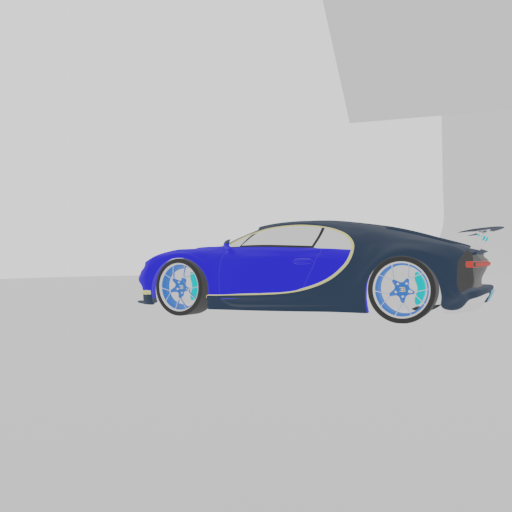
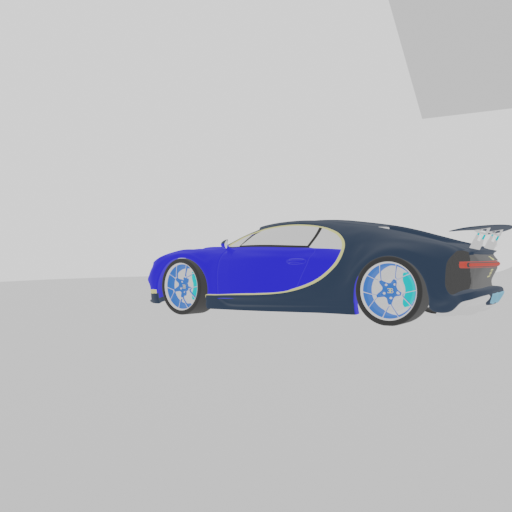
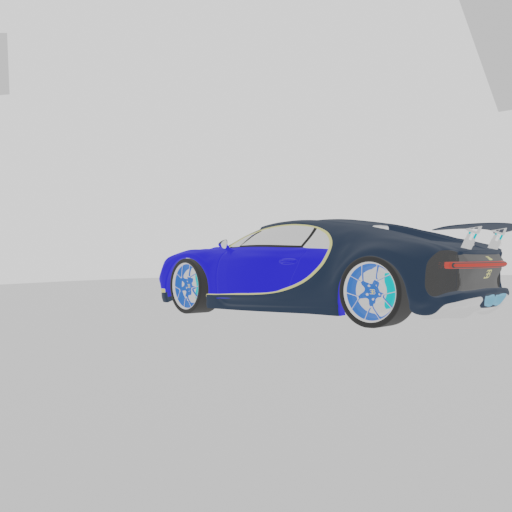
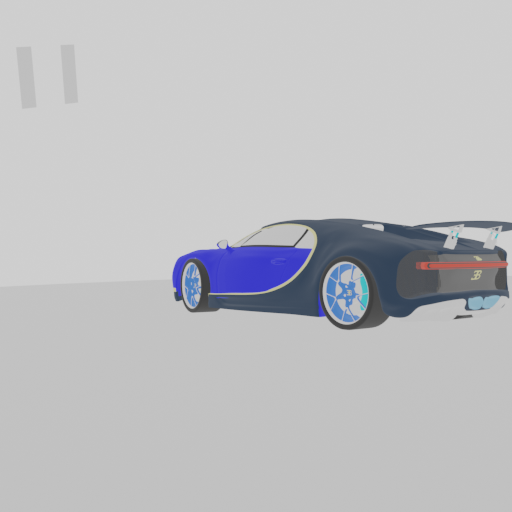
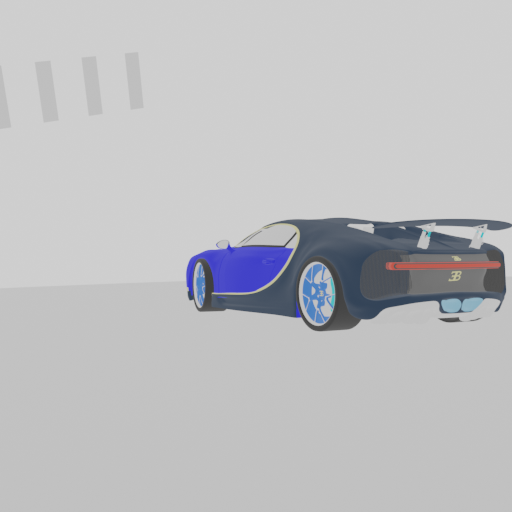
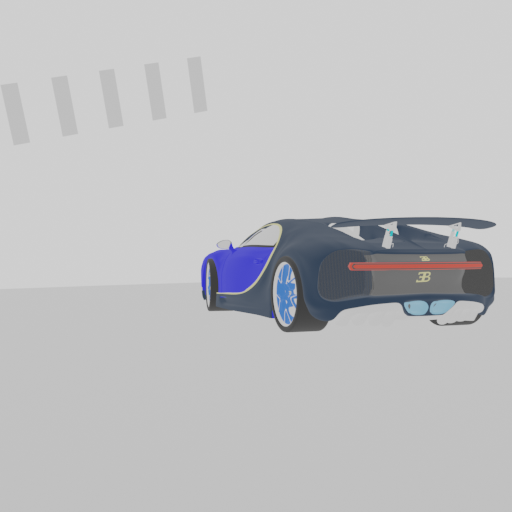
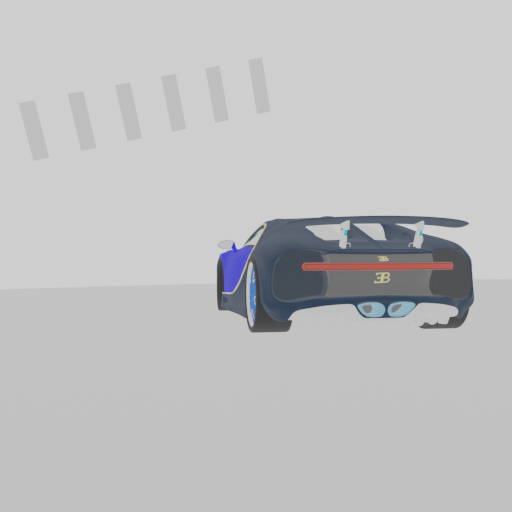
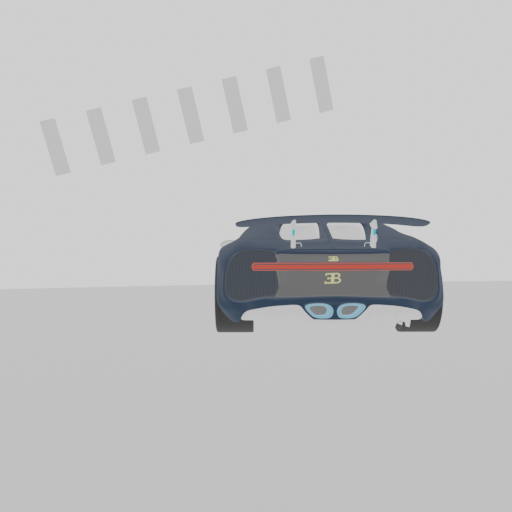
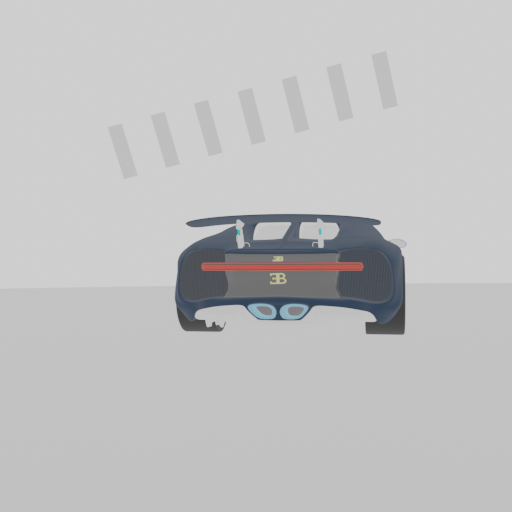
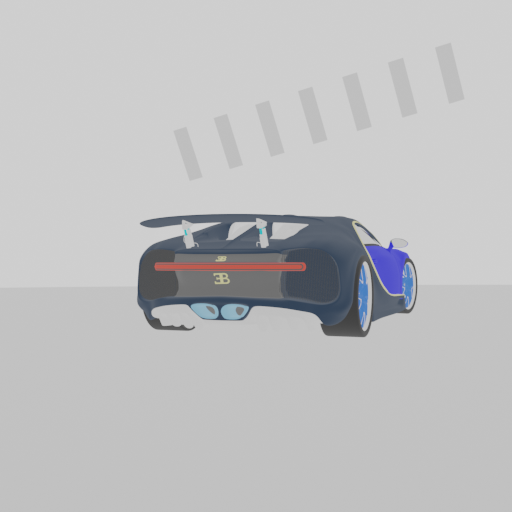
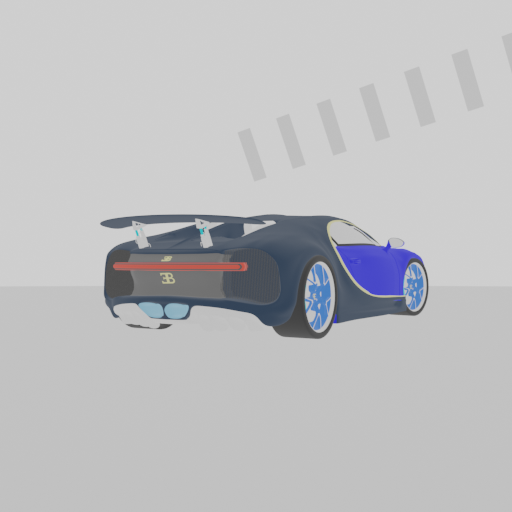
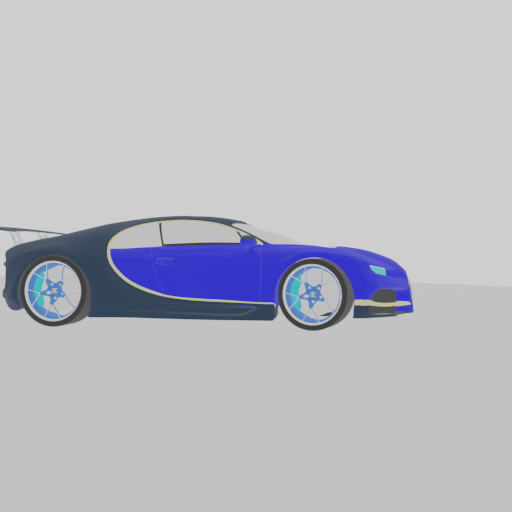
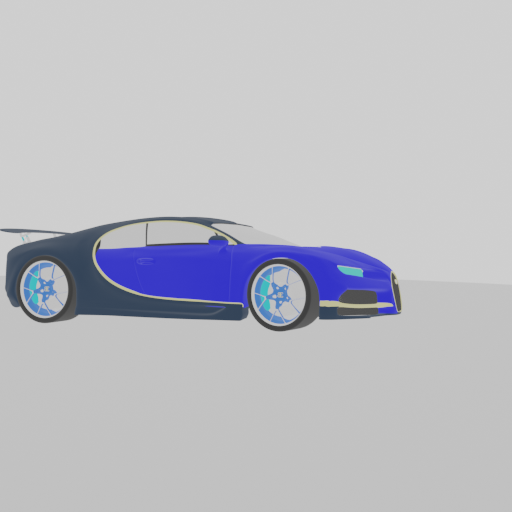
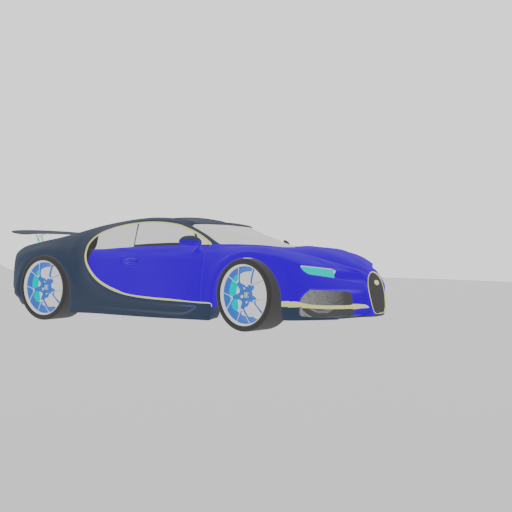
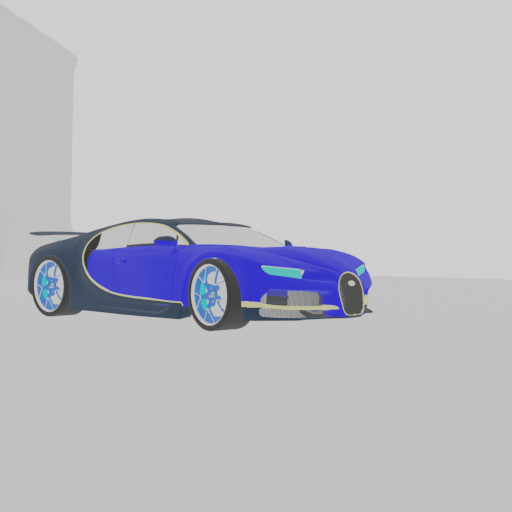
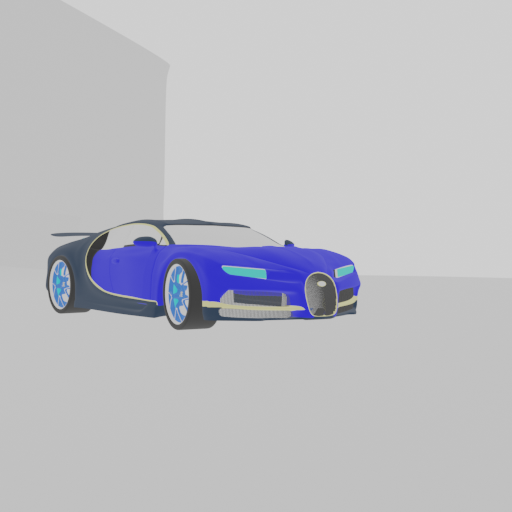
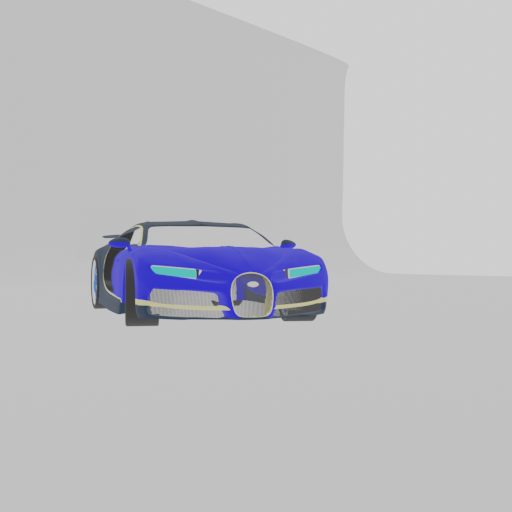
5. 実装結果
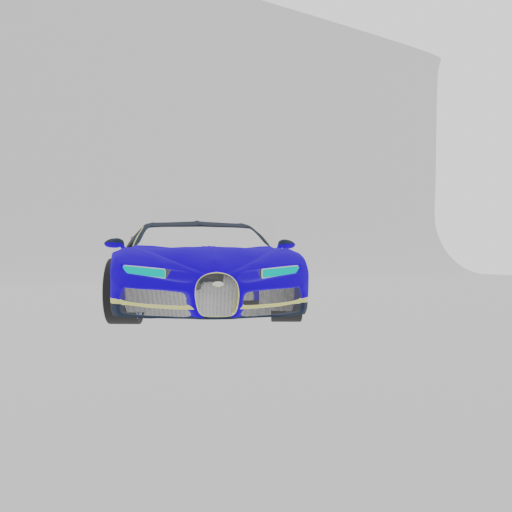
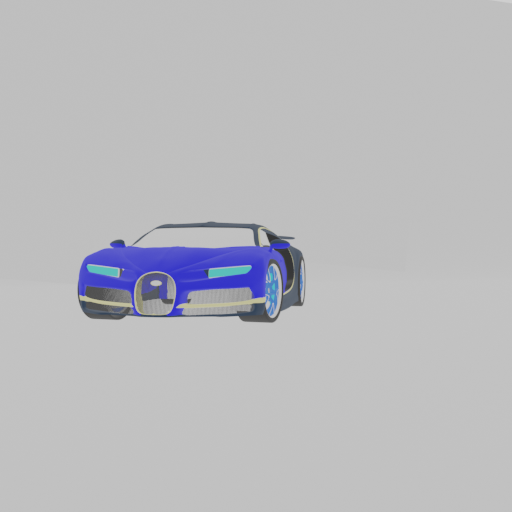
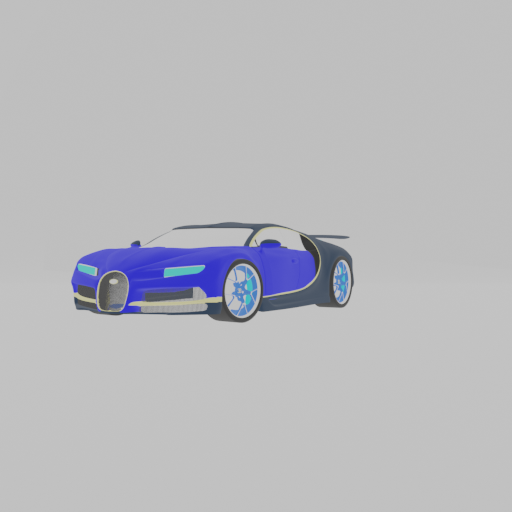
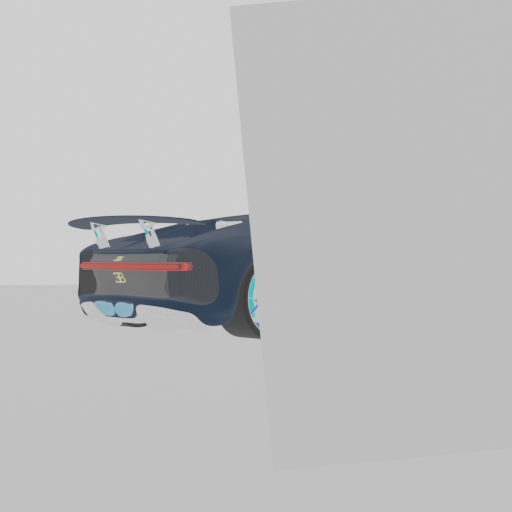
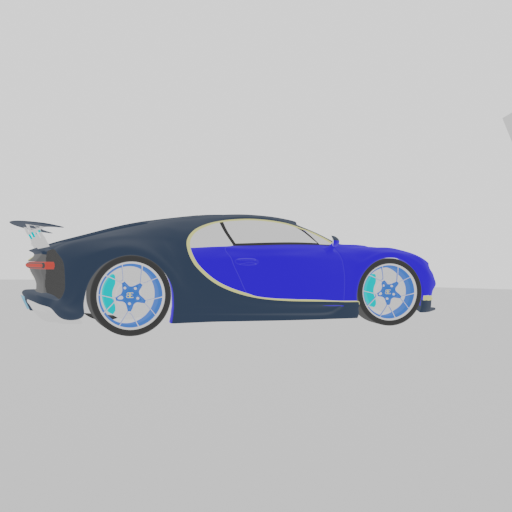
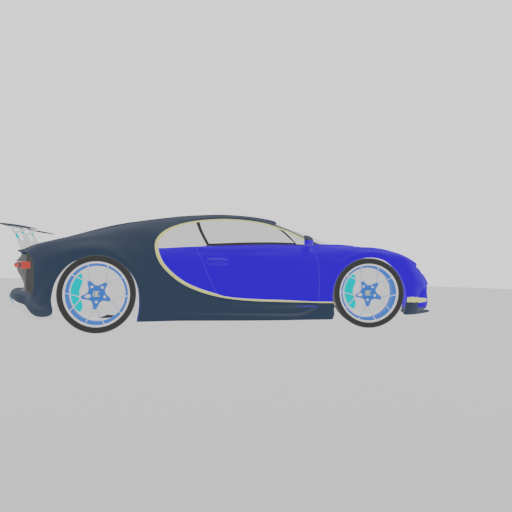
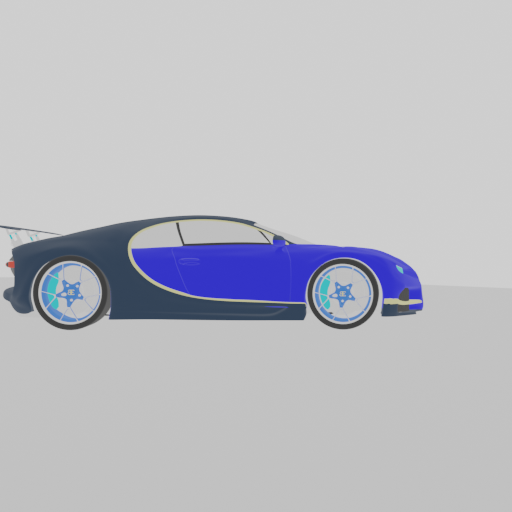
生成した画像が以下になります。
今回使った3Dモデルがオブジェクト単体ではなかったので、背景オブジェクトが配置されているせいで一部の角度では車が見えなくなっています。


6. 問題点
実装当時(blender2.79以前)は、背景色の指定で以下のコードを使うことができました。
# 背景色の指定
bpy.context.scene.world.horizon_color = (1.0,1.0,1.0)
しかし、blender2.8以降では使えなくなっていました。
代用で以下のコードを使ったものの、全体が白っぽくなるだけで、背景色の変化がありませんでした。
# 背景が白っぽくなる?
bpy.data.worlds["World"].node_tree.nodes["Background"].inputs[0].default_value = (1.0, 1.0, 1.0, 1)
bpy.context.scene.world.colorの色指定ができるらしいのですが、指定しても出力される画像の背景色は変わりませんでした。
7. まとめ
今回は3Dモデルから2D画像の生成を行いました。
少ない3Dモデルの数でもこの方法で機械学習の学習データの水増しをすることができます。
※精度は保証できません
今回の実装を書き換えて、フォルダ内のobjファイルをリストで読み込んで一気に大量の画像を自動生成することも可能です。
8. おわりに
今回、blenderのAPIを使った実装をご紹介しました。
この手法を使うことで、少ない3Dデータから大量のデータを生成することができるので、手間をかけずに機械学習の実装を行うことができました。
お時間のある方は是非試してみてはいかがでしょうか。
以上、
「Applibot Advent Calendar 2020」 4日目の記事でした!
明日は @ref3000 さんです!
よろしくお願いします!
参考文献
[1]Blender 2.91.0 Python API Documentation
[2][blender 2.8, python立体着色]
(https://qiita.com/naohiko7/items/44e10ab8f997612c590a)
[3][ターミナルからBlenderを起動]
(https://blenderapproach.wordpress.com/2014/08/09/%E3%82%BF%E3%83%BC%E3%83%9F%E3%83%8A%E3%83%AB%E3%81%8B%E3%82%89blender%E3%82%92%E8%B5%B7%E5%8B%95/)