今回は
【入門】Angular QuickStart Step3 に沿ってアプリケーションをサーブしてみる
に続けて
クイックスタート
の Step 4: Angularコンポーネントを編集する を 実施して行きます。
Step 4: Angularコンポーネントを編集する
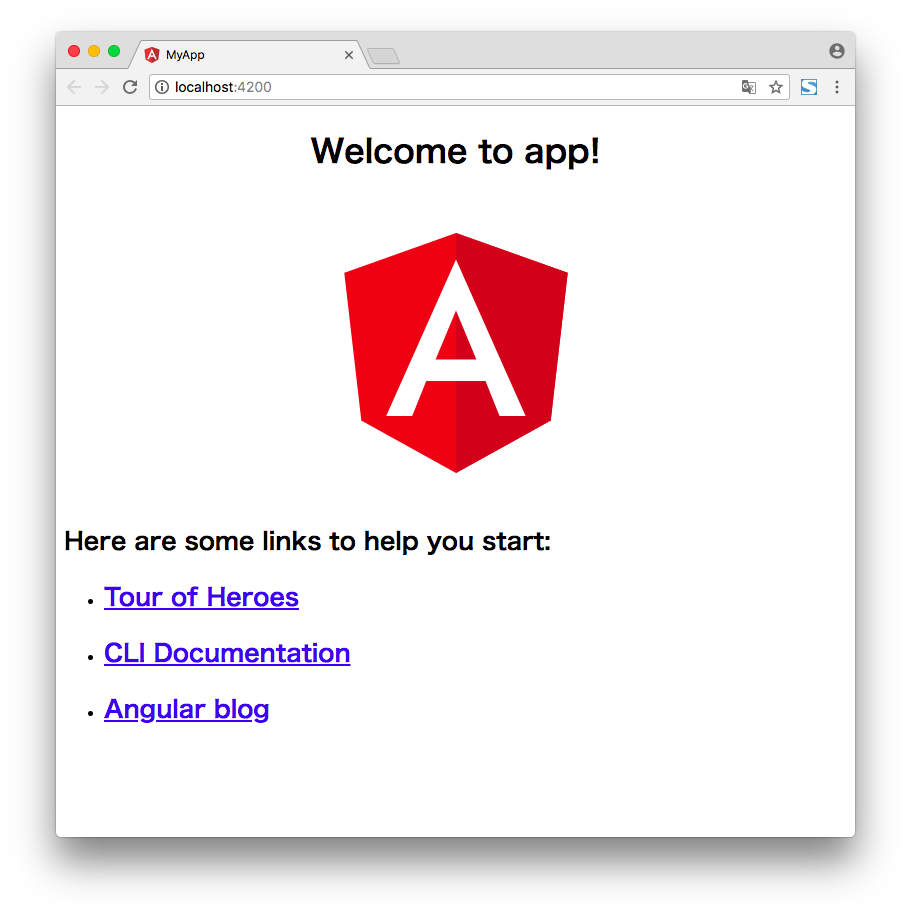
Step3の上部に「Welcome to app! と表示されている部分を変更します。
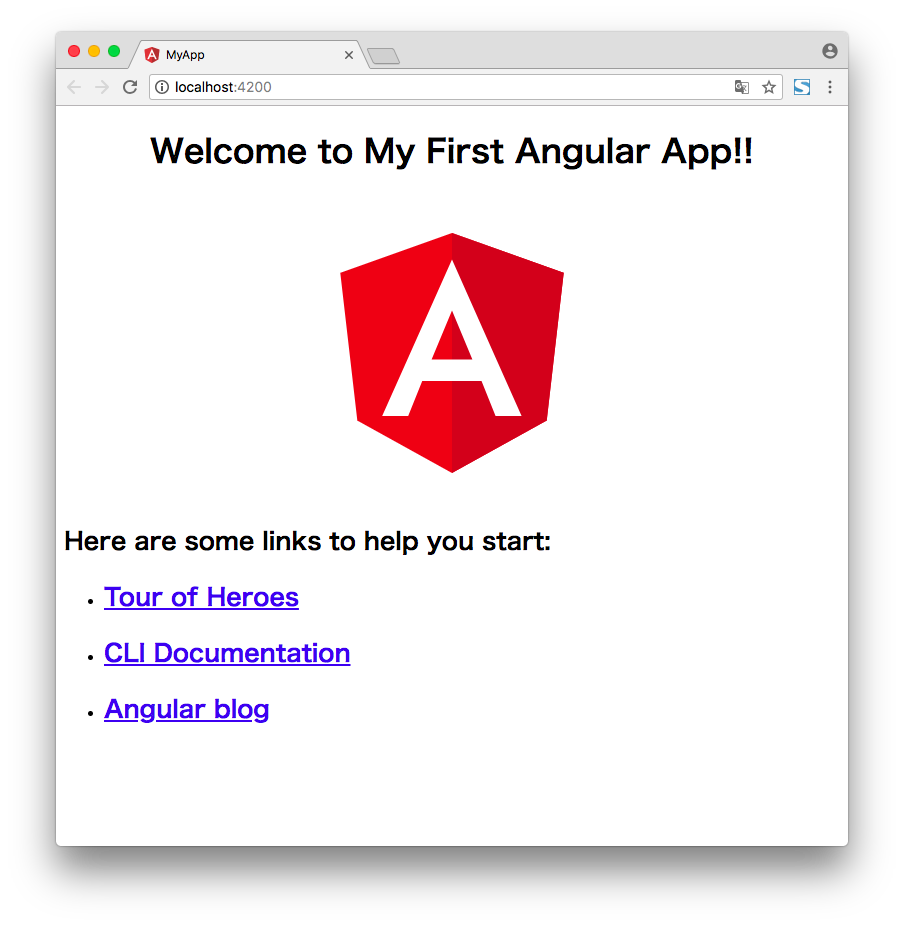
タイトルの文章変更
import { Component } from '@angular/core';

@Component({
  selector: 'app-root',
  templateUrl: './app.component.html',
  styleUrls: ['./app.component.css']
})
export class AppComponent {
  title = 'My First Angular App!'; // <--ここを 'app' から変更
}
文字列が変わりました。
コンポーネントにスタイルをつける
スタイルをつけるために
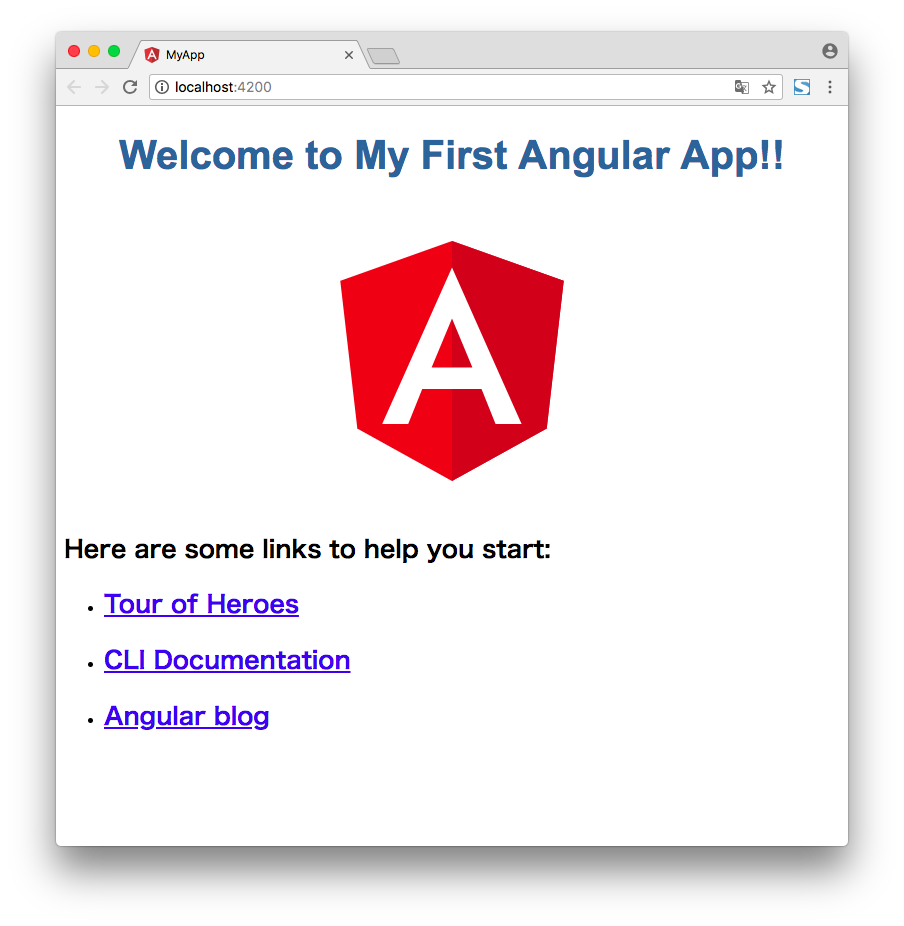
src/app/app.component.css ファイルに下記定義を追加します。
h1 {
  color: #369;
  font-family: Arial, Helvetica, sans-serif;
  font-size: 250%;
}
フォントに各種設定が適応されました。
ちょっと他のファイルものぞいてみましょう。
src/app/app.component.ts に
templateUrl: './app.component.html',
とありますので、そちらを開いてみます。
<!--The content below is only a placeholder and can be replaced.-->
<div style="text-align:center">
  <h1>
    Welcome to {{ title }}!
  </h1>
  <img width="300" alt="Angular Logo" src="data:image/svg+xml;base64,PHN2ZyB4bWxucz0iaHR0cDovL3d3dy53My5vcmcvMjAwMC9zdmciIHZpZXdCb3g9IjAgMCAyNTAgMjUwIj4KICAgIDxwYXRoIGZpbGw9IiNERDAwMzEiIGQ9Ik0xMjUgMzBMMzEuOSA2My4ybDE0LjIgMTIzLjFMMTI1IDIzMGw3OC45LTQzLjcgMTQuMi0xMjMuMXoiIC8+CiAgICA8cGF0aCBmaWxsPSIjQzMwMDJGIiBkPSJNMTI1IDMwdjIyLjItLjFWMjMwbDc4LjktNDMuNyAxNC4yLTEyMy4xTDEyNSAzMHoiIC8+CiAgICA8cGF0aCAgZmlsbD0iI0ZGRkZGRiIgZD0iTTEyNSA1Mi4xTDY2LjggMTgyLjZoMjEuN2wxMS43LTI5LjJoNDkuNGwxMS43IDI5LjJIMTgzTDEyNSA1Mi4xem0xNyA4My4zaC0zNGwxNy00MC45IDE3IDQwLjl6IiAvPgogIDwvc3ZnPg==">
</div>
<h2>Here are some links to help you start: </h2>
<ul>
  <li>
    <h2><a target="_blank" rel="noopener" href="https://angular.io/tutorial">Tour of Heroes</a></h2>
  </li>
  <li>
    <h2><a target="_blank" rel="noopener" href="https://github.com/angular/angular-cli/wiki">CLI Documentation</a></h2>
  </li>
  <li>
    <h2><a target="_blank" rel="noopener" href="https://blog.angular.io/">Angular blog</a></h2>
  </li>
</ul>
なるほど
  <h1>
    Welcome to {{ title }}!
  </h1>
src/app/app.component.ts
の title は {{ title }} にバインディング
src/app/app.component.css
の h1のスタイル設定は そのまま h1タグに反映されているわけですね。
でも、 app.component.html が このページの HTMLの全てを表しているわけではないですね?
ありました。
<!doctype html>
<html lang="en">
<head>
  <meta charset="utf-8">
  <title>MyApp</title>
  <base href="/">

  <meta name="viewport" content="width=device-width, initial-scale=1">
  <link rel="icon" type="image/x-icon" href="favicon.ico">
</head>
<body>
  <app-root></app-root>
</body>
</html>
src/app/app.component.ts
で
selector: 'app-root'
とあり、
src/index.html の 下から3行目
<app-root></app-root>
に コンポーネントとして定義された内容が展開されています。
これで クイックスタートは一通り終了です。
Angularの開発環境が整い動かすことができるようになりましたので
チュートリアルに進んで理解を深めて行きます。


