PhantomJS を利用する上では基礎中の基礎みたいな話なので簡潔に書く
環境としては、CoffeeScript で書いて npm install した後に npm run start をする
まぁ公式を見ればすぐにできることである
以下が、作成したもの
package.json
{
  "name": "screenshots"
  "version": "1.0.0",
  "description": "Renders the web page to an image buffer and saves it as the specified filename.",
  "scripts": {
    "start": "coffee -c index.coffee && node_modules/phantomjs/bin/phantomjs index.js",
  },
  "dependencies": {
    "phantomjs": "^2.1.3"
  },
  "engines": {
    "node": "5.5.0",
    "npm": "3.3.8"
  }
}
index.coffee
page = require('webpage').create()

page.open 'http://www.yjfx.jp/', (status) ->
  console.log 'Status: ' + status
  if status == 'success'
    page.render 'yjfx.png'
  phantom.exit()
  return
生成物は省略
かなり簡単に Web ページのスクリーンショットが生成できる
もっと楽にスクリーンショットが欲しいのであれば Chrome 拡張機能 を使えばいい
追記
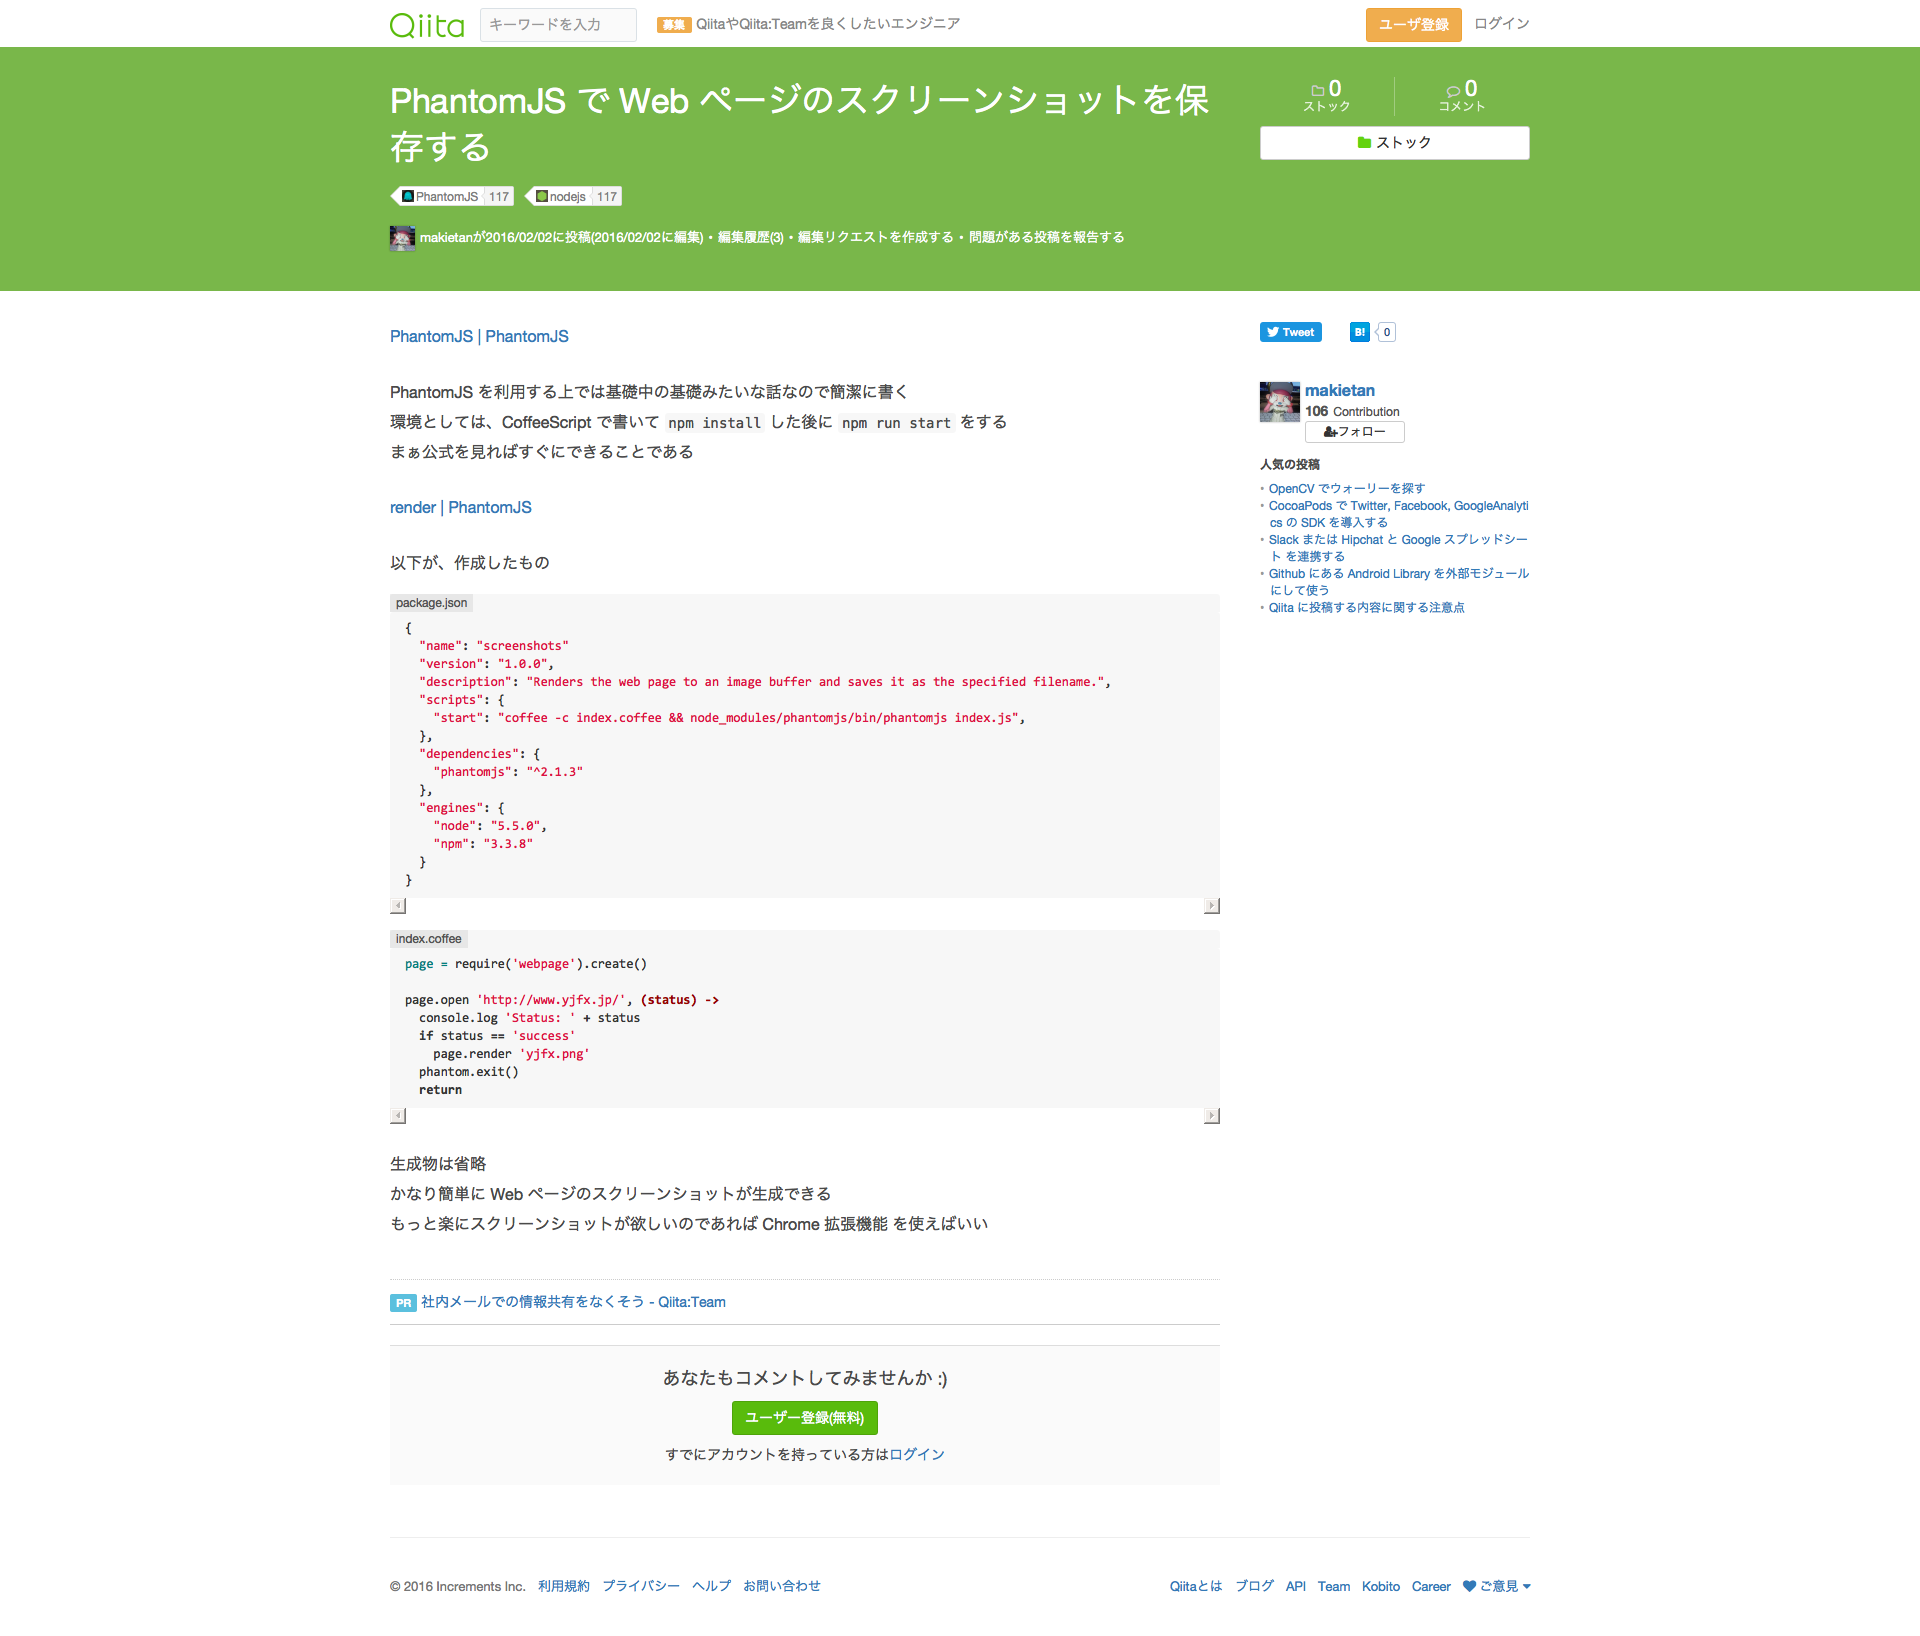
このページをスクリーンショットする場合は page.viewportSize を設定すると大きいサイズで保存できます
index2.coffee
page = require('webpage').create()

page.open 'http://qiita.com/makietan/items/bce761dcc9ac468cf53a', (status) ->
  console.log 'Status: ' + status
  if status = 'success'
    page.viewportSize = { width: 1920, height: 1080 }
    page.render 'qiita.png'
  phantom.exit()
  return
結果画像
