概要
前回は Client Credentials Flow を使いましたが、今回は Azure Web Apps にデプロイした ASP.NET Core Web API から Managed Identity を使って Microsoft Graph API を叩いてみたいと思います。前回同様、User Principal Name を指定してユーザー情報を取得するシンプルな Web API を開発していきます。
環境
- Windows 10 Pro Version 20H2
- Visual Studio Community 2019 Version 16.10.2
- Azure Active Directory
- Azure サブスクリプション
- Azure Az PowerShell Module
- Azure AD PowerShell Module
- .NET と各パッケージのバージョンは以下の通り
<Project Sdk="Microsoft.NET.Sdk.Web">

  <PropertyGroup>
    <TargetFramework>net5.0</TargetFramework>
  </PropertyGroup>

  <ItemGroup>
    <PackageReference Include="Azure.Identity" Version="1.4.0" />
    <PackageReference Include="Microsoft.Graph" Version="3.35.0" />
    <PackageReference Include="Swashbuckle.AspNetCore" Version="5.6.3" />
  </ItemGroup>

</Project>
プロジェクト作成
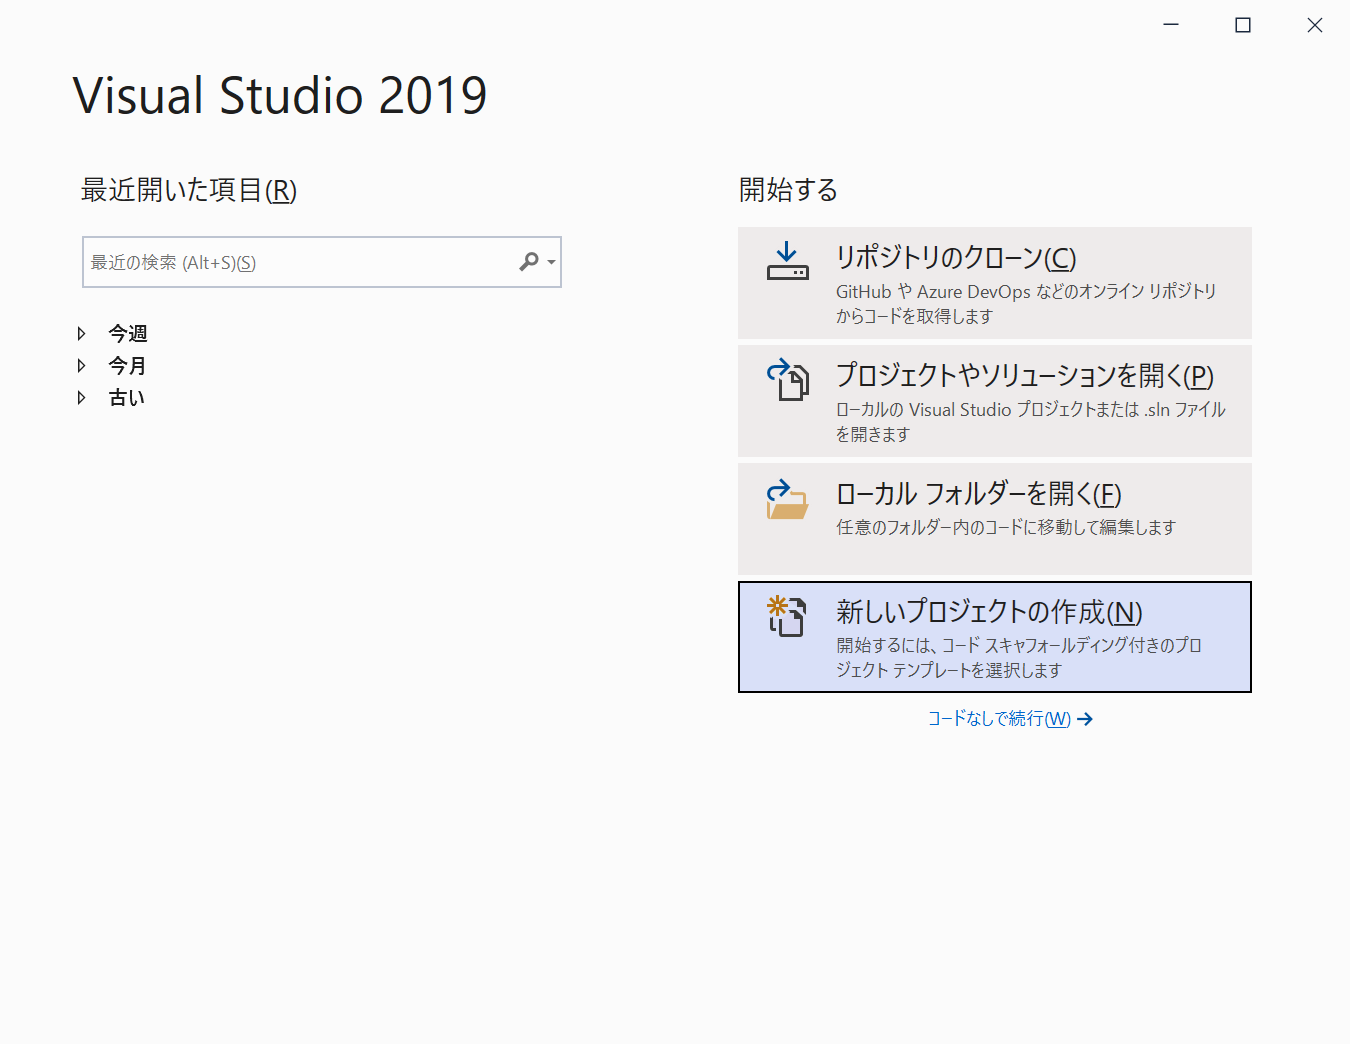
Visual Studio を開いて新しいプロジェクトを作成します。
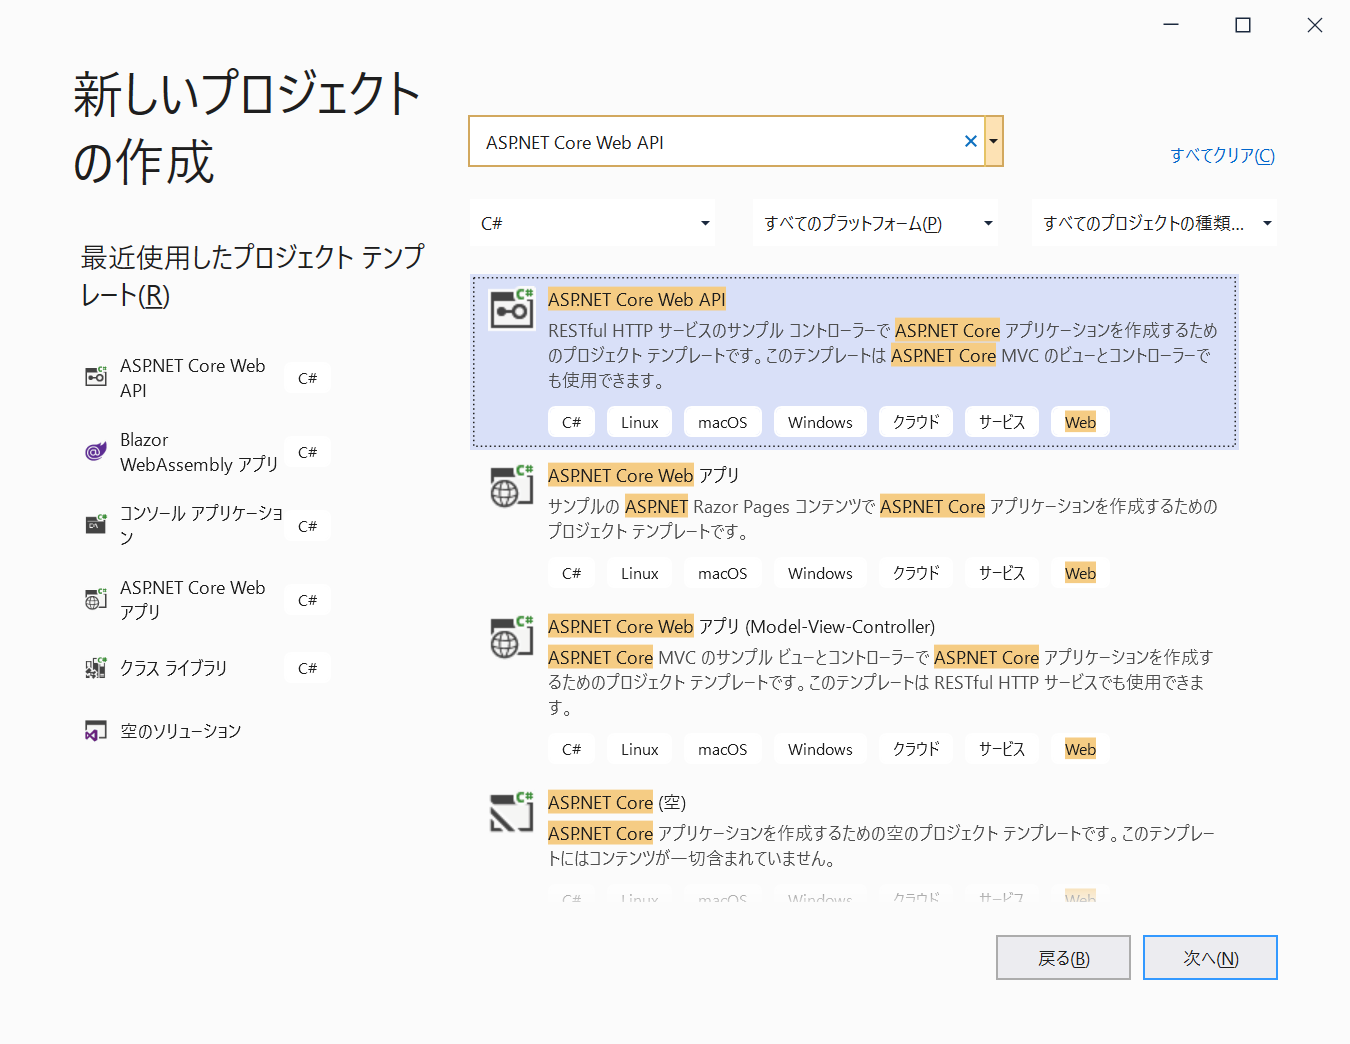
ASP.NET Core Web API を選択して次へをクリックします。
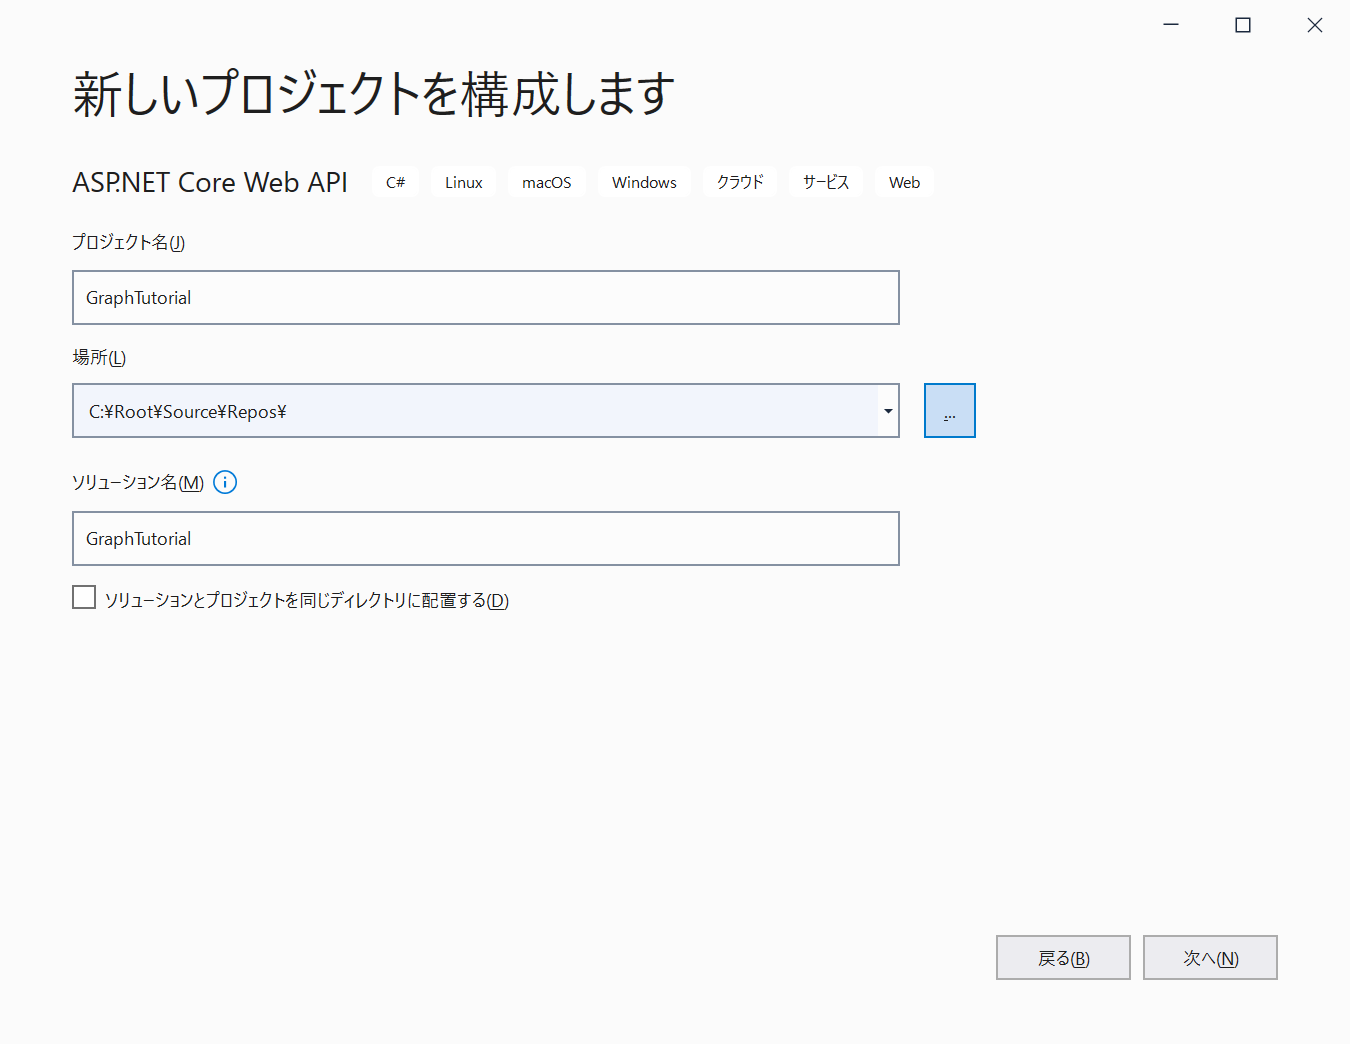
プロジェクト名と場所を入力して次へをクリックします。
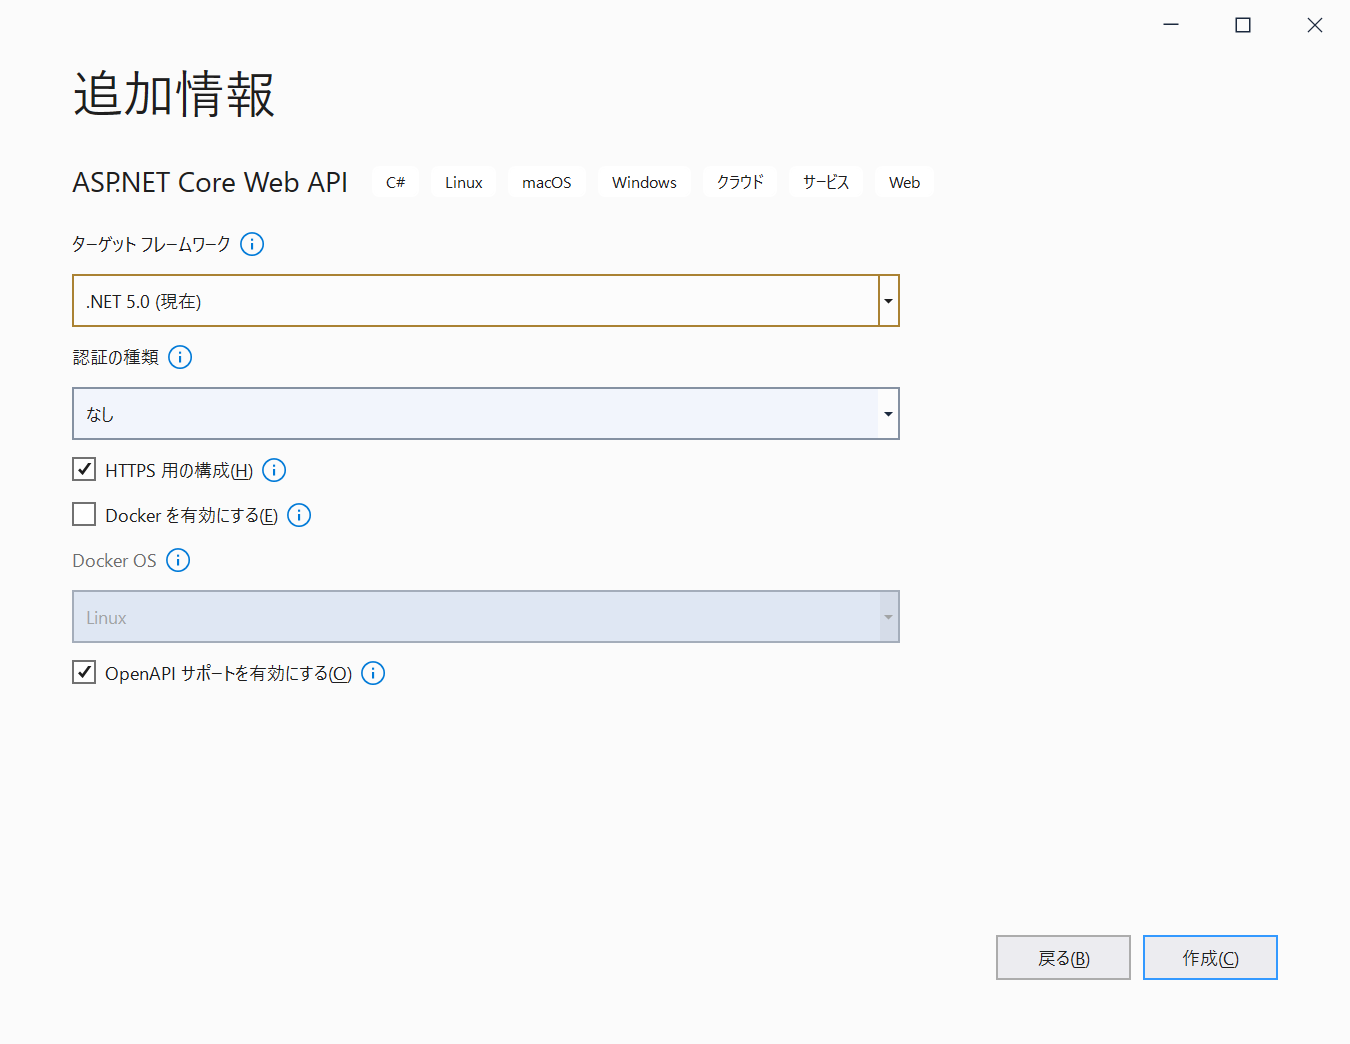
設定を確認して作成をクリックします。
パッケージ追加
Install-Package Azure.Identity
Install-Package Microsoft.Graph
Authentication
Microsoft Graph Client のインスタンスを作成するために IAuthenticationProvider の実装を用意します。Managed Identity を利用するため DefautlAzureCredential クラスのインスタンスを生成します。
using Azure.Identity;
using Microsoft.Graph;
using System.Net.Http;
using System.Net.Http.Headers;
using System.Threading.Tasks;

namespace GraphTutorial.Authentication
{
    public class ManagedIdentityAuthenticationProvider : IAuthenticationProvider
    {
        private readonly string[] scopes;
        private readonly DefaultAzureCredential credential;

        public ManagedIdentityAuthenticationProvider(DefaultAzureCredential credential)
        {
            this.scopes = new[] { "https://graph.microsoft.com/.default" };
            this.credential = credential;
        }

        public async Task<string> GetAccessToken()
        {
            var token = await credential.GetTokenAsync(new Azure.Core.TokenRequestContext(scopes));
            return token.Token;
        }

        public async Task AuthenticateRequestAsync(HttpRequestMessage requestMessage)
        {
            requestMessage.Headers.Authorization = new AuthenticationHeaderValue("bearer", await GetAccessToken());
        }
    }
}
ApiModel
ApiModel は前回と同じです。
namespace GraphTutorial.ApiModels
{
    public class UserModel
    {
        public string UserPrincipalName { get; set; }
        public string DisplayName { get; set; }
        public string givenName { get; set; }
        public string surName { get; set; }
        public string Mail { get; set; }
    }
}
Service
Service インターフェースとクラスについても前回と同じです。
using GraphTutorial.ApiModels;
using System.Threading.Tasks;

namespace GraphTutorial.Services
{
    public interface IGraphApiService
    {
        public Task<UserModel> GetUserAsync(string upn);
    }
}
using GraphTutorial.ApiModels;
using Microsoft.Graph;
using System.Threading.Tasks;

namespace GraphTutorial.Services
{
    public class GraphApiService : IGraphApiService
    {
        private readonly IGraphServiceClient graphServiceClient;

        public GraphApiService(IAuthenticationProvider authProvider)
        {
            this.graphServiceClient = new GraphServiceClient(authProvider);
        }

        public async Task<UserModel> GetUserAsync(string upn)
        {
            var user = await graphServiceClient.Users[upn].Request().GetAsync();

            var userModel = new UserModel
            {
                UserPrincipalName = user.UserPrincipalName,
                DisplayName = user.DisplayName,
                givenName = user.GivenName,
                surName = user.Surname,
                Mail = user.Mail
            };

            return userModel;
        }
    }
}
Controller
コントローラーも前回と同じです。
using GraphTutorial.Services;
using Microsoft.AspNetCore.Mvc;
using System.Threading.Tasks;

namespace GraphTutorial.Controllers
{
    [Route("api/users")]
    [ApiController]
    public class UserController : ControllerBase
    {
        private readonly IGraphApiService graphApiService;

        public UserController(IGraphApiService graphApiService)
        {
            this.graphApiService = graphApiService;
        }

        [HttpGet("{upn}")]
        public async Task<IActionResult> GetUserAsync(string upn)
        {
            var user = await graphApiService.GetUserAsync(upn);
            return Ok(user);
        }
    }
}
DI
DI のために AddSingleton を追加します。シングルトンにしておくとアクセストークンの期限内は既存のアクセストークンを利用し、期限が切れると自動的に新規のアクセストークンを取得してくれます。(AddScoped AddTransient にするとリクエストのたびにアクセストークンを新しく取得します)DefaultAzureCredential を呼び出していることと、呼び出す AuthenticationProvider が変わっているだけで、基本的には前回と同じです。
using Azure.Identity;
using GraphTutorial.Authentication;
using GraphTutorial.Services;
using Microsoft.AspNetCore.Builder;
using Microsoft.AspNetCore.Hosting;
using Microsoft.Extensions.Configuration;
using Microsoft.Extensions.DependencyInjection;
using Microsoft.Extensions.Hosting;
using Microsoft.Graph;
using Microsoft.OpenApi.Models;

namespace GraphTutorial
{
    public class Startup
    {
        public Startup(IConfiguration configuration)
        {
            Configuration = configuration;
        }

        public IConfiguration Configuration { get; }

        public void ConfigureServices(IServiceCollection services)
        {
            services.AddSingleton<IAuthenticationProvider, ManagedIdentityAuthenticationProvider>(); // 追加
            services.AddSingleton<IGraphApiService, GraphApiService>(); // 追加
            services.AddSingleton<DefaultAzureCredential>();  // 追加
            services.AddControllers();
            services.AddSwaggerGen(c =>
            {
                c.SwaggerDoc("v1", new OpenApiInfo { Title = "GraphTutorial", Version = "v1" });
            });
        }

        public void Configure(IApplicationBuilder app, IWebHostEnvironment env)
        {
            if (env.IsDevelopment())
            {
                app.UseDeveloperExceptionPage();
                app.UseSwagger();
                app.UseSwaggerUI(c => c.SwaggerEndpoint("/swagger/v1/swagger.json", "GraphTutorial v1"));
            }

            app.UseHttpsRedirection();

            app.UseRouting();

            app.UseAuthorization();

            app.UseEndpoints(endpoints =>
            {
                endpoints.MapControllers();
            });
        }
    }
}
コーディングはここまでです。
Azure へのデプロイ
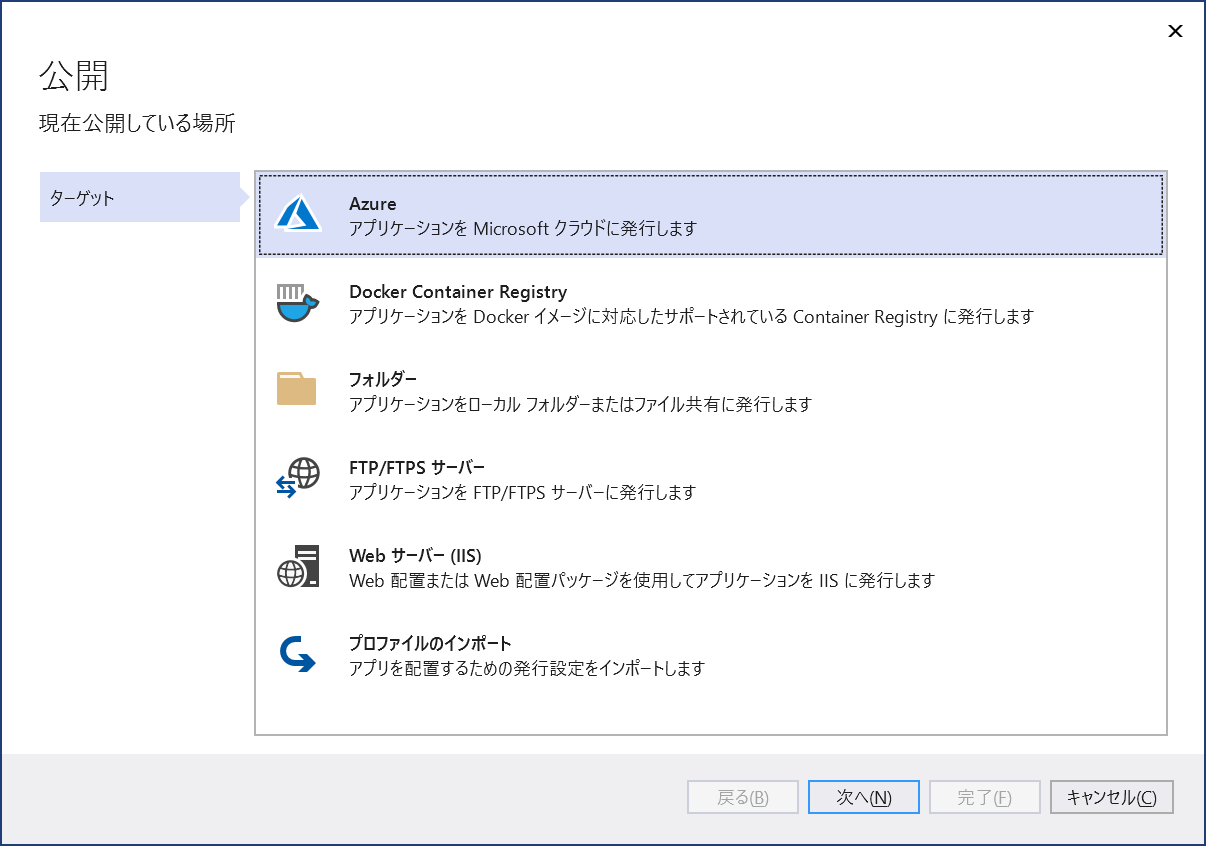
Visual Studio のソリューションエクスプローラー上でプロジェクト名を右クリックして発行を選択します。
Azure を選択して次へをクリックします。
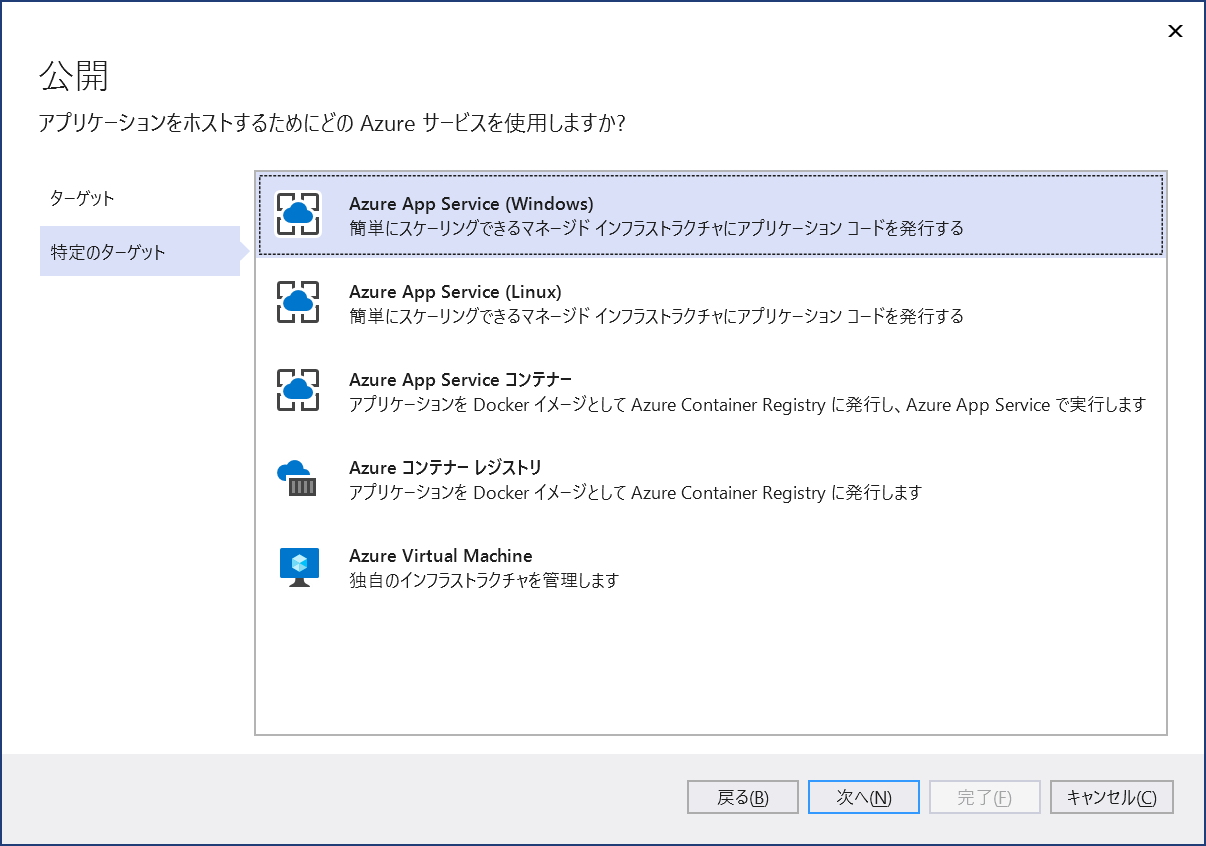
Azure App Service (Windows) を選択して次へをクリックします。
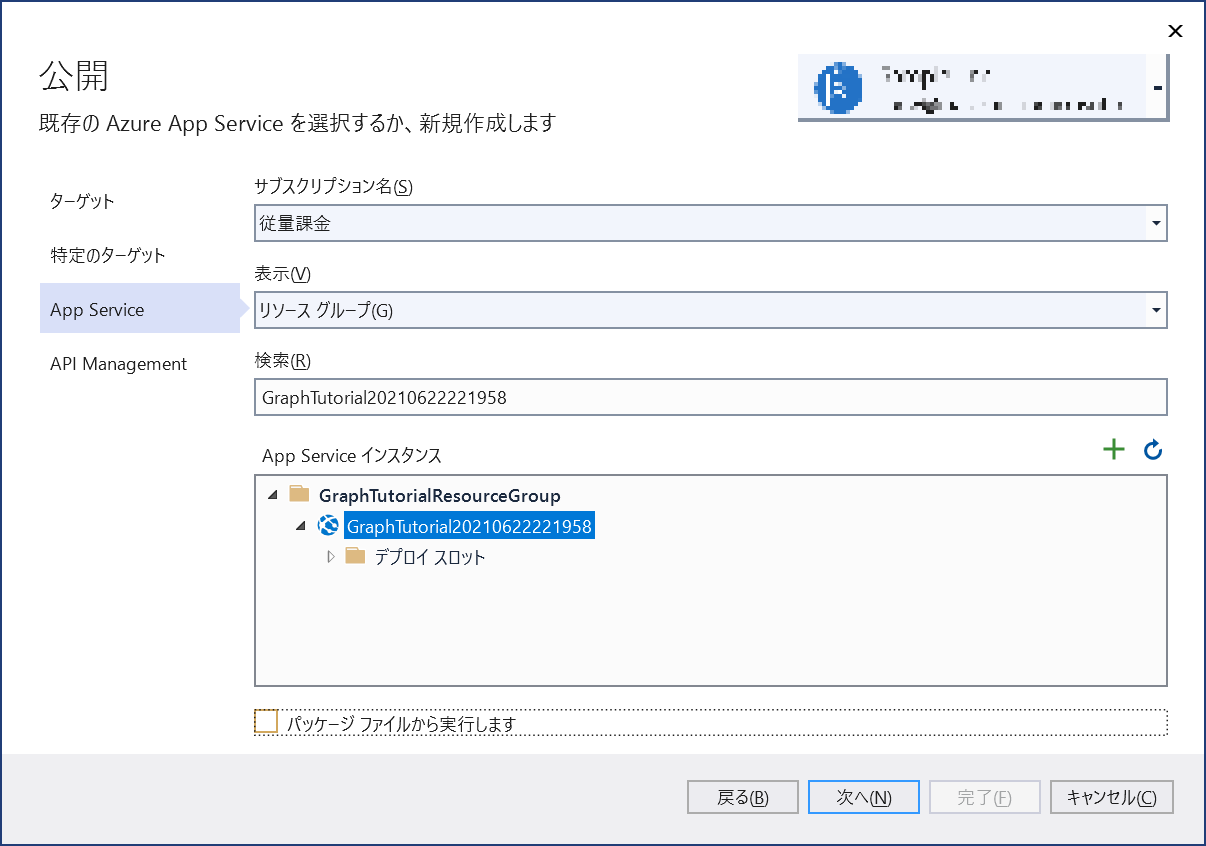
適当な Web App を選択して(無ければ作成して)次へをクリックします。
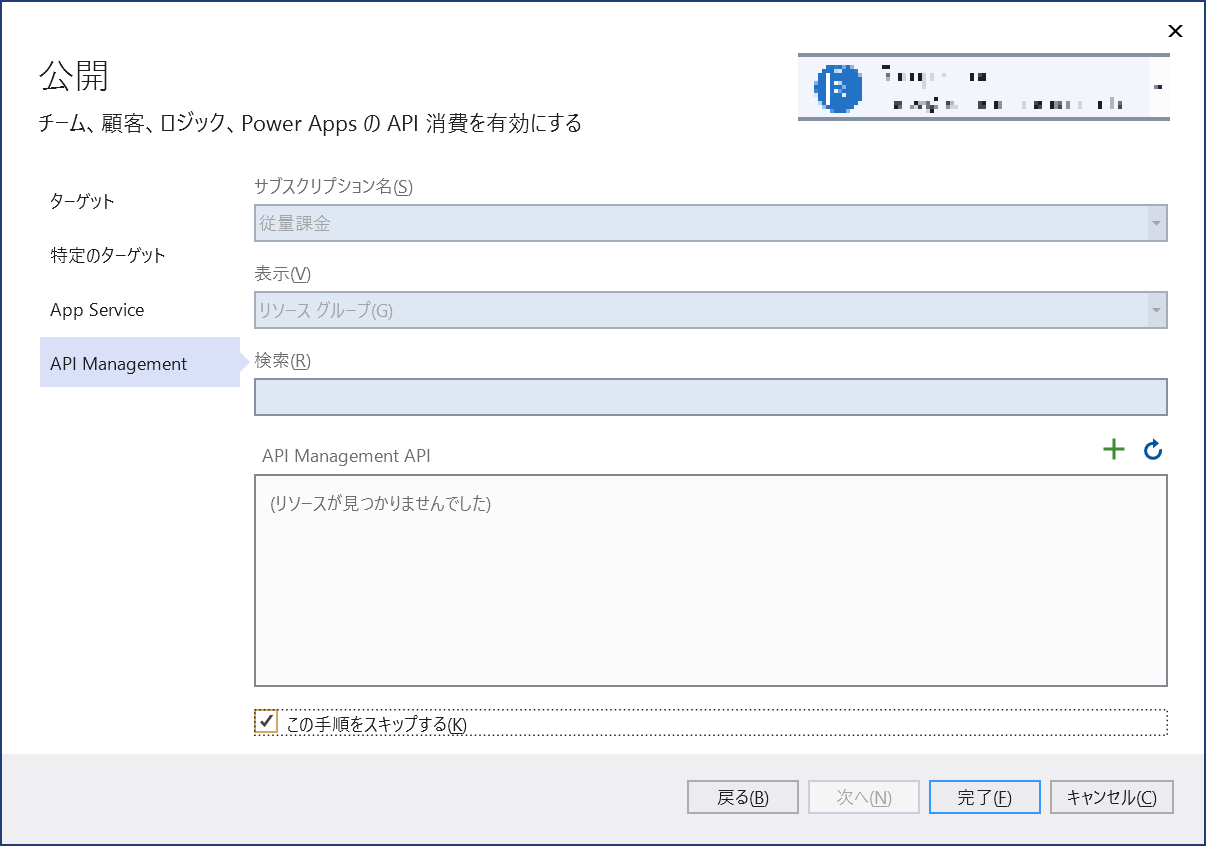
API Management の作成はスキップするのでこの手順をスキップするを有効にして完了をクリックします。
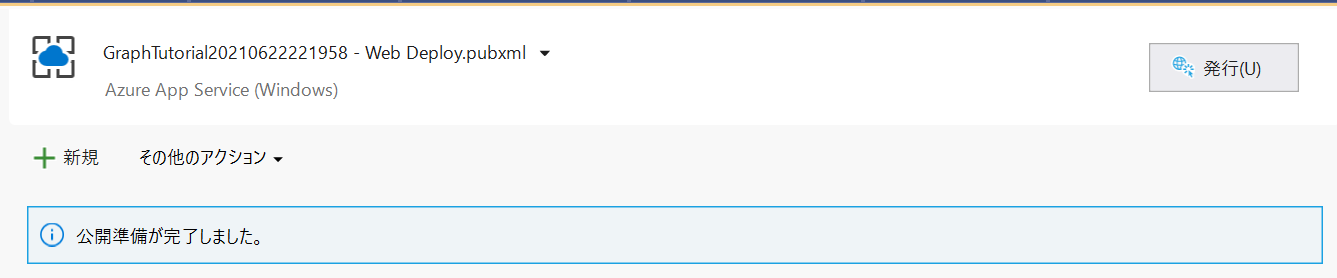
公開準備が完了したら発行をクリックします。
発行が完了したらブラウザが起動して自動的に発行した Web App にアクセスされますが、まだ正常に呼び出すことはできません。
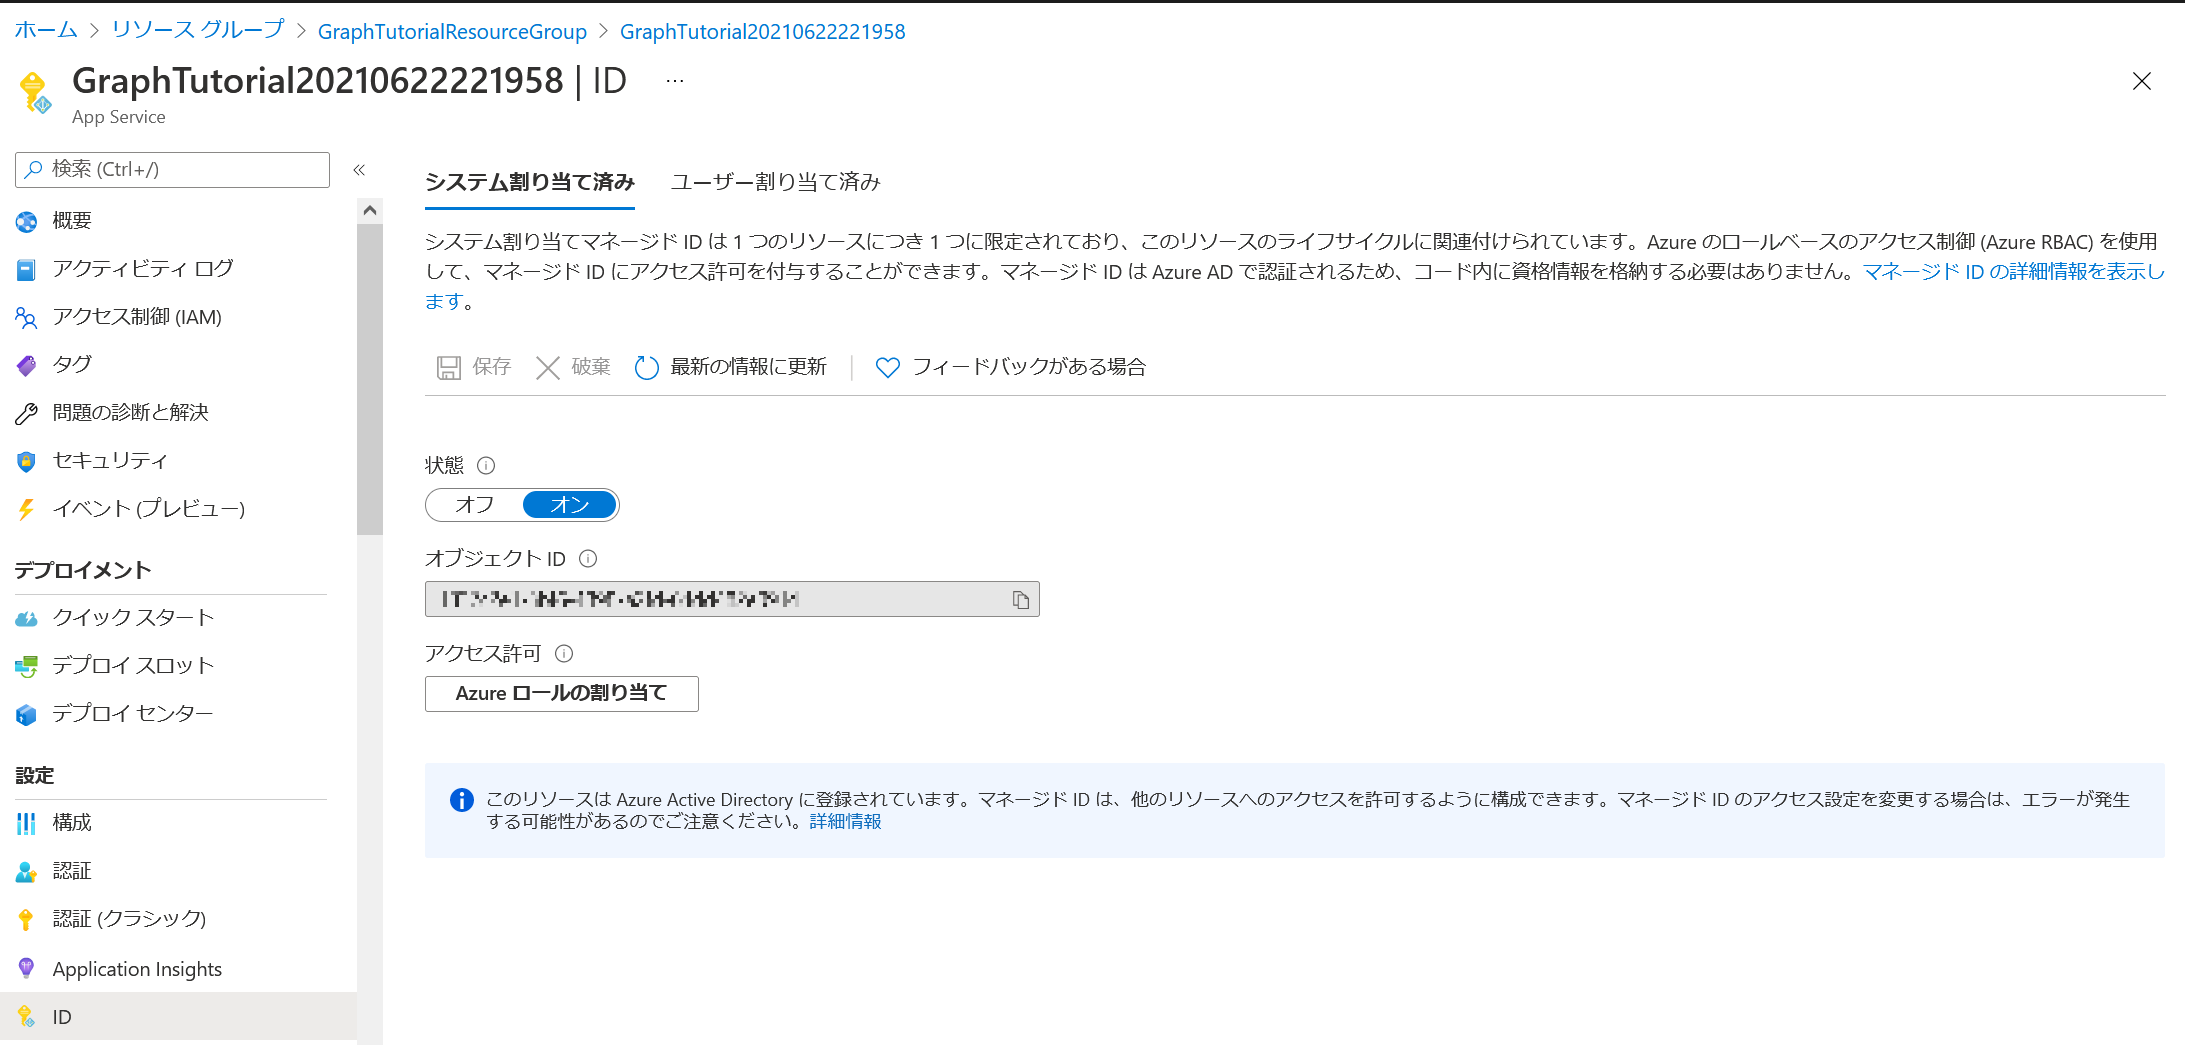
Managed Identity の有効化
Azure Portal から作成した Web App を開き ID を選択してシステム割り当てマネージド ID が有効化されていることを確認します。(無効の場合は有効化します)
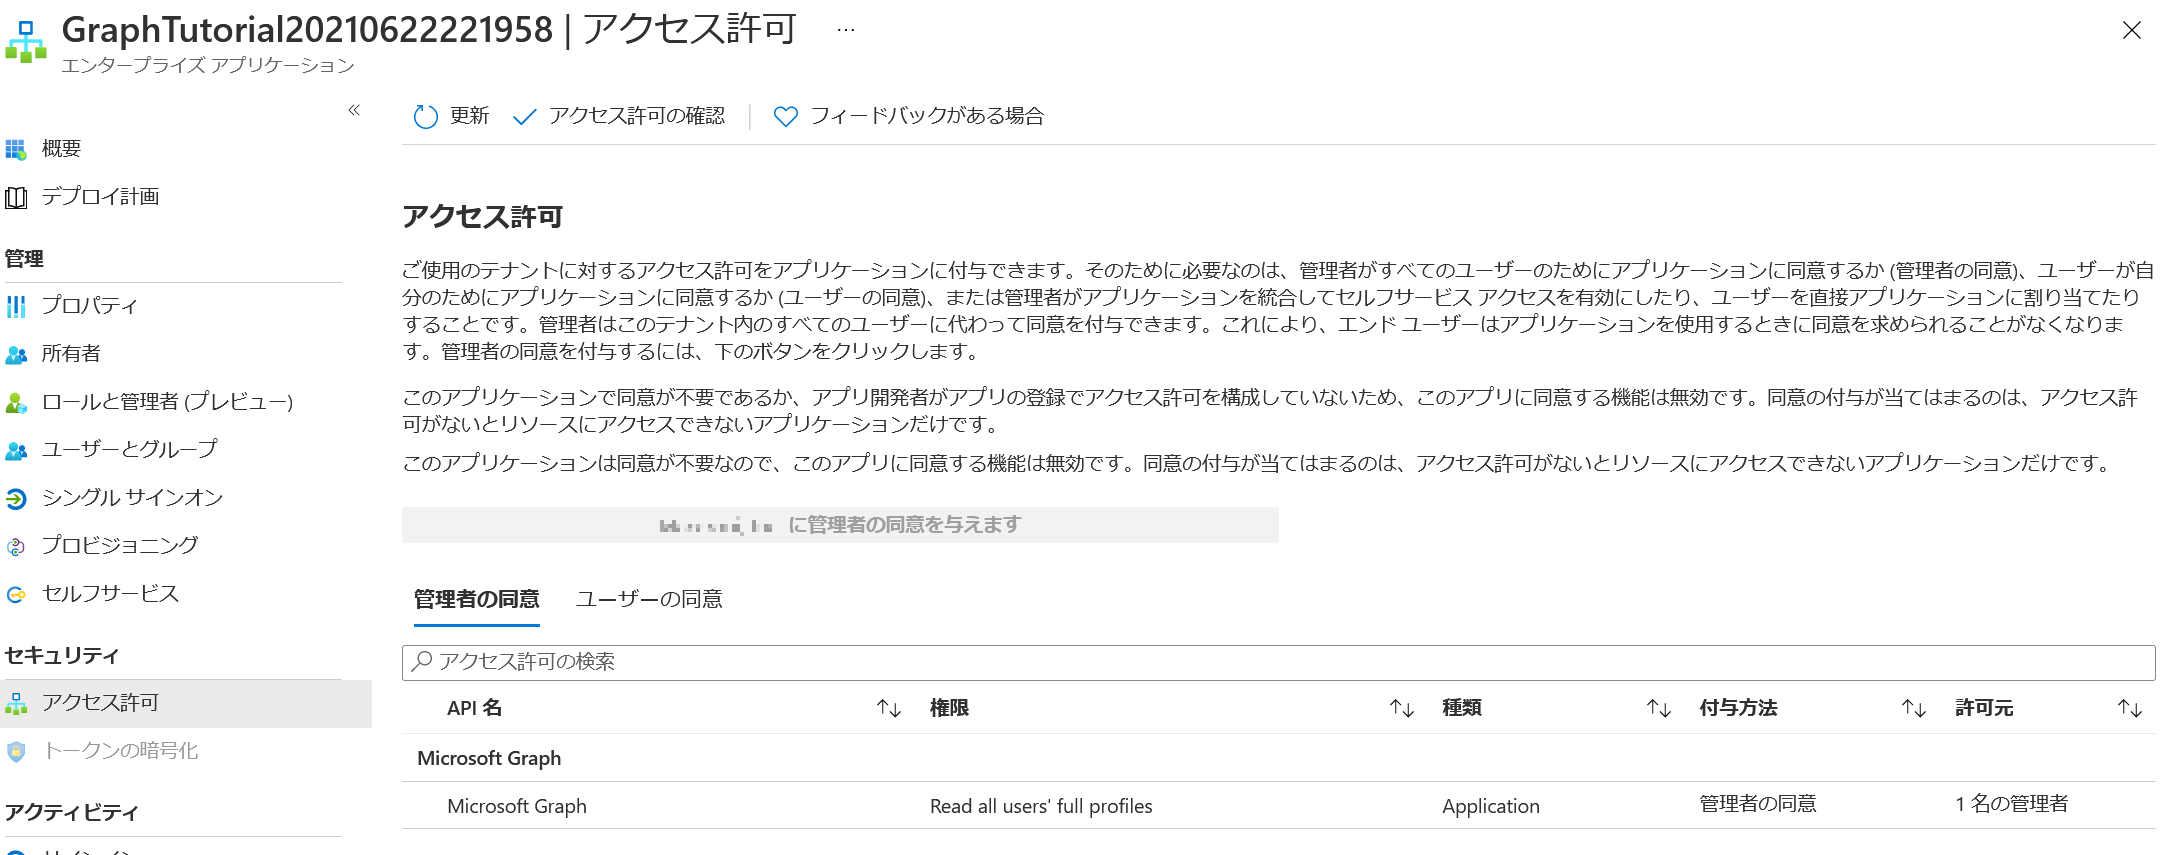
アクセス許可の付与
現時点では Azure Portal からアクセス許可が付与できません。Windows PowerShell から Microsoft Graph へのアクセス許可を付与していきます。
$TenantID="<tenant id>"
$ResourceGroup = "<resource group name>"
$WebAppName="<web app name>"

Connect-AzAccount

# Managed Identity の Obuject ID を取得
$PrincipalId = (Get-AzWebApp -ResourceGroupName $resourceGroup -Name $webAppName).Identity.PrincipalId

$PermissionName = "User.Read.All"

Connect-AzureAD -TenantId $TenantID

# Microsoft Graph 用のサービスプリンシパルを取得
$GraphServicePrincipal = Get-AzureADServicePrincipal -SearchString "Microsoft Graph" | Select-Object -first 1

# Microsoft Graph の User.Read.All アクセス許可を取得
$AppRole = $GraphServicePrincipal.AppRoles | Where-Object {$_.Value -eq $PermissionName -and $_.AllowedMemberTypes -contains "Application"}

# アクセス許可を付与
New-AzureAdServiceAppRoleAssignment -ObjectId $PrincipalId -PrincipalId $PrincipalId -ResourceId $GraphServicePrincipal.ObjectId -Id $AppRole.Id
Azure Portal でアクセス許可が付与されたことを確認します。
動作確認
アクセス許可の付与後、以下の URL にアクセスしてユーザー情報が返ってくることを確認します。(user@example.com の部分は実在する User Principal Name に置き換えてください)
https://<webappname>.azurewebsites.net/api/users/user@example.com
Managed Identity を有効にして Microsoft Graph のアクセス許可を付与する
Azure Portal からシステム割り当てマネージド ID をオンにして、オブジェクト(プリンシパル)ID を確認しておく。
マネージド ID に Microsoft Graph のアクセス許可を付与する。
az login
$objectId = "{Object ID}"
$graphResourceId = az ad sp list --display-name "Microsoft Graph" --query [0].objectId --output tsv
$appRoleId = az ad sp list --display-name "Microsoft Graph" --query "[0].appRoles[?value=='User.Read.All' && contains(allowedMemberTypes, 'Application')].id" --output tsv
$uri = "https://graph.microsoft.com/v1.0/servicePrincipals/$objectId/appRoleAssignments
$body = "{'principalId':'$objectId','resourceId':'$graphResourceId','appRoleId':'$appRoleId'}"
az rest --method post --uri $uri --body $body --headers "Content-Type=application/json"
エンタープライズアプリケーションからアクセス許可の付与を確認。

マネージド ID でアクセストークンを取得する。
Function App のコードは↓な感じ。無事シークレット情報無しで Microsoft Graph API を呼び出すことが出来た。
using namespace System.Net

# Input bindings are passed in via param block.
param($Request, $TriggerMetadata)

# Write to the Azure Functions log stream.
Write-Host "PowerShell HTTP trigger function processed a request."

# Interact with query parameters or the body of the request.
$upn = $Request.Query.Upn
if (-not $upn) {
    $upn = $Request.Body.Upn
}

$resourceURI = "https://graph.microsoft.com/"
$tokenAuthURI = $env:IDENTITY_ENDPOINT + "?resource=$resourceURI&api-version=2019-08-01"
$tokenResponse = Invoke-RestMethod -Method Get -Headers @{"X-IDENTITY-HEADER"="$env:IDENTITY_HEADER"} -Uri $tokenAuthURI
$accessToken = $tokenResponse.access_token

$headers = @{"Authorization" = "Bearer " + $accessToken}
$body = Invoke-RestMethod -Uri https://graph.microsoft.com/v1.0/users/$upn -Headers $headers

# Associate values to output bindings by calling 'Push-OutputBinding'.
Push-OutputBinding -Name Response -Value ([HttpResponseContext]@{
    StatusCode = [HttpStatusCode]::OK
    Body = $body
})