概要
タイトルの通りですが、ASP.NET Core Web API から Client Credentials Flowを使ってユーザー認証なしで Microsoft Graph API を呼び出してみます。Microsoft Graph API の呼び出しには Microsoft Graph SDK を利用します。User Principal Name を指定してユーザー情報を取得するシンプルな Web API を開発していきたいと思います。
環境
- Windows 10 Pro Version 20H2
- Visual Studio Community 2019 Version 16.10.2
- Azure Active Directory
- .NET と各パッケージのバージョンは以下の通り
<Project Sdk="Microsoft.NET.Sdk.Web">

  <PropertyGroup>
    <TargetFramework>net5.0</TargetFramework>
  </PropertyGroup>

  <ItemGroup>
    <PackageReference Include="Microsoft.Graph" Version="3.35.0" />
    <PackageReference Include="Microsoft.Identity.Client" Version="4.32.1" />
    <PackageReference Include="Swashbuckle.AspNetCore" Version="5.6.3" />
  </ItemGroup>

</Project>
アプリの登録
Azure Active Directory にアプリを新規登録して必要なアクセス許可を付与します。
- Azure Portal にグローバル管理者アカウントでアクセスします。
- Azure Active Directory を開きます。
- アプリの登録を開きます。
- 新規登録を選択します。
- 任意の表示名を入力します。
- サポートされているアカウントの種類でこの組織ディレクトリのみに含まれるアカウントを選択します。
- リダイレクト URL は既定のままとします。
- 登録をクリックします。
- 登録されたアプリの API のアクセス許可を開きます。
- 既定のアクセス許可を削除します。
- アクセス許可の追加をクリックします。
- Microsoft Graphを選択します。
- アプリケーションの許可を選択します。
- User.Read.Allを選択してアクセス許可の追加をクリックします。
- <テナント名>に管理者の同意を与えますをクリックして追加したアクセス許可に管理者の同意を与えます。
- 証明書とシークレットを開きます。
- 新しいクライアントシークレットをクリックします。
- 説明に任意の内容を入力して追加をクリックします。
- 追加されたクライアントシークレットの値をメモ帳などにコピーしておきます。
- 概要を開きます。
- アプリケーション (クライアント) ID とディレクトリ (テナント) ID をメモ帳などにコピーしておきます。
プロジェクト作成
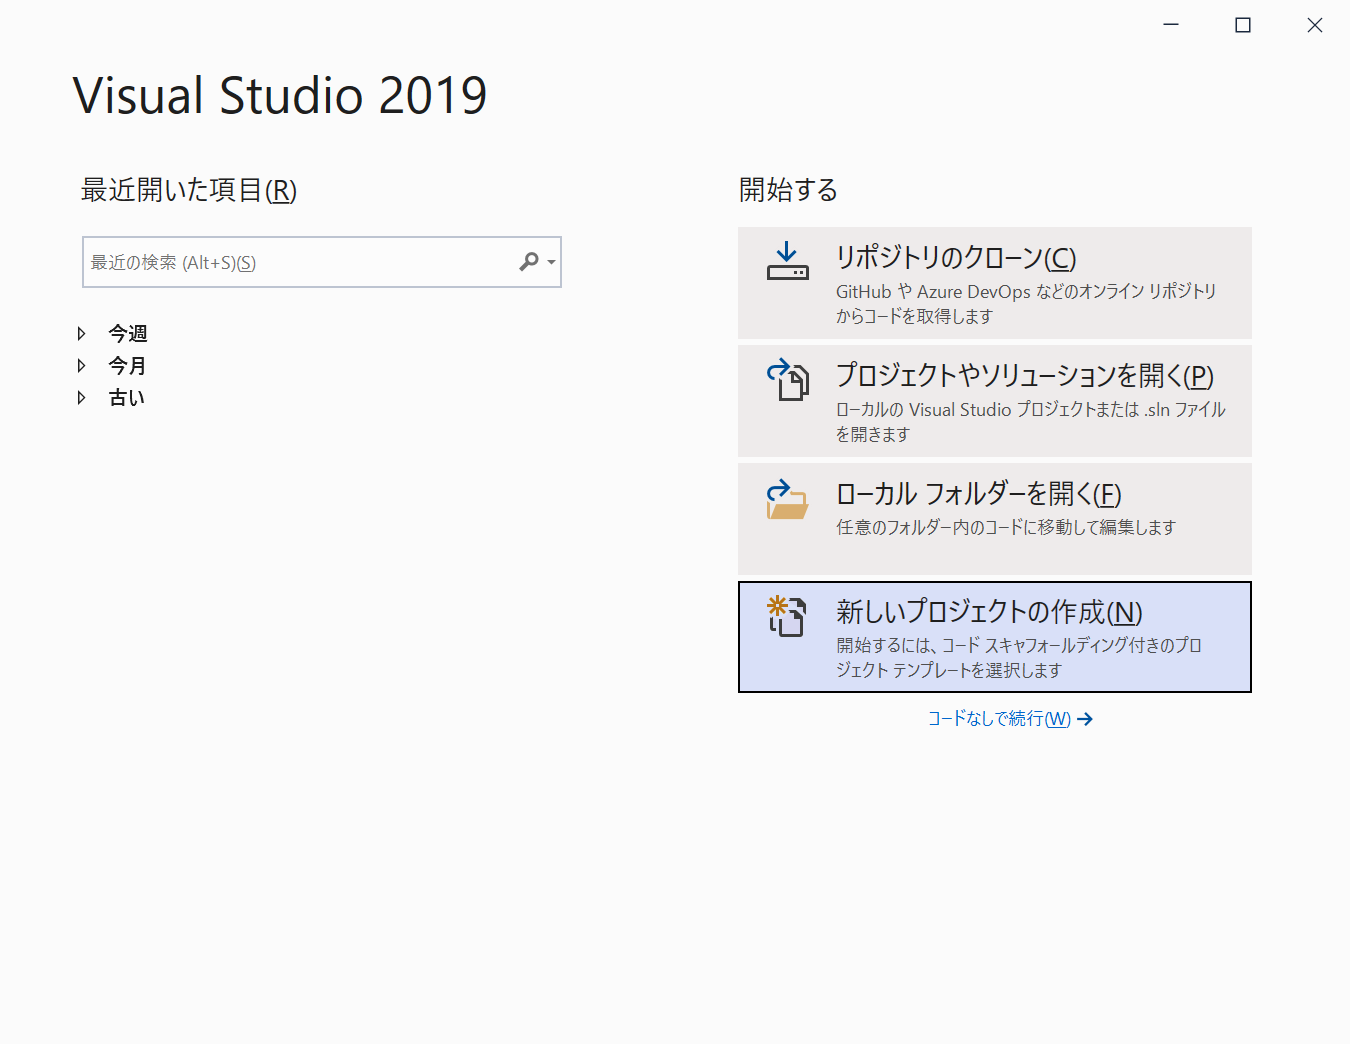
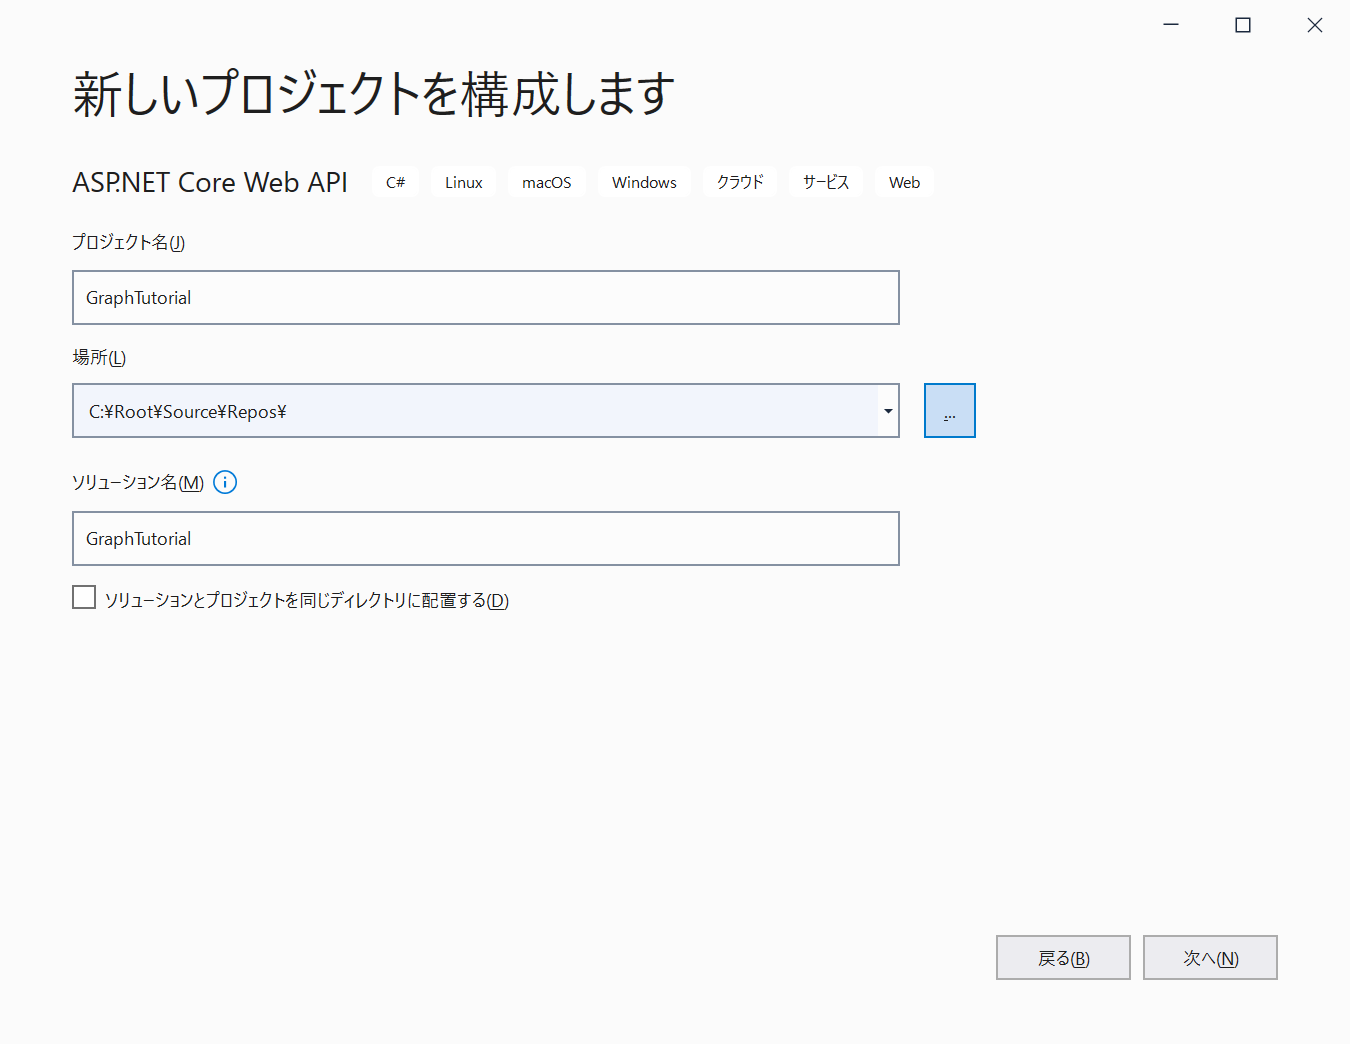
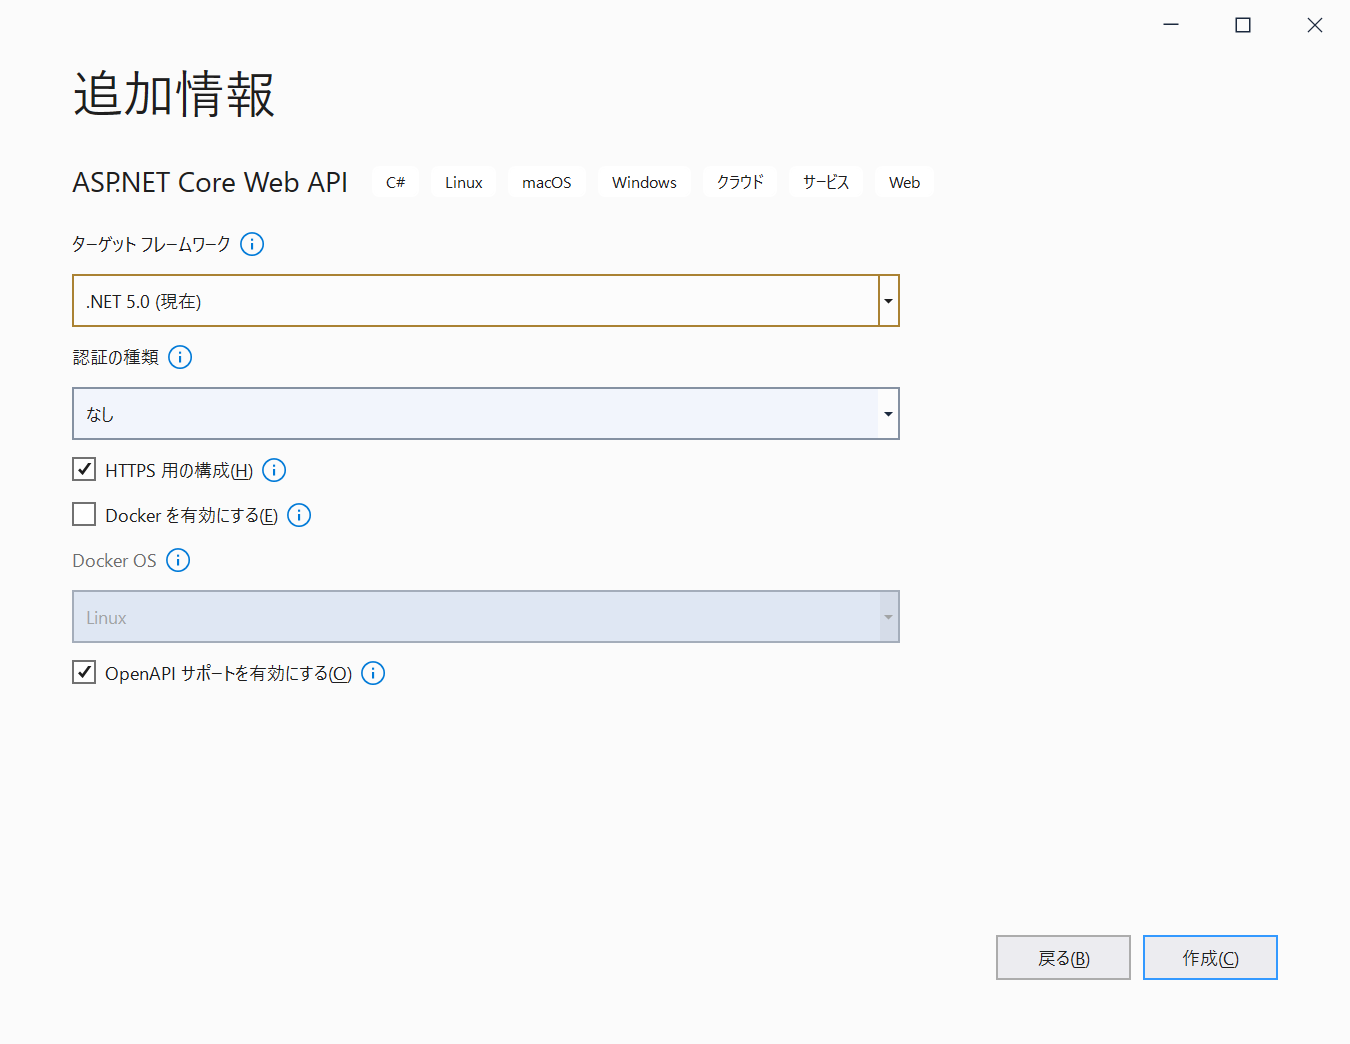
Visual Studio を開いて新しいプロジェクトを作成します。

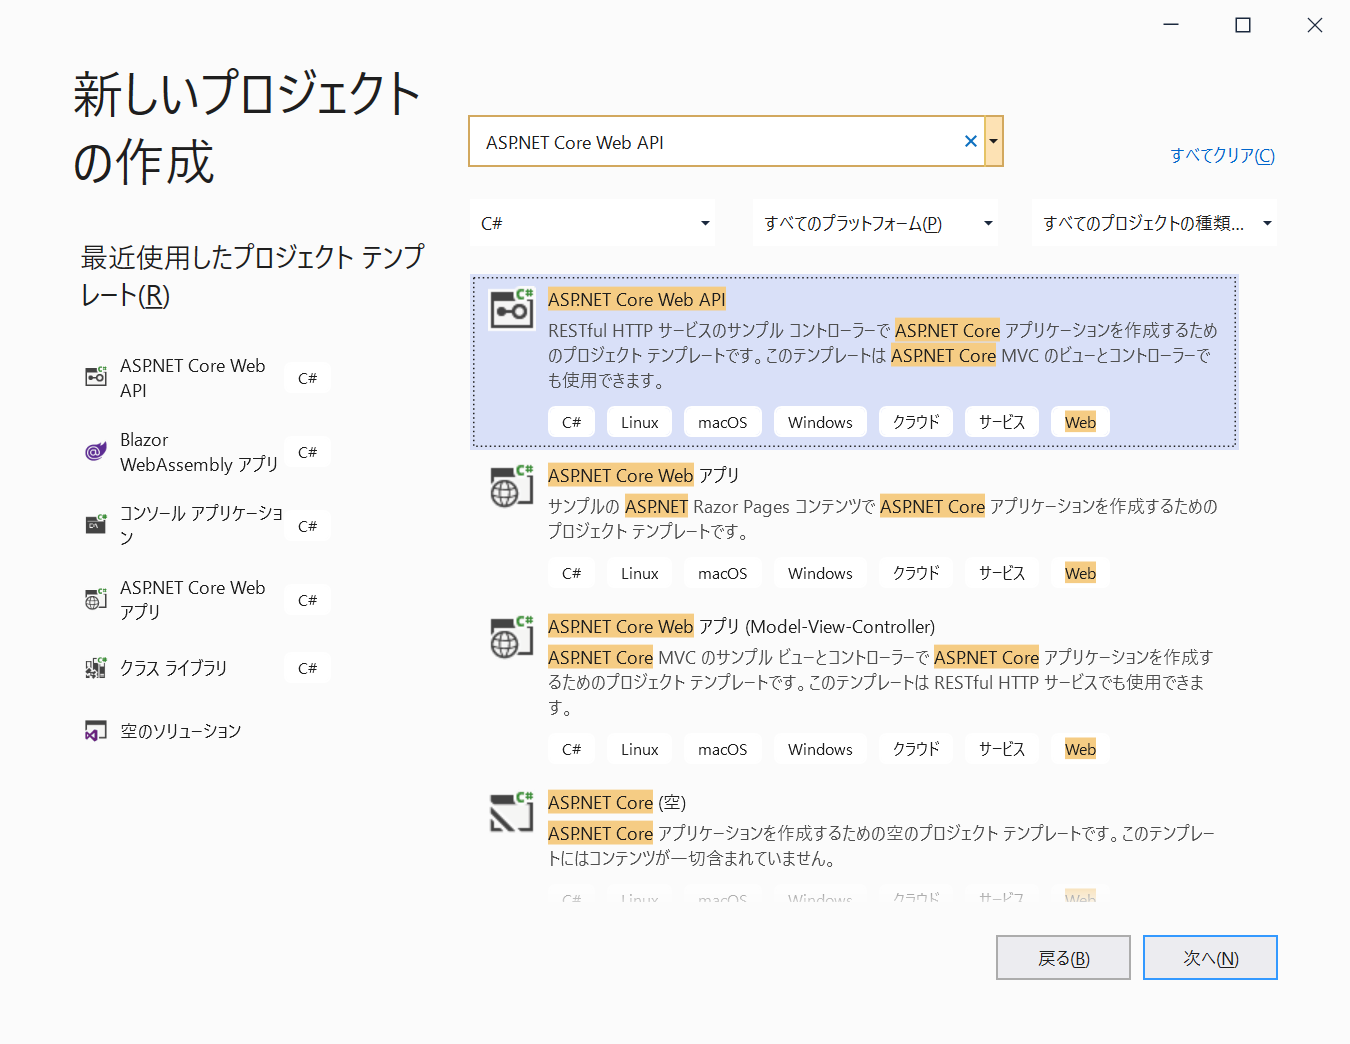
ASP.NET Core Web API を選択して次へをクリックします。

パッケージ追加
Microsoft Graph SDK と MSAL.NET をインストールします。
Install-Package Microsoft.Graph
Install-Package Microsoft.Identity.Client
appsettings.json の設定と取得
プロジェクト直下の appsettings.json を開いてアプリの登録で確認した アプリケーション (クライアント) ID/ディレクトリ (テナント) ID/クライアントシークレット(値) の情報を設定します。
{
  "AzureAdAppSettings": {
    "ApplicationId": "アプリケーション (クライアント) ID",
    "TenantId": "ディレクトリ (テナント) ID",
    "ClientSecret": "クライアントシークレット(値)"
  },
  "Logging": {
    "LogLevel": {
      "Default": "Information",
      "Microsoft": "Warning",
      "Microsoft.Hosting.Lifetime": "Information"
    }
  },
  "AllowedHosts": "*"
}
オプションパターンを使用して appsettings.json に設定した情報を取得するため。AzureAdAppSettingsOptions クラスを追加して Startup クラスの ConfigureServices メソッドを修正します。
namespace GraphTutorial.Options
{
    public class AzureAdAppSettingsOptions
    {
        public string ApplicationId { get; set; }
        public string TenantId { get; set; }
        public string ClientSecret { get; set; }
    }
}
using GraphTutorial.Options;
using Microsoft.AspNetCore.Builder;
using Microsoft.AspNetCore.Hosting;
using Microsoft.Extensions.Configuration;
using Microsoft.Extensions.DependencyInjection;
using Microsoft.Extensions.Hosting;
using Microsoft.OpenApi.Models;

namespace GraphTutorial
{
    public class Startup
    {
        public Startup(IConfiguration configuration)
        {
            Configuration = configuration;
        }

        public IConfiguration Configuration { get; }

        public void ConfigureServices(IServiceCollection services)
        {
            services.Configure<AzureAdAppSettingsOptions>(Configuration.GetSection("AzureAdAppSettings")); // 追加
            services.AddControllers();
            services.AddSwaggerGen(c =>
            {
                c.SwaggerDoc("v1", new OpenApiInfo { Title = "GraphTutorial", Version = "v1" });
            });
        }

        public void Configure(IApplicationBuilder app, IWebHostEnvironment env)
        {
            if (env.IsDevelopment())
            {
                app.UseDeveloperExceptionPage();
                app.UseSwagger();
                app.UseSwaggerUI(c => c.SwaggerEndpoint("/swagger/v1/swagger.json", "GraphTutorial v1"));
            }

            app.UseHttpsRedirection();

            app.UseRouting();

            app.UseAuthorization();

            app.UseEndpoints(endpoints =>
            {
                endpoints.MapControllers();
            });
        }
    }
}
Authentication
Microsoft Graph Client のインスタンスを作成するために IAuthenticationProvider の実装を用意します。参照
using GraphTutorial.Options;
using Microsoft.Extensions.Options;
using Microsoft.Graph;
using Microsoft.Identity.Client;
using System.Net.Http;
using System.Net.Http.Headers;
using System.Threading.Tasks;

namespace GraphTutorial.Authentication
{
    public class ClientCredentialsAuthenticationProvider : IAuthenticationProvider
    {
        private readonly string[] scopes;
        private readonly IConfidentialClientApplication confidentialClientApplication;

        public ClientCredentialsAuthenticationProvider(IOptions<AzureAdAppSettingsOptions> options)
        {
            this.scopes = new[] { "https://graph.microsoft.com/.default" };

            this.confidentialClientApplication = ConfidentialClientApplicationBuilder
                .Create(options.Value.ApplicationId)
                .WithTenantId(options.Value.TenantId)
                .WithClientSecret(options.Value.ClientSecret)
                .Build();
        }

        public async Task<string> GetAccessToken()
        {
            var result = await confidentialClientApplication.AcquireTokenForClient(scopes).ExecuteAsync();
            return result.AccessToken;
        }

        public async Task AuthenticateRequestAsync(HttpRequestMessage requestMessage)
        {
            requestMessage.Headers.Authorization = new AuthenticationHeaderValue("bearer", await GetAccessToken());
        }
    }
}
ApiModel
Graph API からのレスポンスを受け取るためのクラスを用意します。
namespace GraphTutorial.ApiModels
{
    public class UserModel
    {
        public string UserPrincipalName { get; set; }
        public string DisplayName { get; set; }
        public string givenName { get; set; }
        public string surName { get; set; }
        public string Mail { get; set; }
    }
}
Service
DI のためにインターフェースを用意します。
using GraphTutorial.ApiModels;
using System.Threading.Tasks;

namespace GraphTutorial.Services
{
    public interface IGraphApiService
    {
        public Task<UserModel> GetUserAsync(string upn);
    }
}
Microsoft Graph Client を生成して Graph API を呼び出すサービスクラスを用意します。
using GraphTutorial.ApiModels;
using Microsoft.Graph;
using System.Threading.Tasks;

namespace GraphTutorial.Services
{
    public class GraphApiService : IGraphApiService
    {
        private readonly IGraphServiceClient graphServiceClient;

        public GraphApiService(IAuthenticationProvider authProvider)
        {
            this.graphServiceClient = new GraphServiceClient(authProvider);
        }

        public async Task<UserModel> GetUserAsync(string upn)
        {
            var user = await graphServiceClient.Users[upn].Request().GetAsync();

            var userModel = new UserModel
            {
                UserPrincipalName = user.UserPrincipalName,
                DisplayName = user.DisplayName,
                givenName = user.GivenName,
                surName = user.Surname,
                Mail = user.Mail
            };

            return userModel;
        }
    }
}
Controller
サービスを呼び出すコントローラーを用意します。
using GraphTutorial.Services;
using Microsoft.AspNetCore.Mvc;
using System.Threading.Tasks;

namespace GraphTutorial.Controllers
{
    [Route("api/users")]
    [ApiController]
    public class UserController : ControllerBase
    {
        private readonly IGraphApiService graphApiService;

        public UserController(IGraphApiService graphApiService)
        {
            this.graphApiService = graphApiService;
        }

        [HttpGet("{upn}")]
        public async Task<IActionResult> GetUserAsync(string upn)
        {
            var user = await graphApiService.GetUserAsync(upn);
            return Ok(user);
        }
    }
}
DI
DI のために AddSingleton を追加します。シングルトンにしておくとアクセストークンの期限内は既存のアクセストークンを利用し、期限が切れると自動的に新規のアクセストークンを取得してくれます。(AddScoped AddTransient にするとリクエストのたびにアクセストークンを新しく取得します)
using GraphTutorial.Authentication;
using GraphTutorial.Options;
using GraphTutorial.Services;
using Microsoft.AspNetCore.Builder;
using Microsoft.AspNetCore.Hosting;
using Microsoft.Extensions.Configuration;
using Microsoft.Extensions.DependencyInjection;
using Microsoft.Extensions.Hosting;
using Microsoft.Graph;
using Microsoft.OpenApi.Models;

namespace GraphTutorial
{
    public class Startup
    {
        public Startup(IConfiguration configuration)
        {
            Configuration = configuration;
        }

        public IConfiguration Configuration { get; }

        public void ConfigureServices(IServiceCollection services)
        {
            services.Configure<AzureAdAppSettingsOptions>(Configuration.GetSection("AzureAdAppSettings"));
            services.AddSingleton<IAuthenticationProvider, ClientCredentialsAuthenticationProvider>(); // 追加
            services.AddSingleton<IGraphApiService, GraphApiService>(); // 追加
            services.AddControllers();
            services.AddSwaggerGen(c =>
            {
                c.SwaggerDoc("v1", new OpenApiInfo { Title = "GraphTutorial", Version = "v1" });
            });
        }

        public void Configure(IApplicationBuilder app, IWebHostEnvironment env)
        {
            if (env.IsDevelopment())
            {
                app.UseDeveloperExceptionPage();
                app.UseSwagger();
                app.UseSwaggerUI(c => c.SwaggerEndpoint("/swagger/v1/swagger.json", "GraphTutorial v1"));
            }

            app.UseHttpsRedirection();

            app.UseRouting();

            app.UseAuthorization();

            app.UseEndpoints(endpoints =>
            {
                endpoints.MapControllers();
            });
        }
    }
}
動作確認
デバッグ実行後、以下の URL にアクセスしてユーザー情報が返ってくることを確認します。(user@example.com の部分は実在する User Principal Name に置き換えてください。IIS Express で実行した場合は正しいポート番号を正しい番号に置き換えてください。)
https://localhost:5001/api/users/user@example.com

