MVCとは
MVCとは、アプリケーションを構成するデータ(Model)、画面(View)、ロジック(Controller)を分けて作る構成のことです。開発、メンテナンスをしやすい(例えば、画面を変更してもロジック部分のソースは変更しなくてよい)というメリットがあります。
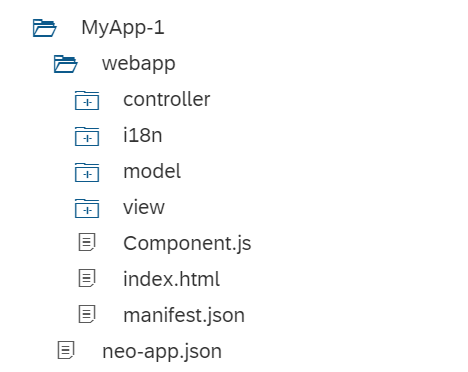
以下は、シンプルなSAPUI5のフォルダ構成の例です。model, view, controllerのフォルダがありますね。

SAPUI5で(M)VCを実装してみる
モデルを使うにはひと手間必要なので、今回はビュー、コントローラーを実装します。モデルを使った例は別の機会にご紹介したいと思います。
ゴール
ボタンを押すと"Hello World"と表示されるようにします。

ステップ
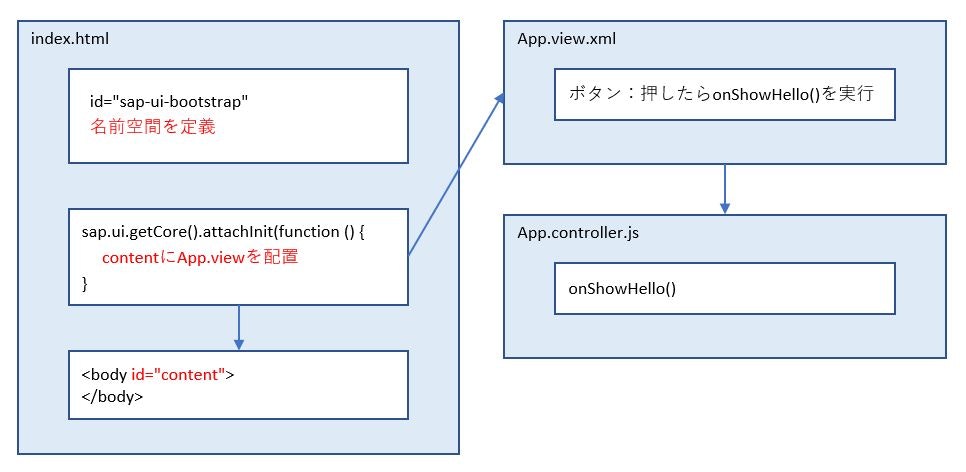
- index.htmlで名前空間を定義し、ビューを埋め込む
- App.view.xmlを作成する
- App.controller.jsを作成する
- アプリを実行する
1. index.htmlで名前空間を定義し、ビューを埋め込む
名前空間を定義する
bootstrapのコードの下に、以下のようにコードを追加します。これは「"test.helloworld"で始まるファイルはindex.htmlフォルダと同じ階層にありますよ」ということを意味します。
	    <script
	       id="sap-ui-bootstrap"
	       src="https://sapui5.hana.ondemand.com/resources/sap-ui-core.js"
           //省略
    	   data-sap-ui-resourceroots='{
        	"test.helloworld": "./"
           }'
		>
ビューを埋め込む
この後で作成するビューを埋め込むスペースを先に作っておきます。attachInitの中身を以下のように書き換えてください。index.htmlファイルの中にある"content"という場所に、App.view.xmlというビューを埋め込むという意味になります。(ビューの末尾はview.xmlであると自動的に解釈されます)
	       sap.ui.getCore().attachInit(function () {
              sap.ui.xmlview({
                 viewName : "test.helloworld.view.App"
              }).placeAt("content");
	       });
bodyタグを以下のように変更します。bodyタグのidがcontentとなって、bodyにビューが埋め込まれます。
	<body class="sapUiBody" id="content">
	</body>
2. App.view.xmlを作成する
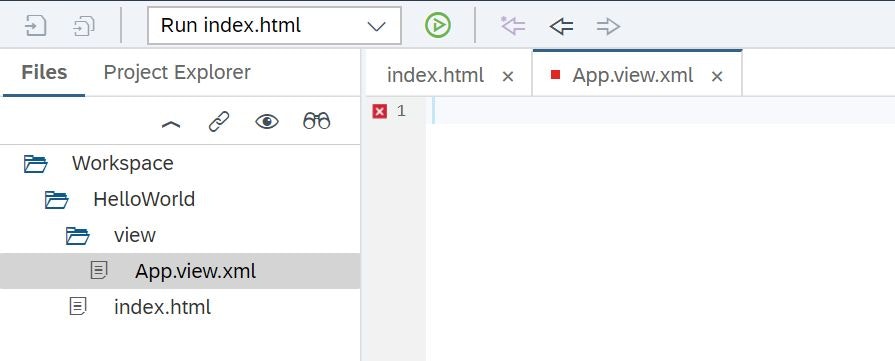
新しく"view"フォルダを作り、その配下に"App.view.xml"を作成します。
※ビューの名称は大文字で開始し、末尾はview.xmlとするのが慣例です。

以下のコードを入力します。
<mvc:View
   controllerName="test.helloworld.controller.App"
   xmlns="sap.m"
   xmlns:mvc="sap.ui.core.mvc">
   <Button
      text="Say Hello"
      press="onShowHello"/>
</mvc:View>
ファイルの先頭で指定している項目について解説します。
controllerName:使用するコントローラーの名前です。
xmlns="sap.m":SAPUI5のライブラリのひとつです。Buttonを使うために指定しています。
xmlns:mvc="sap.ui.core.mvc":同じくSAPUI5のライブラリのひとつです。Viewを使うために指定しています。
このように、ファイルの先頭で使用するライブラリを指定しておく必要があります。(この後出てくるControllerも同様です)
最後にボタンを配置して、ボタンが押されたらonShowHelloメソッドが起動されるようにします。
3. App.controller.jsを作成する
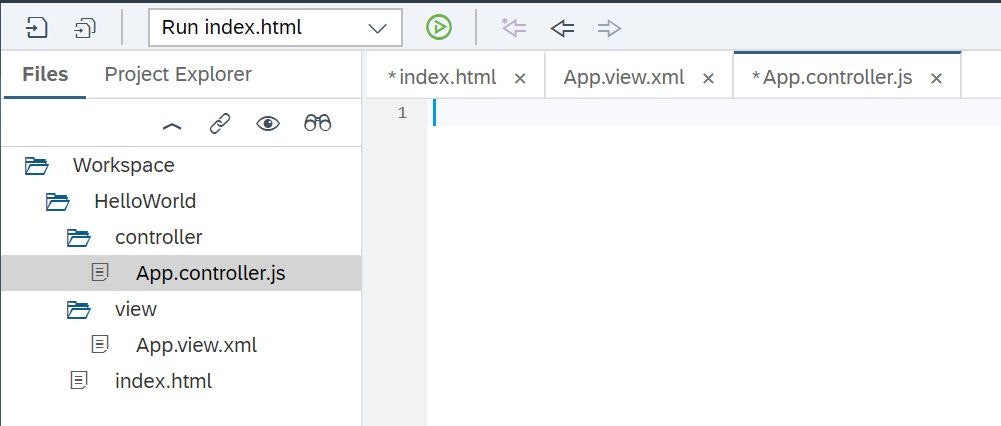
新しく"controller"フォルダを作り、その配下に"App.controller.js"を作成します。
※コントローラーの名称はビューと同じにするのが慣例です。

以下のコードを入力します。
sap.ui.define([
   "sap/ui/core/mvc/Controller"
], function (Controller) {
   "use strict";
   return Controller.extend("test.helloworld.controller.App", {
          //この後追加
      }
   });
});
これがコントローラーの定型となります。上から順に見ていくと、
"sap/ui/core/mvc/Controller":sap.ui.core.mvc.Controllerライブラリを使うことを宣言しています。ビューと違ってスラッシュで区切るのですね。
"use strict":JavaScriptの"use strict"と同じで、指定すると"strict mode"で実行されます。これによって、変数を使用前に宣言しているか、などのチェックが行われます。
return Controller.extend("test.helloworld.controller.App",{}:Controllerを拡張して、独自のメソッドを追加したものを返します。この中にonShowHelloを定義します。
   return Controller.extend("test.helloworld.controller.App", {
      onShowHello : function () {
         // show a native JavaScript alert
         alert("Hello World");
      }
   });
※プロジェクトの設定(JavaScriptのルール)により、alertが許可されておらずエラーが出る場合があります。@Auggie_2345さんの以下の記事にルールの設定方法が載っています。
【SAP WebIDE】Unexpected alert. (no-alert)の解決方法
もしくは、alertの代わりにMessageToastを使ってもOKです。
sap.m.MessageToast.show("Hello World");
4. アプリを実行する
参考にしたページ
Get Started: Setup and Tutorials-Walkthrough-Step 4: XML Views
Get Started: Setup and Tutorials-Walkthrough-Step 5: Controllers

