(追記)
コメントにも書いてある通り、よくよく調べてみるとビルドはできるが、申請は無理らしい
In the meantime, I will point out that it is only supported to use an embedded framework on iOS 8. The only question is whether you could use dlopen() to conditionally load the embedded framework on iOS 8, and not load the embedded framework on earlier versions of iOS.
前置き
iPhone ユーザーは OS のアップデートに対して積極的に取り組んでくれるが、まだまだ レガシー OS に対して対応しなければならないことがあると思う。
しかし、Deployment Target 7.0 での Swift の開発は非常に厄介で、CocoaPods による Swift ライブラリの導入ができない。そこでライブラリのソースファイルをプロジェクトにドラッグアンドドロップで入れるというお粗末な導入がしばしば見受けられる。これによる弊害として
- 名前空間が使えない
- バージョン管理下にライブラリのソースコードが入る(submoduleで解決するが...)
特に名前空間を使えないのは、非常に困る。Swift の名前空間は C++ のような明示的なものではなく Embedded Framework 単位で名前空間 1 が分かれている。そのため、同じターゲットに対してドラッグアンドドロップで Swift のライブラリを追加していくと、まれにクラス名が被ってコンパイルできないことがある。Carthage 2 を使うなど対応方法があるが、多くのライブラリが CocoaPods を使用しているという状況。
そこで、自分の環境では Embedded Framework と git submodule を利用して名前空間を利用しながら Swift で iOS の開発をしているのでその紹介をする。
手法
構成
CocoaPods (Obj-Cのライブラリのみ使用)を利用した環境を想定する。
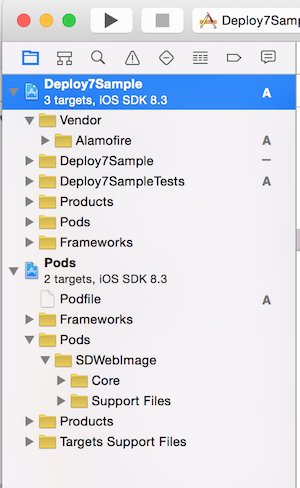
ここに./Vendorと./Vendor/Checkoutsというディレクトリを作成しておく。
➜ tree -L 1
.
├── Deploy7Sample
├── Deploy7Sample.xcodeproj
├── Deploy7Sample.xcworkspace
├── Deploy7SampleTests
├── Podfile
├── Podfile.lock
├── Pods
└── Vendor
    └── Checkouts

6 directories, 2 files
手順
Alamofire を導入してみる。まずは submodule で ./Vendor/Checkouts に checkout
➜ git submodule add git@github.com:Alamofire/Alamofire.git Vendor/Checkouts/Alamofire
Cloning into 'Vendor/Checkouts/Alamofire'...
remote: Counting objects: 1741, done.
remote: Compressing objects: 100% (52/52), done.
remote: Total 1741 (delta 23), reused 0 (delta 0), pack-reused 1689
Receiving objects: 100% (1741/1741), 930.78 KiB | 744.00 KiB/s, done.
Resolving deltas: 100% (982/982), done.
Checking connectivity... done.
次にプロジェクトを開く
➜ open Deploy7Sample.xcworkspace
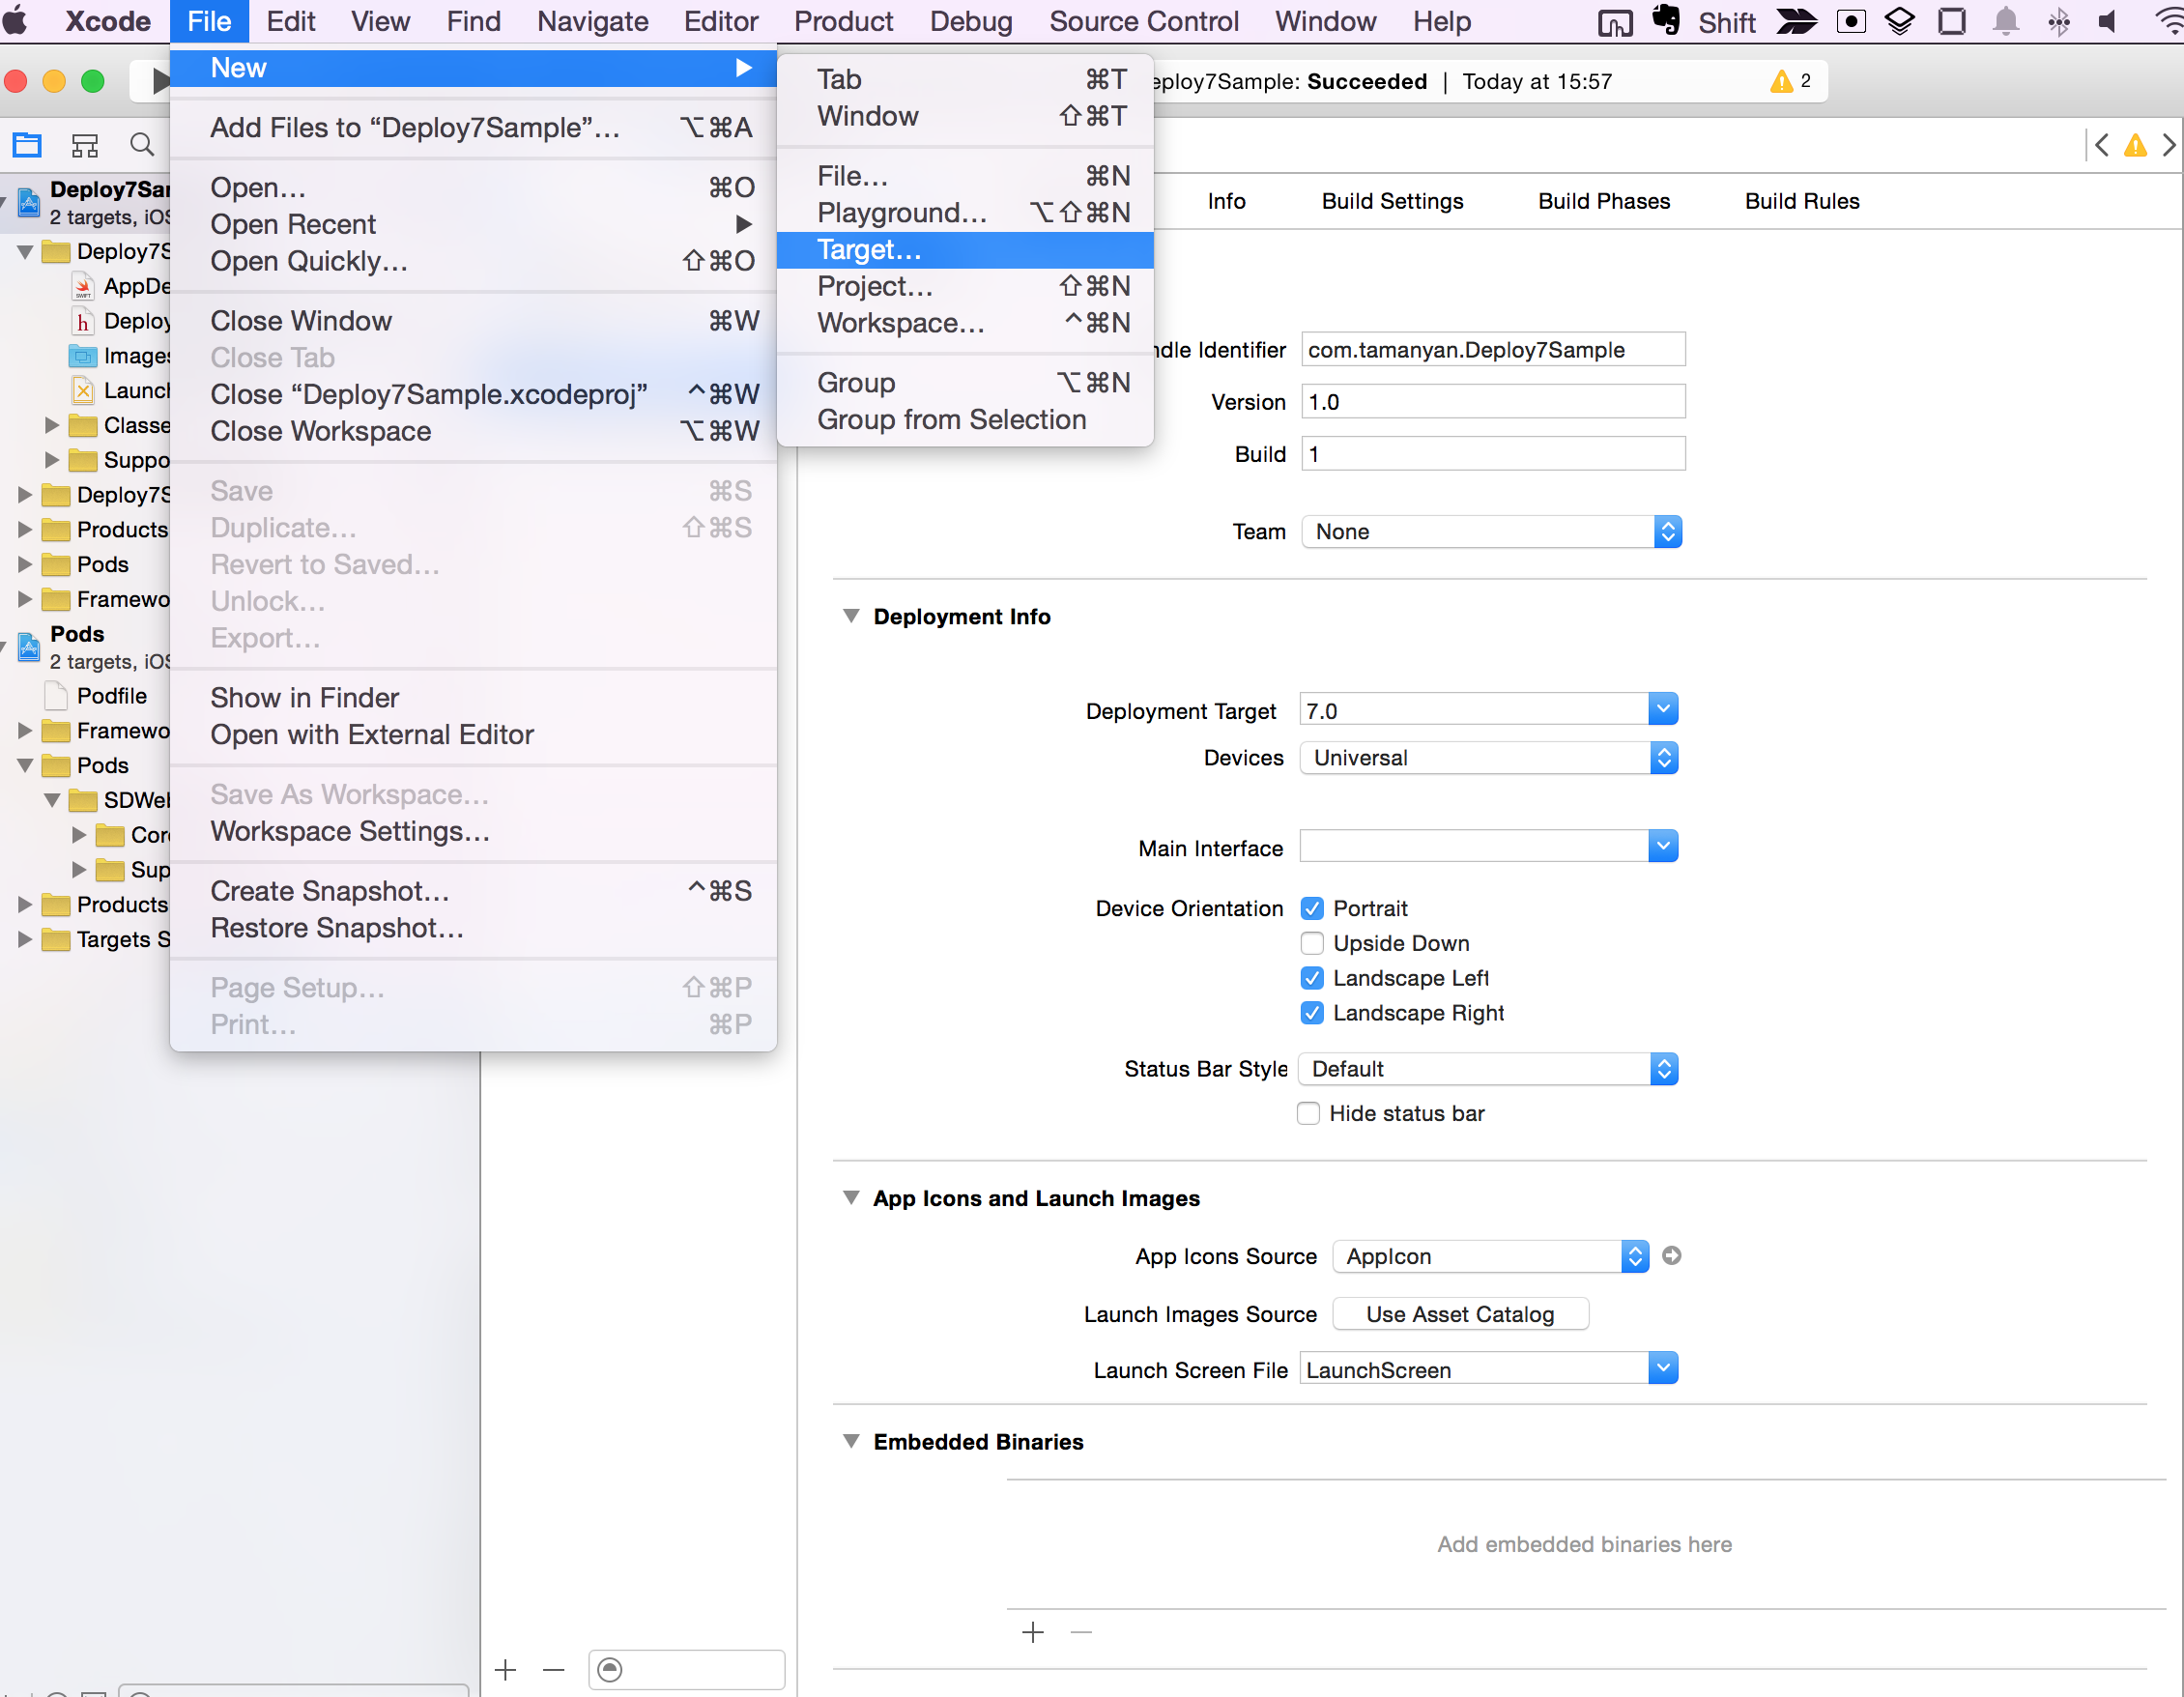
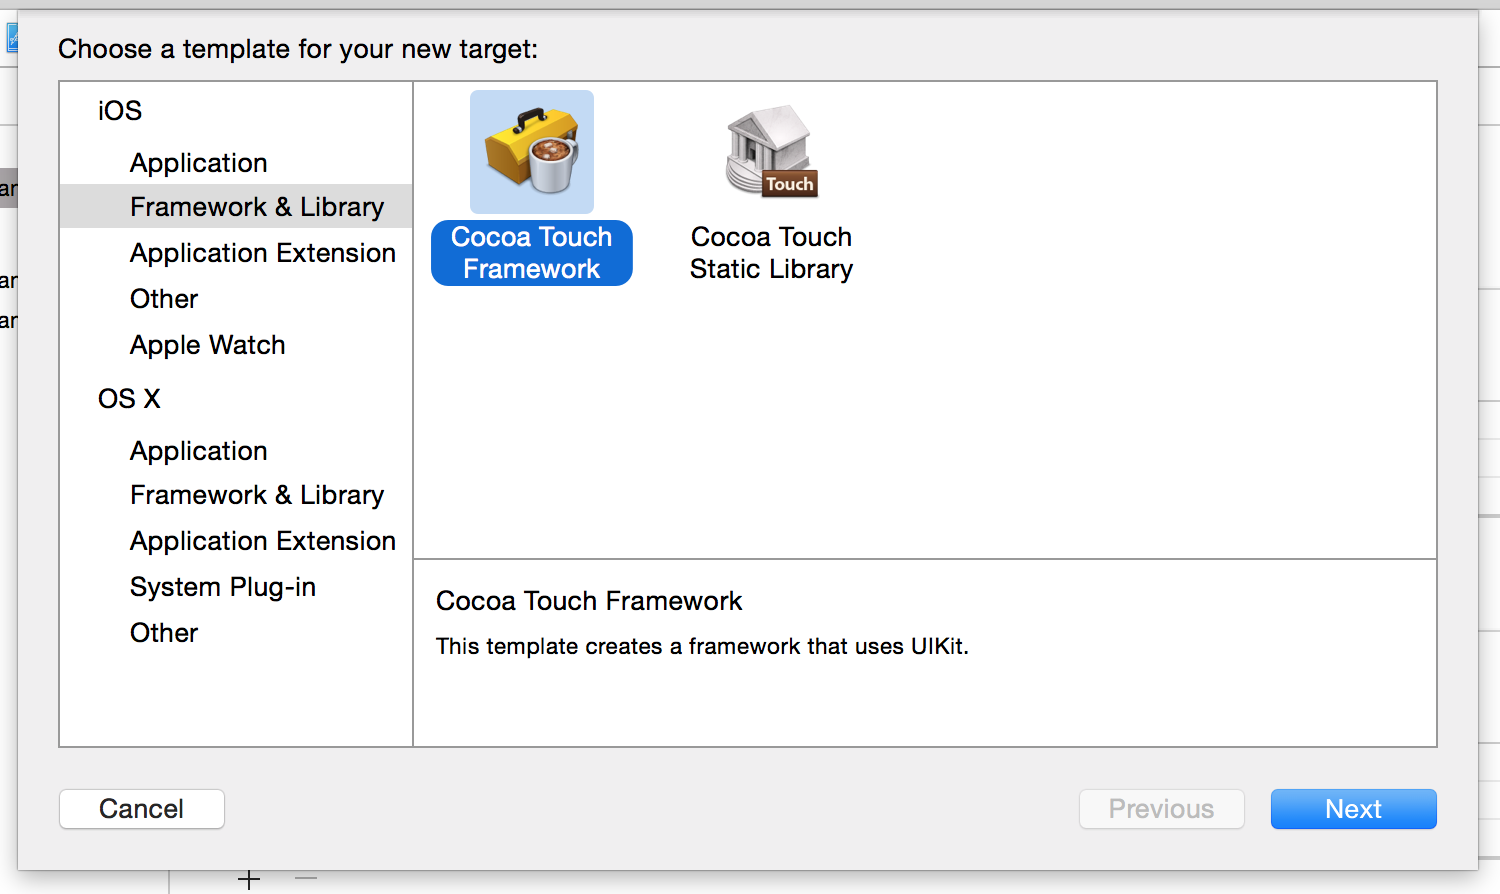
まずは File -> New -> Target から Cocoa Touch Framework を選択
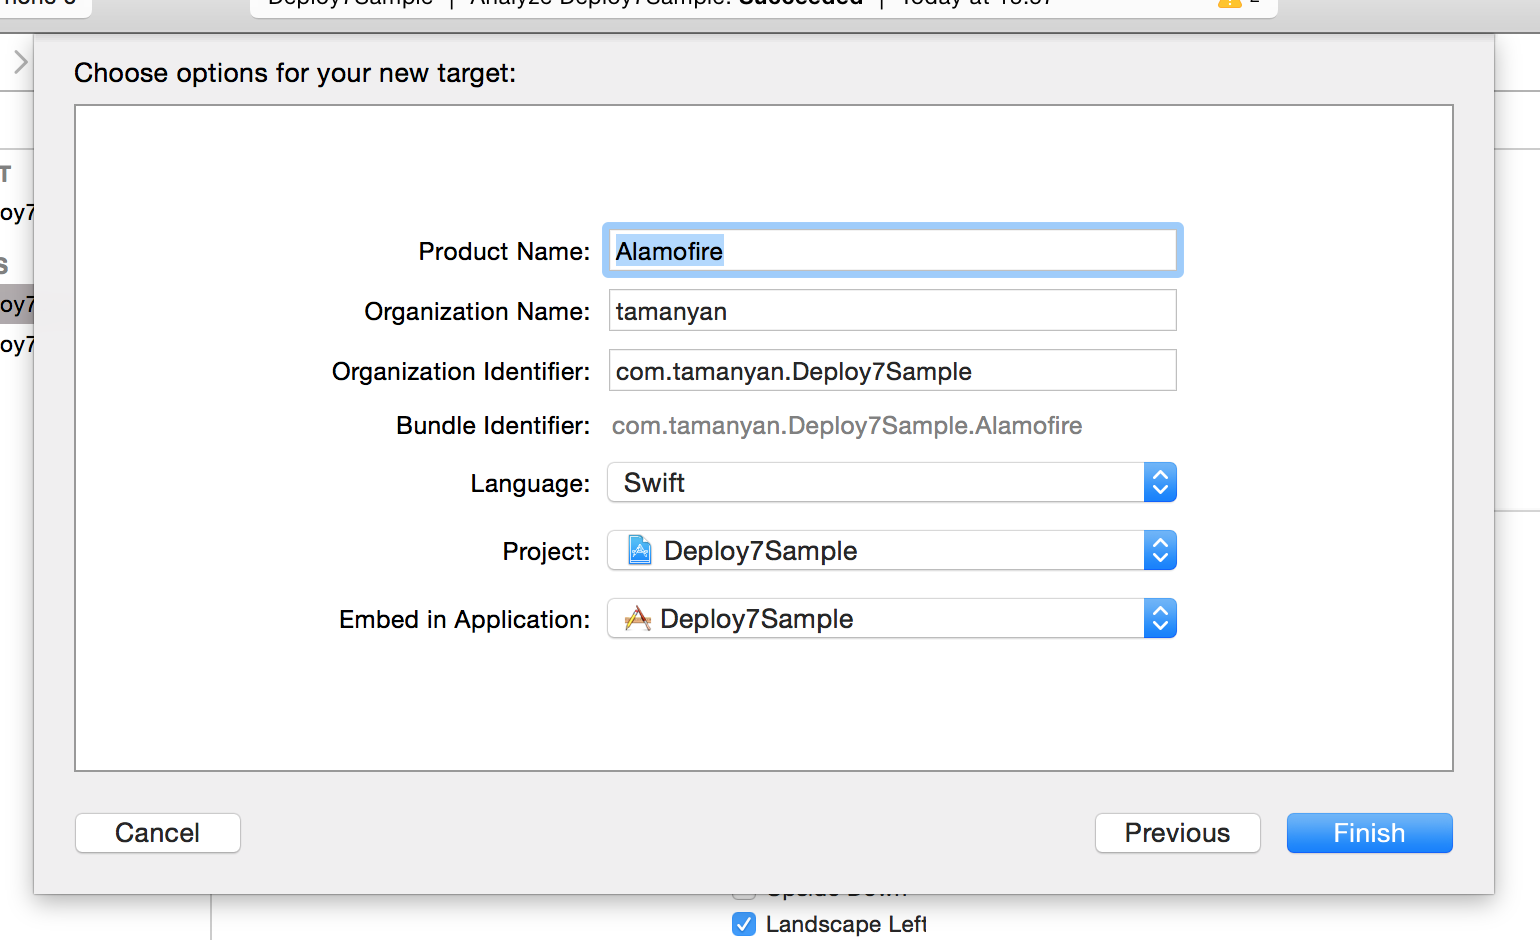
Framework の名前は Alamofire にしておく
すると Alamofire と AlamofireTests というターゲットとグループができるので Unit Test の AlamofireTests どっちも使わないので消しておく。

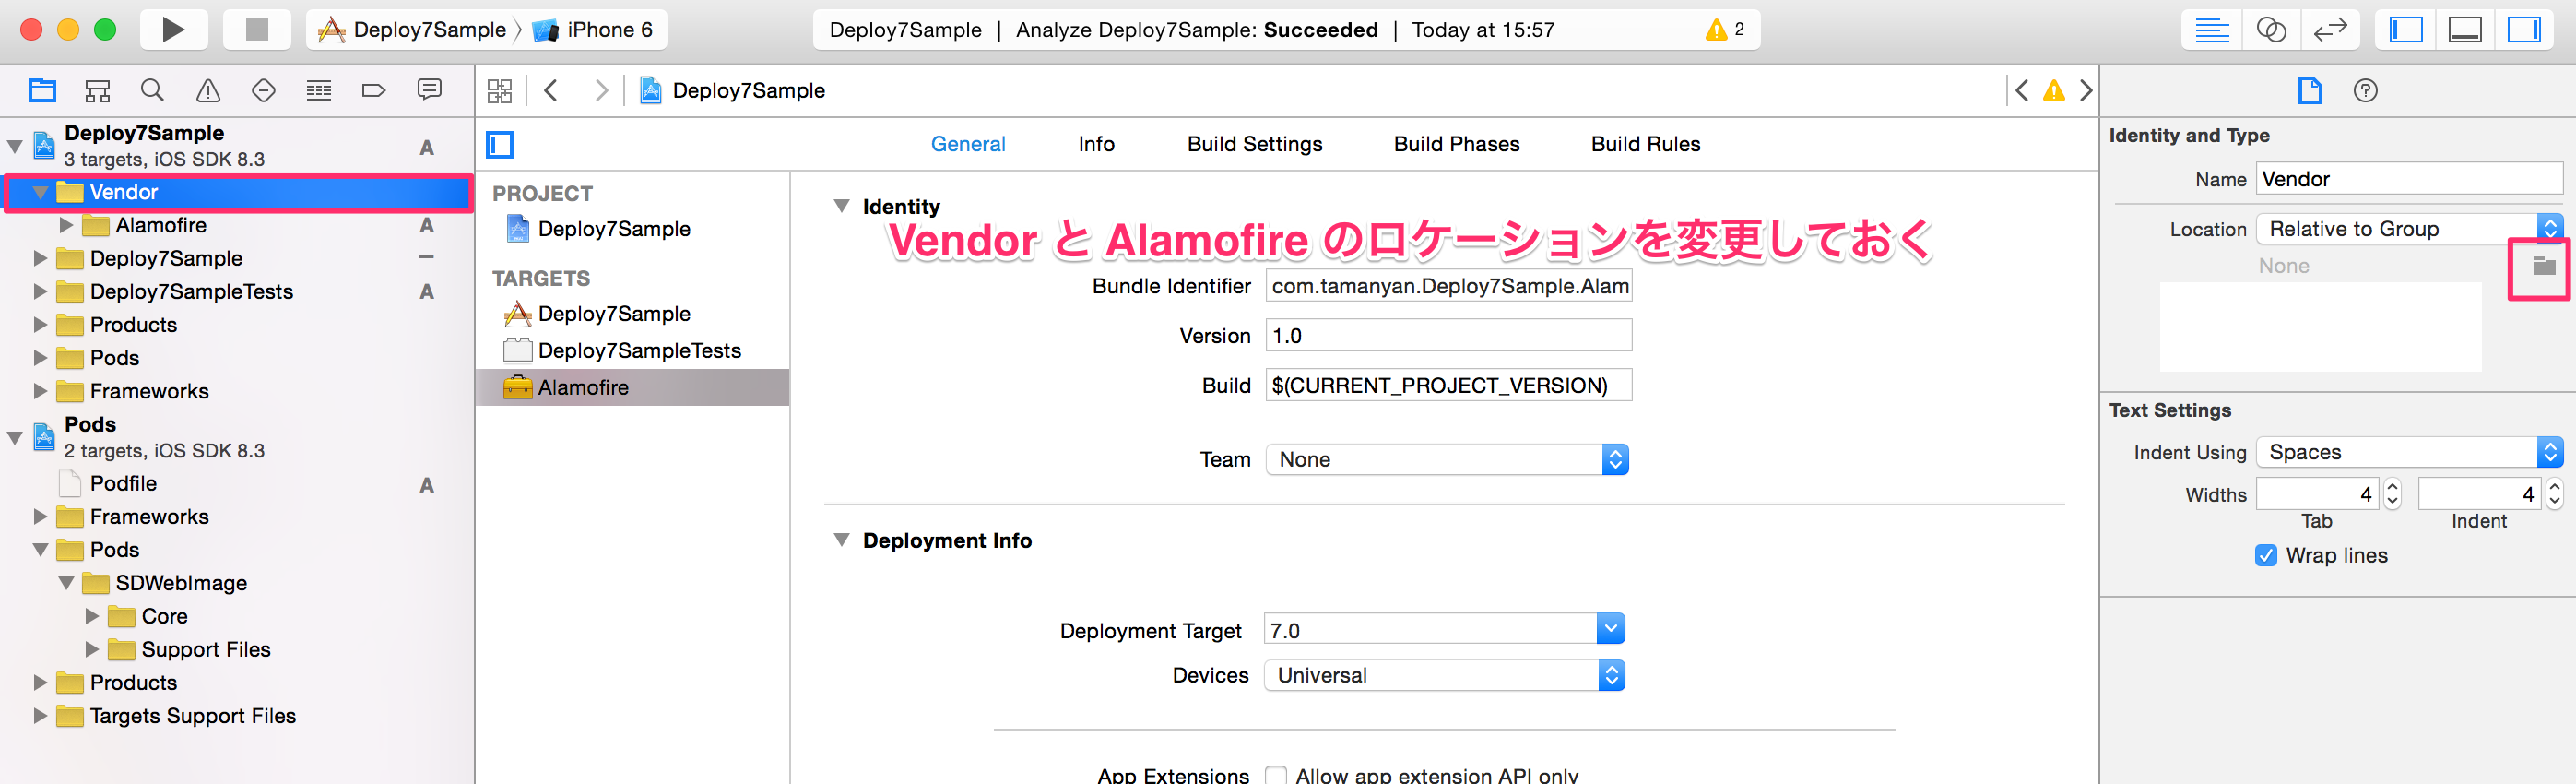
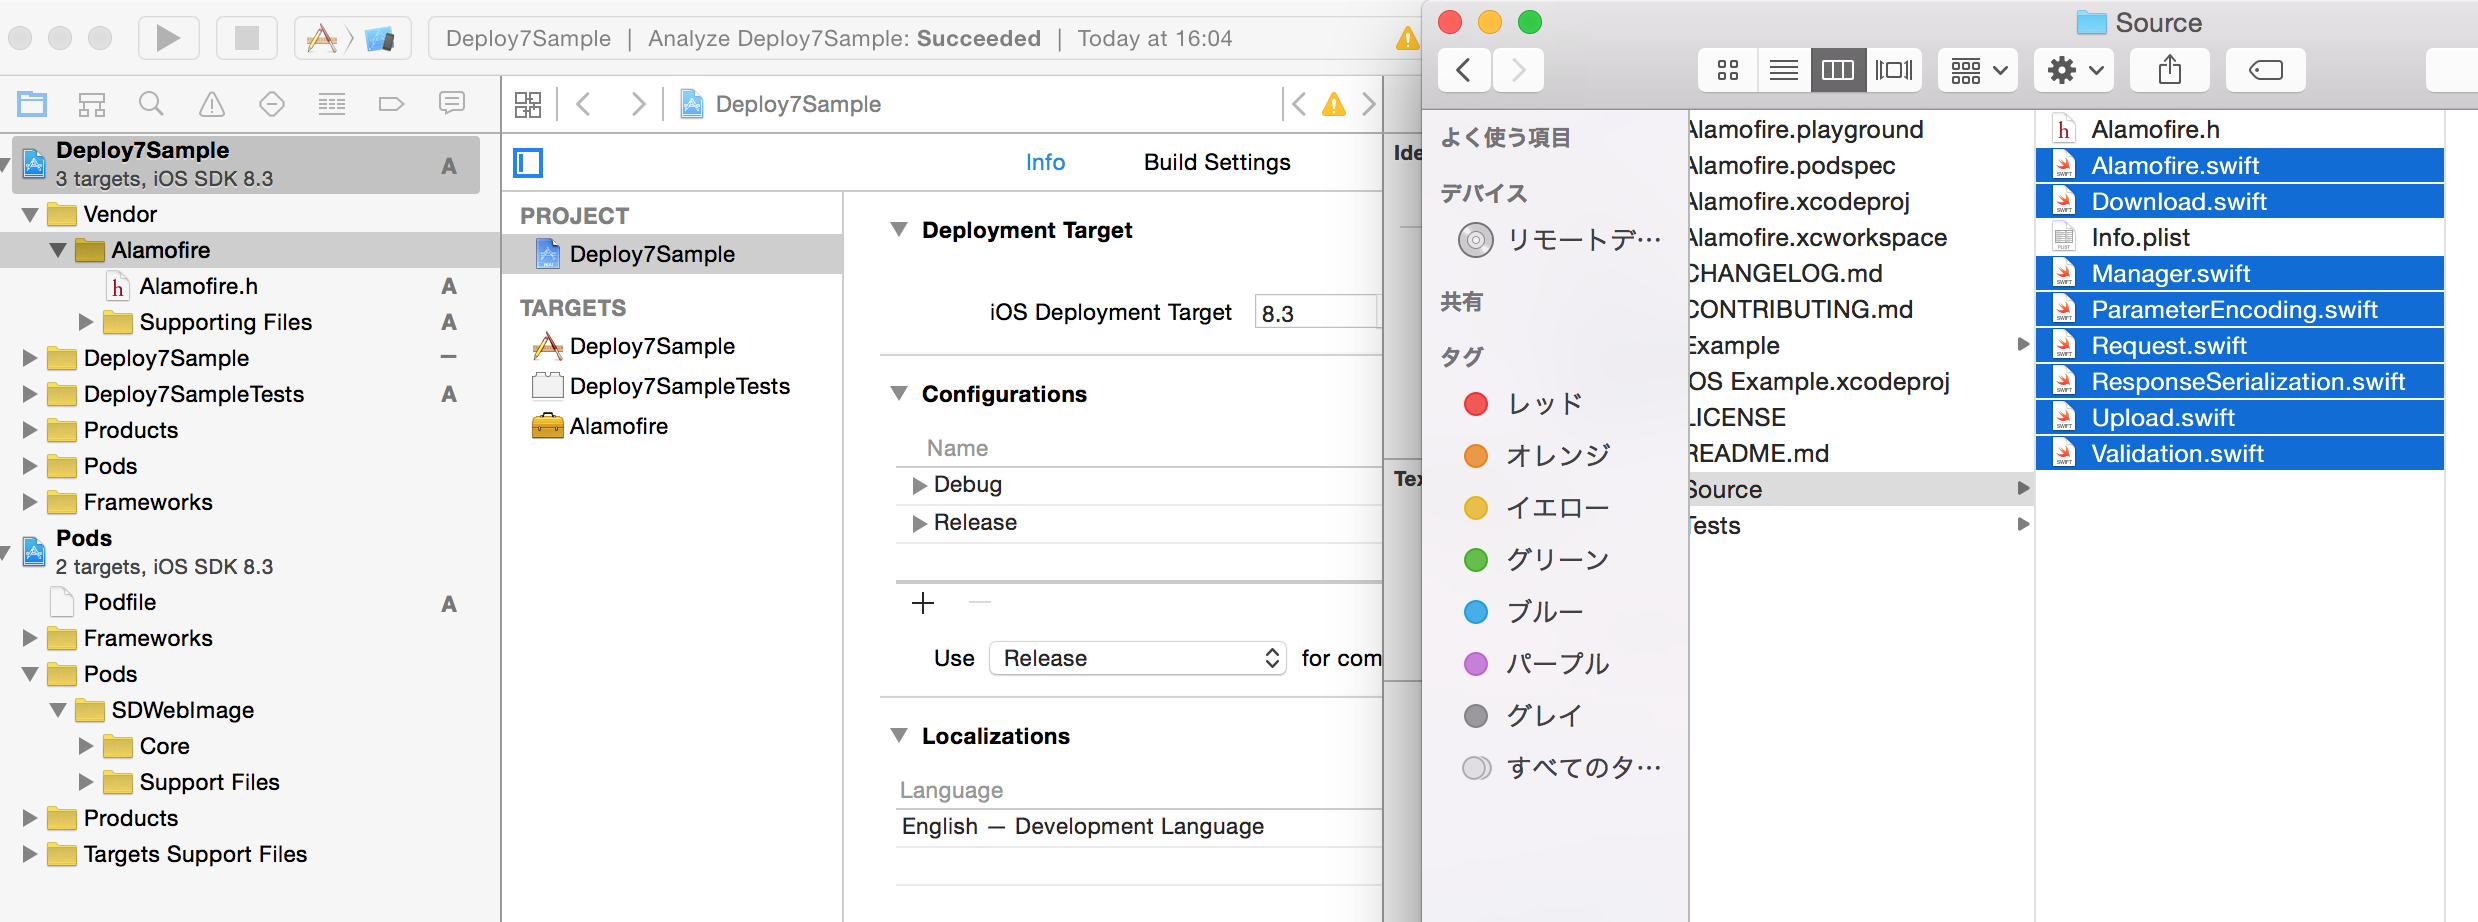
./Alamofireディレクトリは./Vendorの中に移動し、
mv Alamofire Vendor/Alamofire
グループVendorとその子供にグループAlamofireを追加する。
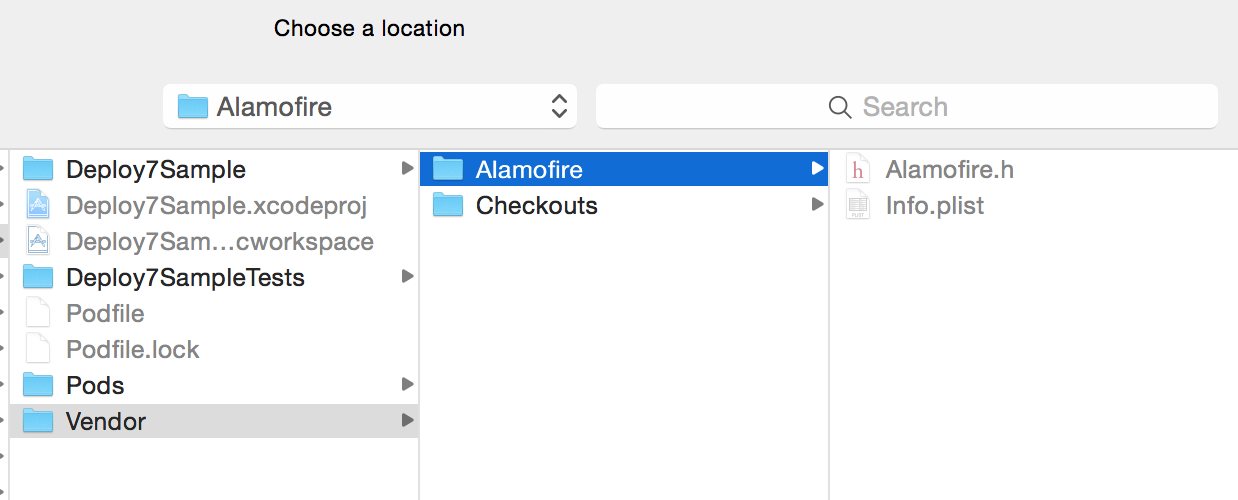
このままだとグループとディレクトリ構成が合わないので、グループVendorとAlamofireのロケーションを変更しておく。
- グループ
Vendor->./Vendor - グループ
Vendor/Alamofire->./Vendor/Alamofire
にロケーションを変更
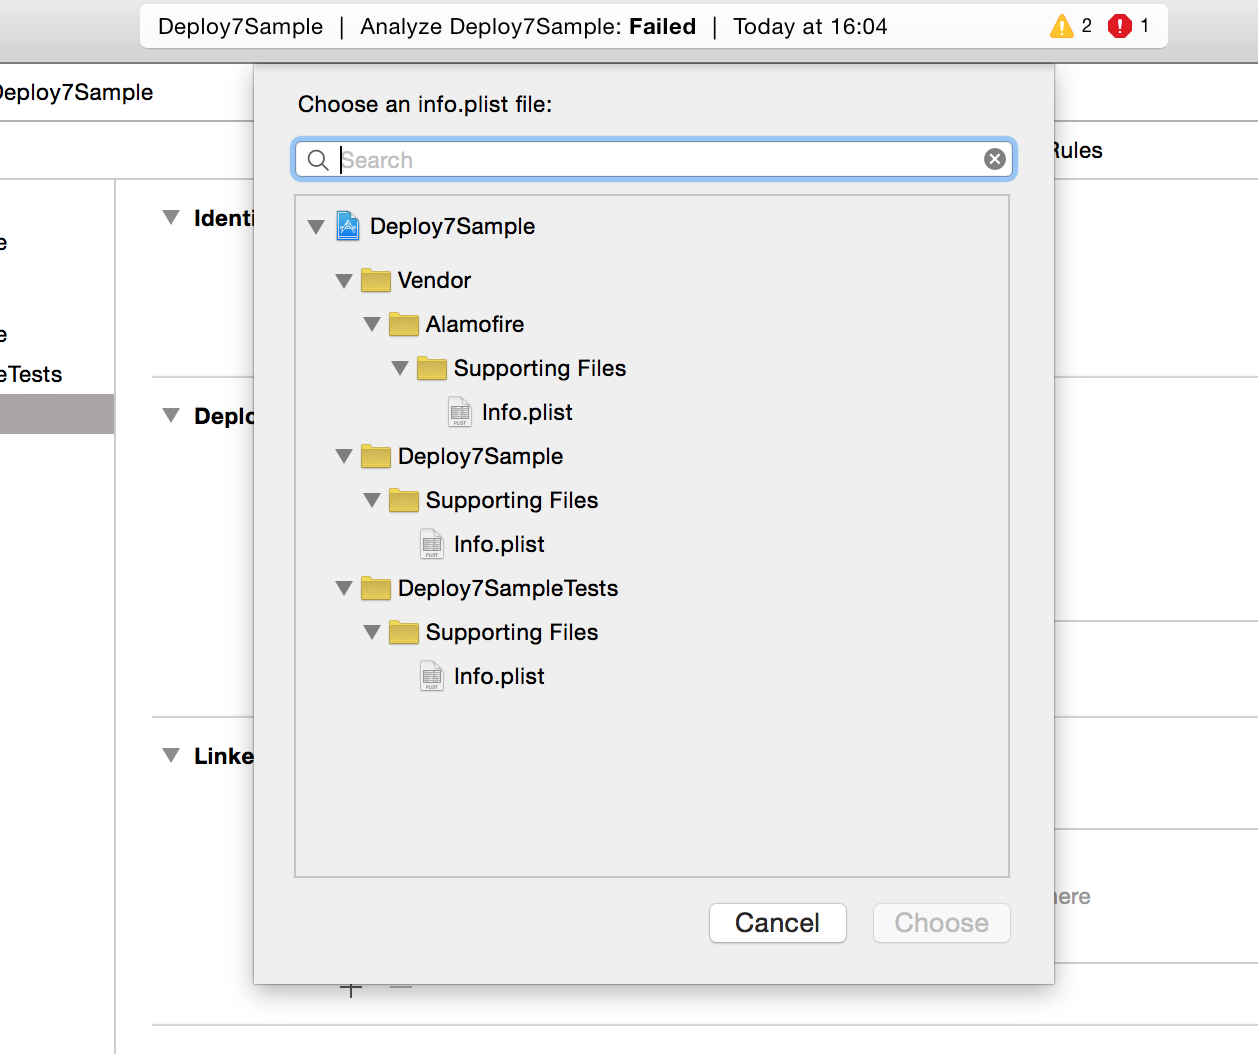
グループAlamofireを移動させるとinfo.plistが行方不明になるので、info.plistをダイアログから選択しておく。
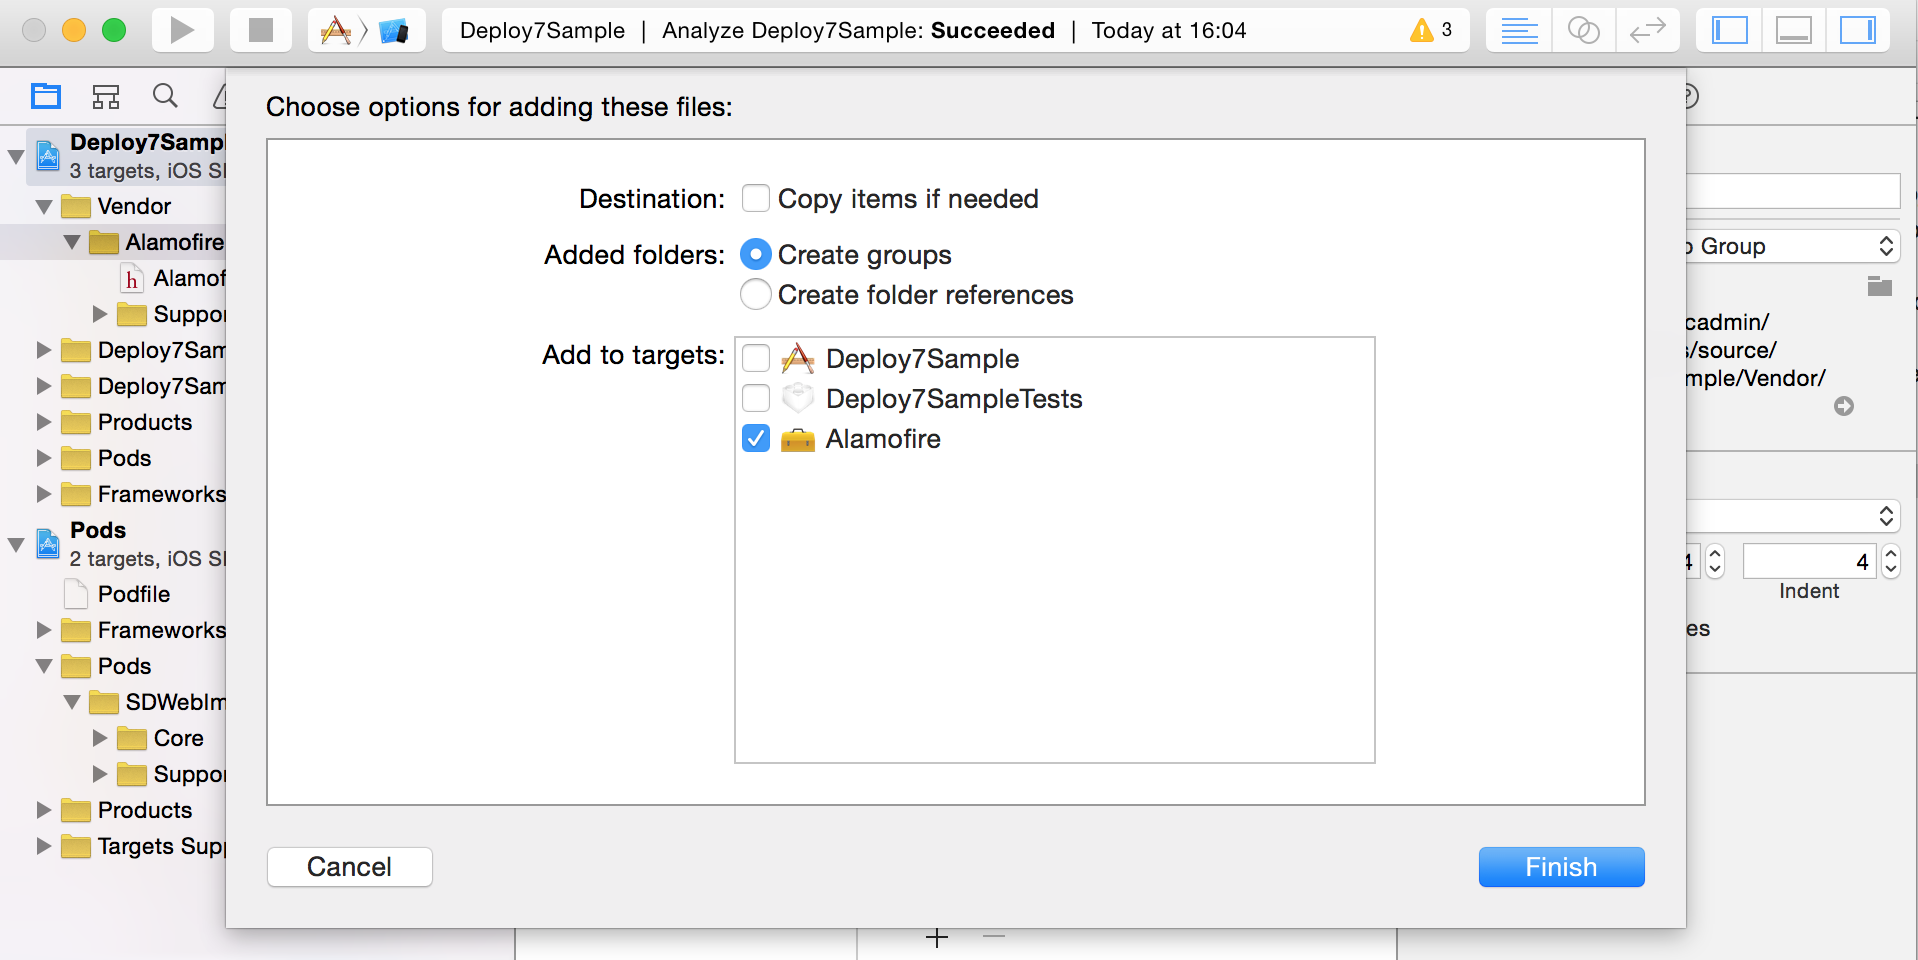
Alamofireのソースファイルをプロジェクトに追加する。
この時にCopy items if neededのチェックを外しておくこととAdd to targetsのチェックをAlamofireに変更しておくことを忘れずに
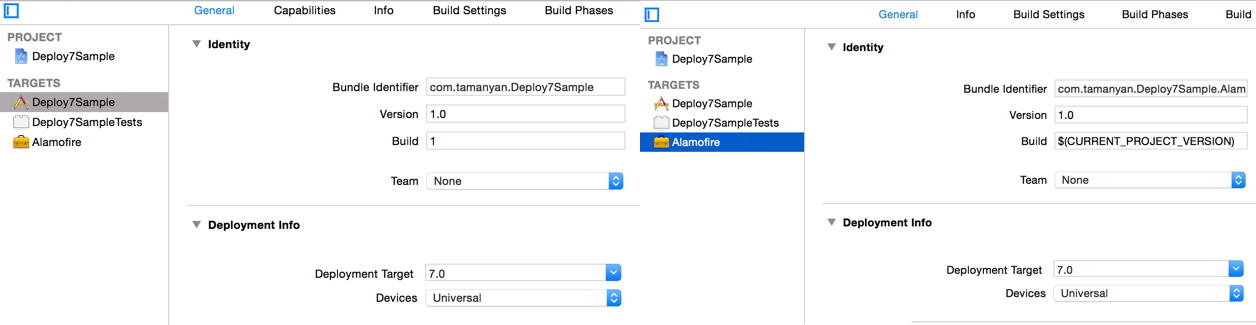
Deployment Target を 7.0 に設定する
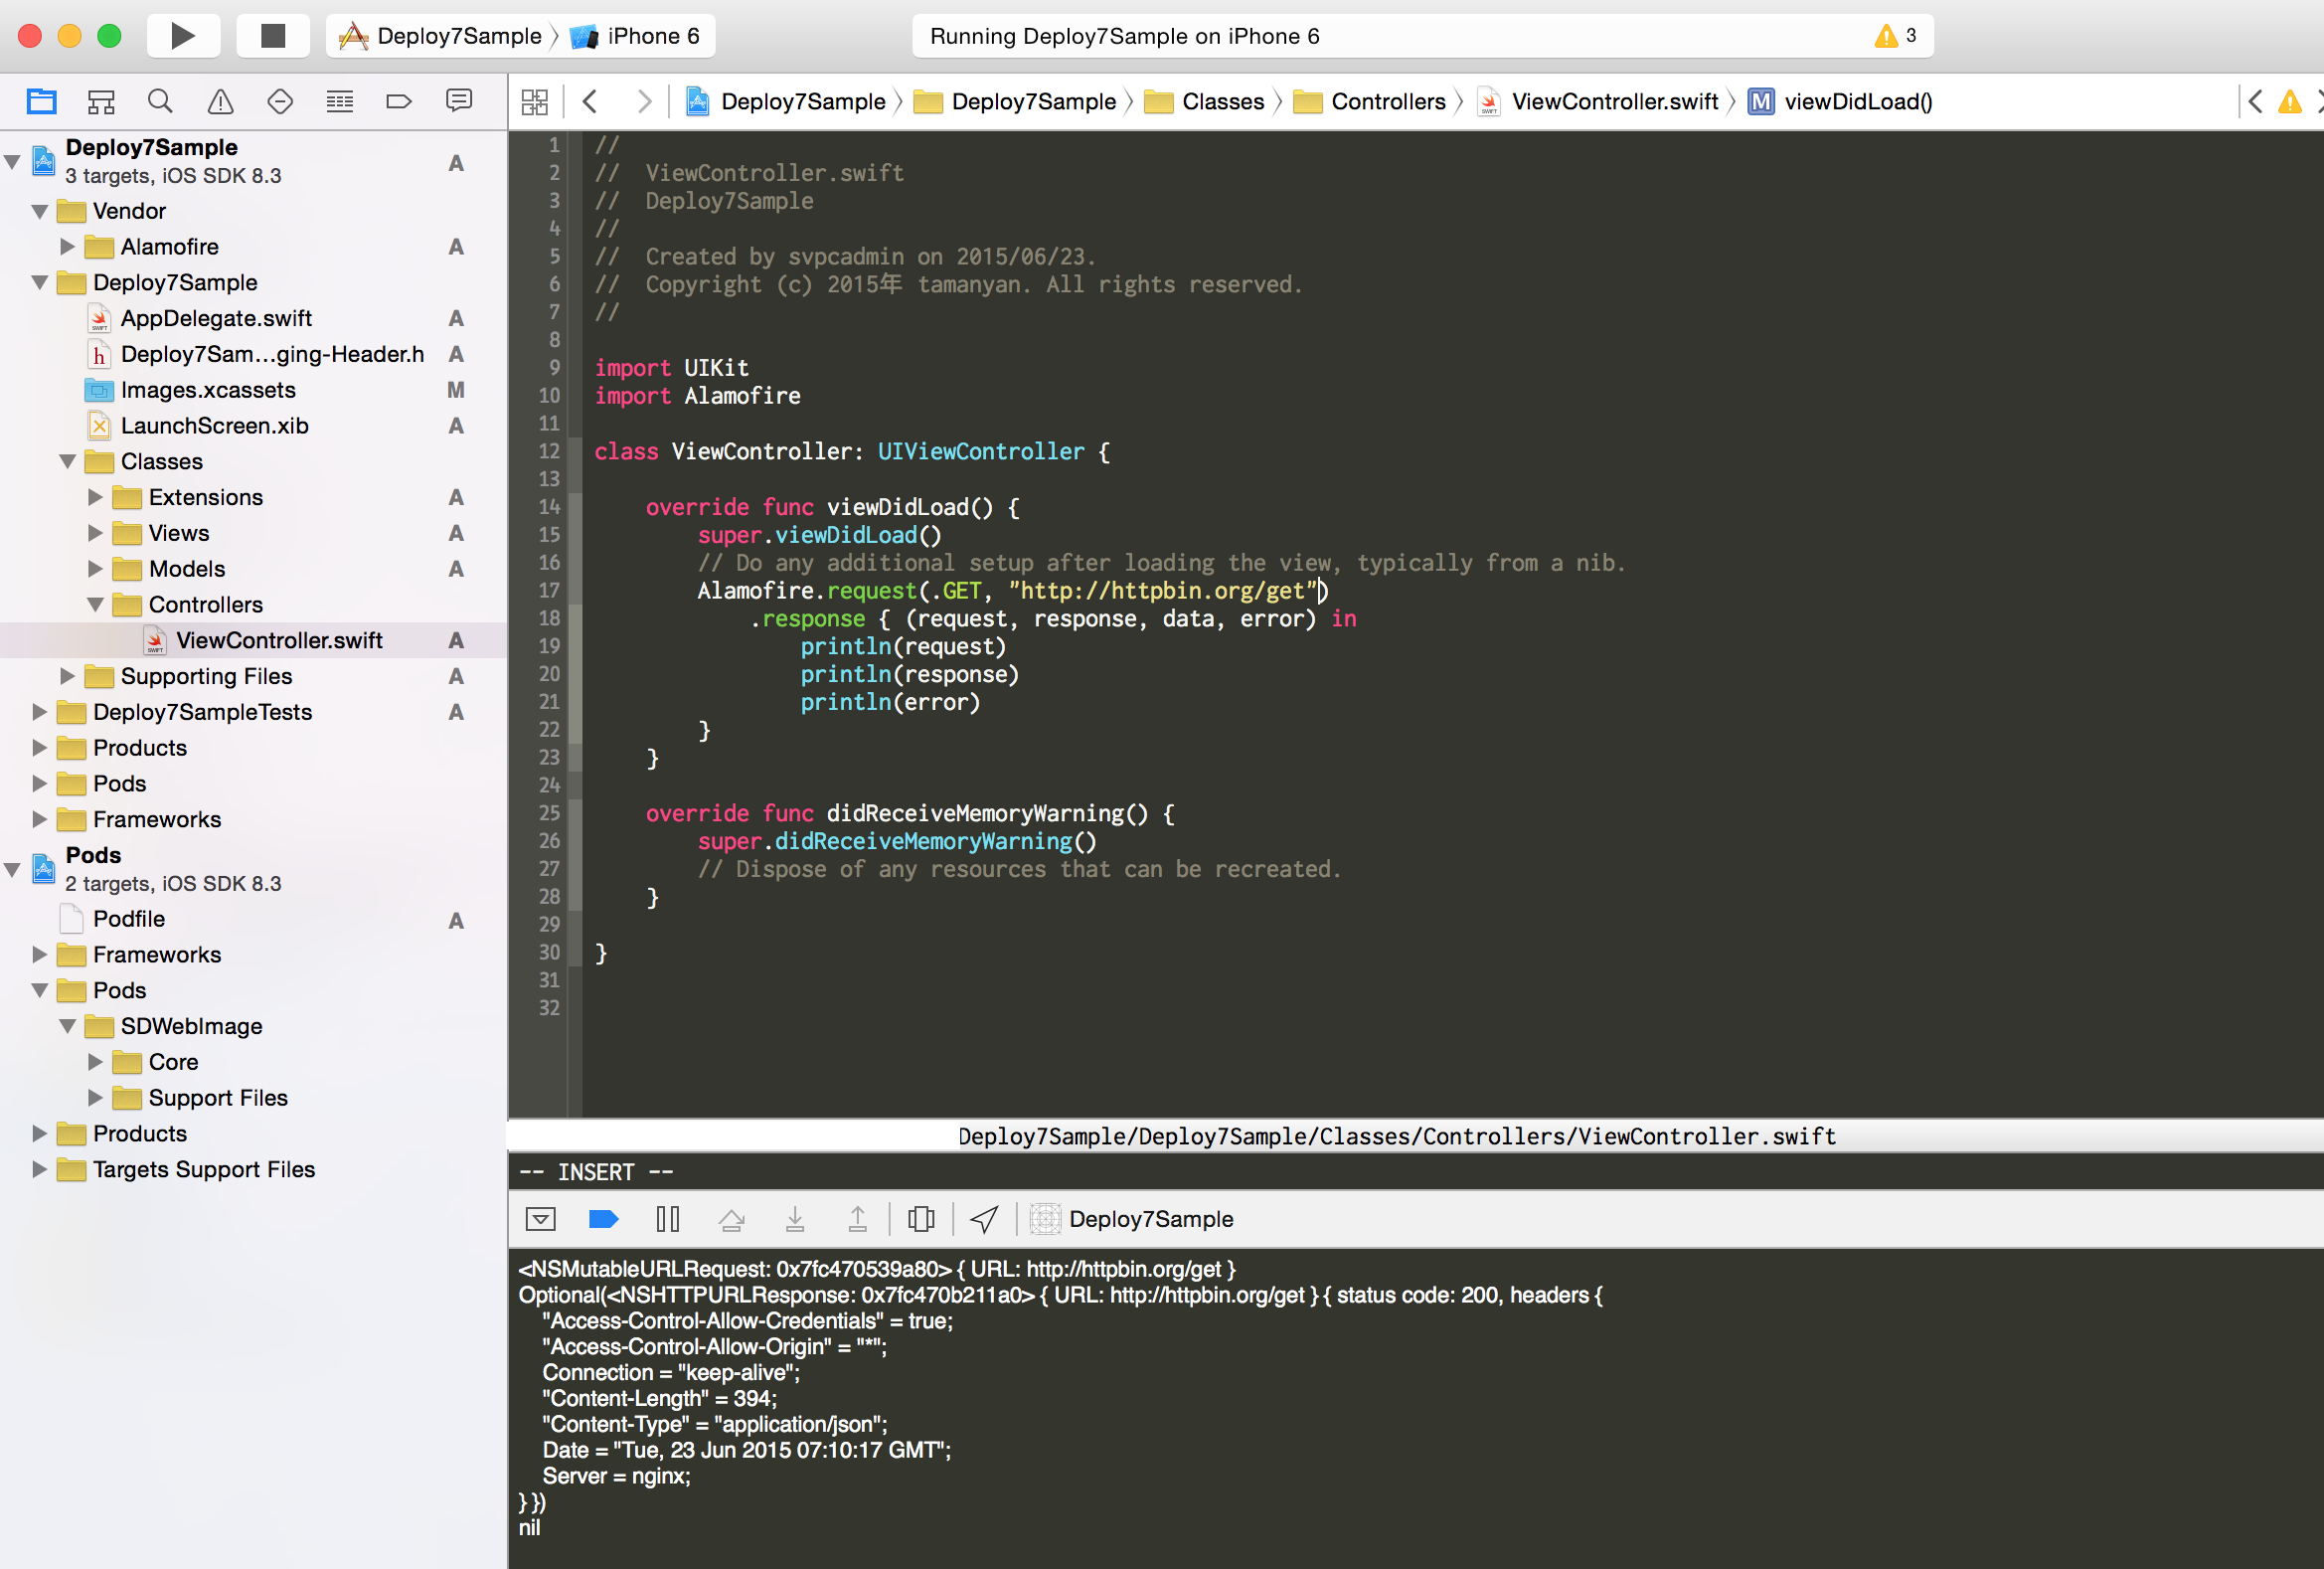
あとはViewControllerに次のサンプルコードを書いて終了
import UIKit
import Alamofire

class ViewController: UIViewController {

    override func viewDidLoad() {
        super.viewDidLoad()
        // Do any additional setup after loading the view, typically from a nib.
        Alamofire.request(.GET, "http://httpbin.org/get")
            .response { (request, response, data, error) in
                println(request)
                println(response)
                println(error)
        }
    }

    override func didReceiveMemoryWarning() {
        super.didReceiveMemoryWarning()
        // Dispose of any resources that can be recreated.
    }

}