はじめに
Swiftに対応したReactiveCocoa 3.0の開発がswift-developmentブランチで進められています。執筆時点では3.0系は正式にリリースされていません。まだBeta扱いですが、Carthageを利用して導入してみたいと思います。
実行環境
以下の環境で動作確認しました。
- Xcode 6.1.1 (6A2008a)
- iOS8
- ReactiveCocoa / Swift development branch
- Carthage 0.3.0
Carthageとは
Carthage(カルタゴ)はDynamicFrameworkを作成するためのライブラリ管理ツールです。ライブラリの定義、取得、ビルドをしてフレームワーク作成までを担っています。出力されたフレームワークは自分でDrag&Dropしてプロジェクトに登録します。CocoaPodsがSwiftに対応していないのでSwiftで開発したライブラリの配布手段として期待されています。またCarthageはコマンドラインツールですがSwiftで開発されており、内部ではReactiveCocoa 3.0 Swift Devalopmentを利用しています。ReactiveCocoa 3.0 Swift Devalopmentを利用するためのドキュメントやサンプルコードがまだほとんどない状況なので、Carthageのコードを読むことで一足早く概要を掴むことができます。
CarthageのコミッターはGithubにお勤めのJustin Spahr-Summersさんで、ReactiveCocoaのコミッターでもあります。よって、ReactiveCocoaはCarthageにいち早く対応しています。
Carthageをインストールする
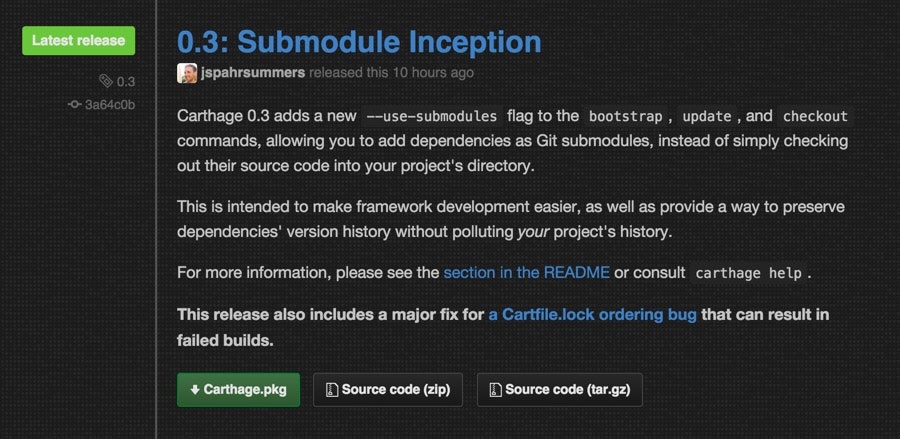
https://github.com/Carthage/Carthage/releases から最新のパッケージをダウンロードします。
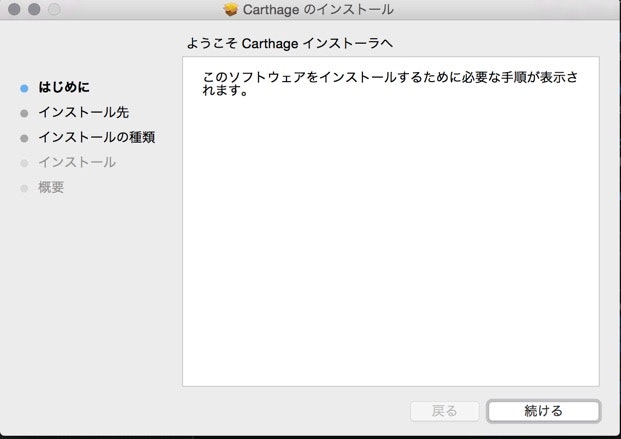
Carthageはpkg形式で配布されています。ダウンロードしてインストーラーを実行します。
インストールが完了すると、ターミナルから以下のコマンドで実行できるようになります。
$ carthage
Available commands:

   bootstrap   Check out and build the project's dependencies
   build       Build the project's dependencies
   checkout    Check out the project's dependencies
   help        Display general or command-specific help
   update      Update and rebuild the project's dependencies
   version     Display the current version of Carthage
今回利用したバージョンは0.3.0です。
$ carthage version
0.3.0
CarthageでReactiveCocoa Swift Development 3.0をプロジェクトに導入する
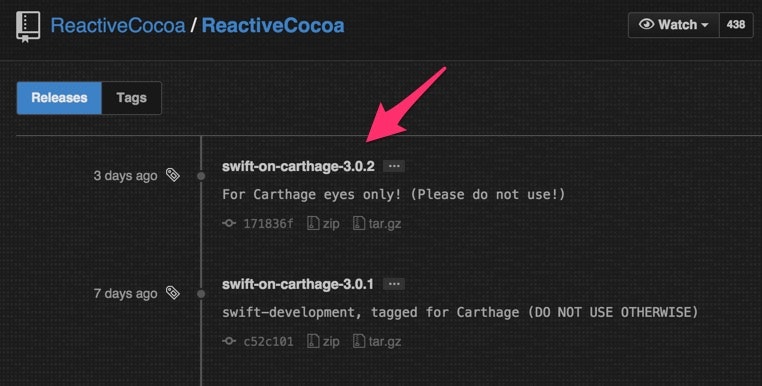
ReactiveCocoaの最新バージョンを確認します。執筆時点では3.0.2です。因みにPlease do not use!と書いてますね。
プロジェクトのルートディレクトリでCartfileファイルを作成し、ターゲットとなるリポジトリを記述します。
github "ReactiveCocoa/ReactiveCocoa" ~> 3.0.2
carthage updateを実行すると、ターゲットとなるリポジトリの依存関係も踏まえてリポジトリらをクローンし、フレームワークをビルドしてくれます。--use-submodulesフラグを付与すると、クローンしたリポジトリがgitのサブモジュールとして追加されます。
$ carthage update --use-submodules
*** Cloning ReactiveCocoa
*** Cloning xcconfigs
*** Cloning Quick
*** Cloning Nimble
*** Cloning LlamaKit
*** Checking out LlamaKit at "carthage-0.1.1"
*** Checking out Nimble at "v0.2.0"
*** Checking out Quick at "v0.2.0"
*** Checking out xcconfigs at "0.7"
*** Checking out ReactiveCocoa at "swift-on-carthage-3.0.2"
*** xcodebuild output can be found in /var/folders/mg/ryg2v7mx28jbd1k_6xh0gmc00000gn/T/carthage-xcodebuild.QC6scj.log
*** Building scheme "LlamaKit-iOS" in LlamaKit.xcodeproj
*** Building scheme "LlamaKit-Mac" in LlamaKit.xcodeproj
*** Building scheme "Nimble-iOS" in Nimble.xcodeproj
*** Building scheme "Nimble-OSX" in Nimble.xcodeproj
*** Building scheme "Nimble-iOS" in Quick.xcodeproj
*** Building scheme "Nimble-OSX" in Quick.xcodeproj
*** Building scheme "Quick-iOS" in Quick.xcodeproj
*** Building scheme "Quick-OSX" in Quick.xcodeproj
*** Building scheme "ReactiveCocoa iOS" in ReactiveCocoa.xcworkspace
*** Building scheme "ReactiveCocoa Mac" in ReactiveCocoa.xcworkspace
以下のようなエラーが出た場合、Cartfile.lockを削除したら直りました。
✗ carthage update --use-submodules
*** Fetching ReactiveCocoa
...
*** Building scheme "ReactiveCocoa iOS" in ReactiveCocoa.xcworkspace
*** Building scheme "ReactiveCocoa Mac" in ReactiveCocoa.xcworkspace
Error Domain=org.carthage.ReactiveTask Code=0 "** BUILD FAILED **


The following build commands failed:
	Check dependencies
(1 failure)
" UserInfo=0x7f8bb8f08ff0 {NSLocalizedDescription=** BUILD FAILED **


The following build commands failed:
	Check dependencies
(1 failure)
, ReactiveTaskErrorExitCode=65, ReactiveTaskErrorStandardError=** BUILD FAILED **


The following build commands failed:
	Check dependencies
(1 failure)
}
ビルドされたフレームワークがCarthage.buildフォルダに出力されます。素晴らしく簡単です。
ll ./Carthage.build/iOS/
total 0
drwxr-xr-x  6 susieyy  staff   204B 12  4 23:45 .
drwxr-xr-x  4 susieyy  staff   136B 12  4 23:43 ..
drwxr-xr-x  7 susieyy  staff   238B 12  4 23:43 LlamaKit.framework
drwxr-xr-x  7 susieyy  staff   238B 12  4 23:44 Nimble.framework
drwxr-xr-x  7 susieyy  staff   238B 12  4 23:44 Quick.framework
drwxr-xr-x  7 susieyy  staff   238B 12  4 23:45 ReactiveCocoa.framework
Carthage.checkoutフォルダにはgit cloneしたリポジトリが入ってるようです。
ll ./Carthage.checkout
total 16
drwxr-xr-x   8 susieyy  staff   272B 12  4 23:52 .
drwxr-xr-x  25 susieyy  staff   850B 12  4 23:43 ..
-rw-r--r--@  1 susieyy  staff   6.0K 12  4 23:52 .DS_Store
drwxr-xr-x  10 susieyy  staff   340B 12  4 23:52 LlamaKit
drwxr-xr-x  13 susieyy  staff   442B 12  4 23:43 Nimble
drwxr-xr-x  15 susieyy  staff   510B 12  4 23:43 Quick
drwxr-xr-x  20 susieyy  staff   680B 12  4 23:43 ReactiveCocoa
drwxr-xr-x   7 susieyy  staff   238B 12  4 23:43 xcconfigs
gitコマンドで差分を確認してみると、以下のようなファイルやディレクトリが作成されていました。
$ git status
# Untracked files:
#   (use "git add <file>..." to include in what will be committed)
#
#	Cartfile
#	Cartfile.lock
#	Carthage.build/
#	Carthage.checkout/
no changes added to commit (use "git add" and/or "git commit -a")
定義ファイルがあれば、再現性のあるファイルに関してはgitignoreしておきます。
# Carthage
Carthage.build
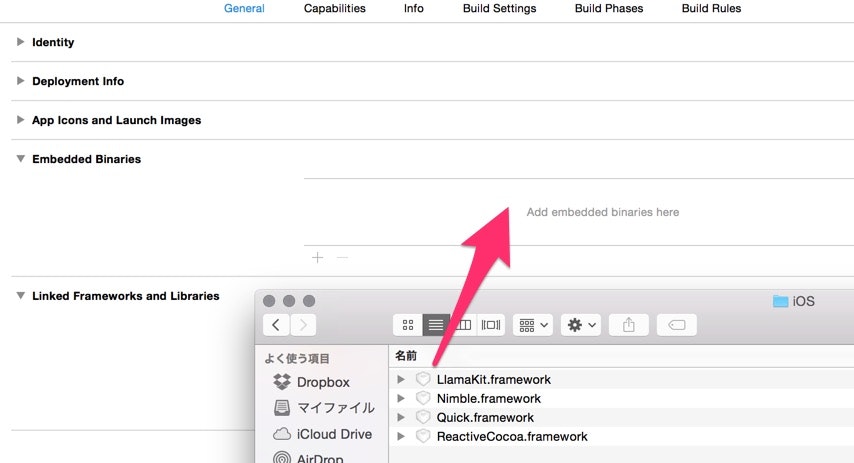
プロジェクトのGeneralタブのEmbedded Binariesセクションに、ReactiveCocoaとLlamaKitのフレームワークをDrag&Dropします。
LlamaKitはReactiveCocoaが依存しているフレームワークです。QuickとNimbleはReactiveCocoaが利用しているテストフレームワークです。実行環境では必要ないのでプロジェクトに追加はしません。
以上で以下のようにimportを記述すると使えるようになります。
import ReactiveCocoa
Swift development branch of ReactiveCocoa 3.0の使い方
ReactiveCocoa Swift Development 3.0は開発中のためドキュメントもありません。使い方がまったくわからないので、まずはテストケースを見てみようと思ったのですが、一番知りたいColdSignalのテストケースがまったくありません。そこで、Githubのコード検索しでColdSignalを検索してみました。その中で通信処理にColdSignalを利用しているこちらが参考になりそうです。
ParoloniClient.swift
import Foundation
import LlamaKit
import ReactiveCocoa
import SwiftyJSON

class ParoloniClient {
    private let session: NSURLSession
    private let authorizationString: String

    init(username: String?, password: String?) {
        let configuration = NSURLSessionConfiguration.defaultSessionConfiguration()
        configuration.HTTPAdditionalHeaders = [
            "Accept": "application/json"
        ]

        session = NSURLSession(configuration: configuration)

        //TODO: user proper auth
//        let encodableString = "\(username):\(password)"
//        let base64String = encodableString.dataUsingEncoding(NSUTF8StringEncoding)!.base64EncodedStringWithOptions(nil)
//
//        authorizationString = "Basic \(base64String)"
        authorizationString = ""
    }

    func fetchWords() -> ColdSignal<Parolone> {
        let endpoint = NSURL(string: "http://bit.ly/1q6eGHF")
        let request = NSMutableURLRequest(URL: endpoint!)
        request.setValue(authorizationString, forHTTPHeaderField: "Authorization")

        return session
            .rac_dataWithRequest(request)
            .map { (data: NSData, resp: NSURLResponse) in JSON(data: data) }
            .map { (values: JSON) in values.dictionaryValue["words"] }
            .map { (opt: JSON?) in ColdSignal.fromValues((opt ?? []).arrayValue) }
            .merge(identity)
            .tryMap { Parolone.decode($0) }
    }
}
MasterViewController.swift
let client = ParoloniClient(username: nil, password: nil)
self.client.fetchWords()
    .deliverOn(MainScheduler())
    .start(
	    next: { [weak self] (parolone: Parolone) in
	        self?.objects.append(parolone)
	        return
	    },
	    error: { (err: NSError) in
	        println("Error \(err)")
	    },
	    completed: { [weak self] in
	        // sort alphabetically
	        self?.objects.sort({ (a: Parolone, b: Parolone) in
	            a.dayInYear < b.dayInYear
	        })

	        self?.reloadDataSelectingFirstItem()
	    }
)
