はじめに
先日パソコンを買い替えたので、デュアルブートから仮想環境へlinuxの導入を切り替えました。 sudix さん Qiita投稿記事 を参考にしてatomをPPA経由でインストールののち起動したときの話です。
sudix さん Qiita記事 「atomをUbuntuにPPA経由でインストールする」
sudo add-apt-repository ppa:webupd8team/atom
sudo apt-get update
sudo apt-get install atom
使用環境
- ホストOS Windows7 Pro 64bit
- ゲストOS Ubuntu 16.04 LTS 64bit
- VirtualBox ver5.1.6
- ATOM 1.10.2-1~webupd8~0 amd64
症状
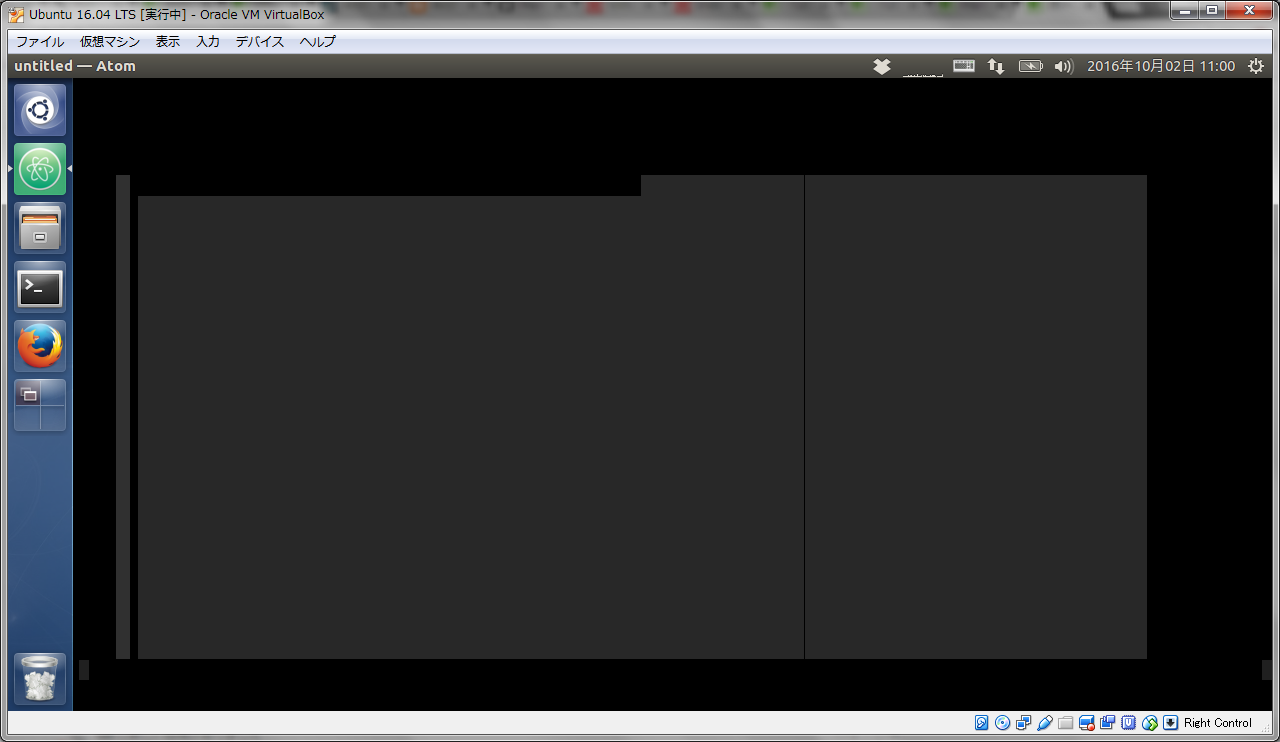
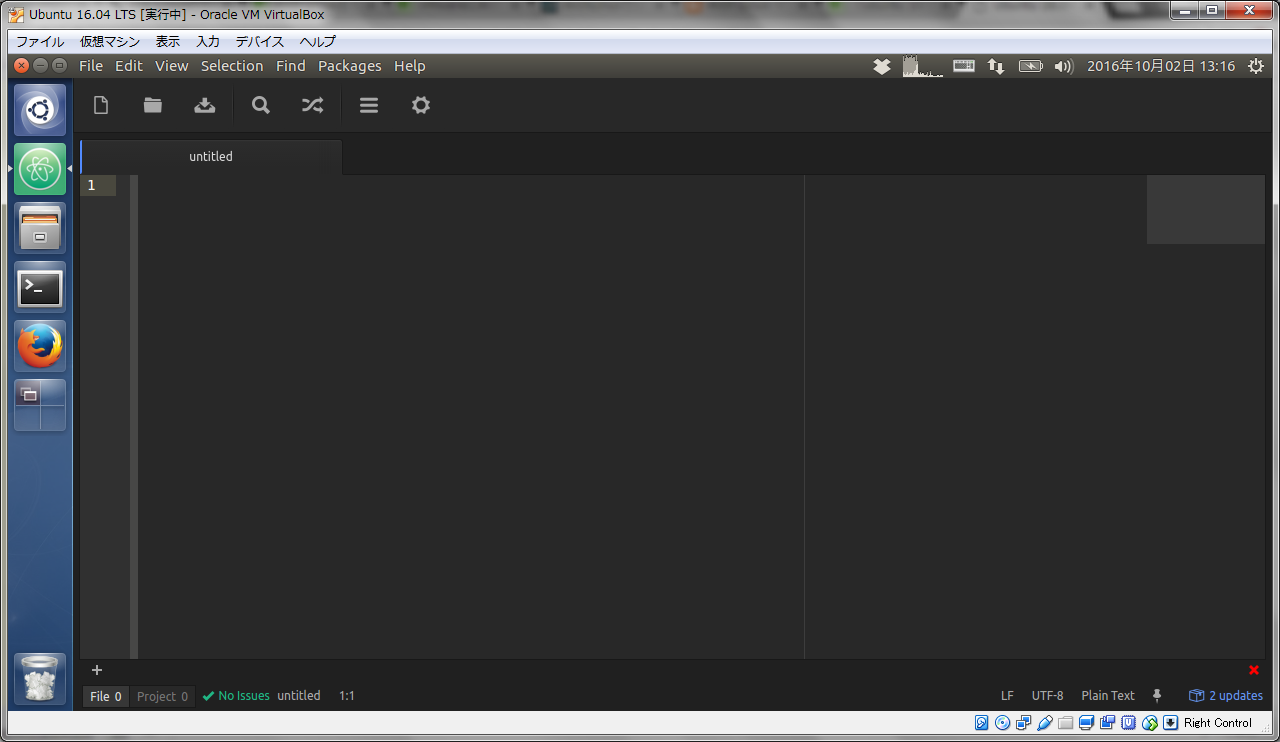
起動したところ下の画面のようになりました。
常にトップで表示されるようになり、上部のメニューバーを開いてもatomウィンドウの後ろに隠れてしまいます。かろうじて×から閉じることができるのみでした。
解決策
githubにあるatomのissuesに似たような症状で悩まされているという内容の投稿がありました。
Menus open behind application window #11574
isapa1984氏が原因と解決方法を教えてくれています。
I was having this same issue on Debian Jessie using Virtual Box 5.0.20 with 3d Acceleration on. Disabling 3D did the trick. This problem wasn't happening until version 5.0.16.
UPDATE: After research, I discovered that this problem is caused by the versions of guest additions that came after 5.0.16. If you use Virtual Box 5.0.20 but using Guest Additions 5.0.16 instead, this issue doesn't occur. Tested and confirmed.
この方はDebianを利用していますが、ubuntuでも同様の手順で解決できました。
ver5.0.16以降のVirtualBoxでこの問題が起きているようです。
方法1
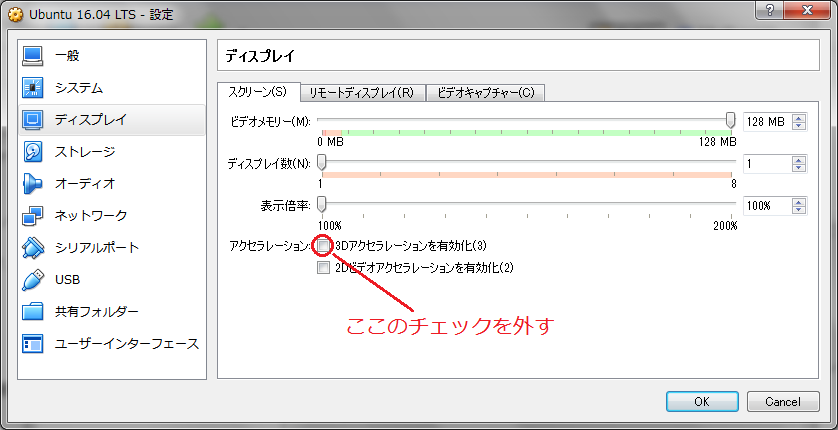
VirtualBoxの設定にある3Dアクセラレーションをoffにすることで解決できます。
3Dアクセラレーションをoffにする
ubuntuを起動していない状態で設定画面を開き、「ディスプレイ」の項目にある「3Dアクセラレーションを有効化」のチェックを外します。
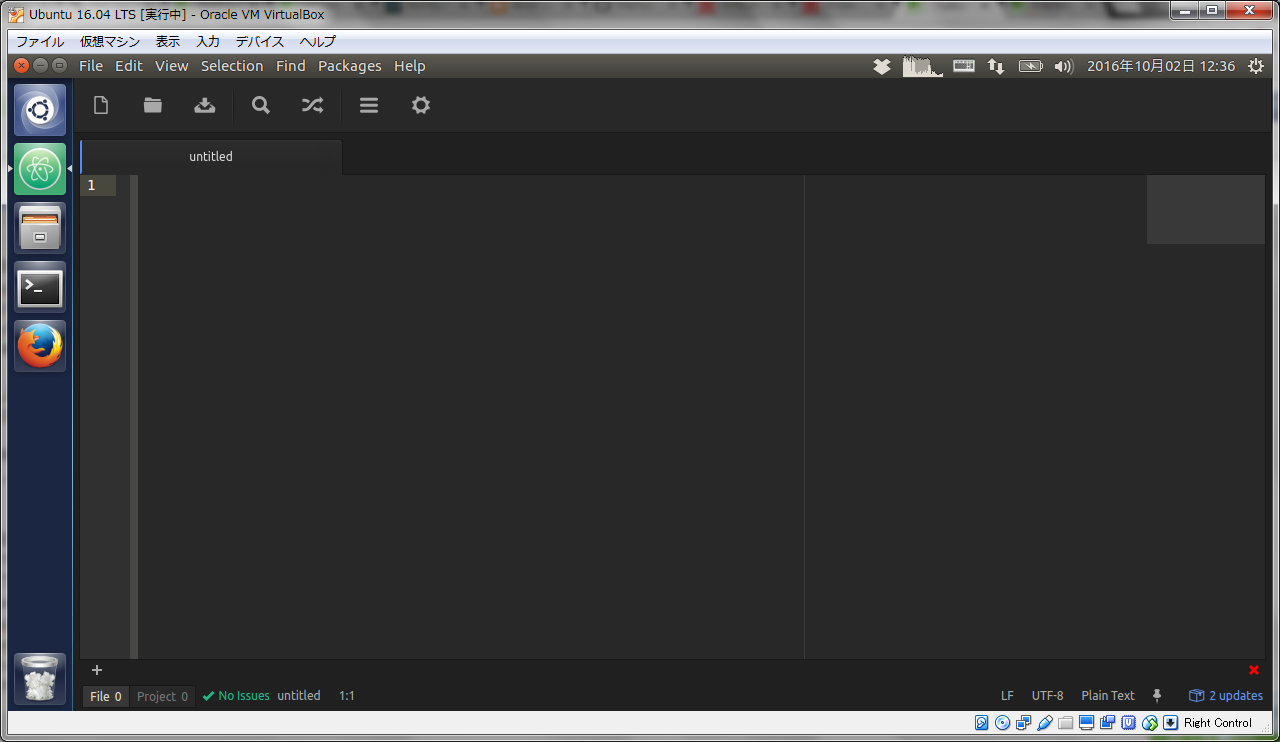
設定が終わったらubuntuを起動しターミナルから或いは「コンピュータを検索」からatomを起動してみます。
無事正常な画面が表示されました。
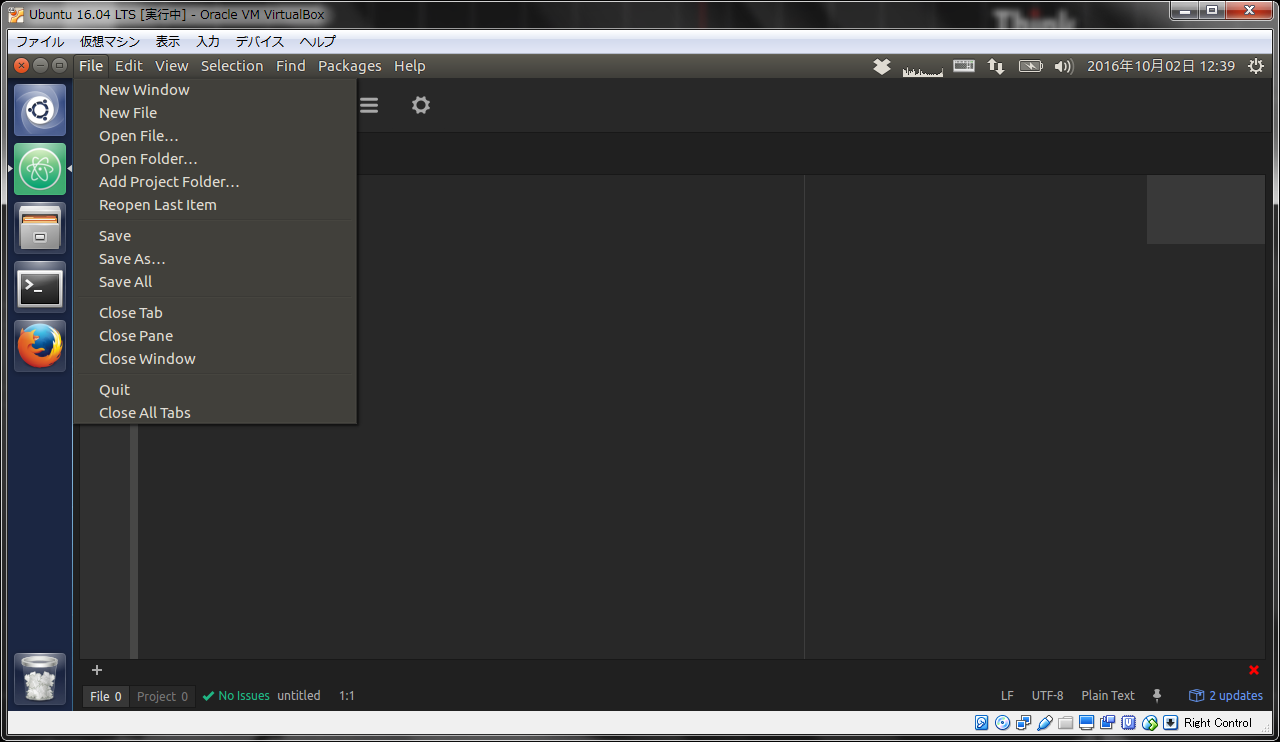
メニューバーもしっかり上部に表示されています。
方法2
3Dアクセラレーションをoffにすると、動作が遅くて嫌だという人はGuest Additionsをver5.0.16までダウングレードすることで解決できます。
Guest Additionsのダウングレード
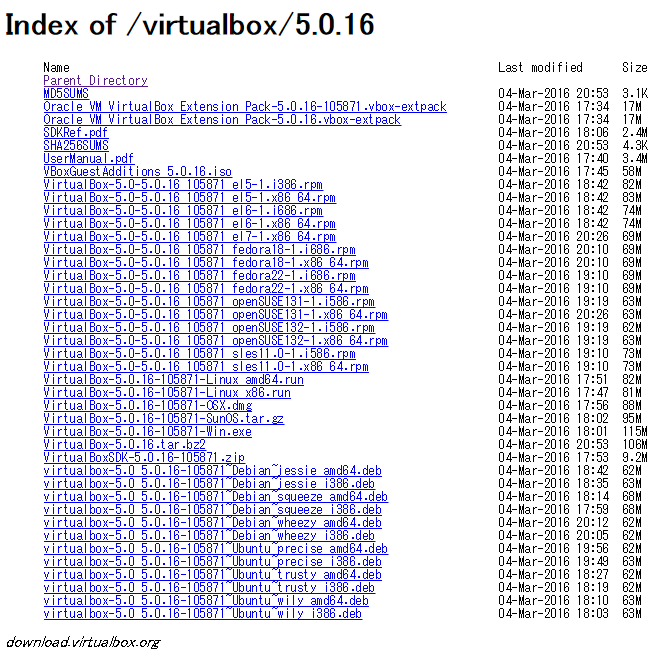
VirtualBox Guest Additions ver5.0.16のISOファイルは下記のリンクにあります。
http://download.virtualbox.org/virtualbox/5.0.16/
リストから VBoxGuestAdditions_5.0.16.iso を選択してダウンロード。
ubuntuを起動してGuest Additionsをアンインストールしておきます。
cd opt/VBoxGuestAdditions-x.x.x/
sudo ./uninstall.sh
x.x.xはすでにインストールされてあるverのことです
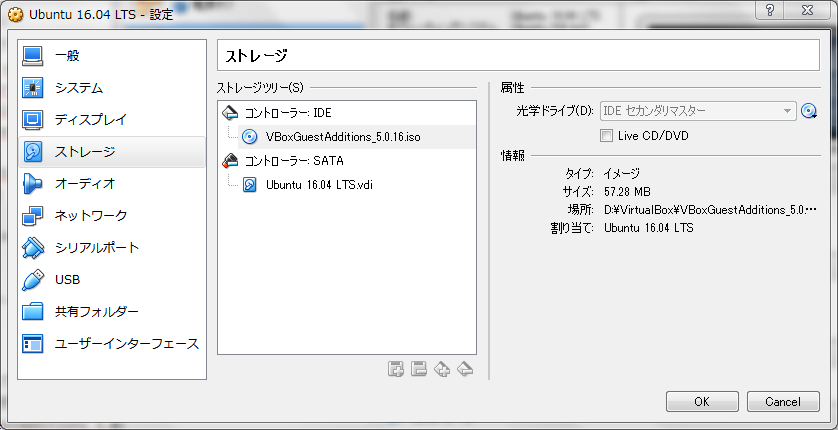
一旦ubuntuを終了し、設定画面を開きます。「ストレージ」の項目にある「コントローラ:IDE」に先ほどダウンロードした VBoxGuestAdditions_5.0.16.iso を選択して挿入します。
ubuntuを再び起動してGuestAdditionsをターミナルからインストールします。
cd /media/[username]/VBOXADDITIONS_5.0.16_105871/
sudo ./VBoxLinuxAdditions.run
インストールが終了したらrebootしてatomの起動を確認します。
無事問題なく起動できました。
終わりに
今回日本語で書かれた解決方法が探しても見当たらなかったので投稿してみました。既に解説されている方がいましたら申し訳ありません。また方法2のGuestAdditionsのダウングレードに関しては、よりスマートな方法があると思われます。参考程度にとどめてもらえると幸いです。
