目的
・機械学習を語れる仲間を作る
・みんなで研鑽し、プロジェクトにMLやAIを将来は導入できるようになる
環境(ここではMacでの構築手順を記しています)
・Anaconda
・Tensorflow
・Keras
Anaconda
OS 向けにはグラフィカルとコマンドラインインストーラーの両方が用意されています。ここではグラフィカル版のものをダウンロードしてインストール作業を進めます。
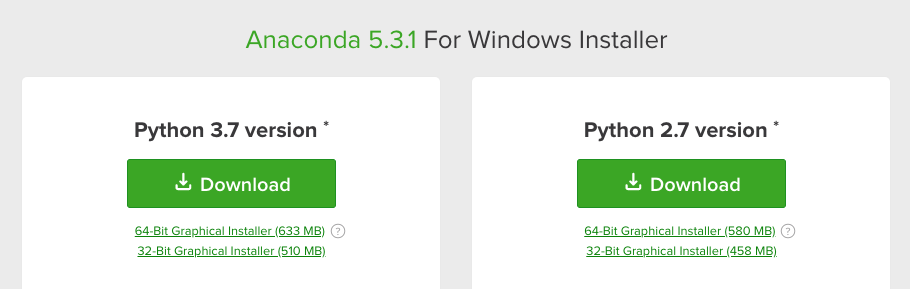
ここから、自分のOSに合ったAnacondaをダウンロードする。
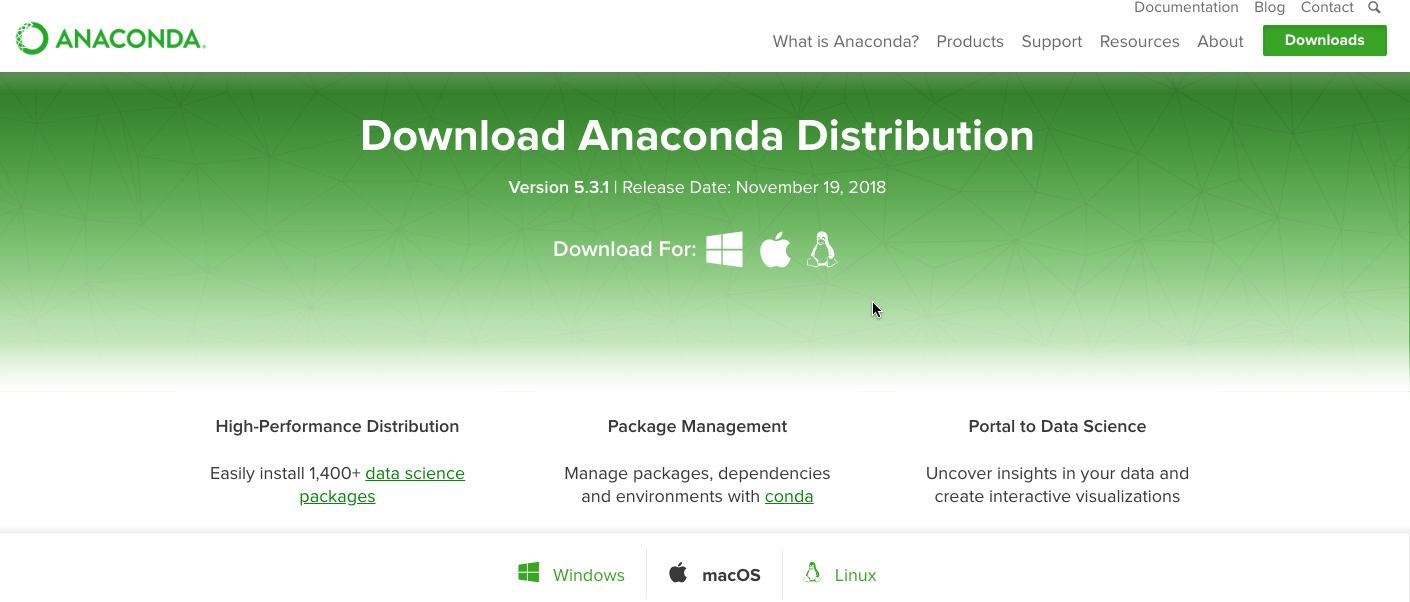
何か特別な理由がなければ、新しいバージョンである 3.x の最新バージョン (現時点では 3.7) を選択すれば良いです。
Python 3.7を落としましょう。
Macの場合

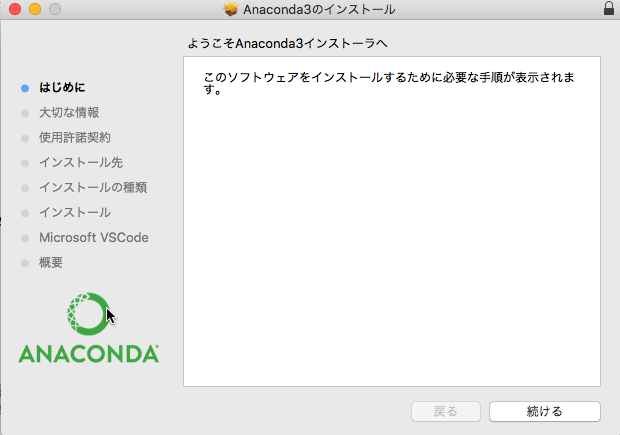
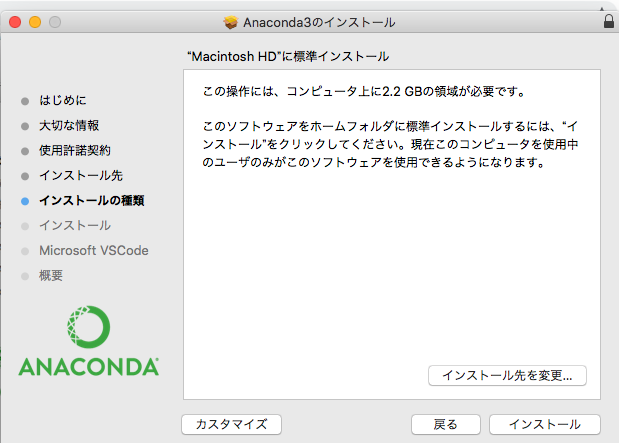
インストールを続けます。
特にこだわりがなければそのままデフォルトでインストールしてしまって良いでしょう。個人環境向けにインストールすると以下の場所にインストールされます。
$ ls ~/anaconda/
Navigator.app   bin     conda-meta  envs        etc     include     lib     pkgs        python.app  share       ssl
python を実行して以下のように Anaconda でインストールした Python インタープリターが起動するのを確認します。
$ python
Python 2.7.15 (v2.7.15:ca079a3ea3, Apr 29 2018, 20:59:26)
[GCC 4.2.1 Compatible Apple LLVM 6.0 (clang-600.0.57)] on darwin
Type "help", "copyright", "credits" or "license" for more information.
>>>
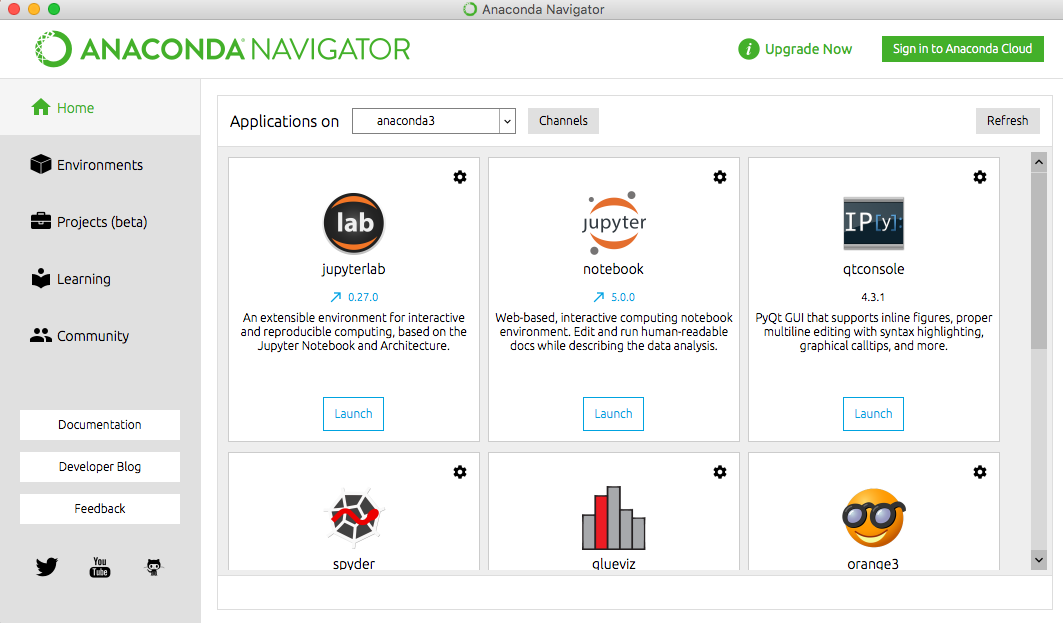
インストールが完了したら、Anaconda Navigatorを起動します。
左のメニューから「Environment」を選び、この演習用の仮想のPython環境を作ります。
name欄には「aistudio」としましょう。
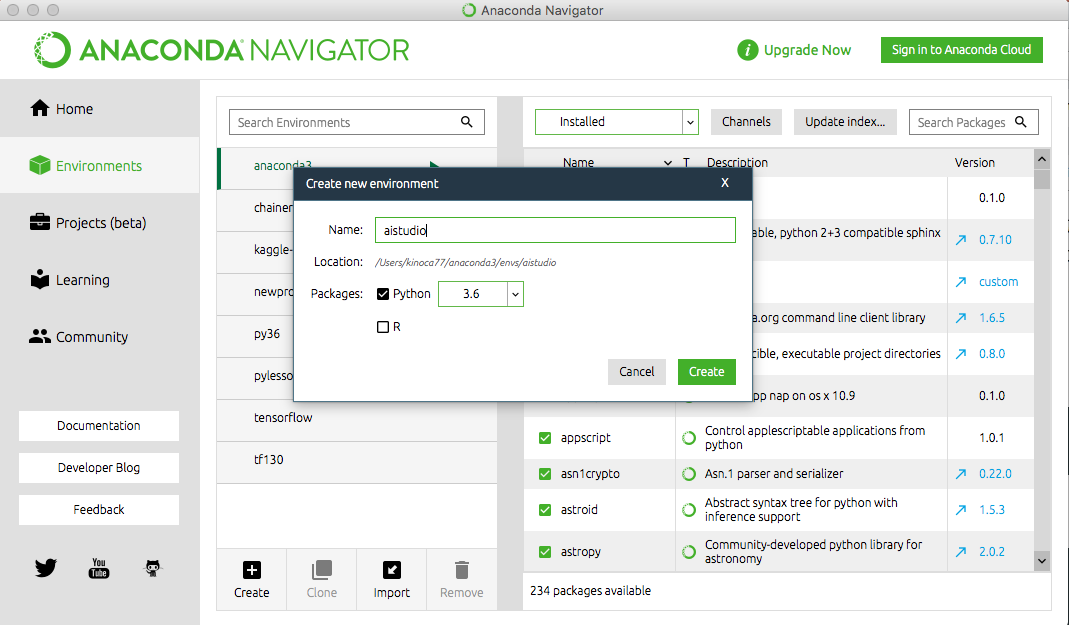
「Create」を押す。

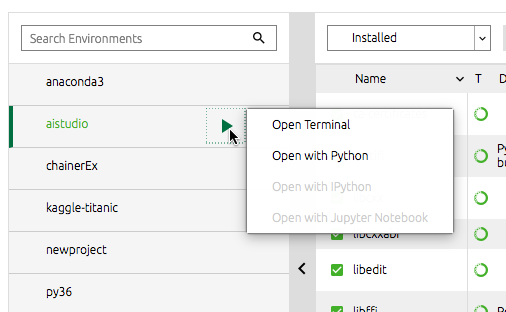
作成した aistudio 環境の欄の右矢印をクリックし、「Open Terminal」を選びます。
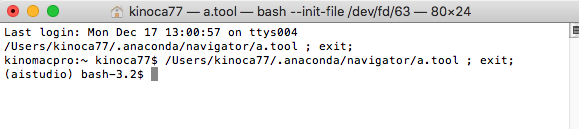
python --version として、pythonのバージョンを確認します。先ほど選んだ、python 3.6になっていれば OK.
$python --version
(aistudio) bash-3.2$ python --version
Python 3.6.7 :: Anaconda, Inc.
(aistudio) bash-3.2$
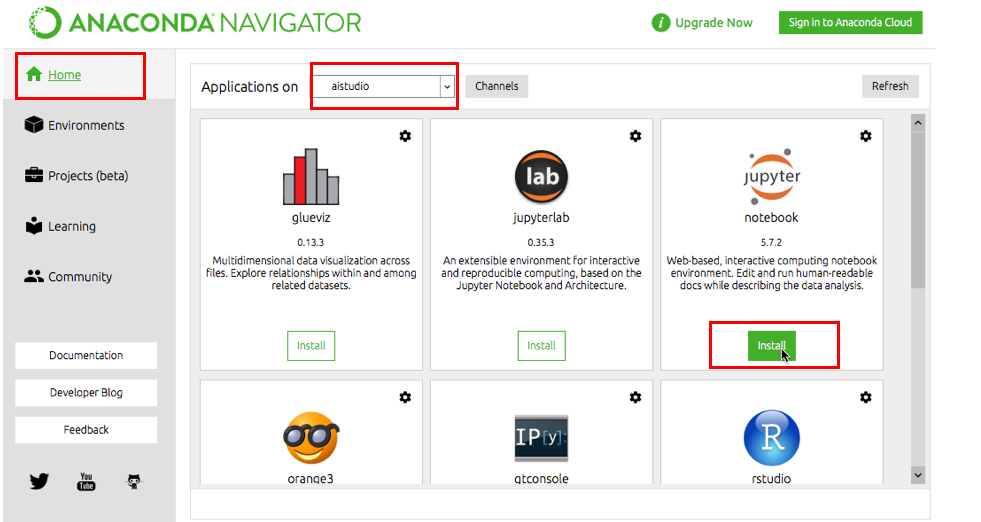
何かと便利なのでJupytor Notebookをインストールします。
TensorFlowのインストール
TensorFlowを仮想環境上にインストールします。
仮想環境からターミナルを開きます。
公式ガイドどおりに入れます。
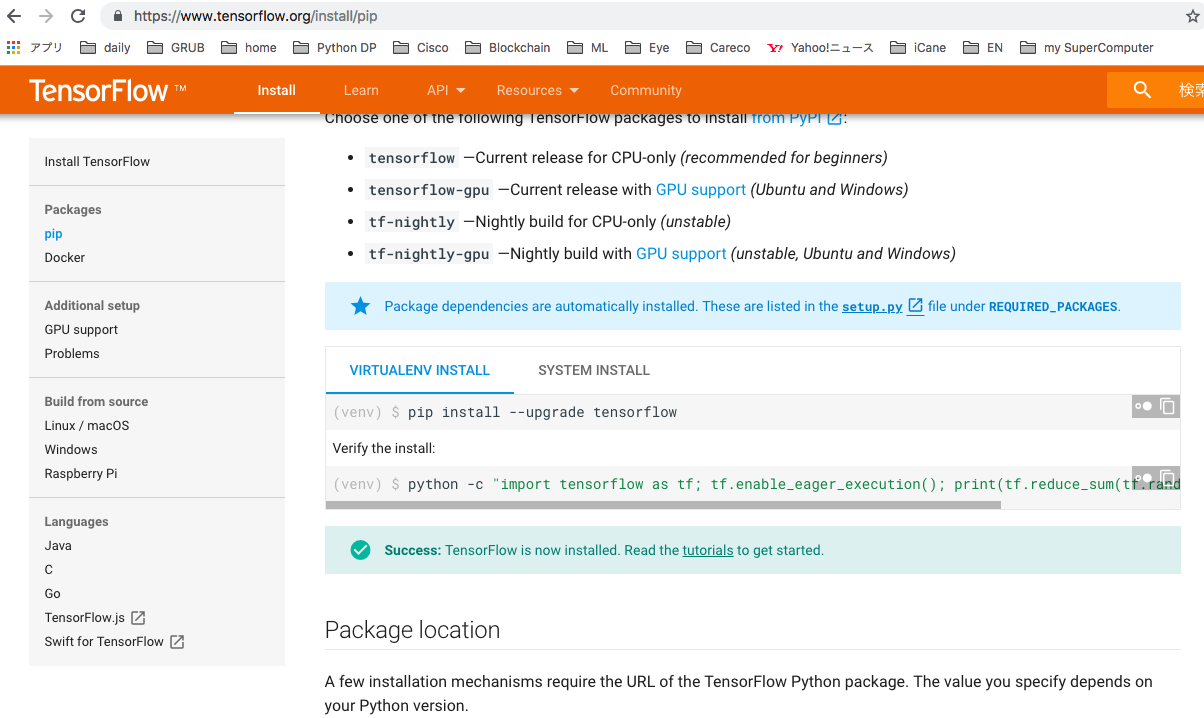
pip install --upgrade tensorflow
pip ininstall時にエラーが出る場合は、
pip install --upgrade pip
する。

以下のtensorflow用ハローワールドプログラムを、流します。
import tensorflow as tf
hello = tf.constant('Hello, TensorFlow!')
sess = tf.Session()
print(sess.run(hello))
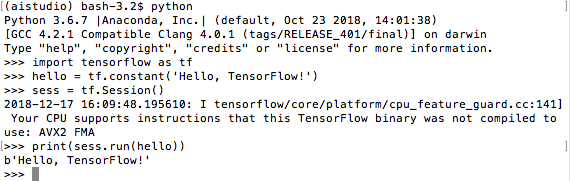
Hello, Tensorflowと表示されました!
これでTensorflowが正常に動作する環境になったようです。
ちなみに、実行時の警告「Your CPU supports instructions that this TensorFlow binary was not compiled to use: AVX2 FMA」は、「もっと速くなるよ」と教えてくれています。詳しくはリンク先を参照ください。
Kerasのインストール
pipでkerasをインストール
KerasはTensorFlowなどのdeep learning系ライブラリをuser-friendlyにしたもの。そのため、TensorFlowなどのライブラリに依存する。Keras公式ではTensorFlowのインストールを推奨している。
deep learning系ライブラリをanacondaでインストールすると遅くなるので、pipでインストールすることにする。
(aistudio) bash-3.2$ pip install keras
Collecting keras
  Downloading https://files.pythonhosted.org/packages/5e/10/aa32dad071ce52b5502266b5c659451cfd6ffcbf14e6c8c4f16c0ff5aaab/Keras-2.2.4-py2.py3-none-any.whl (312kB)
    100% |████████████████████████████████| 317kB 23.0MB/s
Requirement already satisfied: numpy>=1.9.1 in ./anaconda3/envs/aistudio/lib/python3.6/site-packages (from keras) (1.15.4)
Requirement already satisfied: h5py in ./anaconda3/envs/aistudio/lib/python3.6/site-packages (from keras) (2.8.0)
Requirement already satisfied: six>=1.9.0 in ./anaconda3/envs/aistudio/lib/python3.6/site-packages (from keras) (1.12.0)
Collecting pyyaml (from keras)
  Downloading https://files.pythonhosted.org/packages/9e/a3/1d13970c3f36777c583f136c136f804d70f500168edc1edea6daa7200769/PyYAML-3.13.tar.gz (270kB)
    100% |████████████████████████████████| 276kB 8.3MB/s
Requirement already satisfied: keras-applications>=1.0.6 in ./anaconda3/envs/aistudio/lib/python3.6/site-packages (from keras) (1.0.6)
Requirement already satisfied: keras-preprocessing>=1.0.5 in ./anaconda3/envs/aistudio/lib/python3.6/site-packages (from keras) (1.0.5)
Collecting scipy>=0.14 (from keras)
  Downloading https://files.pythonhosted.org/packages/a0/b6/70bf61c1badb5fea82d4c558e05e76c2dee5e77bb072fe465d7c7a87287d/scipy-1.1.0-cp36-cp36m-macosx_10_6_intel.macosx_10_9_intel.macosx_10_9_x86_64.macosx_10_10_intel.macosx_10_10_x86_64.whl (16.7MB)
    100% |████████████████████████████████| 16.7MB 1.5MB/s
Building wheels for collected packages: pyyaml
  Running setup.py bdist_wheel for pyyaml ... done
  Stored in directory: /Users/kinoca77/Library/Caches/pip/wheels/ad/da/0c/74eb680767247273e2cf2723482cb9c924fe70af57c334513f
Successfully built pyyaml
Installing collected packages: pyyaml, scipy, keras
Successfully installed keras-2.2.4 pyyaml-3.13 scipy-1.1.0
(aistudio) bash-3.2$
Keras入りました!
Kerasが正しく動くかを、前の例と同様に確認。
(aistudio) bash-3.2$ python
Python 3.6.7 |Anaconda, Inc.| (default, Oct 23 2018, 14:01:38)
[GCC 4.2.1 Compatible Clang 4.0.1 (tags/RELEASE_401/final)] on darwin
Type "help", "copyright", "credits" or "license" for more information.
>>> import keras
Using TensorFlow backend.
>>>
うまく行っているようです。^^¥
jupyter notebookでTensorflowの基礎コードを動かそう
先ほど開いているAnacondaのターミナルから
(aistudio) bash-3.2$ jupyter notebook
とやると、ブラウザが自動的に立ち上がってコマンドを入力したディレクトリ一覧を
表示したJupyter notebookという Pythonをインタプリタ的に実行できる環境が起動します。
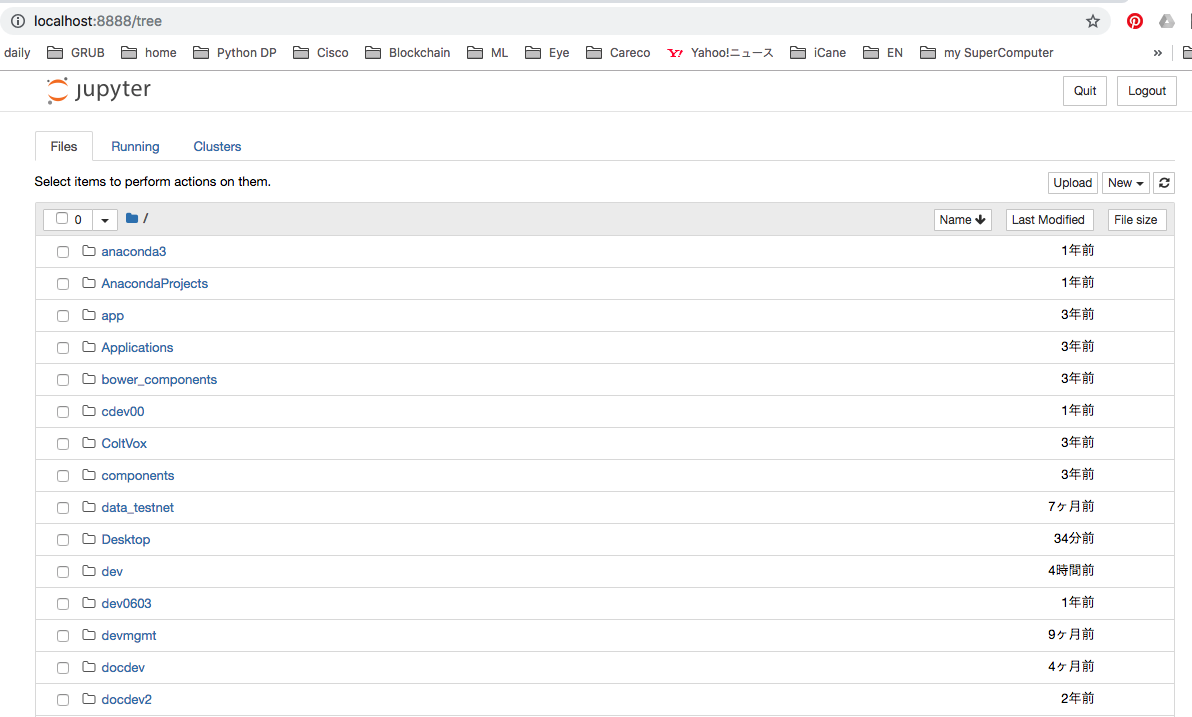
ここから慣れないと戸惑うのですが、、、自分が作業したディレクトリまでクリックしてドリルダウンして行きます。
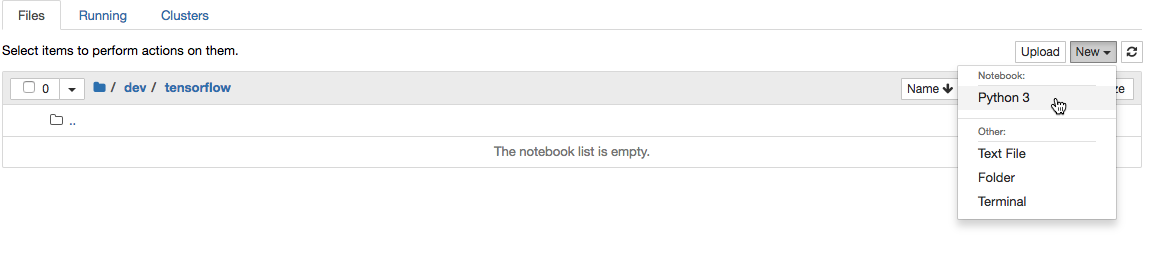
ここでは、/devの下に/tensorflowというフォルダを作りましょう。
まず、notebookの右上にあるメニューから
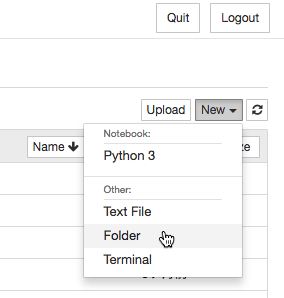
[New][Folder]を選ぶと、
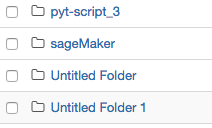
「Untitled Folder」ができるので、これを編集して「tensorflow」にしましょう。
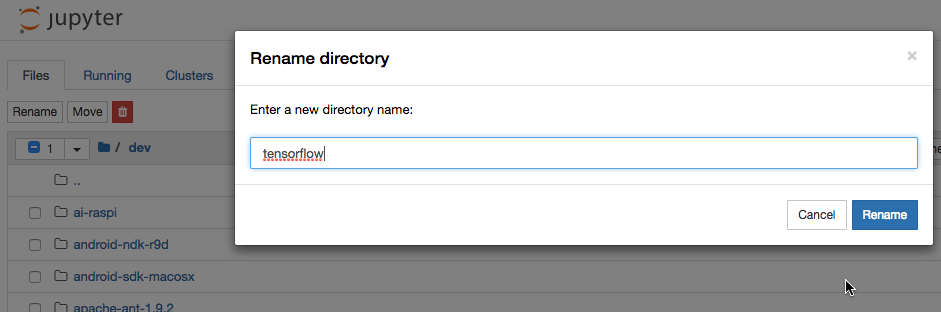
左のチェックボックスを選んで、左上の「Rename」。ポップアップしたダイアログボックスで、
tensorflowと入力。
では、このtensorflowフォルダで、 tensorflowのプログラミングをして行きましょう。
右上のメニューで、[New][Python 3]を選びましょう。(初心者はこれが分からなかったりする。昔のボク。)
さ!これがJupyter notebookの画面です。
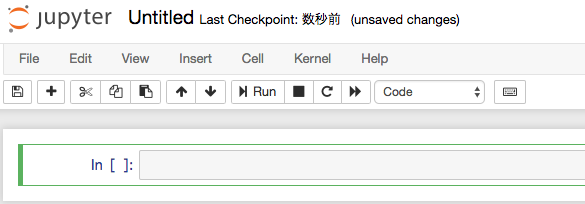
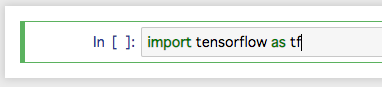
実行するには、[Shift]+[Enter}で、その行のプログラムが実行されます。
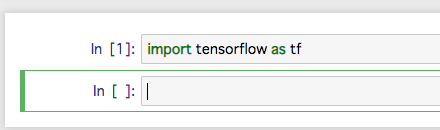
この例では、エラーなくTensorflowモジュールが読み込まれたようです。(問題なく改行していますね)
Tensorflowによる足し算
Tensorflowの低レベルAPIを理解するには、その基礎となっているデータフローグラフというものを理解する必要があります。以下のサンプルコードを見てみましょう。
a = tf.constant(1,name='a')
b = tf.constant(1,name='b')
c = a + b

with tf.Session() as sess:
    print(sess.run(c))
実際に1+1が計算されるのは、
sess.run(c)
の部分です。
cは単なる数値でなく、Tensorという型のインスタンスであることがわかります。
print(c)
Tensor("add:0", shape=(), dtype=int32)
このように原則として、Tensorflowでは
- どのような計算をするのか?を定義する
- まとめて計算を実行する
があります。
データフローグラフは、折れ線グラフとかの意味ではなく、ネットワークのことだと考えましょう。
あとでその意味が図でわかります。
Tensorflowには、定数と変数があります。定数は、上記のソースで使った
tf.Constant
反対に変数は、
tf.Variable
を使います。変数は変更することができるパラメータの更新などに使います。
プレースホルダー
プレースホルダーは色々な値を受け取ることができる箱の様なもので、
tf.placeholder
を使います。値が未定の状態でグラフを構築し、実行時に具体的な値を指定することができます。
主に、入力データの実行時の動的入力部分で使う様です。
Session.run()の引数feed_dictに辞書型で指定する。feed_dict={holder: 5}のように。
const = tf.constant(1)
holder = tf.placeholder(tf.int32)
add_op = const + holder

with tf.Session() as sess:
    result = sess.run(add_op, feed_dict={holder: 5})
    print(result)
6
ここで注意点。以下にあるように、with文の次行で、なぜか自動で、...というインデントのような
記号が出てくるので、これがインデントと信用して、続けて何も空白を入れずに、
result = sess.run(add_op, feed_dict={holder: 5})
を入れると、以下のようなエラーになります。
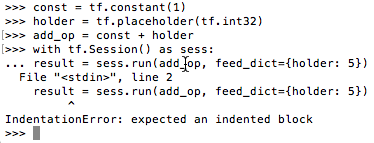
は?やっぱ、インデント期待してるん?
だって ...って出たからいいと思ったんやんかー。w
でも正しくは、
...の後に空白3つのインデントを入れてやらないといかんようです。
(わからんよ、これは)
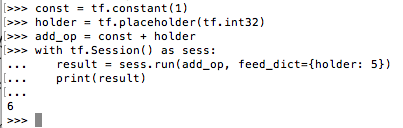
答えは、6。
with句のように中に、ロジックが内包される場合は、そうするようです。
(こんなのどっかに書いてあるのかな?w)
そして、この辺で複数行のサンプルの動作は、ipythonというこの方式は
都合が悪いことも多いので、jupyte notebookに戻りましょう。
http://localhost:8890/tree/dev/tensorflow
で何もないnotebookを開いて、
TensorBoardによるグラフの表示
テンソルフローのグラフってどういう構造になってるのか?知りたくなりませんか?
そんな時に使うのが、TensorBoard(テンソルボード)です。
tf.summary.FileWriter
というのを使います。
import tensorflow as tf

LOG_DIR = './logs'
a = tf.constant(1, name='a')
b = tf.constant(1, name='b')
c = a + b

graph = tf.get_default_graph()
with tf.summary.FileWriter(LOG_DIR) as writer:
    writer.add_graph(graph)
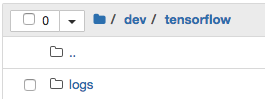
このコードを実行した後に、notebookで、/dev/tensorflowフォルダに戻ってみると、
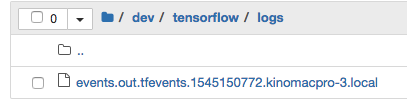
logsフォルダが生成されています。
そしてその中身に、events.out.tfevents.1545150772.kinomacpro-3.local
なんているファイルが生成されているのがわかります。
ここからTensorBoardを起動します。Anacondaの「aistudio」→「terminal」でターミナルを起動し、
/dev/tensorflowに移動し、以下を入力。
tensorboard --logdir=logs

すると、
TensorBoard 1.12.1 at http://kinomacpro-3.local:6006
と出てくるので、このリンクをブラウザから開くと。。
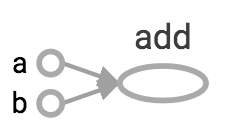
あら不思議。図式化されたグラフが表示されます。

このように、a,bは定数を使って「add」という操作をするグラフというのがわかります。すごい!
グラフ以外にも、後章で出てきますが、学習損失や学習精度の推移もみることができます。
では、次の記事では、「ニューラルネットワーク」をtensorflowや、その上位フレームワークのKerasで実装し、
学習の推移グラフ(誤差の最適化という)も見てみましょう。
from tensorflow.python.keras.callbacks import TensorBoard


model.compile(
    optimizer='adam',}
    loss='categorical_crossentropy',
    metrics=['accuracy']
)
tsb = TensorBoard(log_dir='./logs')
history_adam = model.fit(
    x_train,
    y_train,
    batch_size=32,
    epochs=20,
    validation_split=0.2,
    callbacks=[tsb]
)
次の記事は、こちら