事前に確認すべき点
①DOMを動作するので、その仕組みと構造を確認しておきましょう。
https://qiita.com/takuma16/items/5964818af50f19c143d4
②イベント処理の「イベント」を理解していますか(分からない場合は以下の記事を参照)?
https://qiita.com/takuma16/items/deb269d292d1748b77fa
③JavaScriptの関数の書き方
引数に関数を指定できたりと独特な記述方法があるので、JavaScriptを学習しておくと記事が読みやすいです。
イベント処理の流れをつかむ
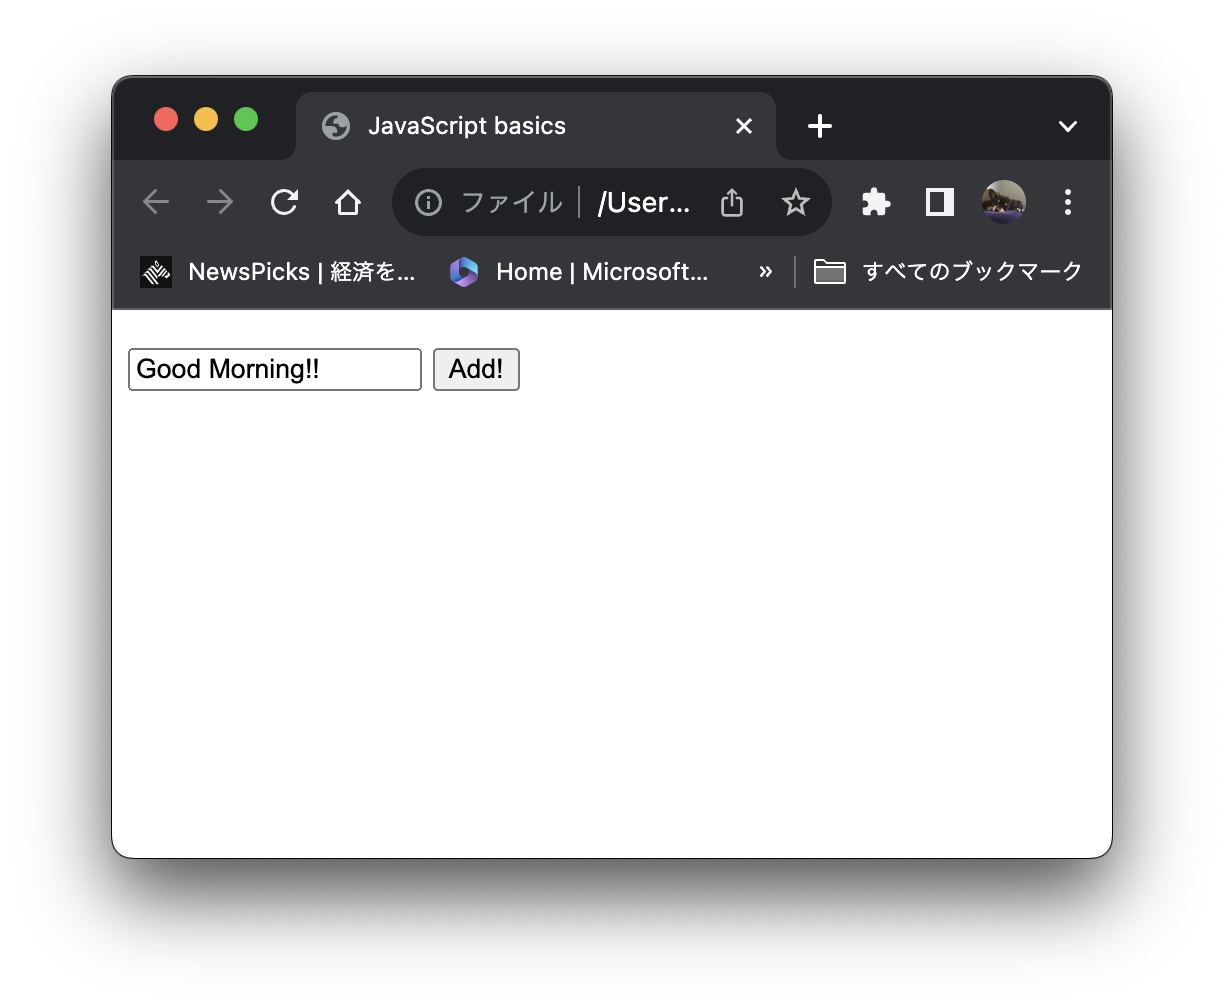
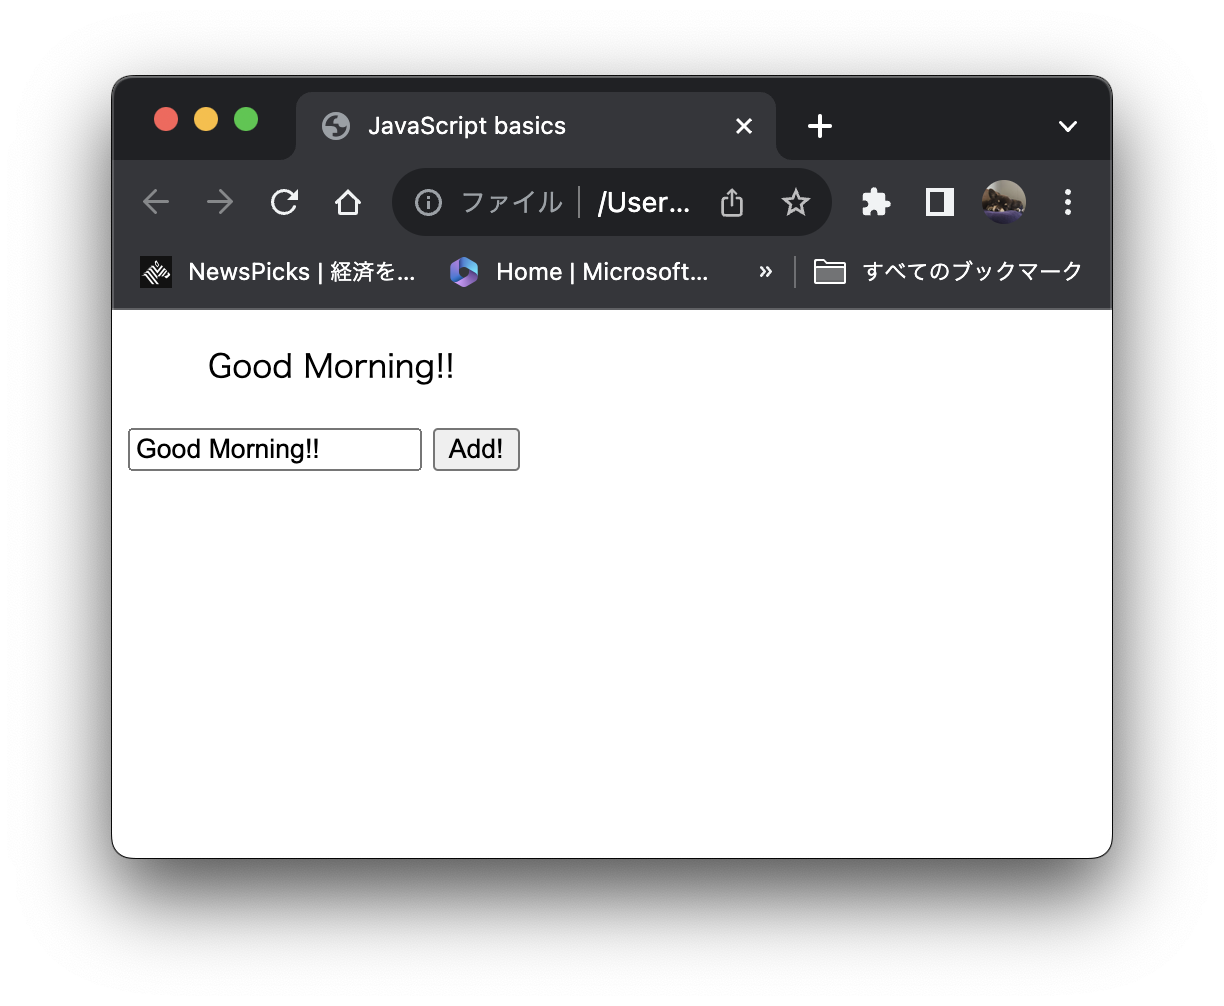
テキストボックスに文字列を入力し、ボタンを押下すると入力した文字列をリスト形式で出力する様にする
①初期表示した時のHTMLの構造をイメージする
<body>
    <ul id="list">
    </ul>
    <input id="input_text" type="text">
    <input id="button" type="button" value="Add!">
    <script src="main.js"></script>
  </body>
</html>
初期状態ではリストが空だから、<ul>要素に<li>要素が存在しない
②JavaScriptでどんな処理が必要かを分析する
・<li>要素が存在しない
<li>要素の生成が必要
・テキストボックスの文字列を出力するのが目的
テキストボックスの取得が必要
・<li>要素は<ul>要素の子要素である
<ul>要素に<li>要素を追加する処理が必要
イベント処理の実装方法は3種類ある
①タグのon属性を指定したやり方
<!DOCTYPE html>
<html lang="ja">
  <head>
    <meta charset="utf-8">
    <meta http-equiv="X-UA-Compatible" content="IE=edge">
    <meta name="viewport" content="width=device-width, initial-scale=1.0">
    <title>JavaScript basics</title>
    <script>
      function showMessage(){
        const element = document.createElement('li');
        const input_text = document.getElementById('input_text')
        const text_node = document.createTextNode(input_text.value);
        const text = element.appendChild(text_node);
        const list = document.getElementById('list');
        list.appendChild(text);
      }
    </script>
  </head>
  <body>
    <ul id="list">
    </ul>
    <input id="input_text" type="text">
    <input id="button" type="button" value="Add!" onclick="showMessage()"←ここの部分>
  </body>
</html>
・要素に「on属性 + イベント名 = スクリプトの関数名」を指定すると、イベント発生時にスクリプト関数の処理が始まる
・JavaScriptのファイルは不要だが、HTMLとJavaScriptの記述が混ざって混乱しやすい
②要素オブジェクトのonプロパティとして指定する方法
<!DOCTYPE html>
<html lang="ja">
  <head>
    <meta charset="utf-8">
    <meta http-equiv="X-UA-Compatible" content="IE=edge">
    <meta name="viewport" content="width=device-width, initial-scale=1.0">
    <title>JavaScript basics</title>
  </head>
  <body>
    <ul id="list">
    </ul>
    <input id="input_text" type="text">
    <input id="button" type="button" value="Add!">
    <script src="main.js"></script>
  </body>
</html>
const e = document.getElementById('button');
e.onclick=showMessage;
function showMessage() {
  const element = document.createElement('li');
  const input_text = document.getElementById('input_text');
  const text_node = document.createTextNode(input_text.value);
  const text = element.appendChild(text_node);
  const list = document.getElementById('list');
  list.appendChild(text);
};
・DOMツリーを使ってイベント発生の対象を特定した後、「on属性 + イベント名 = スクリプトの関数名」でイベント処理を実行する
・HTMLとJavaScriptを使い分けている
③addEventListener()関数を使ったやり方
<!DOCTYPE html>
<html lang="ja">
  <head>
    <meta charset="utf-8">
    <meta http-equiv="X-UA-Compatible" content="IE=edge">
    <meta name="viewport" content="width=device-width, initial-scale=1.0">
    <title>JavaScript basics</title>
  </head>
  <body>
    <ul id="list">
    </ul>
    <input id="input_text" type="text">
    <input id="button" type="button" value="Add!">
    <script src="main.js"></script>
  </body>
</html>
const e = document.getElementById('button');
e.addEventListener('click', () => {
  const element = document.createElement('li');
  const input_text = document.getElementById('input_text');
  const text_node = document.createTextNode(input_text.value);
  const text = element.appendChild(text_node);
  const list = document.getElementById('list');
  list.appendChild(text);
}, false);
・DOMツリーとイベントリスナーを使って、イベント処理を実装する
・イベント内容に応じて関数名を変える必要が無くなる
調べてみて分かったこと
今回のイベント処理の例だと、コメント送信に応用できそう。他にもJavaScriptの記述で、様々なアニメーション効果を再現できると思うので、JavaScriptを更に学習してみたい。

