記事一覧:https://qiita.com/takulabo/items/d5f56132c02d4136687c
Zabbixインストール手順を案内します
本手順は、git-hubからzabbixコンテナをダウンロードし、
Docker上にセットアップする流れになります。
| 筐体 | OS | Ver | 仮想 |
|---|---|---|---|
| RaspberryPi5 | RaspiOS | Zabbix7 | Docker |
gitにてzabbix-dockerをクローン
git clone https://github.com/zabbix/zabbix-docker
cd zabbix-docker
yamlファイルをdocker-compose.yamlの名前で保存
cp docker-compose_v3_ubuntu_mysql_latest.yaml docker-compose.yaml
※上記はUbuntu、MySQLのyamlファイルを選択しています。
OS,DBは、種類を選べるので使い慣れたものを選択してOKです。
OS:Alpine,Ubuntu,CentOS,Oracle
DB:MySQL,PostgreSQL
yamlファイルcomposeがあれば削除
ls -la
rm compose
ポート指定する場合以下を実施
※不要な場合、.envの編集はしなくても大丈夫です。
Zabbix WebUIのポート指定
「.env」ファイルにて、ポート番号設定を変更します。
例として下記に変更します。
| プロトコル | 変更前 | 変更後 |
|---|---|---|
| HTTP | 80 | 8081 |
| HTTPS | 443 | 8444 |
terminal
nano .env
.env (変更前)
# Expose ports per service
ZABBIX_WEB_NGINX_HTTP_PORT=80
ZABBIX_WEB_NGINX_HTTPS_PORT=443
ZABBIX_WEB_APACHE_HTTP_PORT=8081
ZABBIX_WEB_APACHE_HTTPS_PORT=8443
nginxとapache記載があるがnginxを使うため、
nginx側を指定ポート番号に変更し、
apacheはポート番号を削除しておきます。
.env (変更後)
ZABBIX_WEB_NGINX_HTTP_PORT=8081
ZABBIX_WEB_NGINX_HTTPS_PORT=8444
ZABBIX_WEB_APACHE_HTTP_PORT=
ZABBIX_WEB_APACHE_HTTPS_PORT=
保 存 :「Ctrl + o」→[Enter]
閉じる:「Ctrl + x」
docker起動
terminal
docker compose up -d
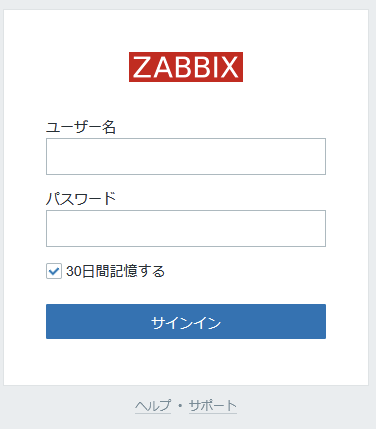
WEB表示確認
お疲れさまでした。
ポート指定で接続しログイン画面が表示されれば完了です。
http://[address]:8081/
| 初期ID | Admin |
|---|---|
| 初期PW | zabbix |