はじめに
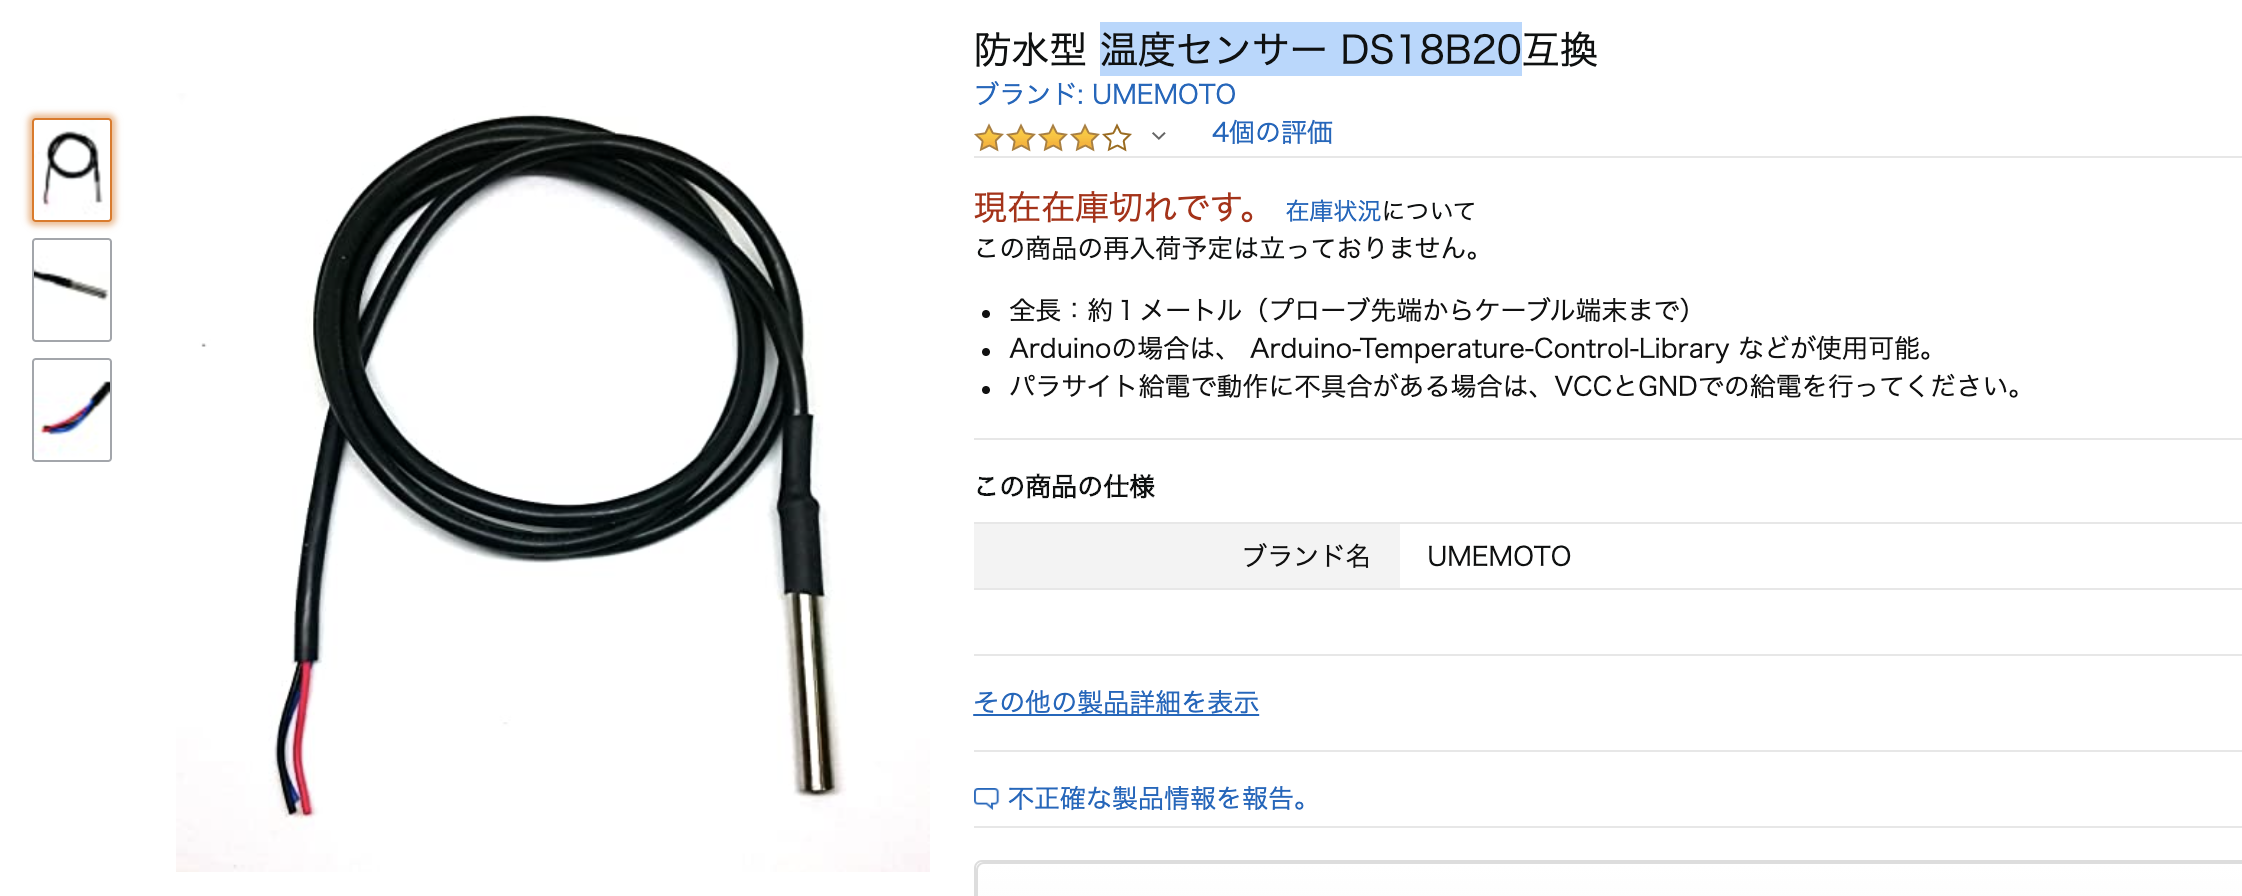
Amazonで買ったきりつかっていなかった温度センサDS18B20が転がっていたので使ってみました。
もともと防水処理が施されていました。
このセンサーは1-wireインターフェースといって、1つの配線でデータをおくれる便利なインターフェースのようです。
結局のところ、こちらに使い方がよくまとまっていました。
つかったもの
部品
- ESP32
- 抵抗4.7kΩ
- 温度センサDS10B20
ライブラリ
こちらを使うようです。
配線
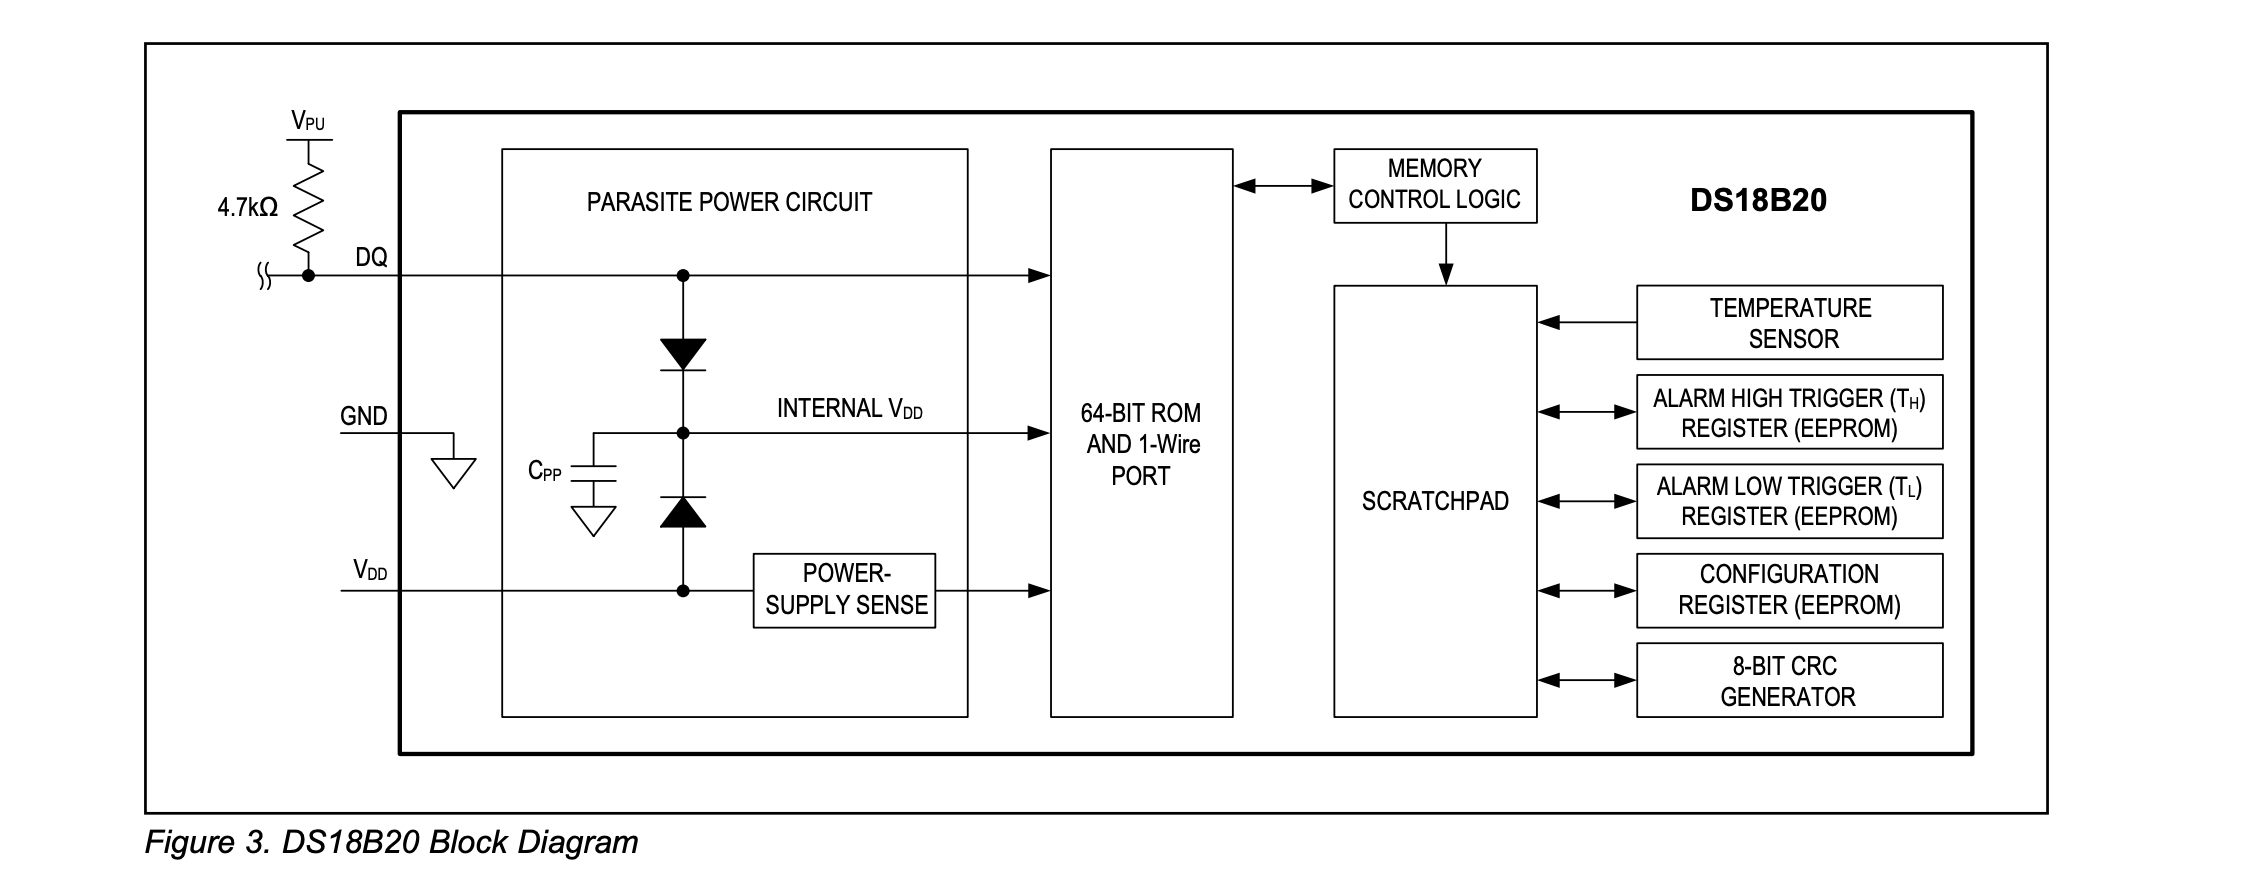
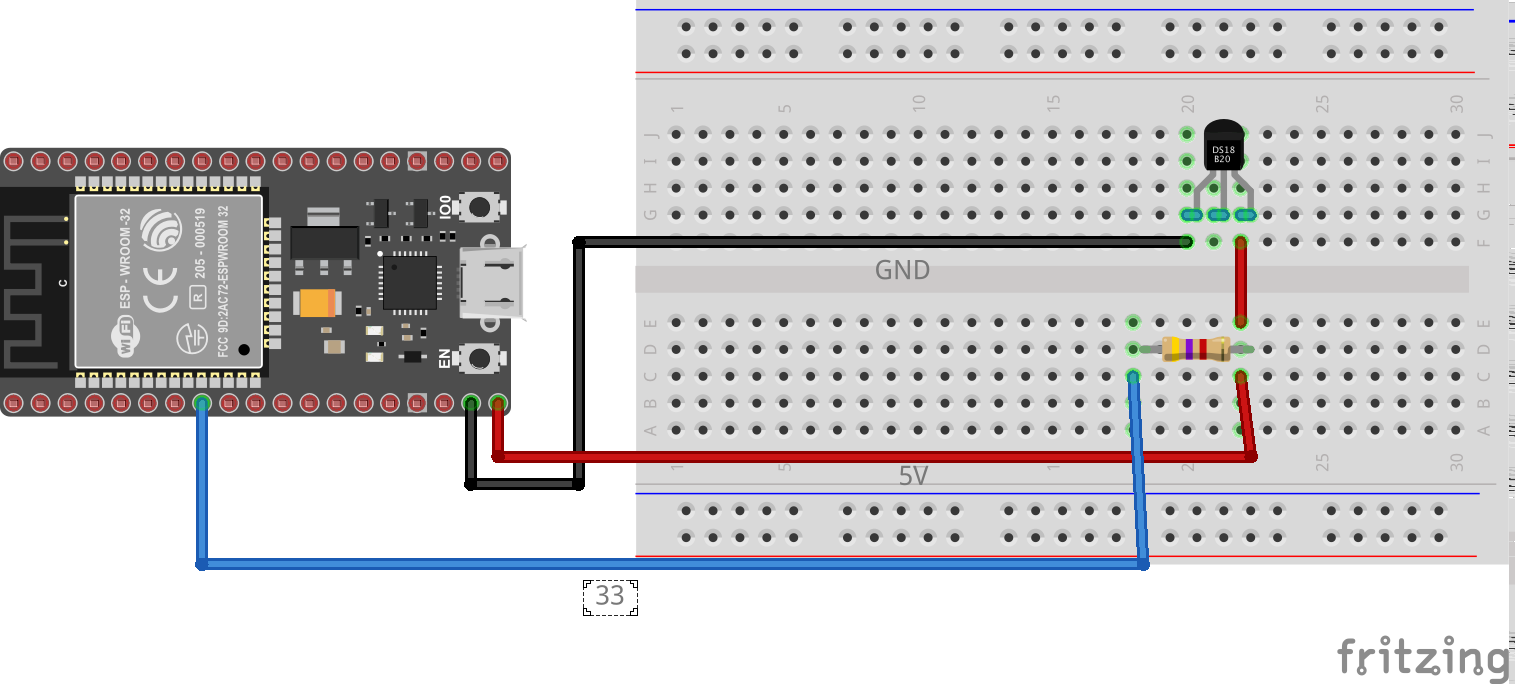
データシートにあるオーソドックスなプルアップ抵抗を使った回路で温度取得を試しました。
今回使用したセンサは、黒がGND、赤が5V,黄がデータ送信用のピンとなっています。
プログラム
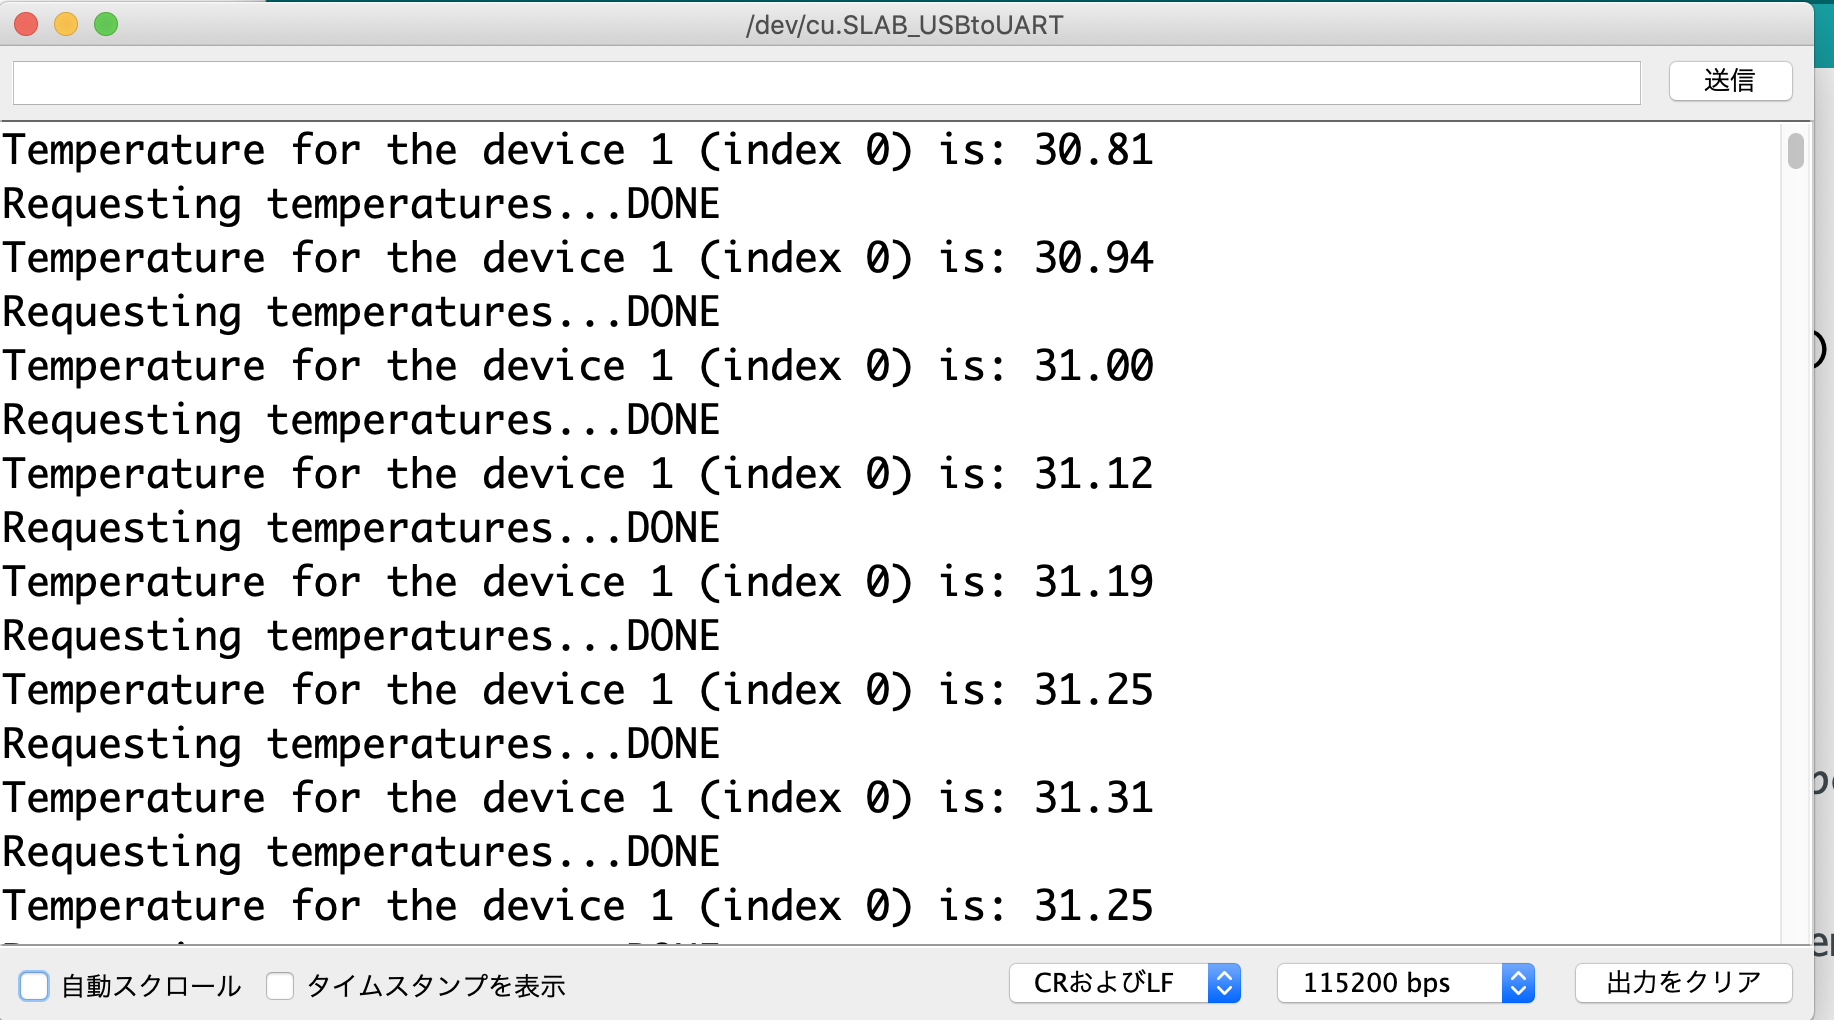
下記のサンプルコードを試しました。
# include <OneWire.h>
# include <DallasTemperature.h>

// Data wire is plugged into port 2 on the Arduino
# define ONE_WIRE_BUS 33

// Setup a oneWire instance to communicate with any OneWire devices (not just Maxim/Dallas temperature ICs)
OneWire oneWire(ONE_WIRE_BUS);

// Pass our oneWire reference to Dallas Temperature.
DallasTemperature sensors(&oneWire);

void setup(void)
{
  // start serial port
  Serial.begin(115200);
  Serial.println("Dallas Temperature IC Control Library Demo");

  // Start up the library
  sensors.begin();
}

void loop(void)
{
  // call sensors.requestTemperatures() to issue a global temperature
  // request to all devices on the bus
  Serial.print("Requesting temperatures...");
  sensors.requestTemperatures(); // Send the command to get temperatures
  Serial.println("DONE");

  Serial.print("Temperature for the device 1 (index 0) is: ");
  Serial.println(sensors.getTempCByIndex(0));

  delay(500);
}
おわりに
使っていなかったセンサーが使えて満足です。
DS18B20を複数つかうためのやり方もあり、深掘りしていくと楽しそうです。


