はじめに
最近ビットコインの自動売買に興味があって色々調べてみたら
Freqtradeという素晴らしい自動売買のライブラリがあって
使ってみたところ管理画面なども完備しててかなりよかったです。
しかし、自動売買するのにただのテクニカルインジケータで予測しててもあんまり面白くないので、
せっかくなので機械学習で予測したいなって思い、tensorflowを入れるために色々沼ったのでそれらを解決に至るまでの経緯を
記事にしました。
問題1: TensorflowをDockerfileを通してインストールしてみたらできなかった
Additional Dependencies with docker-composeに従って、拡張用のDockerfileを作りました。
FROM freqtradeorg/freqtrade:stable
# tensorflowをインストール
RUN pip install --user --no-cache-dir tensorflow
$ docker-compose build --pull
...
 => ERROR [2/2] RUN pip install --user --no-cache-dir tensorflow                                                                                                      1.1s
------
 > [2/2] RUN pip install --user --no-cache-dir tensorflow:
# 6 0.968 ERROR: Could not find a version that satisfies the requirement tensorflow (from versions: none)
# 6 0.968 ERROR: No matching distribution found for tensorflow
------
おやおや、見つからないんだと?
色々調べてみたら、Freqtradeのイメージはpython3.9.9-slim-bullseyeをベースにしており、tensorflowはまだpython3.9に対応していないことがわかりました。
ということはやることは一つ、ベースのイメージをpython3.8以下のものにするのみだ。
1. FreqtradeのDockerイメージを自作して使う
1-1. Freqtradeのレポジトリをクローンする
$ git clone https://github.com/freqtrade/freqtrade.git
# デフォルトはdevelopブランチ、developでもいいですが、本番運用を考えているのでstableにする
$ git fetch origin stable
$ git checkout stable
1-2. tensorflowのイメージを使用するように Dockerfile を編集する
- FROM python:3.9.9-slim-bullseye as base
+ FROM tensorflow/tensorflow:latest as base
1-3. Dockerイメージをビルドする
docker build -t takeshi/freqtrade:latest .
1-4. 自作のDockerイメージでアプリを立ち上げる
# docker-compose.ymlのimage:のところを置き換える
sed -i 's/freqtradeorg\/freqtrade:stable/takeshi\/freqtrade:latest/' docker-compose.yml
# コンテナを起動
docker-compose up -d
問題2: Apple SiliconはAVX指令セットサポートしておらず、Tensorflowの実行に失敗
先ほど作ったコンテナに入って確認しましょう
# コンテナのbashにログイン
docker exec -it freqtrade /bin/bash
# pythonバージョン確認
ftuser@7818b603cee7:/freqtrade$ python --version
# Output:
Python 3.8.10
Pythonのバージョンがちゃんと欲しいバージョンになっている模様。
そして、次はtensorflowが正しくインストールされてるか確認。
ftuser@7818b603cee7:/freqtrade$ python -c 'import tensorflow as tf; print(tf.__version__)'
# Output:
The TensorFlow library was compiled to use AVX instructions, but these aren't available on your machine.
Fatal Python error: Aborted

Current thread 0x0000004000bf3a40 (most recent call first):
# ...バックトレース以下略

tensorflowのDockerレポジトリに
These images are based on TensorFlow's official Python binaries, which require a CPU with AVX support. Most modern CPUs do support AVX, so it's unlikely that you will have a problem with this. See also https://github.com/tensorflow/tensorflow/issues/19584
書いてある通り、TensorflowのDockerイメージはAVX命令セットのCPUの前提でコンパイルされているため、自分のPCはApple Siliconなので対応していない。
AVX命令セット以外のCPUに対応するオプションで自前でコンパイルするという選択肢もありますが、
ここは個人的に将来クラウドサービスで運用したいと思ってるから、まだ少し早いですがAWS ec2で実行してみることにした
2-1. ec2 インスタンスを用意する
2-1-1. ec2インスタンスを作成
あたりを参考してインスタンスを作成する。詳しい手順は割愛する。
2-1-2. ec2 にDockerをインストール
Docker basics for Amazon ECSを参考
# パッケージ更新
sudo yum update -y
# docker インストール
sudo yum install docker
# docker daemon を起動
sudo service docker start
# dockerコマンドを叩くときにいちいちsudoしなくても済むように
sudo usermod -a -G docker ec2-user
2-2. イメージを上げる
先作ったイメージを再利用したいので、Dockerレポジトリに上げました。
2-3. Freqtradeのガイドに従って作成(途中はちょっと変える)
Freqtradeのdocker-quick-startを参考して
mkdir ft_userdata
cd ft_userdata/
# Download the docker-compose file from the repository
curl https://raw.githubusercontent.com/freqtrade/freqtrade/stable/docker-compose.yml -o docker-compose.yml

# ここでpullするイメージを自分で作ったものに書き換える
sed -i 's/freqtradeorg\/freqtrade:stable/takeshi0627\/freqtrade:latest/' docker-compose.yml

# Pull the freqtrade image
docker-compose pull

# Create user directory structure
docker-compose run --rm freqtrade create-userdir --userdir user_data

# Create configuration - Requires answering interactive questions
docker-compose run --rm freqtrade new-config --config user_data/config.json
Freqtradeの詳細設定色々どうするかまた別で記事書く予定なので今回は割愛します。
さあここでTensorflow動けるか試してみましょう。
# コンテナを起動
docker-compose up -d

# コンテナにログイン
docker exec -it freqtrade /bin/bash

# tensorflowのバージョンを出力
ftuser@9e7a3bd54997:/freqtrade$ python -c 'import tensorflow as tf; print(tf.__version__)'
2022-01-25 16:06:13.245553: W tensorflow/stream_executor/platform/default/dso_loader.cc:64] Could not load dynamic library 'libcudart.so.11.0'; dlerror: libcudart.so.11.0: cannot open shared object file: No such file or directory; LD_LIBRARY_PATH: /usr/local/lib
2022-01-25 16:06:13.246093: I tensorflow/stream_executor/cuda/cudart_stub.cc:29] Ignore above cudart dlerror if you do not have a GPU set up on your machine.
2.7.0
なんか警告が出ていますが、
Ignore above cudart dlerror if you do not have a GPU set up on your machine.
って言ってますし多分EC2インスタンスにGPUがついていないからなんじゃないでしょうか。
とにかく2.7.0とTensorflowのバージョンが正しく出力されているとのことでやりたいこと達成です!
さあ、やっとTensorflow動けるようになったということで、次は予測モデルを作ってトレードするぞー(先に作れ!)。
おまけ:botの管理画面を表示するには
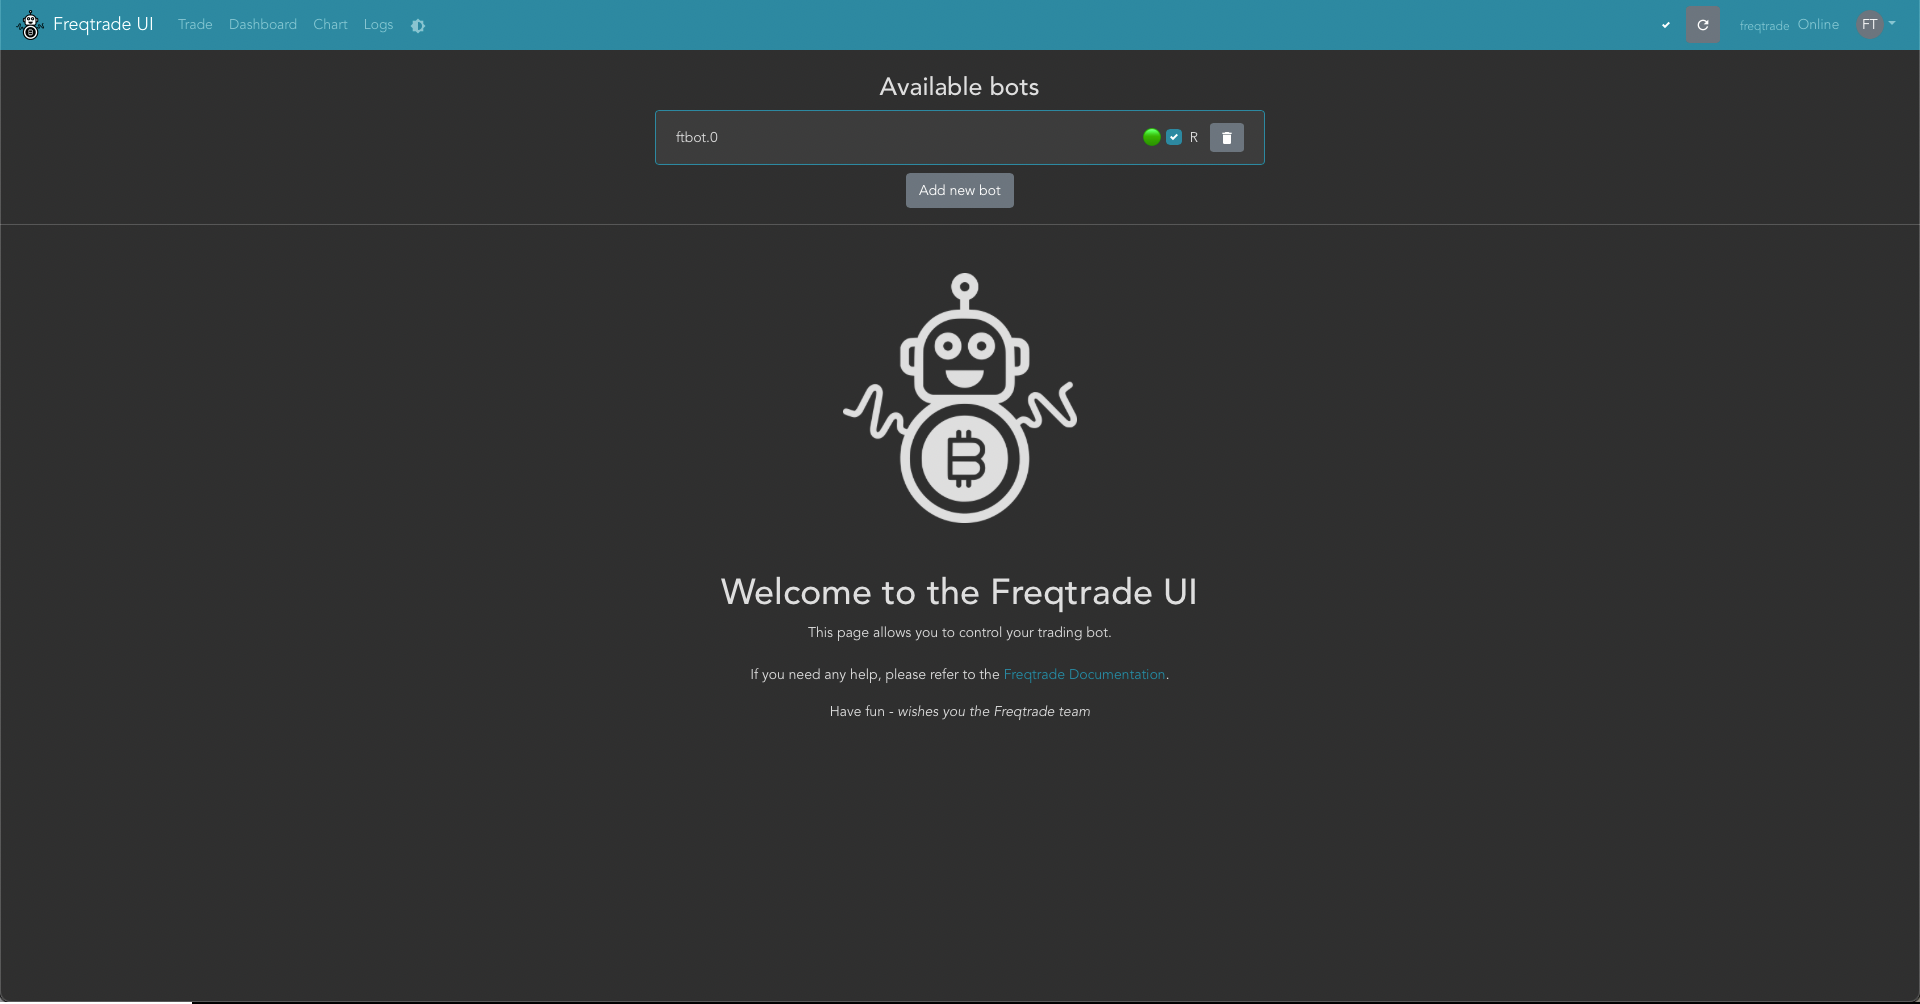
FreqUIという非常にオシャンな管理画面が用意されている。ローカルでインストールするは普通にブラウザーでlocalhost:8080をアクセスすれば見れるんですが、AWS上で動かす時に少し設定が必要です。
ネットワーク→セキュリティグループ→インバウンドルールの編集でこんな感じのルールを追加する

特に設定をいじっていなければポート番号が8080になるので8080を公開する必要があります。
もちろんセキュリティのために自分のIPにしか公開していない。
