記事詳細ページはブログの最も重要な部分の一つです。情報を整理し、読みやすいようにスタイルを適用していきます。
ここでは、ページをヘッダー・ボディ・フッターのセクションに分け、ヘッダーとフッターはTailwind CSSで、記事本文はシンプルなCSSでスタイル付けします。
ブログ記事詳細ページをTailwindでスタイリングする手順
1.前後の記事データを取得するロジックを追加
記事フッターで「前の記事」「次の記事」へのリンクを表示するために、まず現在の記事の前後の記事情報を取得するロジックをフロントマター (--- 内) に追加します。
---
// src/pages/[...slug].astro
import { getCollection, getEntry } from 'astro:content';
import type { CollectionEntry } from 'astro:content'; // 型定義をインポート
import BlogPostLayout from '../layouts/BlogPostLayout.astro';
import { Image } from 'astro:assets';

export async function getStaticPaths() {
  const posts = await getCollection('blog');
  // ↓ 全記事データをソートしておく (日付順など)
  const sortedPosts = posts.sort((a, b) => b.data.pubDate.valueOf() - a.data.pubDate.valueOf());

  return sortedPosts.map((post, index) => { // map に index を追加
    let slugPath;
    if (post.data.url) {
      slugPath = post.data.url;
    } else {
      slugPath = post.id.replace(/\.md$/, '');
    }

    // ↓ 前後の記事情報を props に含める
    const prevPost = index > 0 ? sortedPosts[index - 1] : null;
    const nextPost = index < sortedPosts.length - 1 ? sortedPosts[index + 1] : null;

    return {
      params: { slug: slugPath },
      props: {
        post,
        prevPost: prevPost ? { slug: prevPost.slug, title: prevPost.data.title, url: prevPost.data.url } : null, // 必要な情報だけ渡す
        nextPost: nextPost ? { slug: nextPost.slug, title: nextPost.data.title, url: nextPost.data.url } : null, // 必要な情報だけ渡す
      },
    };
  });
}

// ↓ props から prevPost と nextPost も受け取る
const { post, prevPost, nextPost } = Astro.props;

// getPostUrl ヘルパー関数 (他で定義・インポートしている場合)
// このファイル内で定義する場合はここに記述
import { getPostUrl } from '../utils/url'; // 必要ならパス調整

// アイキャッチ画像の有無を確認
const hasFeatureImage = post.data.featureImage && post.data.featureImageAlt;

const { Content } = await post.render();
---
-
getStaticPaths内で、記事をソートした後、map関数の第2引数indexを使って現在の記事のインデックスを取得します。 - そのインデックスを基に、配列
sortedPostsから前後の記事 (prevPost,nextPost) を特定します。存在しない場合(最初または最後の記事)はnullになります。 -
propsにprevPostとnextPostを追加します。ここでは、リンク生成に必要なslug,title,urlだけを渡すようにしています(データ量を減らすため)。 - ページコンポーネントのフロントマターで
Astro.propsからprevPostとnextPostも受け取ります。 -
getPostUrlヘルパー関数が必要になるので、インポートまたは定義します。
2.テンプレート構造をヘッダー・ボディ・フッターに分割
-
<article>タグの中身を整理し、意味的なまとまりごとに要素で囲みます。Tailwindでのスタイリングや、本文へのCSS適用をしやすくするため、クラス名も付与します。
---
// --- 上記のフロントマター ---
---
<BlogPostLayout title={post.data.title}>
  <article class="max-w-3xl mx-auto px-4 py-8"> {/* 記事全体のコンテナと左右パディング */}

    {/* ===== 記事ヘッダー ===== */}
    <header class="mb-8">
      {/* アイキャッチ画像 (ある場合のみ) */}
      {hasFeatureImage && (
        <div class="mb-6"> {/* 画像下のマージン */}
          <Image
            src={post.data.featureImage}
            alt={post.data.featureImageAlt}
            width={720}
            aspectRatio={16/9}
            format="webp"
            quality={80}
            class="rounded-lg shadow-md" {/* Tailwind クラス */}
          />
        </div>
      )}
      {/* 記事タイトル */}
      <h1 class="text-3xl md:text-4xl font-bold text-gray-900 mb-3">{post.data.title}</h1>
      {/* メタ情報 (日付、タグ) */}
      <div class="flex flex-wrap items-center text-sm text-gray-500 space-x-4">
        <span>公開日: {post.data.pubDate.toLocaleDateString()}</span>
        {post.data.tags && post.data.tags.length > 0 && (
          <div class="flex items-center space-x-2">
            <span>タグ:</span>
            {post.data.tags.map(tag => (
              <a href={`/tags/${tag}/`} class="bg-gray-200 rounded-full px-2 py-0.5 text-xs text-gray-700 hover:bg-gray-300">
                {tag}
              </a>
            ))}
          </div>
        )}
      </div>
    </header>

    <hr class="my-8 border-gray-300"/> {/* ヘッダーと本文の区切り線 */}

    {/* ===== 記事ボディ ===== */}
    {/* proseクラスを付けてCSSでスタイルを当てる */}
    <div class="prose prose-lg max-w-none">
      <Content /> {/* Markdown本文 */}
    </div>

    <hr class="my-12 border-gray-300"/> {/* 本文とフッターの区切り線 */}

    {/* ===== 記事フッター (前後の記事ナビゲーション) ===== */}
    <footer class="flex justify-between items-center">
      {/* 前の記事へのリンク */}
      <div>
        {prevPost ? (
          <a href={getPostUrl(prevPost)} class="text-blue-600 hover:underline flex items-center group">
            <svg xmlns="http://www.w3.org/2000/svg" fill="none" viewBox="0 0 24 24" stroke-width="1.5" stroke="currentColor" class="w-5 h-5 mr-2 transition-transform group-hover:-translate-x-1">
              <path stroke-linecap="round" stroke-linejoin="round" d="M15.75 19.5 8.25 12l7.5-7.5" />
            </svg>
            <span class="text-sm font-medium">前の記事:</span>
            <span class="ml-1 hidden md:inline">{prevPost.title}</span>
          </a>
        ) : (
          <span class="text-gray-400 text-sm">これが最初の記事です</span>
        )}
      </div>
      {/* 次の記事へのリンク */}
      <div>
        {nextPost ? (
          <a href={getPostUrl(nextPost)} class="text-blue-600 hover:underline flex items-center group text-right">
            <span class="text-sm font-medium">次の記事:</span>
            <span class="ml-1 hidden md:inline">{nextPost.title}</span>
            <svg xmlns="http://www.w3.org/2000/svg" fill="none" viewBox="0 0 24 24" stroke-width="1.5" stroke="currentColor" class="w-5 h-5 ml-2 transition-transform group-hover:translate-x-1">
               <path stroke-linecap="round" stroke-linejoin="round" d="m8.25 4.5 7.5 7.5-7.5 7.5" />
            </svg>
          </a>
        ) : (
          <span class="text-gray-400 text-sm">これが最新の記事です</span>
        )}
      </div>
    </footer>

  </article>
</BlogPostLayout>
-
<header>,<div class="prose ...">,<footer>で各セクションを区切りました。 - 各要素にTailwindクラスを追加して、マージン、文字サイズ、色などを調整しています。
- フッターのリンクには、
prevPostとnextPostが存在する場合のみリンクを表示するようにしています。簡単なアイコンも追加してみました。
3.記事ボディ (<Content/>) にCSSスタイルを適用
<Content /> を囲む div に prose prose-lg max-w-none というクラス名を付けました。prose はスタイルを当てるための目印、prose-lg は少し大きめの文字サイズ設定用(任意)、max-w-none はTailwind Typographyプラグインを使っていない場合にデフォルトの幅制限を解除するためです。
styles/global.cssにスタイルを記述します。
/* styles/global.css */
@import "tailwindcss";

.prose h2 {
    font-size: 1.5rem;
    line-height: 2rem;
    font-weight: 600;
    margin-top: 2.5rem;
    margin-bottom: 1rem;
    border-bottom-width: 1px;
    border-color: #d1d5db;
    padding-bottom: 0.5rem;
}
.prose h3 {
    font-size: 1.25rem;
    line-height: 1.75rem;
    font-weight: 600;
    margin-top: 2rem;
    margin-bottom: 0.75rem;
}
.prose p {
    margin-bottom: 1rem;
    line-height: 1.75;
}
.prose ul {
    list-style-type: disc;
    list-style-position: inside;
    margin-bottom: 1rem;
    padding-left: 1rem;
}
.prose ol {
    list-style-type: decimal;
    list-style-position: inside;
    margin-bottom: 1rem;
    padding-left: 1rem;
}
.prose li {
    margin-bottom: 0.5rem;
}
/* リスト項目内の段落のマージンを調整 (任意) */
.prose li > p {
    margin-bottom: 0.25rem;
}
.prose a {
    color: #2563eb;
    text-decoration-line: none;
}
.prose a:hover {
    text-decoration-line: underline;
}

/* ↓ blockquote のスタイルを追加 */
.prose blockquote {
    border-left-width: 4px;
    border-color: #d1d5db;
    padding-left: 1rem;
    font-style: italic;
    color: #4b5563;
    margin-top: 1.5rem;
    margin-bottom: 1.5rem;
}
/* blockquote内の段落のマージン調整 (任意) */
    .prose blockquote > p {
    margin-bottom: 0;
}

/* ↓ インラインコード (code) のスタイルを追加 */
/* preの中のcode要素は除外する */
.prose :not(pre) > code {
    background-color: #e5e7eb;
    font-size: 0.875em;
    padding: 0.125rem 0.25rem;
    border-radius: 0.25rem;
    font-family: ui-monospace, SFMono-Regular, Menlo, Monaco, Consolas, "Liberation Mono", "Courier New", monospace;
}

/* ↓ コードブロック (pre) のスタイルを追加 */
.prose pre {
    background-color: #1f2937;
    color: #f3f4f6;
    padding: 1rem;
    border-radius: 0.375rem;
    overflow-x: auto;
    margin-top: 1.5rem;
    margin-bottom: 1.5rem;
    font-size: 0.875rem;
    line-height: 1.25rem;
}

/* ↓ コードブロック内の code 要素のスタイル (preで指定したものを継承) */
.prose pre code {
    background-color: transparent;
    color: inherit;
    font-size: inherit;
    padding: 0;
    border-radius: 0;
}

/* ↓ 画像 (img) のスタイルを追加 */
.prose img {
    border-radius: 0.375rem;
    margin-top: 1.5rem;
    margin-bottom: 1.5rem;
    max-width: 100%;
    height: auto;
    display: block;
    margin-left: auto;
    margin-right: auto;
}
- ここでは基本的な要素に対するスタイル例を記述しました。必要に応じて調整・追加してください。
開発サーバーでの確認
- 開発サーバーを起動 (
npm run devなど) して、記事詳細ページにアクセスします。 - ヘッダー部分(アイキャッチ、タイトル、メタ情報)、記事本文、フッター部分(前後の記事リンク)が意図した通りに表示され、スタイルが適用されているか確認してください。
- 特に、記事本文の見出し、段落、リスト、リンク、コードブロックなどにCSSスタイルが当たっているか確認しましょう。
- 前後の記事へのリンクが正しく表示され、機能するかテストしてください(最初の記事、最後の記事、中間の記事で確認)。
Cannot read properties of undefined (reading 'url')のエラー処理
原因はdataプロパティを持たない加工済みオブジェクトが渡されたためundefinedになっている。
// getStaticPaths 内の props 生成部分 (以前のコード)
props: {
  post, // これは完全な CollectionEntry オブジェクト
  prevPost: prevPost ? { slug: prevPost.slug, title: prevPost.data.title, url: prevPost.data.url } : null, // ← 加工されたオブジェクト (data プロパティなし)
  nextPost: nextPost ? { slug: nextPost.slug, title: nextPost.data.title, url: nextPost.data.url } : null, // ← 加工されたオブジェクト (data プロパティなし)
},
以前の記事で作成したutils/url.jsを修正し、どちらのデータでも正しく処理できるようにします。
// utils/url.js

function getPostUrl(post) {
  // post オブジェクトが存在しない場合はデフォルトのパスを返す
  if (!post) {
    console.warn("getPostUrl called with undefined or null post object.");
    return '#'; // または適切なデフォルトパス
  }

  const baseUrl = import.meta.env.BASE_URL;
  const basePath = baseUrl === '/' ? '' : baseUrl;

  // 1. オブジェクトが 'url' プロパティを直接持っているか? (加工された prevPost/nextPost の場合)
  if (typeof post.url === 'string' && post.url.length > 0) {
    return `${basePath}/${post.url}/`;
  }
  // 2. オブジェクトが 'data' プロパティを持ち、その中に 'url' があるか? (CollectionEntry で url 指定ありの場合)
  else if (post.data && typeof post.data.url === 'string' && post.data.url.length > 0) {
    return `${basePath}/${post.data.url}/`;
  }
  // 3. オブジェクトが 'slug' プロパティを持っているか? (デフォルトのパス生成)
  else if (typeof post.slug === 'string' && post.slug.length > 0) {
    return `${basePath}/blog/${post.slug}/`;
  }
  // 4. 上記いずれにも当てはまらない場合 (予期せぬエラー)
  else {
    console.error("Could not determine URL from post object in getPostUrl:", post);
    return '#'; // エラー時のデフォルトパス
  }
}

export { getPostUrl };
まとめ
これで記事詳細ページの構造化とスタイリングができました。記事ページのスタイルはこのようになっています。
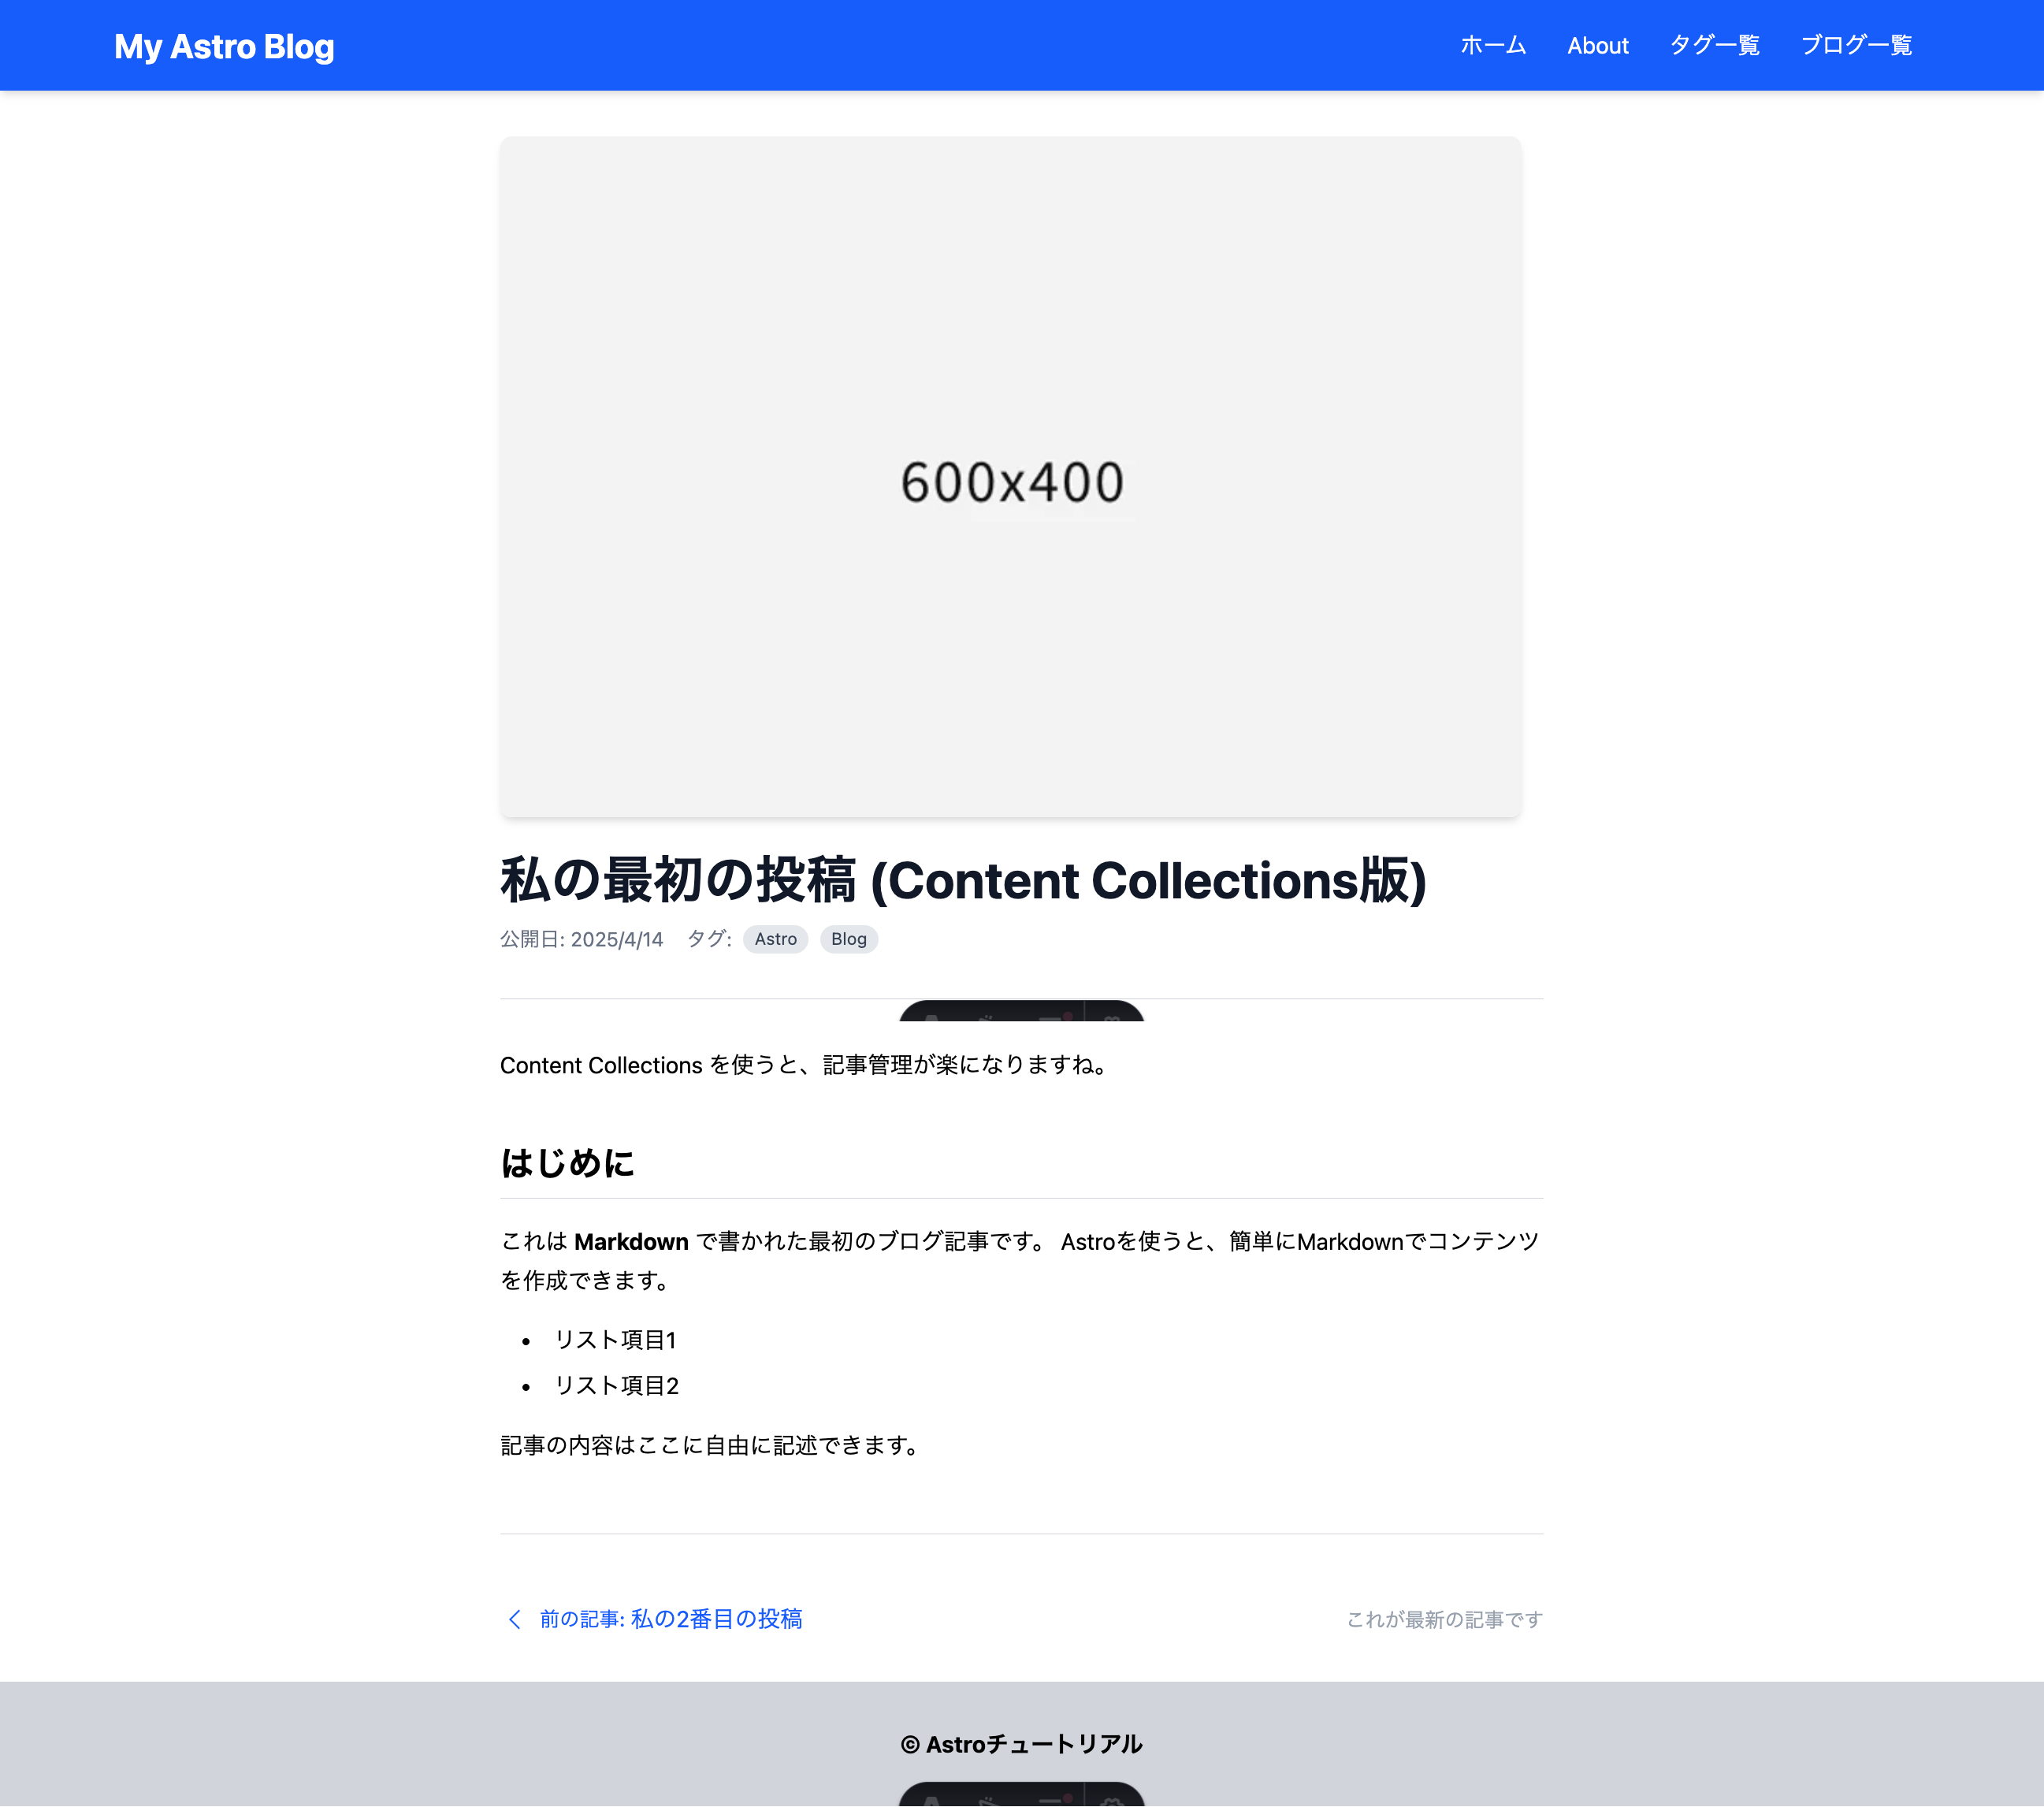
ヘッダー・フッターはTailwindで、本文はCSSで、と役割分担することで、それぞれの得意な方法でスタイルを管理できます。