環境
Ubuntu 18.04
Nginx 1.14.0
Python 3.7
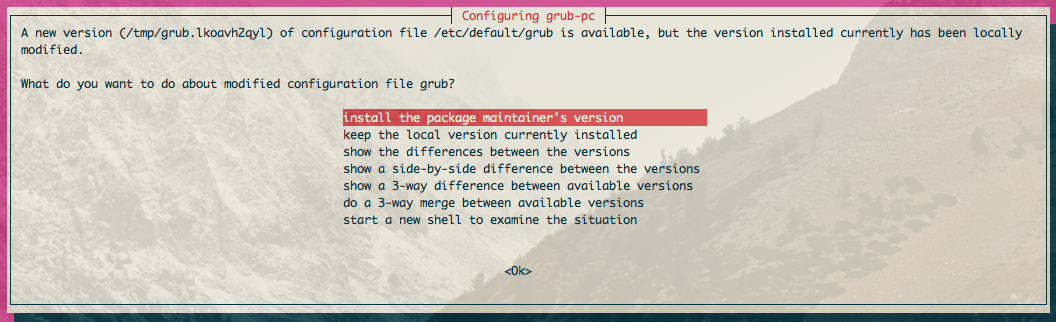
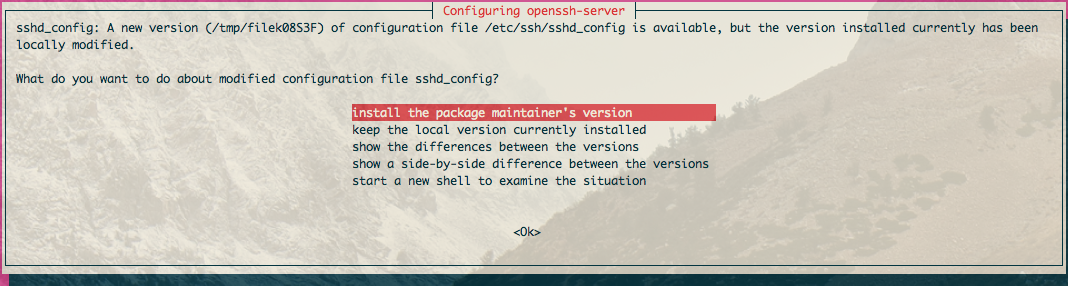
OSのupdate
sudo apt-get update && sudo apt-get upgrade -y && sudo apt-get install update-manager-core -y && sudo do-release-upgrade -d
This session appears to be running under ssh. It is not recommended
to perform a upgrade over ssh currently because in case of failure it
is harder to recover.

If you continue, an additional ssh daemon will be started at port
'1022'.
Do you want to continue?

Continue [yN] y
Fetching and installing the upgrade can take several hours. Once the
download has finished, the process cannot be canceled.

 Continue [yN]  Details [d]y
Remove obsolete packages?


28 packages are going to be removed.

 Continue [yN]  Details [d]y
To finish the upgrade, a restart is required.
If you select 'y' the system will be restarted.

Continue [yN] y
sudo cat /etc/*release

# 出力は以下
DISTRIB_ID=Ubuntu
DISTRIB_RELEASE=18.04
DISTRIB_CODENAME=bionic
DISTRIB_DESCRIPTION="Ubuntu 18.04.1 LTS"
NAME="Ubuntu"
VERSION="18.04.1 LTS (Bionic Beaver)"
ID=ubuntu
ID_LIKE=debian
PRETTY_NAME="Ubuntu 18.04.1 LTS"
VERSION_ID="18.04"
HOME_URL="https://www.ubuntu.com/"
SUPPORT_URL="https://help.ubuntu.com/"
BUG_REPORT_URL="https://bugs.launchpad.net/ubuntu/"
PRIVACY_POLICY_URL="https://www.ubuntu.com/legal/terms-and-policies/privacy-policy"
VERSION_CODENAME=bionic
UBUNTU_CODENAME=bionic
nginxのインストール
sudo apt install nginx -y
nginx -v
# nginx version: nginx/1.14.0 (Ubuntu)

systemctl status nginx

# 出力結果は以下

● nginx.service - A high performance web server and a reverse proxy server
   Loaded: loaded (/lib/systemd/system/nginx.service; enabled; vendor preset: enabled)
   Active: active (running) since Wed 2018-09-05 14:46:46 UTC; 3min 2s ago
     Docs: man:nginx(8)
  Process: 3052 ExecStart=/usr/sbin/nginx -g daemon on; master_process on; (code=exited, status=0/SUCCESS)
  Process: 3033 ExecStartPre=/usr/sbin/nginx -t -q -g daemon on; master_process on; (code=exited, status=0/SUCCESS)
 Main PID: 3057 (nginx)
    Tasks: 2 (limit: 1152)
   CGroup: /system.slice/nginx.service
           ├─3057 nginx: master process /usr/sbin/nginx -g daemon on; master_process on;
           └─3058 nginx: worker process

Sep 05 14:46:46 ip-10-0-1-205 systemd[1]: Starting A high performance web server and a reverse proxy server...
Sep 05 14:46:46 ip-10-0-1-205 systemd[1]: nginx.service: Failed to parse PID from file /run/nginx.pid: Invalid argument
Sep 05 14:46:46 ip-10-0-1-205 systemd[1]: Started A high performance web server and a reverse proxy server.
nginxの自動起動
sudo systemctl enable nginx.service
pythonのインストール
sudo apt install python3.7 python3.7-venv python3-pip -y
Djangoで必要になるパッケージインストール
sudo apt install gettext -y # compilemessagesを使う際に使用する
Djangoプロジェクト作成準備
python3.7 -m venv myblog
cd myblog
source bin/activate
pip install django gunicorn
Djangoプロジェクト作成
django-admin startproject myblog
Djangoでページがとりあえず表示されるようにする設定
vim myblog/settings.py

ALLOWED_HOSTS = ['myIPAddress']
gunicornのパスを取得
which gunicorn
venvから抜ける
deactivate
nginx設定
sudo vim /etc/nginx/conf.d/myblog.conf
server {
    listen  80;
    server_name     myIPAddress;

    location /static {
        alias /var/www/static;
    }

    location / {
        proxy_pass http://unix:/run/gunicorn/socket;
        proxy_set_header Host $http_host;
        proxy_set_header X-Forwarded-For $proxy_add_x_forwarded_for;
    }

}
gunicorn設定
sudo vim /etc/systemd/system/gunicorn.socket
[Unit]
Description=gunicorn socket

[Socket]
ListenStream=/run/gunicorn/socket

[Install]
WantedBy=sockets.target
sudo vim /etc/systemd/system/gunicorn.service
[Unit]
Description=gunicorn daemon
Requires=gunicorn.socket
After=network.target

[Service]
PIDFile=/run/gunicorn/pid
User=ubuntu
Group=ubuntu
RuntimeDirectory=gunicorn
WorkingDirectory=/home/ubuntu/myblog/myblog
ExecStart=/home/ubuntu/myblog/bin/gunicorn --pid /run/gunicorn/pid --bind unix:/run/gunicorn/socket myblog.wsgi
ExecReload=/bin/kill -s HUP $MAINPID
ExecStop=/bin/kill -s TERM $MAINPID
PrivateTmp=true

[Install]
WantedBy=multi-user.target
※ExecStart=/home/ubuntu/myblog/bin/gunicornの/home/ubuntu/myblog/bin/gunicornはwhich gunicornで表示されたパス
gunicornとnginxの再起動
sudo /etc/init.d/nginx configtest
# 出力結果
* Testing nginx configuration                                                                                                                      [ OK ]

sudo systemctl stop nginx.service
sudo systemctl start nginx.service
sudo systemctl stop gunicorn.socket
sudo systemctl start gunicorn.socket
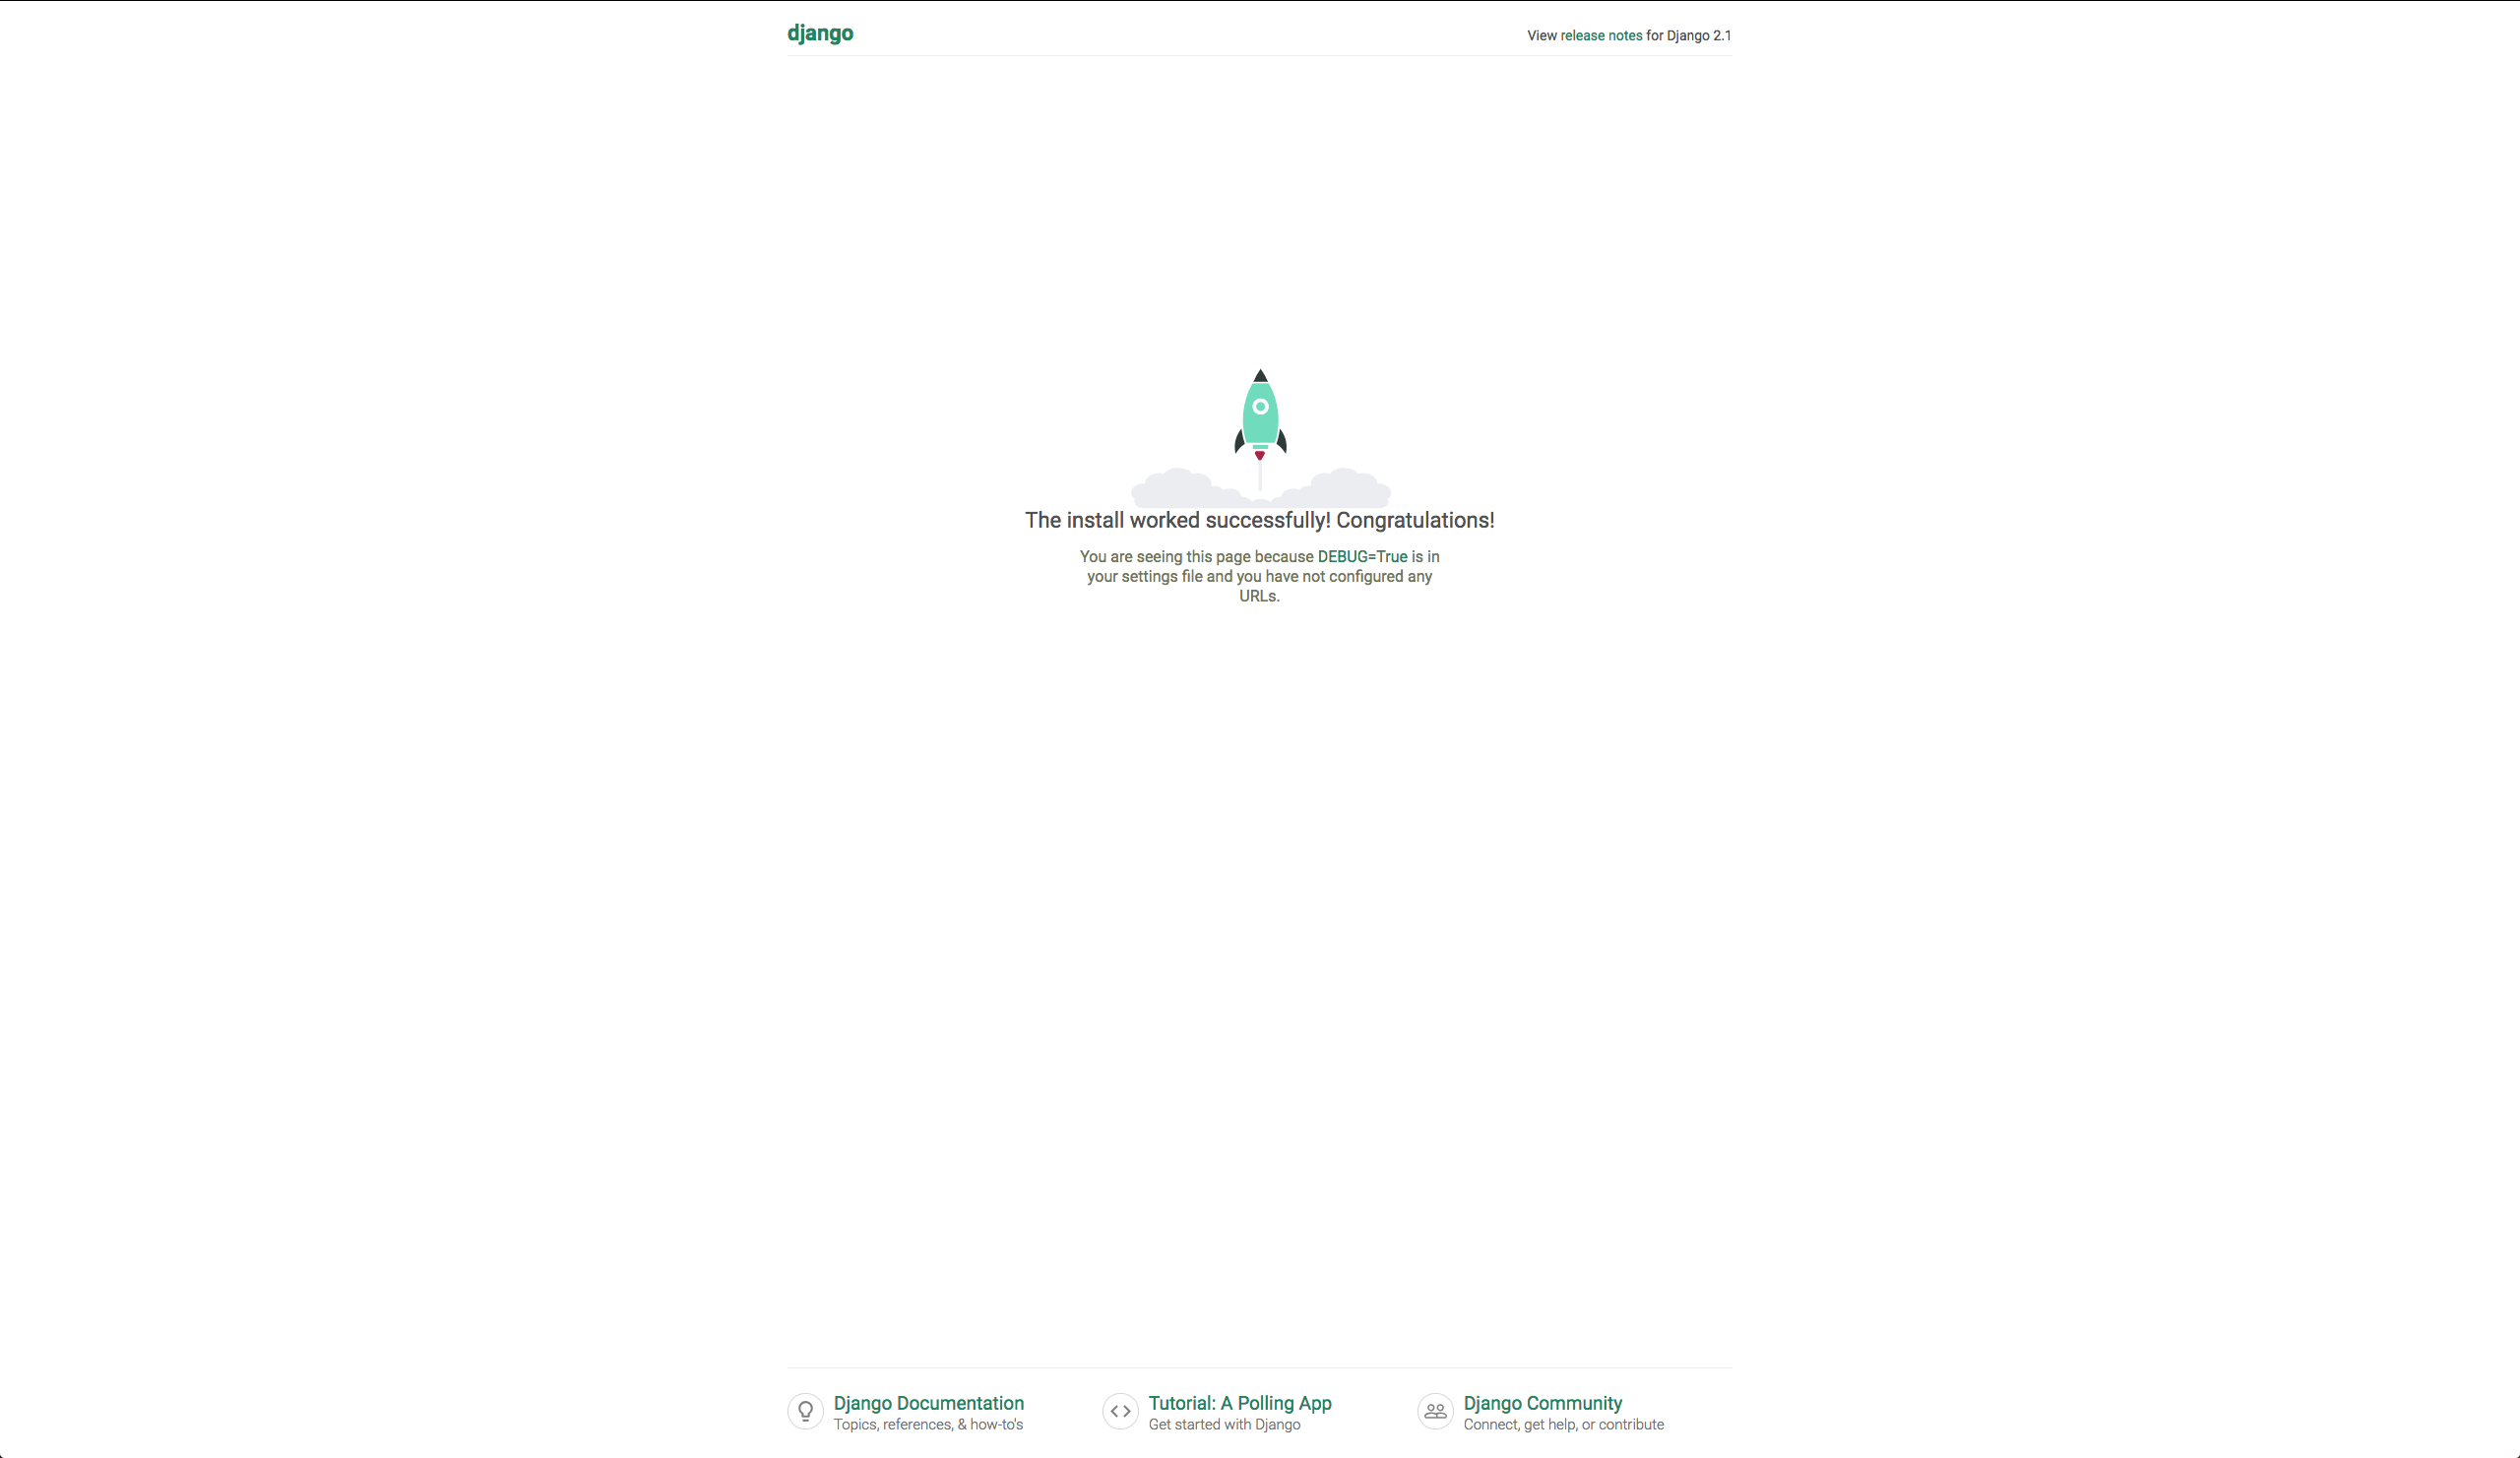
ブラウザで表示確認
アドレスバーにIPアドバイスを入力して、以下画面が表示されたらOK
最後に
私の所属している株式会社マンハッタンコードでは、毎週土曜日に上野駅のいいオフィスにてノリノリ会という勉強会を開催しております。
私のようにDjangoやRailsを触っている人もいれば、SwiftやKotlinをやっている人もいます。
ご興味ある方はぜひTwitterにて連絡いただければと思います。Twitter
一緒にエンジニアリングを楽しみましょう!
また、弊社の仕事にご興味がある方。弊社HP
現在、弊社CTOと1対1で面談できます。面談可能日はこちら