冒頭
Embulkから、ElasticCloudに送信できるのかなと思い備忘録も兼ねて記述を残します
事前準備
- Embulkのインストール
- ElasticCloud(14日間体験版)
brewなら下記のコマンド
$ brew install embulk
手順
inputファイルを作成する
$ vi log/aaa.csv
ファイルの中身
a,b,c
100,200,300
200,300,400
500,60000,7000
seed.yml を作成する(XXXXXはElasticCloudの管理画面より入手する)
in:
  type: file
  path_prefix: "/Users/taku333/Documents/embulk/log/aaa.csv"
# out: {type: stdout}
out:
  type: elasticsearch
  index: embulk
  index_type: embulk
  nodes:
  - {host: XXXXXXX, port: XXXX}
  user: XXXXX
  password: XXXXXXXXXXXXXXXXX
  use_ssl: true
  auth_method: basic
seed.yml ⇨ config.yml を作成する
embulk guess seed.yml -o config.yml
embulkを実行する
embulk run config.yml
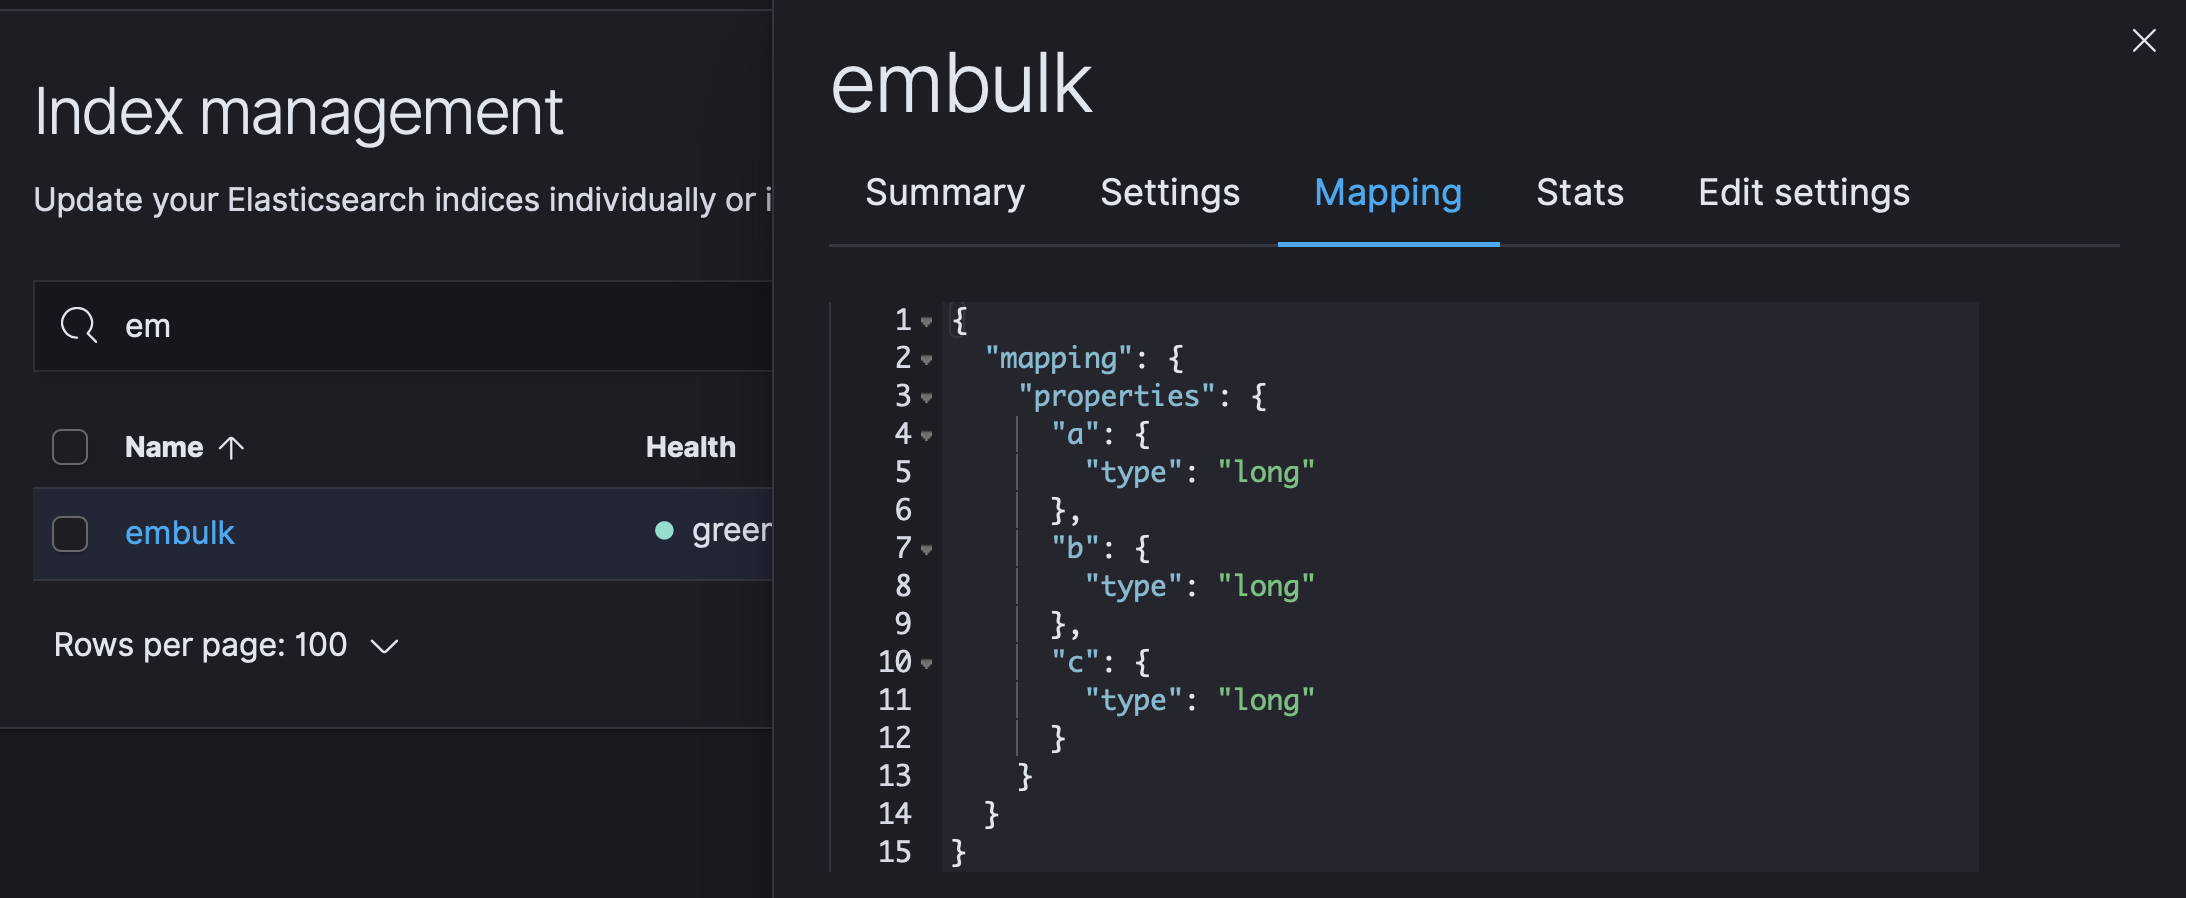
結果
良かった表示された 7.1.1だったけど動いた
7.0なら「_doc」で自動登録されるので「index_type」の項目を削除して試してみましたが、
予想通り動きませんでした
Caused by: org.embulk.config.ConfigException: com.fasterxml.jackson.databind.JsonMappingException: Field 'index_type' is required but not set
失敗した点
「auth_method」忘れてて、失敗しました
org.embulk.exec.PartialExecutionException: org.eclipse.jetty.client.HttpResponseException: Response not 2xx: 401 Unauthorized