Node.jsでIFTTTに連携する
前回までのお話。
今回はIFTTTを使ってGoogle スプレッドシートにデータを書き込む
IFTTTの設定は、端折ります。(また別途)
IFTTTのWebhooksのデータ送信のポイント
- 送信できるデータは最大3つ
- POSTメソッドを使う
- データはJSON形式
Webhooksのシークレットキーをメモする
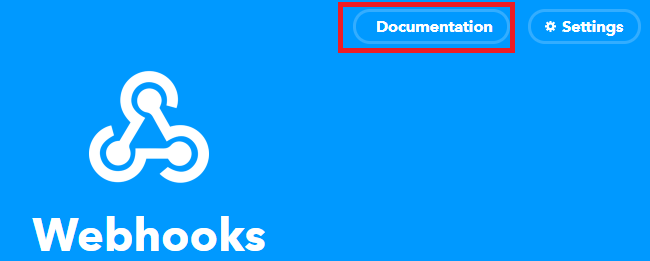
Webhooks → Documentation を開き、シークレットキーをメモしてください。
▼このキーをメモする。
Node.jsのソースコードは、こんな感じです。
requestモジュールを利用して、POSTメソッドを実行します。
var webclient = require("request");

var ifttt_event = "Record"; //イベント名
var ifttt_secret_key = "あなたのキーを書く"; //キー
var IFTTT_URL_GoogleSheets = 'https://maker.ifttt.com/trigger/' + ifttt_event + '/with/key/' + ifttt_secret_key;

//書き込むデータ
var p1 = 'データ1';
var p2 = 'データ2';
var p3 = 'データ3';

webclient.post({
  url: IFTTT_URL_GoogleSheets,
  headers: {
    "content-type": "application/json"
  },
  body: JSON.stringify({'value1':p1, 'value2':p2, 'value3':p3})
}, function (error, response, body){
  console.log(body);
});
実行してみます
pi@raspberrypi:~/myapp $ node webhook.js
Congratulations! You've fired the Record event
データ送信できたようです。
Google sheetを確認しよう
Googleドライブを見てみると、無事に書き込みできていました!
まとめ
今回は、IFTTTのWebhooksを利用して、Google スプレッドシートにデータを書き込みました。
- IFTTTのWebhooksを設定する
- Webhooksのシークレットキーをメモする
- POSTメソッドで、JSON形式でデータを送信する


