前回の続きです。
Netlifyの利用
一般的にサイトを公開するには、独自ドメインを取得し、レンタルサーバを借りる必要があります。
当然、この方法だとお金がかかります。(といっても、そこまでたいした金額ではありませんが)
そこで今回はNetlifyを使って無料で公開する方法を説明します。
Netlifyで公開するためには、GitHubなどにソースコードを置いておく必要があるので、GitHubのアカウントを持っていない方は登録しておいてください。
参考までに以前私が書いた記事を載せておきます。
サイトの公開
GitHubにソースコードをアップします。
$ git init // すでに.gitがあるなら不要
$ git remote add origin https://github.com/ユーザー名/リポジトリ名.git
$ git add .
$ git commit -m "initial commit"
$ git push origin master
次にNetlifyにログインします。GitHubアカウントでログインできます。
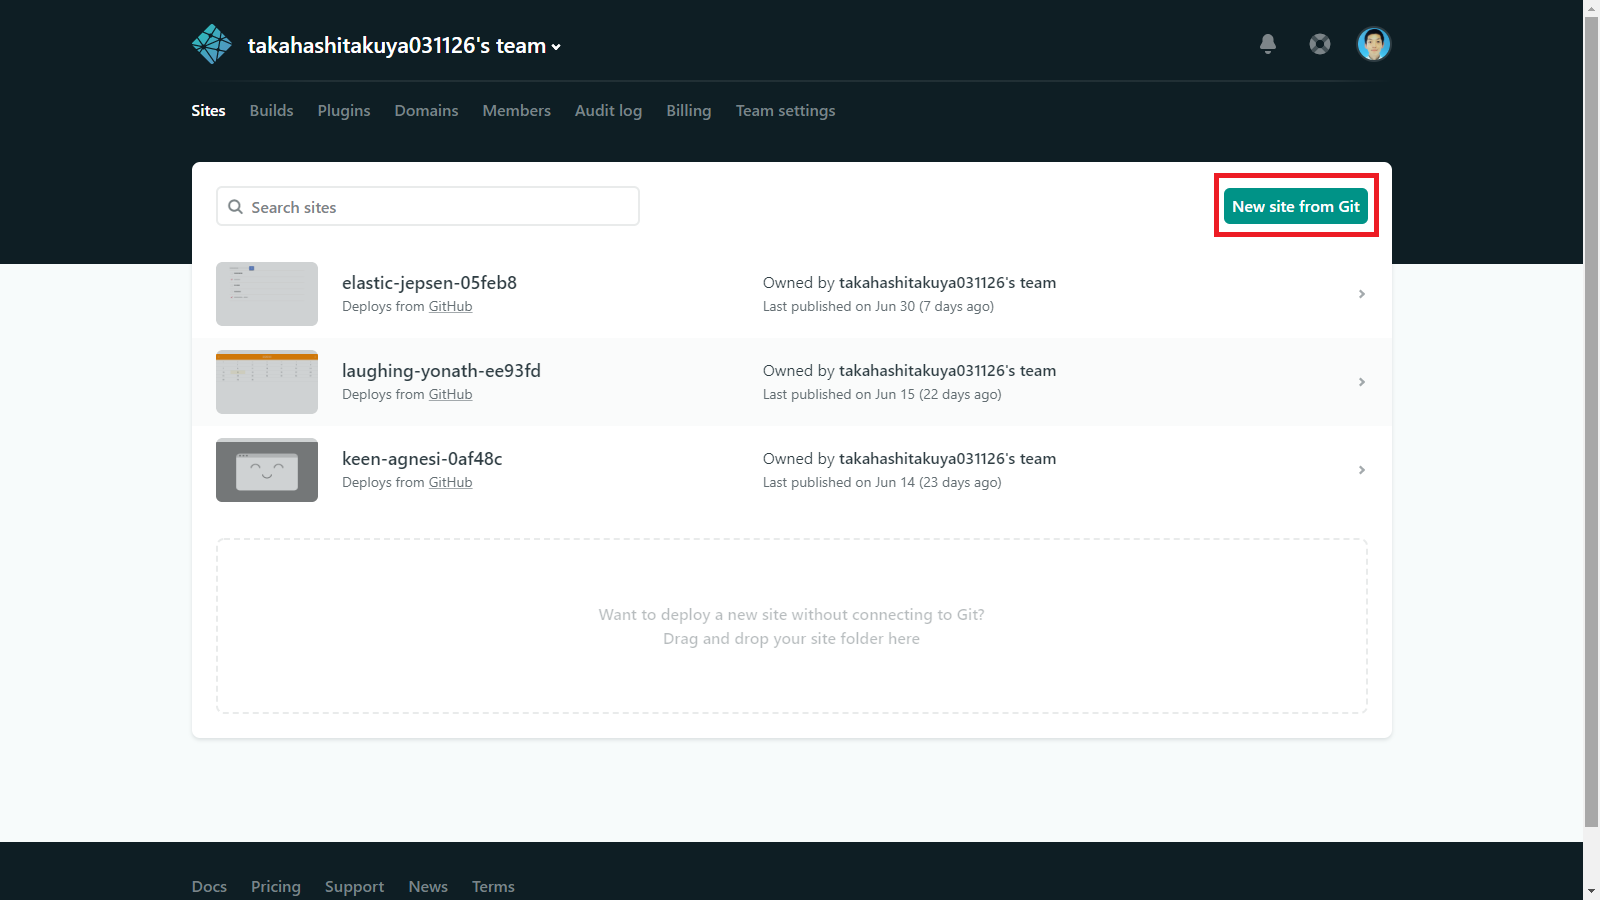
ログイン後、New Site From Gitを選択します。
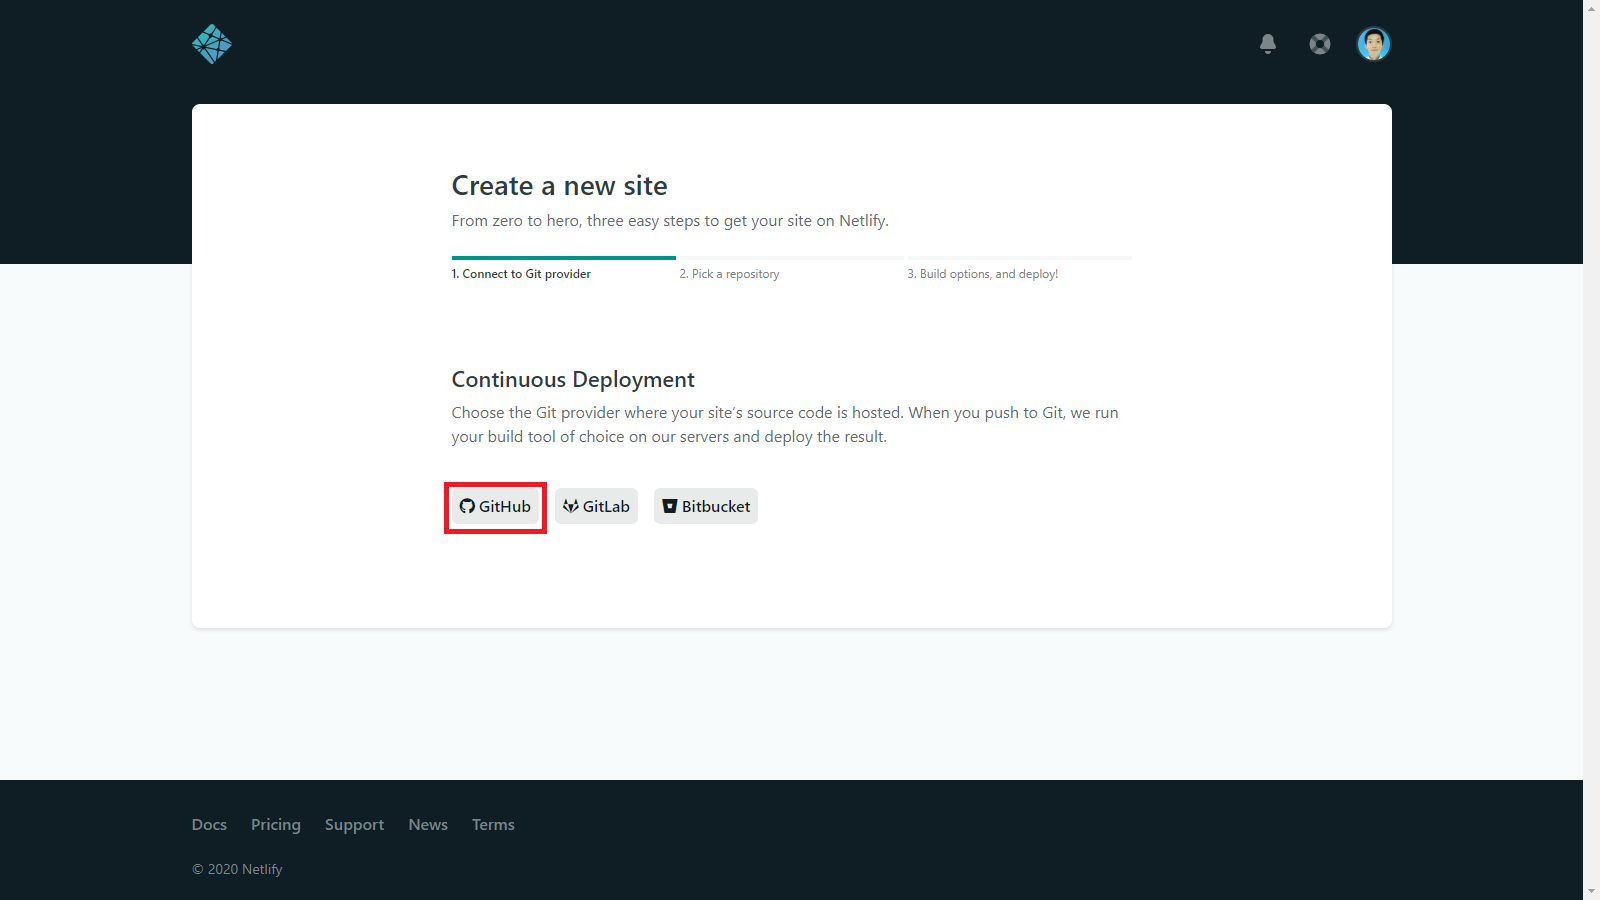
GitHubを選択します。
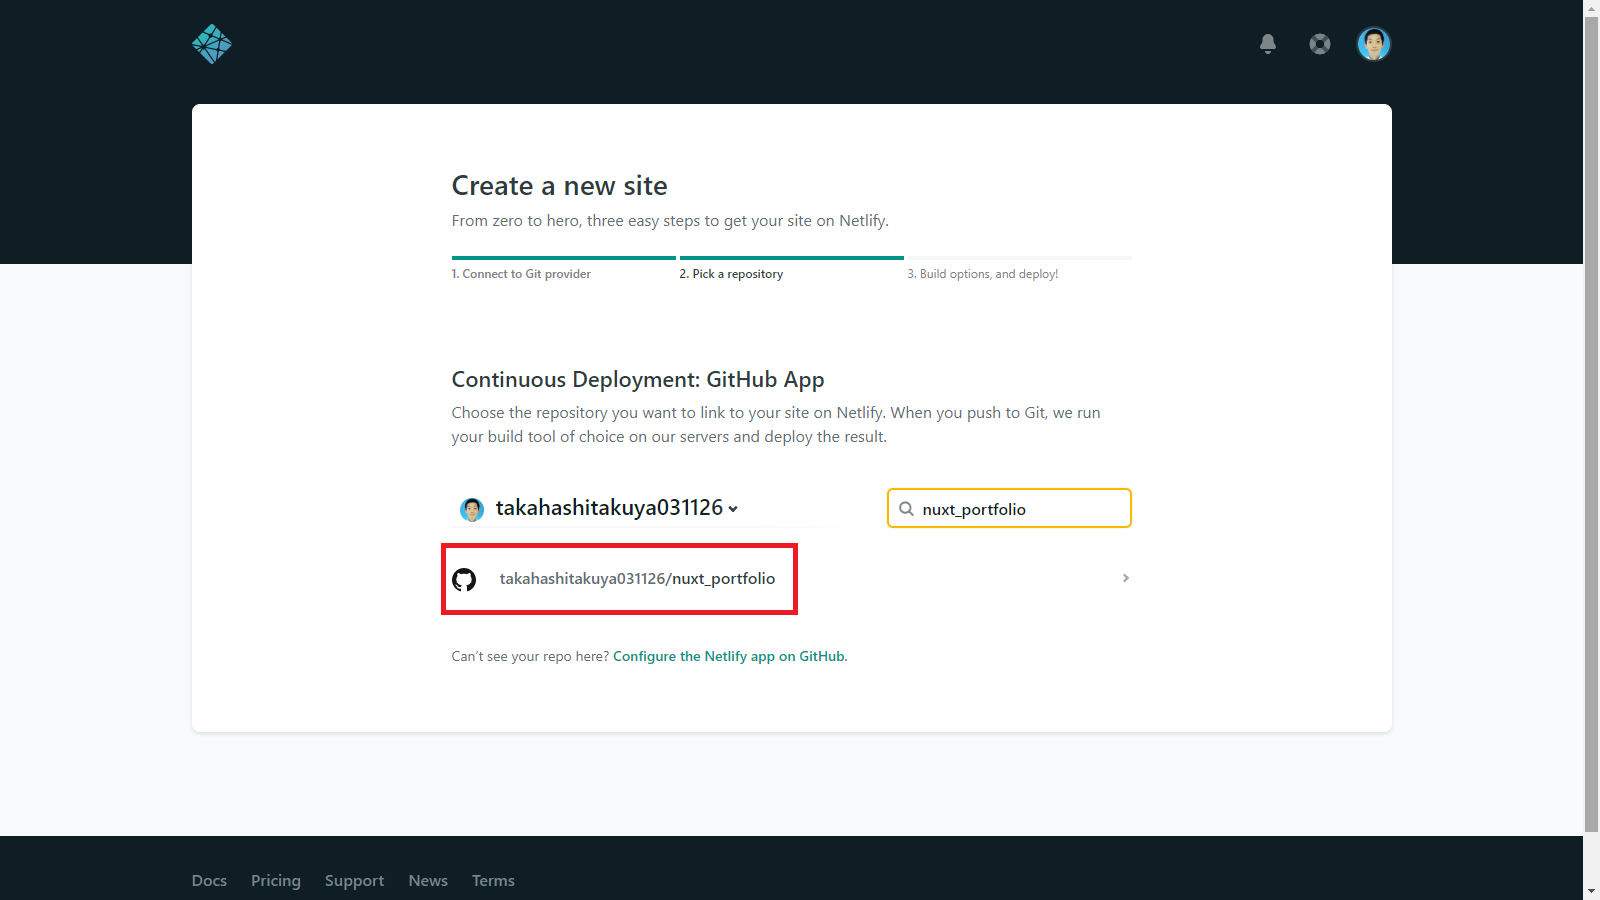
公開したいリポジトリを選択します。
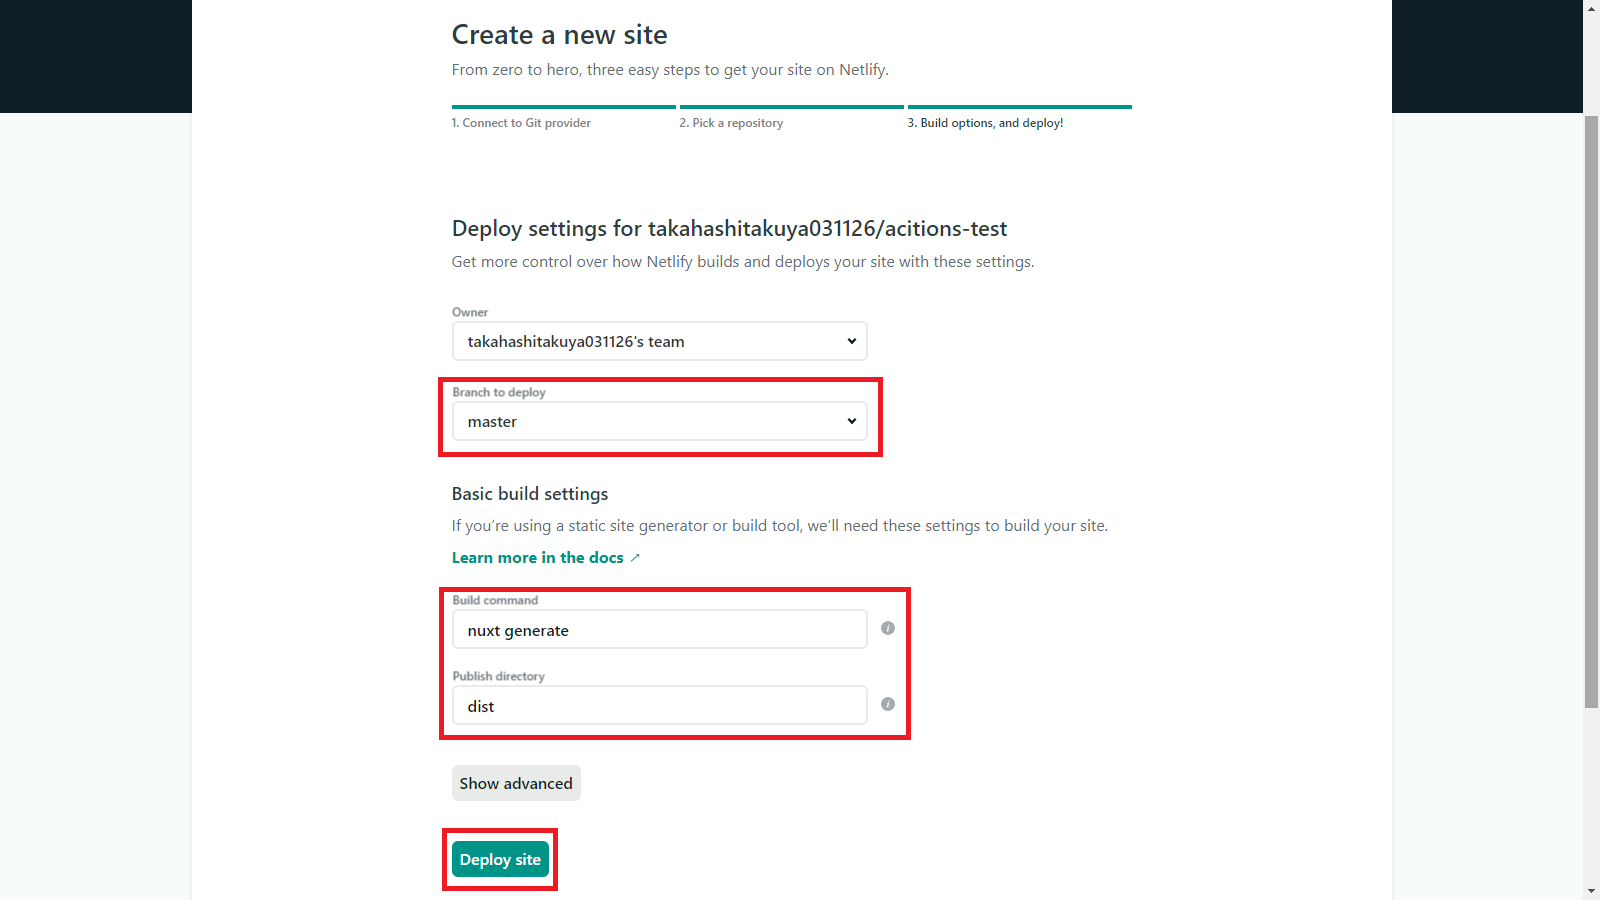
Branch to deploy: master
Build commant: nuxt generate
Publish directory: dist
に設定し、Deploy Siteを選択する。
デプロイが完了するとURLが表示されるので、選択します。
これでポートフォリオサイトを公開することができました。


