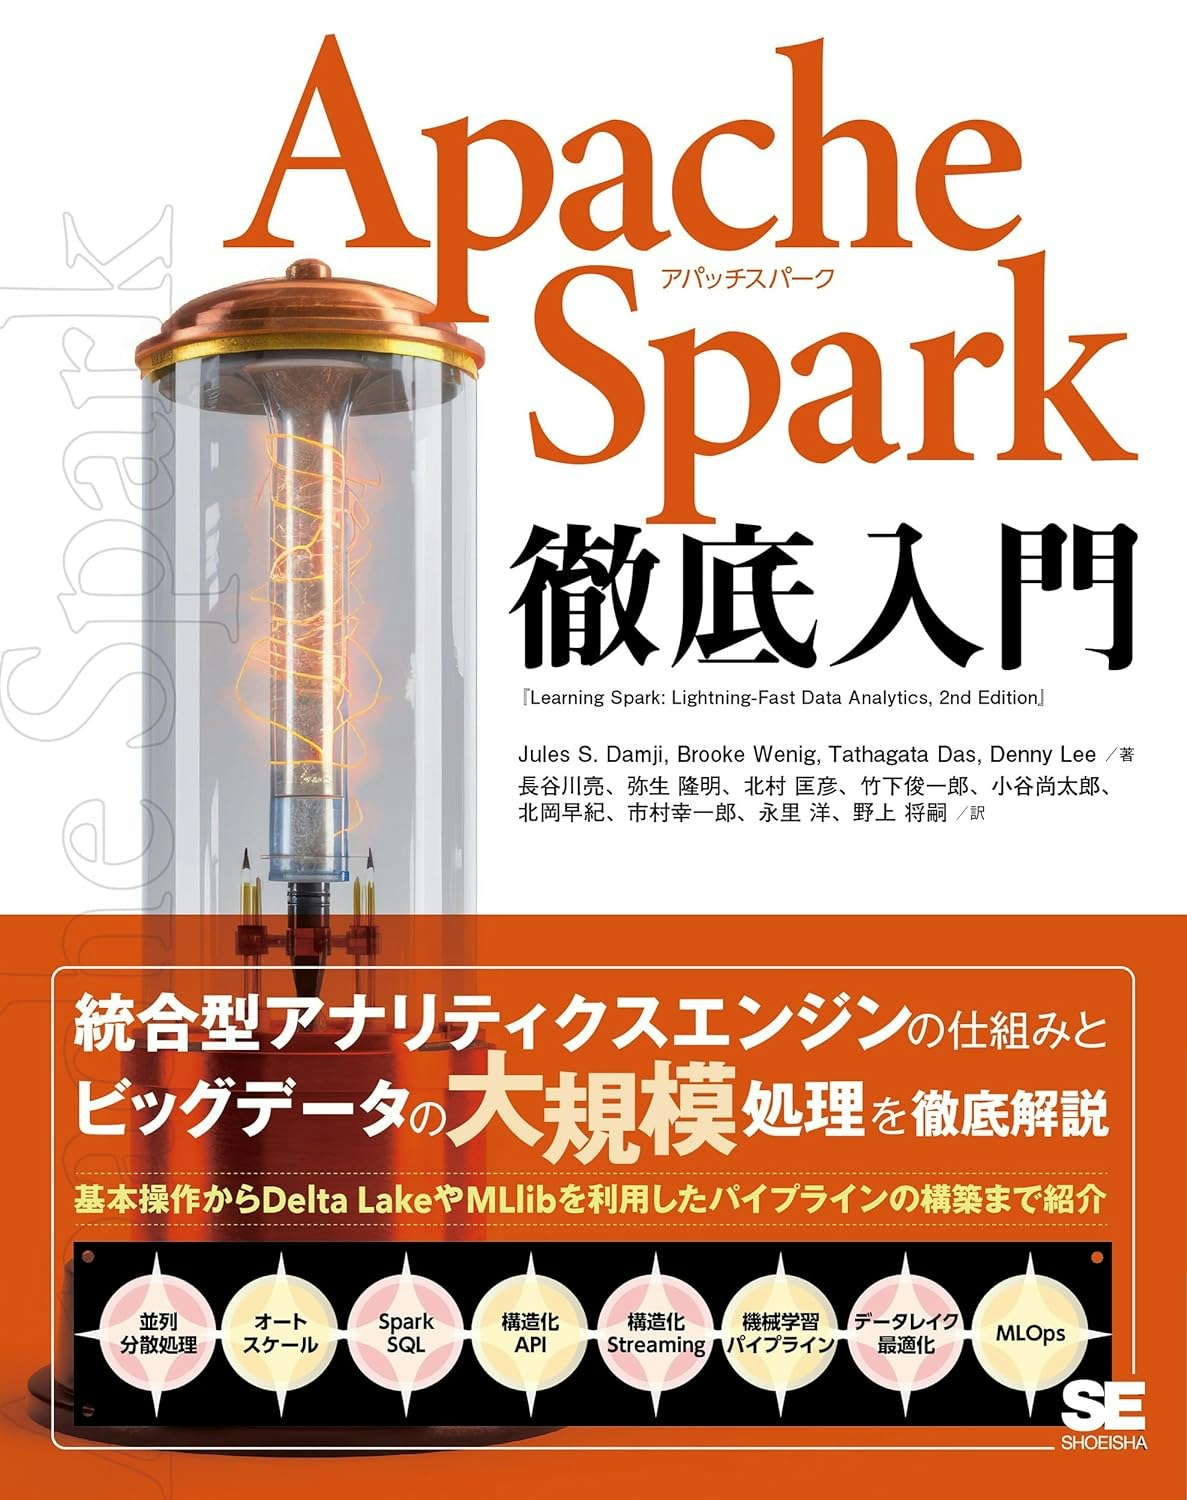
2024/4/12に翔泳社よりApache Spark徹底入門を出版します!
書籍のサンプルノートブックをウォークスルーしていきます。Python/Chapter11/11-3 Distributed Inferenceと11-4 Distributed IoT Model Trainingの内容となります。
翻訳ノートブックのリポジトリはこちら。
ノートブックはこちら
mapInPandasによる分散推論
sklearnモデルをトレーニングして、MLflowで記録します。
import mlflow.sklearn
import pandas as pd
from sklearn.ensemble import RandomForestRegressor
from sklearn.metrics import mean_squared_error, mean_absolute_error, r2_score
from sklearn.model_selection import train_test_split

with mlflow.start_run(run_name="sklearn-rf-model") as run:
  # データのインポート
  spark_df = spark.read.csv("dbfs:/databricks-datasets/learning-spark-v2/sf-airbnb/sf-airbnb-numeric.csv", header=True, inferSchema=True).drop("zipcode")
  df = spark_df.toPandas()
  X_train, X_test, y_train, y_test = train_test_split(df.drop(["price"], axis=1), df[["price"]].values.ravel(), random_state=42)

  # モデルの作成、トレーニング、予測の生成
  rf = RandomForestRegressor(n_estimators=100, max_depth=10)
  rf.fit(X_train, y_train)
  predictions = rf.predict(X_test)

  # モデルの記録
  mlflow.sklearn.log_model(rf, "random-forest-model")

  # パラメーターの記録
  mlflow.log_param("n_estimators", 100)
  mlflow.log_param("max_depth", 10)

  # メトリクスの記録
  mlflow.log_metric("mse", mean_squared_error(y_test, predictions))
  mlflow.log_metric("mae", mean_absolute_error(y_test, predictions))
  mlflow.log_metric("r2", r2_score(y_test, predictions))
Sparkデータフレームを作成し、Sparkデータフレームにモデルを適用します。
sparkDF = spark.createDataFrame(X_train)
mapInPandasを用いて並列にモデルを適用します。
def predict(iterator):
  model_path = f"runs:/{run.info.run_uuid}/random-forest-model" # モデルのロード
  model = mlflow.sklearn.load_model(model_path)
  for features in iterator:
    yield pd.concat([features, pd.Series(model.predict(features), name="prediction")], axis=1)

display(sparkDF.mapInPandas(predict, """`host_total_listings_count` DOUBLE,`neighbourhood_cleansed` BIGINT,`latitude` DOUBLE,`longitude` DOUBLE,`property_type` BIGINT,`room_type` BIGINT,`accommodates` DOUBLE,`bathrooms` DOUBLE,`bedrooms` DOUBLE,`beds` DOUBLE,`bed_type` BIGINT,`minimum_nights` DOUBLE,`number_of_reviews` DOUBLE,`review_scores_rating` DOUBLE,`review_scores_accuracy` DOUBLE,`review_scores_cleanliness` DOUBLE,`review_scores_checkin` DOUBLE,`review_scores_communication` DOUBLE,`review_scores_location` DOUBLE,`review_scores_value` DOUBLE, prediction double"""))
Pandas Function APIによるIoTモデルの分散トレーニング
このノートブックでは、pandas function APIでどのようにシングルノードの機械学習ソリューションをスケールさせるのかをデモンストレーションします。
以下のダミーデータを作成します:
-
device_id: 10台の異なるデバイス -
record_id: 10kのユニークなレコード -
feature_1: モデルトレーニングの特徴量 -
feature_2: モデルトレーニングの特徴量 -
feature_3: モデルトレーニングの特徴量 -
label: 予測しようとする変数
import pyspark.sql.functions as f

df = (spark.range(1000*1000)
  .select(f.col("id").alias("record_id"), (f.col("id")%10).alias("device_id"))
  .withColumn("feature_1", f.rand() * 1)
  .withColumn("feature_2", f.rand() * 2)
  .withColumn("feature_3", f.rand() * 3)
  .withColumn("label", (f.col("feature_1") + f.col("feature_2") + f.col("feature_3")) + f.rand())
)

display(df)
戻り値のスキーマを定義します。
import pyspark.sql.types as t

trainReturnSchema = t.StructType([
  t.StructField("device_id", t.IntegerType()), # ユニークなデバイスID
  t.StructField("n_used", t.IntegerType()),    # トレーニングで使うレコード数
  t.StructField("model_path", t.StringType()), # 特定のデバイスのモデルへのパス
  t.StructField("mse", t.FloatType())          # モデルパフォーマンスのメトリック
])
特定のデバイスのすべてのデータを受け取り、モデルをトレーニングし、ネストされたランとして保存し、上記のスキーマを持つデータフレームを返却する関数を定義します。
これらのすべてのモデルをトラッキングするためにMLflowを活用します。
import mlflow
import mlflow.sklearn
import pandas as pd
from sklearn.ensemble import RandomForestRegressor
from sklearn.metrics import mean_squared_error

def train_model(df_pandas: pd.DataFrame) -> pd.DataFrame:
  """
  グルーピングされたインスタンスでsklearnモデルをトレーニング
  """
  # メタデータの取得
  device_id = df_pandas["device_id"].iloc[0]
  n_used = df_pandas.shape[0]
  run_id = df_pandas["run_id"].iloc[0] # ネストされたランを行うためのランIDの取得

  # モデルのトレーニング
  X = df_pandas[["feature_1", "feature_2", "feature_3"]]
  y = df_pandas["label"]
  rf = RandomForestRegressor()
  rf.fit(X, y)

  # モデルの評価
  predictions = rf.predict(X)
  mse = mean_squared_error(y, predictions) # トレーニング/テストスプリットを追加できることに注意してください

  # トップレベルトレーニングの再開
  with mlflow.start_run(run_id=run_id):
    # 特定のデバイスに対するネストされたランの作成
    with mlflow.start_run(run_name=str(device_id), nested=True) as run:
      mlflow.sklearn.log_model(rf, str(device_id))
      mlflow.log_metric("mse", mse)

      artifact_uri = f"runs:/{run.info.run_id}/{device_id}"
      # 上記のスキーマにマッチする戻り値のpandasデータフレームを作成
      returnDF = pd.DataFrame([[device_id, n_used, artifact_uri, mse]],
        columns=["device_id", "n_used", "model_path", "mse"])

  return returnDF
グルーピングされたデータにapplyInPandasを適用します。
with mlflow.start_run(run_name="Training session for all devices") as run:
  run_id = run.info.run_uuid

  modelDirectoriesDF = (df
    .withColumn("run_id", f.lit(run_id)) # run_idを追加
    .groupby("device_id")
    .applyInPandas(train_model, schema=trainReturnSchema)
  )

combinedDF = (df
  .join(modelDirectoriesDF, on="device_id", how="left")
)

display(combinedDF)
モデルを適用するための関数を定義します。これは、デバイスごとにDBFSから一度の読み取りのみを必要とします。
applyReturnSchema = t.StructType([
  t.StructField("record_id", t.IntegerType()),
  t.StructField("prediction", t.FloatType())
])

def apply_model(df_pandas: pd.DataFrame) -> pd.DataFrame:
  """
  pandasデータフレームとして表現される特定のデバイスのデータにモデルを適用
  """
  model_path = df_pandas["model_path"].iloc[0]

  input_columns = ["feature_1", "feature_2", "feature_3"]
  X = df_pandas[input_columns]

  model = mlflow.sklearn.load_model(model_path)
  prediction = model.predict(X)

  returnDF = pd.DataFrame({
    "record_id": df_pandas["record_id"],
    "prediction": prediction
  })
  return returnDF

predictionDF = combinedDF.groupby("device_id").applyInPandas(apply_model, schema=applyReturnSchema)
display(predictionDF)


