こちらのノートブックをウォークスルーします。
このノートブックでは、Hugging Faceのtransformers MLflowフレーバーを用いてサービングエンドポイントにモデルをどのようにデプロイするのかを説明します。このサンプルでは、GPUエンドポイントにGPT-2モデルをデプロイしていますが、ここで説明するワークフローは他のタイプのモデルや、CPUエンドポイントやGPUエンドポイントに適用できます。
ライブラリのインストール、インポート
!pip install --upgrade mlflow
!pip install --upgrade transformers
!pip install --upgrade accelerate
dbutils.library.restartPython()
import pandas as pd
import requests
import json
from transformers import pipeline
import mlflow
from mlflow.models import infer_signature
from mlflow.transformers import generate_signature_output
from mlflow.tracking import MlflowClient
モデルの初期化、設定
人気のMLフレームワークを用いてモデルを定義、設定します。
text_generation_pipeline = pipeline(task='text-generation', model='gpt2', pad_token_id = 50256, device_map= "auto")
MLflowによるモデルのロギング
以下のコードでは、MLflowのHugging Face transformersフレーバーを用いてモデルをロギングする前に、推論時にモデルに渡す推論パラメーターとモデルのスキーマを定義しています。
inference_config = {"max_new_tokens": 100, "temperature": 1}


input_example = pd.DataFrame(["Hello, I'm a language model,"])
output = generate_signature_output(text_generation_pipeline, input_example)
signature = infer_signature(input_example, output, params=inference_config)


with mlflow.start_run():
    model_info = mlflow.transformers.log_model(
        transformers_model = text_generation_pipeline,
        artifact_path = "my_sentence_generator",
        inference_config = inference_config,
        input_example = input_example,
        signature = signature,
        registered_model_name = "gpt2",
    )
ノートブックでモデルをテスト
以下のコマンドではモデルをロードしているので、指定したパラメータで推論を生成することができます。
# モデルのロード
my_sentence_generator = mlflow.pyfunc.load_model(model_info.model_uri)


my_sentence_generator.predict(
    pd.DataFrame(["Hello, I'm a language model,"]),
    params={"max_new_tokens": 20, "temperature": 1},
)
['Hello, I'm a language model, though I would never call any other language model an object model."\n\nWhat about other language classes']
モデルサービングエンドポイントの設定と作成
以下の変数では、エンドポイント名、コンピュートタイプ、エンドポイントでサービングするモデルのようなモデルサービングエンドポイントの設定を行っています。create endpoint APIを呼び出した後でロギングされたモデルがエンドポイントにデプロイされます。
# MLflowエンドポイント名の設定
endpoint_name = "gpt2"

# 登録MLflowモデルの名前
model_name = "gpt2"

# MLflowモデルの最新バージョン
model_version = MlflowClient().get_registered_model(model_name).latest_versions[0].version

# コンピュートタイプの指定 (CPU, GPU_SMALL, GPU_MEDIUM, etc.)
workload_type = "GPU_MEDIUM"

# コンピュートのスケールアウトサイズの指定 (Small, Medium, Large, etc.)
workload_size = "Small"

# ゼロにスケールを指定 (CPUエンドポイントでのみサポート)
scale_to_zero = False

# 現在のノートブックのコンテキストのAPIエンドポイントとトークンの取得
API_ROOT = dbutils.notebook.entry_point.getDbutils().notebook().getContext().apiUrl().get()
API_TOKEN = dbutils.notebook.entry_point.getDbutils().notebook().getContext().apiToken().get()
# サービングエンドポイントを作成するためにPOSTリクエストを送信

data = {
    "name": endpoint_name,
    "config": {
        "served_models": [
            {
                "model_name": model_name,
                "model_version": model_version,
                "workload_size": workload_size,
                "scale_to_zero_enabled": scale_to_zero,
                "workload_type": workload_type,
            }
        ]
    },
}

headers = {"Context-Type": "text/json", "Authorization": f"Bearer {API_TOKEN}"}

response = requests.post(
    url=f"{API_ROOT}/api/2.0/serving-endpoints", json=data, headers=headers
)

print(json.dumps(response.json(), indent=4))
エンドポイントの確認
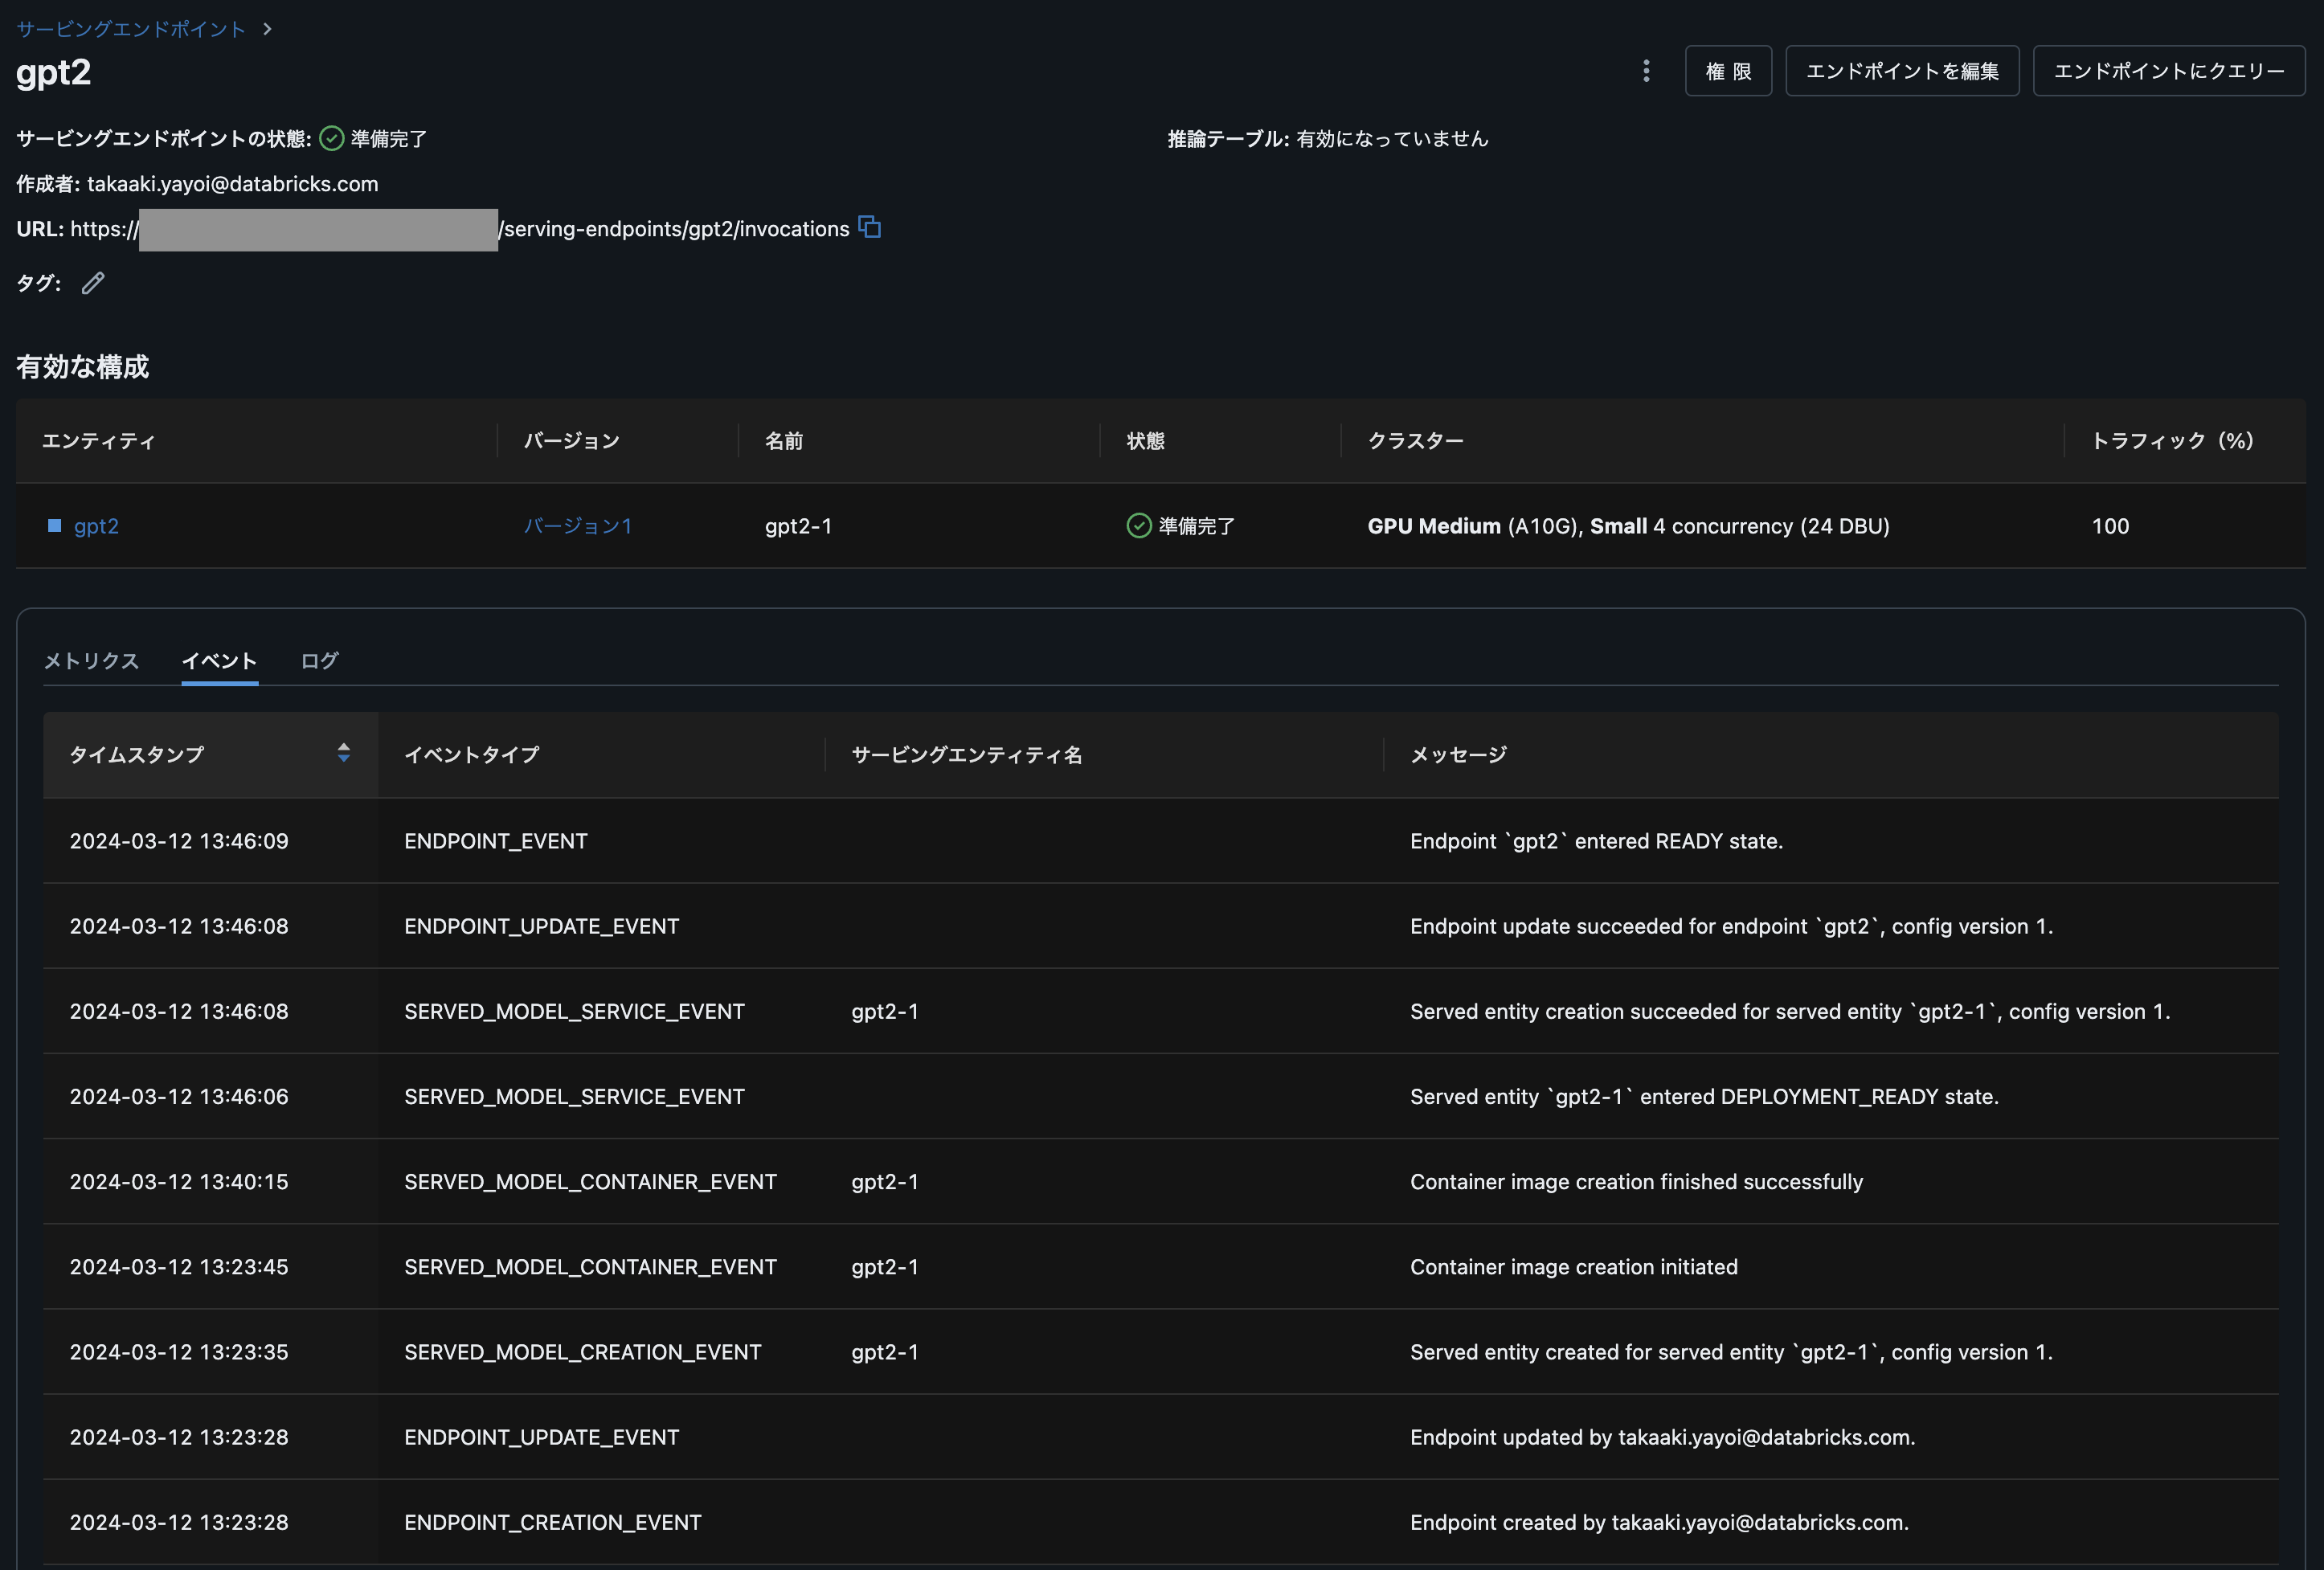
エンドポイントの詳細を確認するには、Serving UIに移動しエンドポイント名で検索します。
30分くらい待ちますが、GPUモデルサービングエンドポイントが立ち上がりました!

エンドポイントへのクエリー
エンドポイントがreadyになったら、APIリクエストを通じてクエリーを行うことができます。モデルのサイズと複雑性に応じて、エンドポイントがreadyになるまえでには30分以上を要します。
# サービングエンドポイントへのクエリー

data = {
  "inputs" : ["Hello, I'm a language model,"],
  "params" : {"max_new_tokens": 100, "temperature": 1}
}

headers = {"Context-Type": "text/json", "Authorization": f"Bearer {API_TOKEN}"}

response = requests.post(
    url=f"{API_ROOT}/serving-endpoints/{endpoint_name}/invocations", json=data, headers=headers
)

print(json.dumps(response.json()))
{"predictions": ["Hello, I'm a language model, and languages are very different things. A lot of them have a lot of features and they have a way of representing things, and a lot of features that we could just have added in between when you're starting out, just by adding more features here.\n\nWhen we started moving to the new UI platform, this was a major milestone. We were doing something with UI like this. So it becomes a big step forward, not just in UI, but so much in the design of UI like"]}
これで簡単にGUIなどと組み合わせることができます!