ちょっと必要があり、全くの初心者がBLEのプログラムを書けるようにするためのメモを作りました。
最終的に作りたいものは、scanしてその辺にあるデバイスの数と電波強度を測るものです。
計測後の処理はPC側でやることにします。
最小限の作業でとりあえず動くまでを目標にします。見た目とかは後回し。
準備
Xcodeをインストールする。
何か初心者向けの参考書とか見て、プログラムの作り方とか、iPhoneでの動かし方を確認しておく。
Appleのサンプルコードを動かしてみる
1から書くのではなく、Appleのサンプルコードを改造するのが楽。以下からダウンロードして適当な場所に解凍する。
Transferring Data Between Bluetooth Low Energy Devices
https://developer.apple.com/documentation/corebluetooth/transferring_data_between_bluetooth_low_energy_devices
ちなみにサンプルはSwiftで書いてあるので、UIをSwiftUIにしようと思ったら、少し修正が必要。まあ、UIが問題になるようなアプリではないのでどうでもいいけど、全くの初心者がSwiftUIしか知らないとなんか引っかかるかもしれない。
そのまま動かしてみる
CoreBluetoothLESample.xcodeproj をダブルクリックして開く。エラーなしでビルドできる。
iPhoneで動かしてみる。2台で動かす必要があるので、一旦止めてから、別のiPhoneにも入れる。
起動すると画面には「Central Mode」と「Peripheral Mode」が表示されるので、1台をCentral Mode、もう1台をPeripheral Modeにして動かす。BLEの許可画面が出たらOKを押す。
Peripheralの方には、初期値のテキスト「Here is a …」とAdvertisingのスイッチがある。このスイッチをオンにすると、Centralの方にテキストが転送されて画面表示される。
テキストは自分でも編集できる。ただし、一度テキストを転送してしまうと、Central側はBackで最初の画面に戻って、もう一度Central Modeで入り直さないと次の転送を読みにはいかない。Peripheral側は、Advertisingのスイッチをオフにして、もう一度オンにすればAdvertisingするようになっている。
改造する
PeripheralがAdvertisingを送る方、Centralが受信する方なので、Central側の処理をベースに修正する。
最初に、現状のCentral側の現状の処理を確認する。
Xcodeの左のNavigaterウィンドウで、ソースファイルを確認する。
CentralViewController.swift というのがCentral側の処理のソースファイルなので、これを選択すると、ソースファイルが表示される。
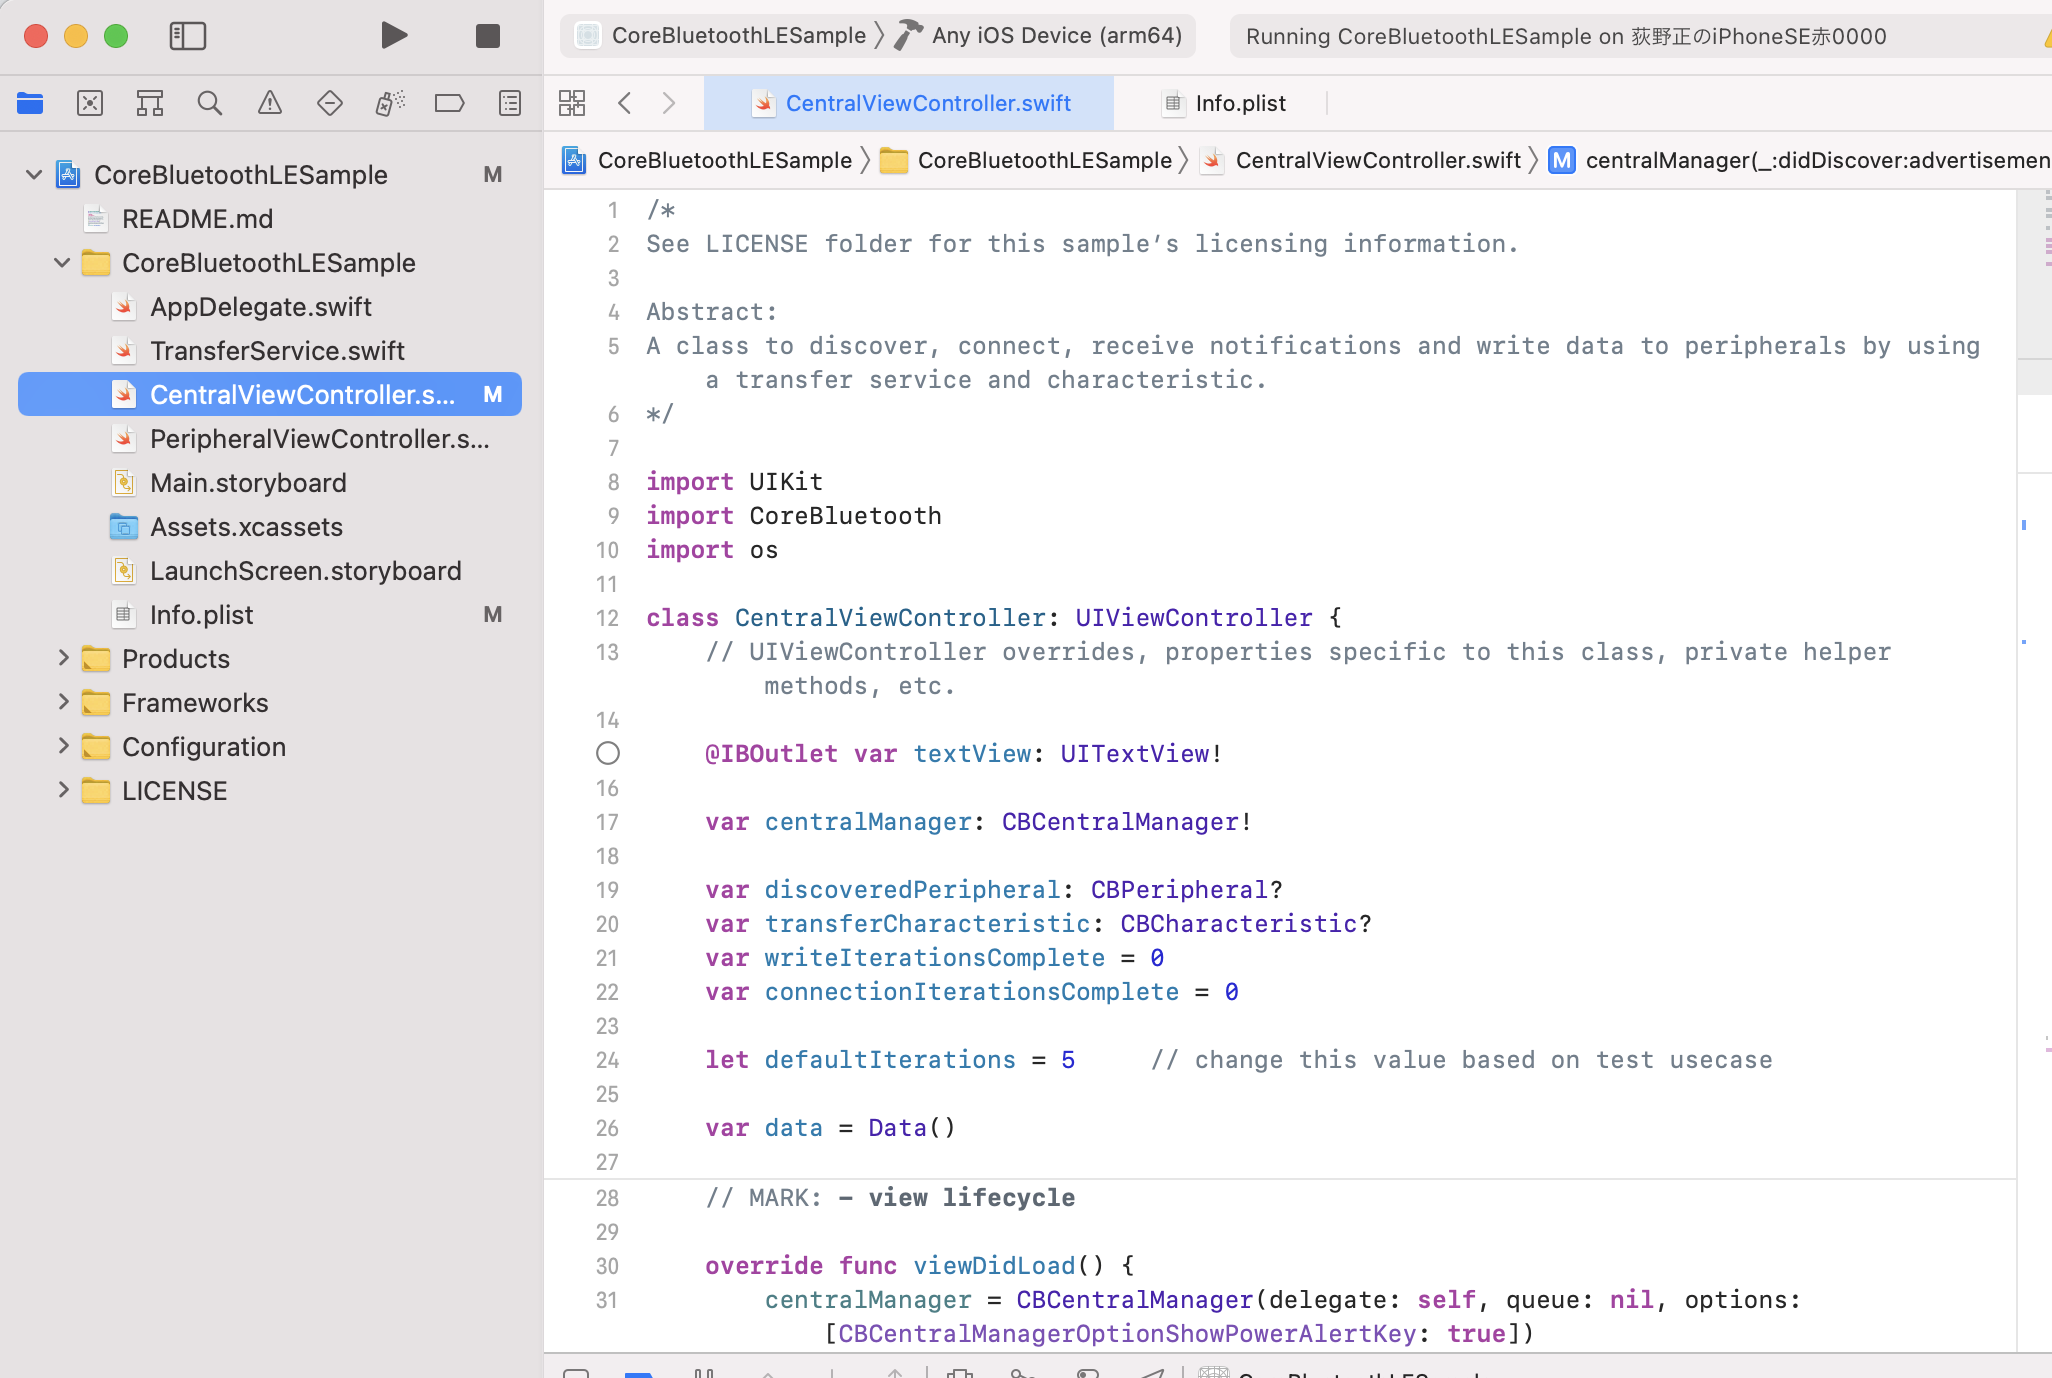
48行目付近を見る。
    /*
     * We will first check if we are already connected to our counterpart
     * Otherwise, scan for peripherals - specifically for our service's 128bit CBUUID
     */
    private func retrievePeripheral() {

        let connectedPeripherals: [CBPeripheral] = (centralManager.retrieveConnectedPeripherals(withServices: [TransferService.serviceUUID]))

        os_log("Found connected Peripherals with transfer service: %@", connectedPeripherals)

        if let connectedPeripheral = connectedPeripherals.last {
            os_log("Connecting to peripheral %@", connectedPeripheral)
			      self.discoveredPeripheral = connectedPeripheral
            centralManager.connect(connectedPeripheral, options: nil)
        } else {
            // We were not connected to our counterpart, so start scanning
            centralManager.scanForPeripherals(withServices: [TransferService.serviceUUID],
                                               options: [CBCentralManagerScanOptionAllowDuplicatesKey: true])
        }
    }
・すでに接続したことのあるPeripheralがあったら、そのPeripheralに接続しに行く。
・そうでなければ、scanForPeripherals で探しに行く。
というようなロジックになっている。
今回は「すべてのPeripheralを探しに行く(scanする)。」という感じに修正する必要がある。
scanForPeripherals を呼ぶと、Peripheralを探す処理がスタートする。
Peripheralが見つかった時にdidDiscover peripheral という処理が呼ばれるので、その中身を確認する。
182行目付近
    /*
     *  This callback comes whenever a peripheral that is advertising the transfer serviceUUID is discovered.
     *  We check the RSSI, to make sure it's close enough that we're interested in it, and if it is,
     *  we start the connection process
     */
    func centralManager(_ central: CBCentralManager, didDiscover peripheral: CBPeripheral,
                        advertisementData: [String: Any], rssi RSSI: NSNumber) {

        // Reject if the signal strength is too low to attempt data transfer.
        // Change the minimum RSSI value depending on your app’s use case.
        guard RSSI.intValue >= -50
            else {
                os_log("Discovered perhiperal not in expected range, at %d", RSSI.intValue)
                return
        }

        os_log("Discovered %s at %d", String(describing: peripheral.name), RSSI.intValue)

        // Device is in range - have we already seen it?
        if discoveredPeripheral != peripheral {

            // Save a local copy of the peripheral, so CoreBluetooth doesn't get rid of it.
            discoveredPeripheral = peripheral

            // And finally, connect to the peripheral.
            os_log("Connecting to perhiperal %@", peripheral)
            centralManager.connect(peripheral, options: nil)
        }
    }
・電波強度を見て、弱かったら処理を中断
・強かったら、connectに行く。(最後に connect を呼んでいる。)
という感じになっている。
修正方針
今回は
・電波強度を調べる(弱くても処理は中断しない)。
・connectはしない。(connect すると、より詳しい情報が得られるが、それは後で追加でやることにして、最初はconnectしないことにする。)
という修正をする。
本当は、見つかったデバイスの電力強度をiPhoneの画面に表示する必要があるが、それは後からやることにして、とりあえず Xcode のコンソールに表示することにする。
retrievePeripheral() の修正
何も考えずに、以下だけ実行するようにする。optionsで処理を変えられるが、取り敢えず nil にしておく。
self.centralManager.scanForPeripherals(withServices: nil, options: nil)
修正後。(元のコードは消さずにコメントアウトで残してある。)
    private func retrievePeripheral() {
        self.centralManager.scanForPeripherals(withServices: nil, options: nil)
        /*
        let connectedPeripherals: [CBPeripheral] = (centralManager.retrieveConnectedPeripherals(withServices: [TransferService.serviceUUID]))

        os_log("Found connected Peripherals with transfer service: %@", connectedPeripherals)

        if let connectedPeripheral = connectedPeripherals.last {
            os_log("Connecting to peripheral %@", connectedPeripheral)
			self.discoveredPeripheral = connectedPeripheral
            centralManager.connect(connectedPeripheral, options: nil)
        } else {
            // We were not connected to our counterpart, so start scanning
            centralManager.scanForPeripherals(withServices: [TransferService.serviceUUID],
                                               options: [CBCentralManagerScanOptionAllowDuplicatesKey: true])
        }
        */
    }
補足
options が nil だと、同じデバイスを数分(3分から5分くらい?)毎に検出できる。
一方、オリジナルのコードのように、nil ではなくて、
options: [CBCentralManagerScanOptionAllowDuplicatesKey: true]
をつけると、毎秒に数回とほとんど待ちがなく検出される。この辺は用途に応じて変えればいい。
didDiscover peripheral の修正
以下だけ実行する。
os_log("Discovered %s at %d", String(describing: peripheral.name), RSSI.intValue)
修正後。
    func centralManager(_ central: CBCentralManager, didDiscover peripheral: CBPeripheral,
                        advertisementData: [String: Any], rssi RSSI: NSNumber) {

        // Reject if the signal strength is too low to attempt data transfer.
        // Change the minimum RSSI value depending on your app’s use case.
        /*
        guard RSSI.intValue >= -50
            else {
                os_log("Discovered perhiperal not in expected range, at %d", RSSI.intValue)
                return
        }
        */

        os_log("Discovered %s at %d", String(describing: peripheral.name), RSSI.intValue)

        // Device is in range - have we already seen it?
        /*
        if discoveredPeripheral != peripheral {

            // Save a local copy of the peripheral, so CoreBluetooth doesn't get rid of it.
            discoveredPeripheral = peripheral

            // And finally, connect to the peripheral.
            os_log("Connecting to perhiperal %@", peripheral)
            centralManager.connect(peripheral, options: nil)
        }
        */
    }
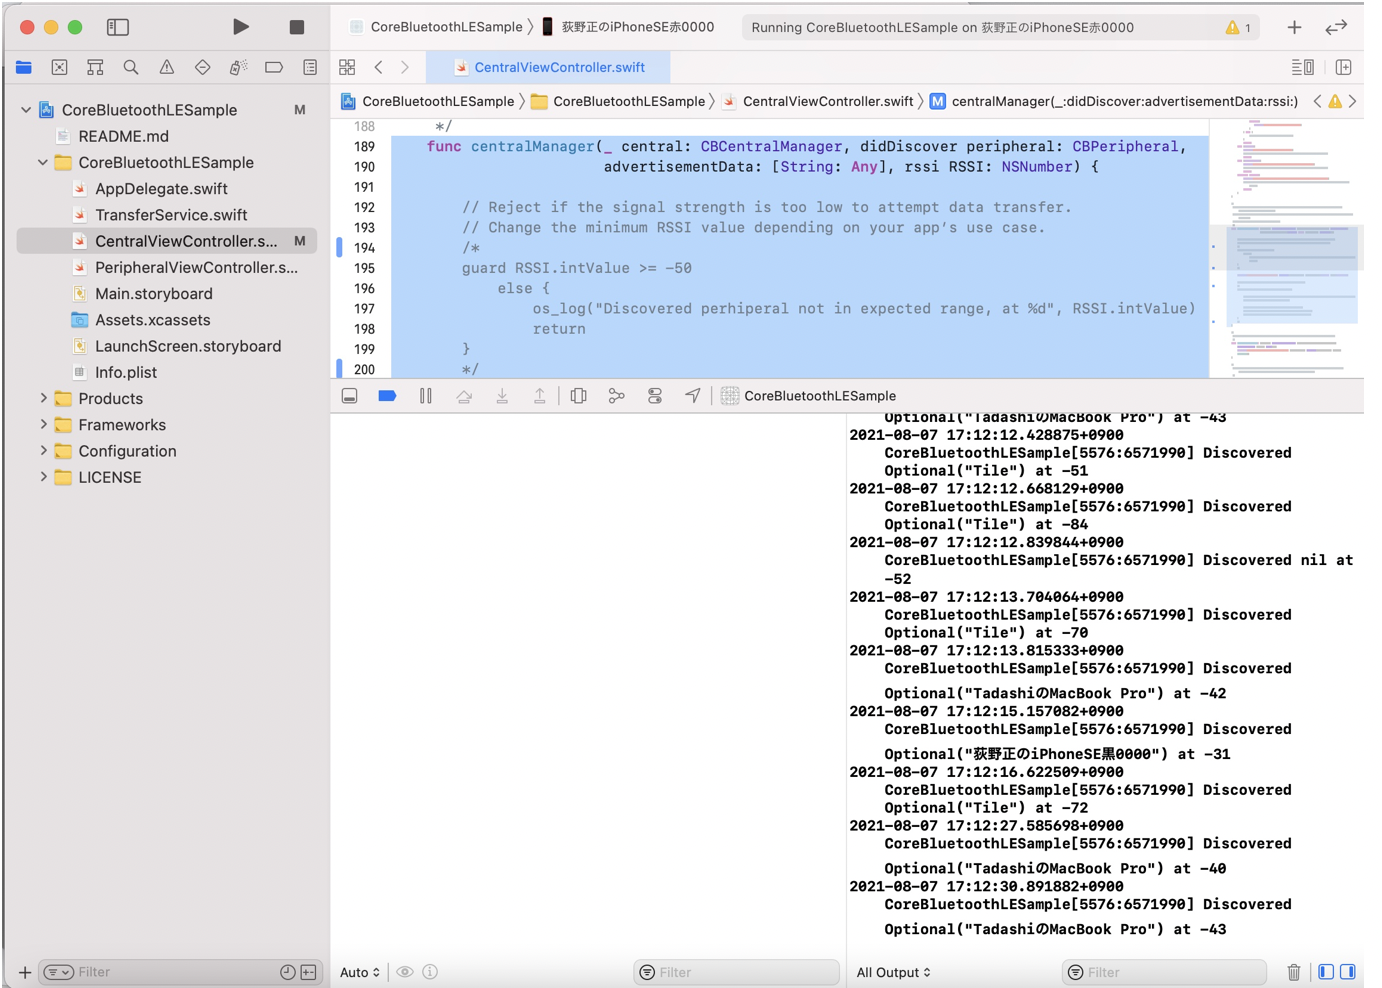
ここまで修正したら、XcodeでiPhoneに接続したまま動かしてみる。最初の画面で Central Mode を押すと、動き出す。コンソールに、scanで見つかったデバイスの名前と電波強度が表示される。
ログ用のファイルに出力する
コンソールに出力していても実機だけだと見られないのと、分析するのが面倒なので、検出結果をファイルに出力するようにする。
ファイルに書き込む関数 writelocal() を作る。ログのファイルがなければ新規に作成し、すでに存在していたら、最後に追記する。
    func writelocal(fname: String, text: String) {
        do {
            let fileManager = FileManager.default
            let docs = try fileManager.url(for: .documentDirectory,
                                           in: .userDomainMask,
                                           appropriateFor: nil, create: false)
            let path = docs.appendingPathComponent(fname)
            let data = text.data(using: .utf8)!

            if fileManager.fileExists(atPath: path.path) {
                let fileHandle = try FileHandle(forWritingTo: path)
                fileHandle.seekToEndOfFile()
                fileHandle.write(data)
                fileHandle.closeFile()
            } else {
                fileManager.createFile(atPath: path.path,
                                   contents: data, attributes: nil)
            }
        } catch {
            print(error)
        }
    }
関数は、どこに作ってもいいけど、とりあえず
extension CentralViewController: CBCentralManagerDelegate {
の中に作っておく。
先程の、didDiscover peripheral の中の os_log の後で呼ぶ。
        os_log("Discovered %s at %d", String(describing: peripheral.name), RSSI.intValue)

        let pname = peripheral.name ?? "unknown"
        let logstr = "Discover \(pname) at \(RSSI.intValue)\n"
        writelocal(fname: "BLElog", text: logstr)
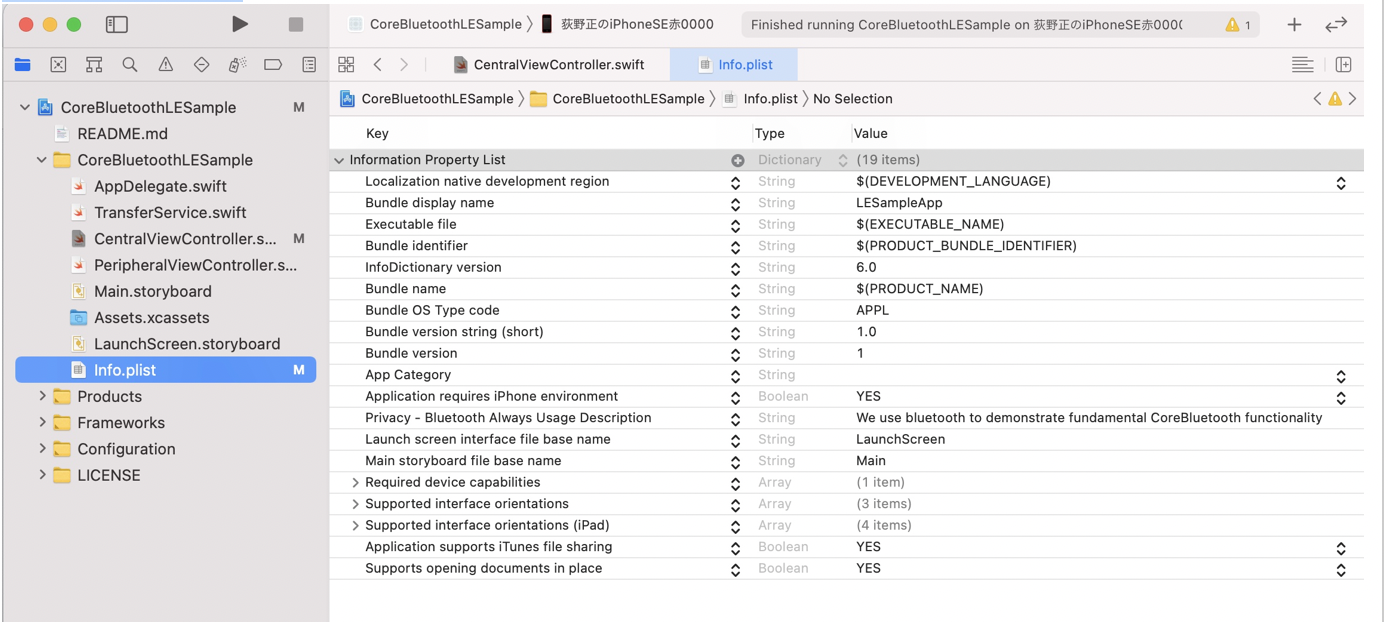
書き込んだファイルは、このままだとプログラムからしか見えないので、iOSのファイルアプリから見えるようにする。
info.plist を開いて、「Application supports iTunes file sharing」と「Supports opening documents in place」を追加し、「YES」にする。(図の一番下の2行)
一度プログラムを実行して、いくつかデバイスが検出されたのを確認してから終了する。
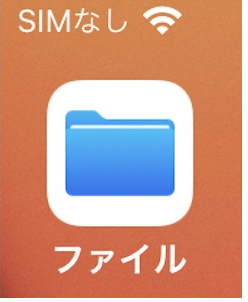
iPhoneでファイルアプリを起動する。
「このiPhone内」を選択
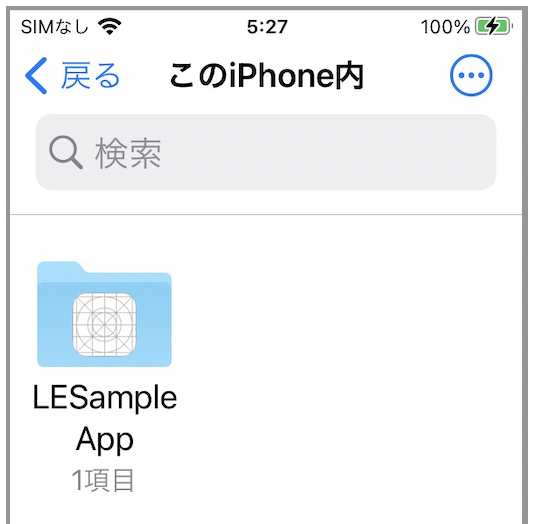
LESample App を選択(名称は後で適当に修正する)
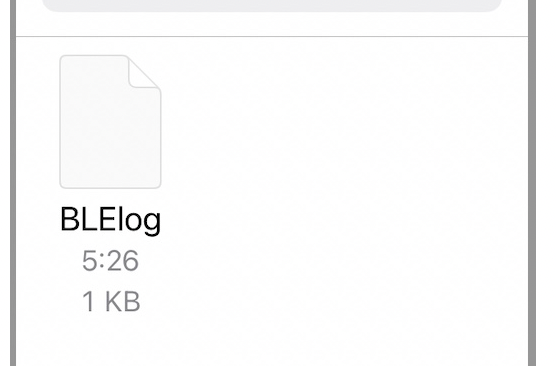
BLElog を選択
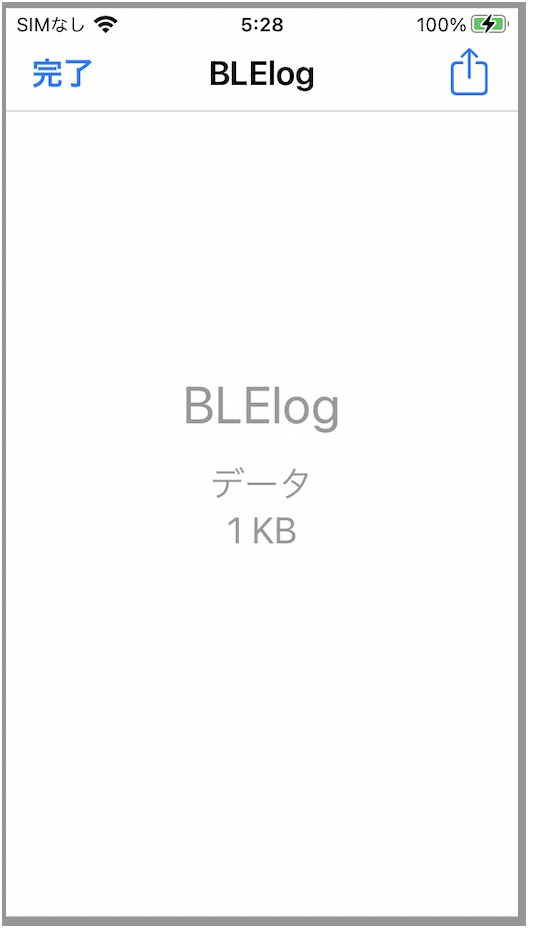
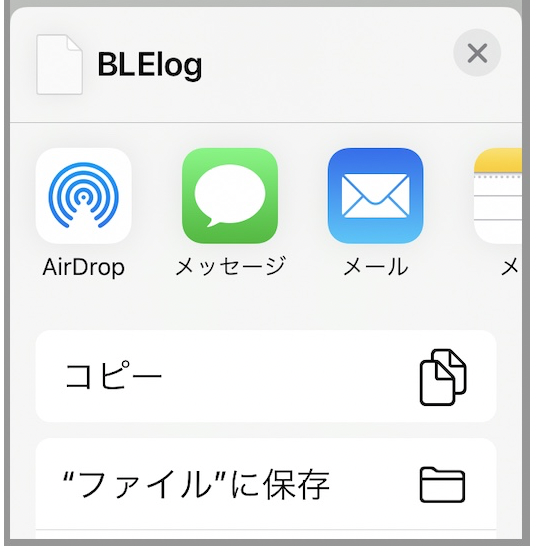
ファイルは直接は見られない。何か設定を変更したら見えるかもしれないけどPCに送るだけなのでOKとする。右上の共有(□に上矢印↑)を選択。
適当な手段でPCに読み込む。
PC側でテキストエディタで見ると、書けているのが分かる。
Discover TadashiのMacBook Pro (2) at -73
Discover unknown at -81
Discover TS8430 series at -65
Discover Tadashi Ogino's iPhone at -35
Discover unknown at -42
ログの見た目の修正
後でPC側で細工をしやすいように以下のようにフォーマットを修正する。
・日時を入れる
・uuidを追加する
・CSV形式にする
writelocal()を修正して、logに日時を入れる。(2行目から6行目を追加、最後の行、変数名を修正。)
    func writelocal(fname: String, text: String) {
        let now = Date() // 現在日時の取得
        let dateFormatter = DateFormatter()
        dateFormatter.locale = Locale(identifier: "ja_JP") // ロケールの設定
        dateFormatter.dateFormat = "yyyy-MM-dd HH:mm:ss.SSS"
        let currenttime = dateFormatter.string(from: now) // -> 2021-01-01 12:34:56.789
        let logtext = "\(currenttime),\(text)"

        do {
            let fileManager = FileManager.default
            let docs = try fileManager.url(for: .documentDirectory,
                                           in: .userDomainMask,
                                           appropriateFor: nil, create: false)
            let path = docs.appendingPathComponent(fname)
            let data = logtext.data(using: .utf8)!
ログへの書き込みをCSV形式にする。(logstrを修正)
        os_log("Discovered %s at %d", String(describing: peripheral.name), RSSI.intValue)

        let pname = peripheral.name ?? "unknown"
        let logstr = "\(peripheral.identifier.uuidString),\(pname),\(RSSI.intValue)\n"
        writelocal(fname: "BLElog", text: logstr)
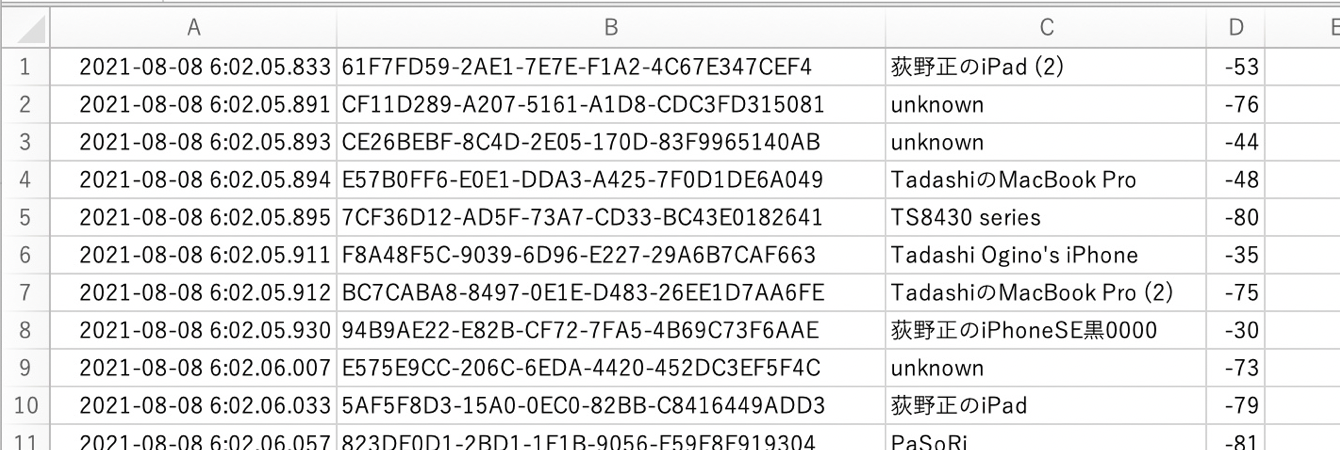
こんな感じで見える。
2021-08-08 06:02:06.190,18429349-2E80-EE48-5B37-B0BF359F31FD,unknown,-42
2021-08-08 06:02:07.076,719F6472-59E2-6249-17CA-C814209DF85E,unknown,-88
2021-08-08 06:02:07.452,9FF39D59-ADE0-66B8-DD69-806C2E8DA5FD,Tile,-64
PC側でExcelでCSVでインポートできる。(文字コードはUTF-8にする。)
日付は、フォーマットを「yyyy-mm-dd h:mm.ss.000」にすると、秒以下も表示される。
少しだけiPhone側の画面の修正
このままだと、ログには書くけど、iPhoneの画面上は何も変わらなくて、ログを見るまで動いているかどうか分からないので、とりあえず表示が変わるようにする。
この辺は、余裕が出来たら修正する。(DispatchQueue の部分を追記)
        os_log("Discovered %s at %d", String(describing: peripheral.name), RSSI.intValue)

        let pname = peripheral.name ?? "unknown"
        let logstr = "\(peripheral.identifier.uuidString),\(pname),\(RSSI.intValue)\n"
        writelocal(fname: "BLElog", text: logstr)

        DispatchQueue.main.async() {
            let now = Date() // 現在日時の取得
            let dateFormatter = DateFormatter()
            dateFormatter.locale = Locale(identifier: "ja_JP") // ロケールの設定
            dateFormatter.dateFormat = "HH:mm:ss.SSS"
            let currenttime = dateFormatter.string(from: now) // -> 12:34:56.789
            let text = "\(currenttime),\(logstr)"
            self.textView.text = text
        }
こんな感じで表示される。
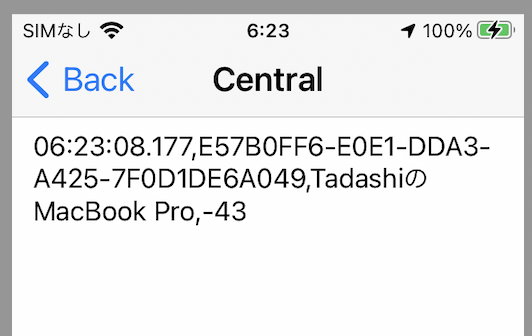
(これだと、ログに書いた時の時刻と、画面に表示した時刻が異なってしまうので、本当は時刻を取ってからログファイルと画面と両方に同じ時刻で書くようにしたほうが良いと思う。)
なお、ログを消す時は、ファイルアプリで削除する。
取り敢えず最低限のことはできるようになった。
名前を変更して
にあげてあります。
追記(2021年9月27日)
scan だけだと、peripheral の name が nil になって、接続されているデバイスが分からず不便だという事が判明。事前に何らかの方法で接続しておくか、他のツールを使って UUID を比較すれば分かることは分かるはずだけど、いろいろ試したところ scan の後、connect して、service や characteristic を検索すると name が分かるようなので、修正して Github に追加。解説は時間がある時に書く予定(^^;)。
追記2(2022年2月2日)
nameがnilになる件は、connect とは直接は関係なさそうでした。connectしなくてもnameが分かる時もあるし、connectしてもnameが分からない時もあります。ただ、connectして何度か通信を繰り返しているうちに途中でnameが分かる場合があり、1度分かるとdisconnectするまではそのnameが保持されるみたいです。要は通信の回数が多い方が分かる確率があがる、ような感じです。本当はパケットを見れば分かるのではないかと思いますが、そこまでやっている時間がないのでやっていません。
また、didDiscoverPeripheralは、非同期で発生する事象で、別スレッドで実行されるので、logへの書き込みは排他で実行する必要があることが分かりました。何日も連続動作させていると、ごくまれにlogがおかしくなる(2つのログが混ざってしまう)ケースがあったのですが、排他にしたら発生しなくなりました。
以上