1. 概要
前回、React Three Fiberにて作成した3DオブジェクトをStorybook上で管理する、環境構築に関する記事を書かせていただきました。
今回は、前回の環境を用い、Post-processingによるエフェクト処理をStorybook上で管理できる様に改修しましたので、ご共有します。
2. 内容
前回時点
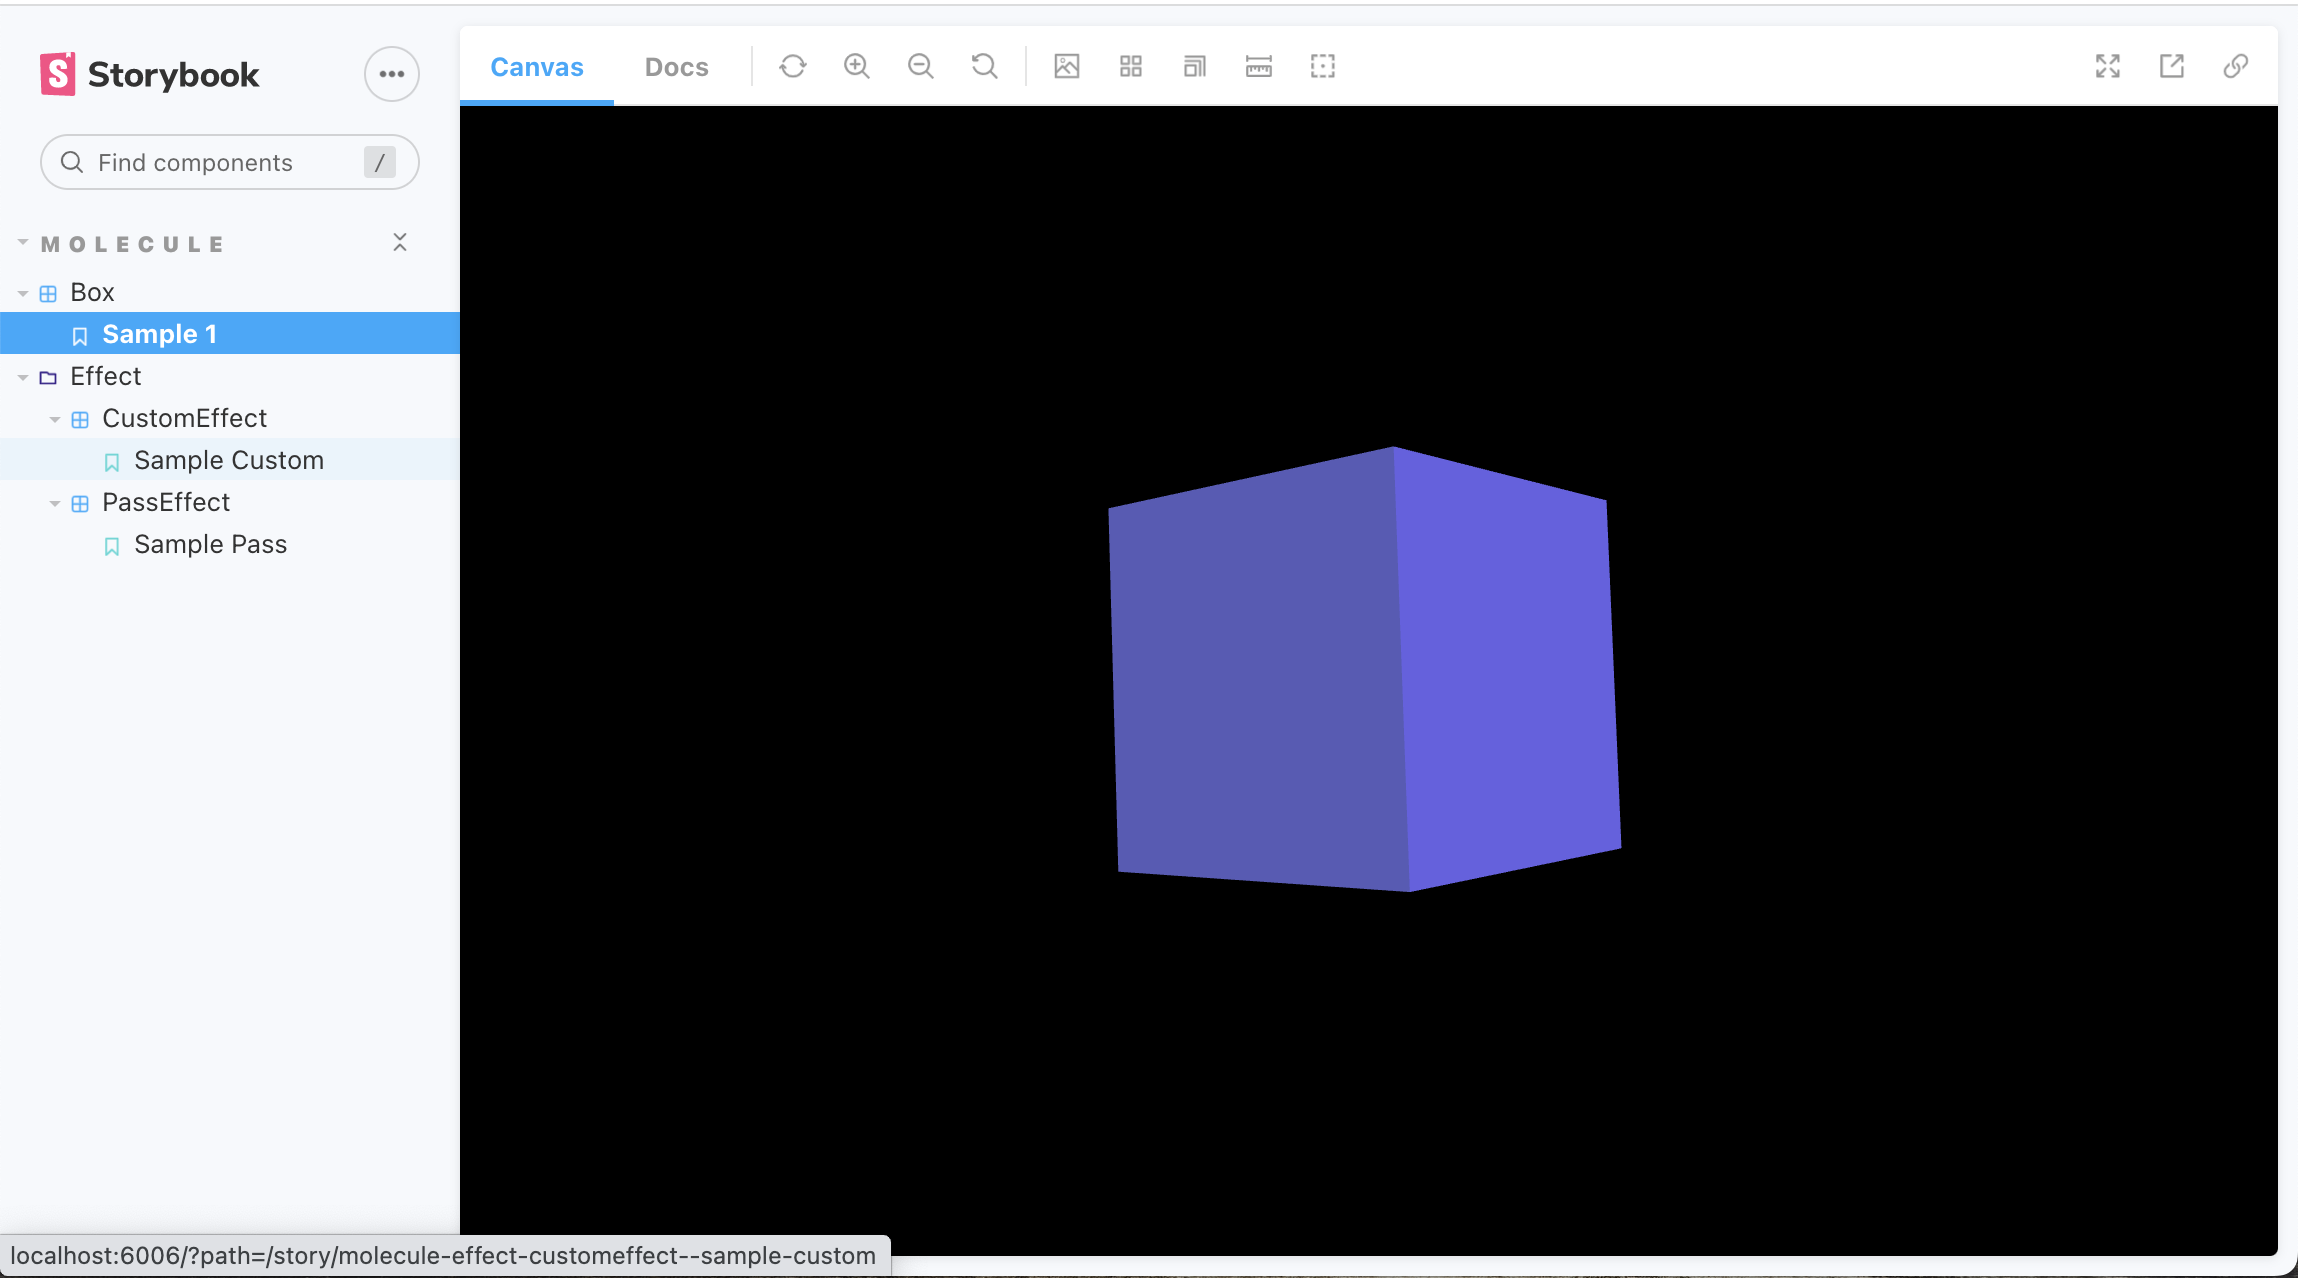
今回はPost-processingにより、下図の様なEffectが掛かる所まで作成しました
React Three Fiberの素晴らしい所は、Post-processingの様なフィルター処理ですらもComponentとして宣言的に扱える事です
これにより、 React上にて、Functional Componentを柔軟に組み合わせることにより、様々なSceneの作成に柔軟に再利用することができます。
参考記事
- 【React Three Fiber】Post-processingにShaderを適用する
- Code Sandboxr3f + postprocessing CustomEffect R&D
- 驚くほど簡単に3Dシーンを構築!React Three Fiberを使ってみた
Storybookを除く、コード部分等は、1,2を参考とさせていただきました。
3. 技術
- レンダリング後のシーン全体にEffectを掛ける処理 =
Post-processingを、引き続きReact Three Fiberを用いて行いました。 - Effect処理を宣言できるComponentを、前回同様
Storybookにてカタログ管理できるようにしました。
コード全体は以下のgithub repositoryにて公開しています
StoryBookとは
Storybookは簡潔には、UIのカタログ作成ツールです。コンポーネントというUIのパーツ単位でデザイン、及び動作確認が可能です。
React Three Fiberとは
javascript上で、webglベースでの3D表現を行えるライブラリのデファクト的存在であるThree.jsに対し、従来の手続き的な書き方でなく、React的な宣言的な記述にて扱える様にしたwrapperライブラリです。
<Canvas>
    <!-- lightの設定 -->
    <ambientLight />
    <!-- レンダリング対象のオブジェクトの設定 -->
    <mesh>
       <boxGeometry />
       <meshStandardMaterial />
    </mesh>
    <!-- Effectの設定 -->
    <EffectComposer>
    </EffectComposer>
</Canvas>
今回は<EffectComposer>によるEffectの追加の話がメインです。
Post-processingとは
映像処理手法の一つであり、「画面に描画する直前に、後掛けのエフェクト(フィルター)を掛ける事」という認識です
詳しくは、Unity Documentation - Post Processingなどが参考になるかもしれません
有名どころとしては、BlurやGlitch等です
上のthumbnail画像の様な処理 (例: Glitch処理)をレンダリング結果に掛ける事を目的としています。
Post-processingの作成に必要なライブラリ
以下のライブラリをinstallする必要があります
1. Three.jsに予め組み込まれたものを使用する場合
$ yarn add @react-three/postprocessing
2. 自分で作成したShader (Custom Shader)を使用する場合
$ yarn add @react-three/postprocessing postprocessing
postprocessing内のEffectクラスを継承して使用する必要があります。
実装
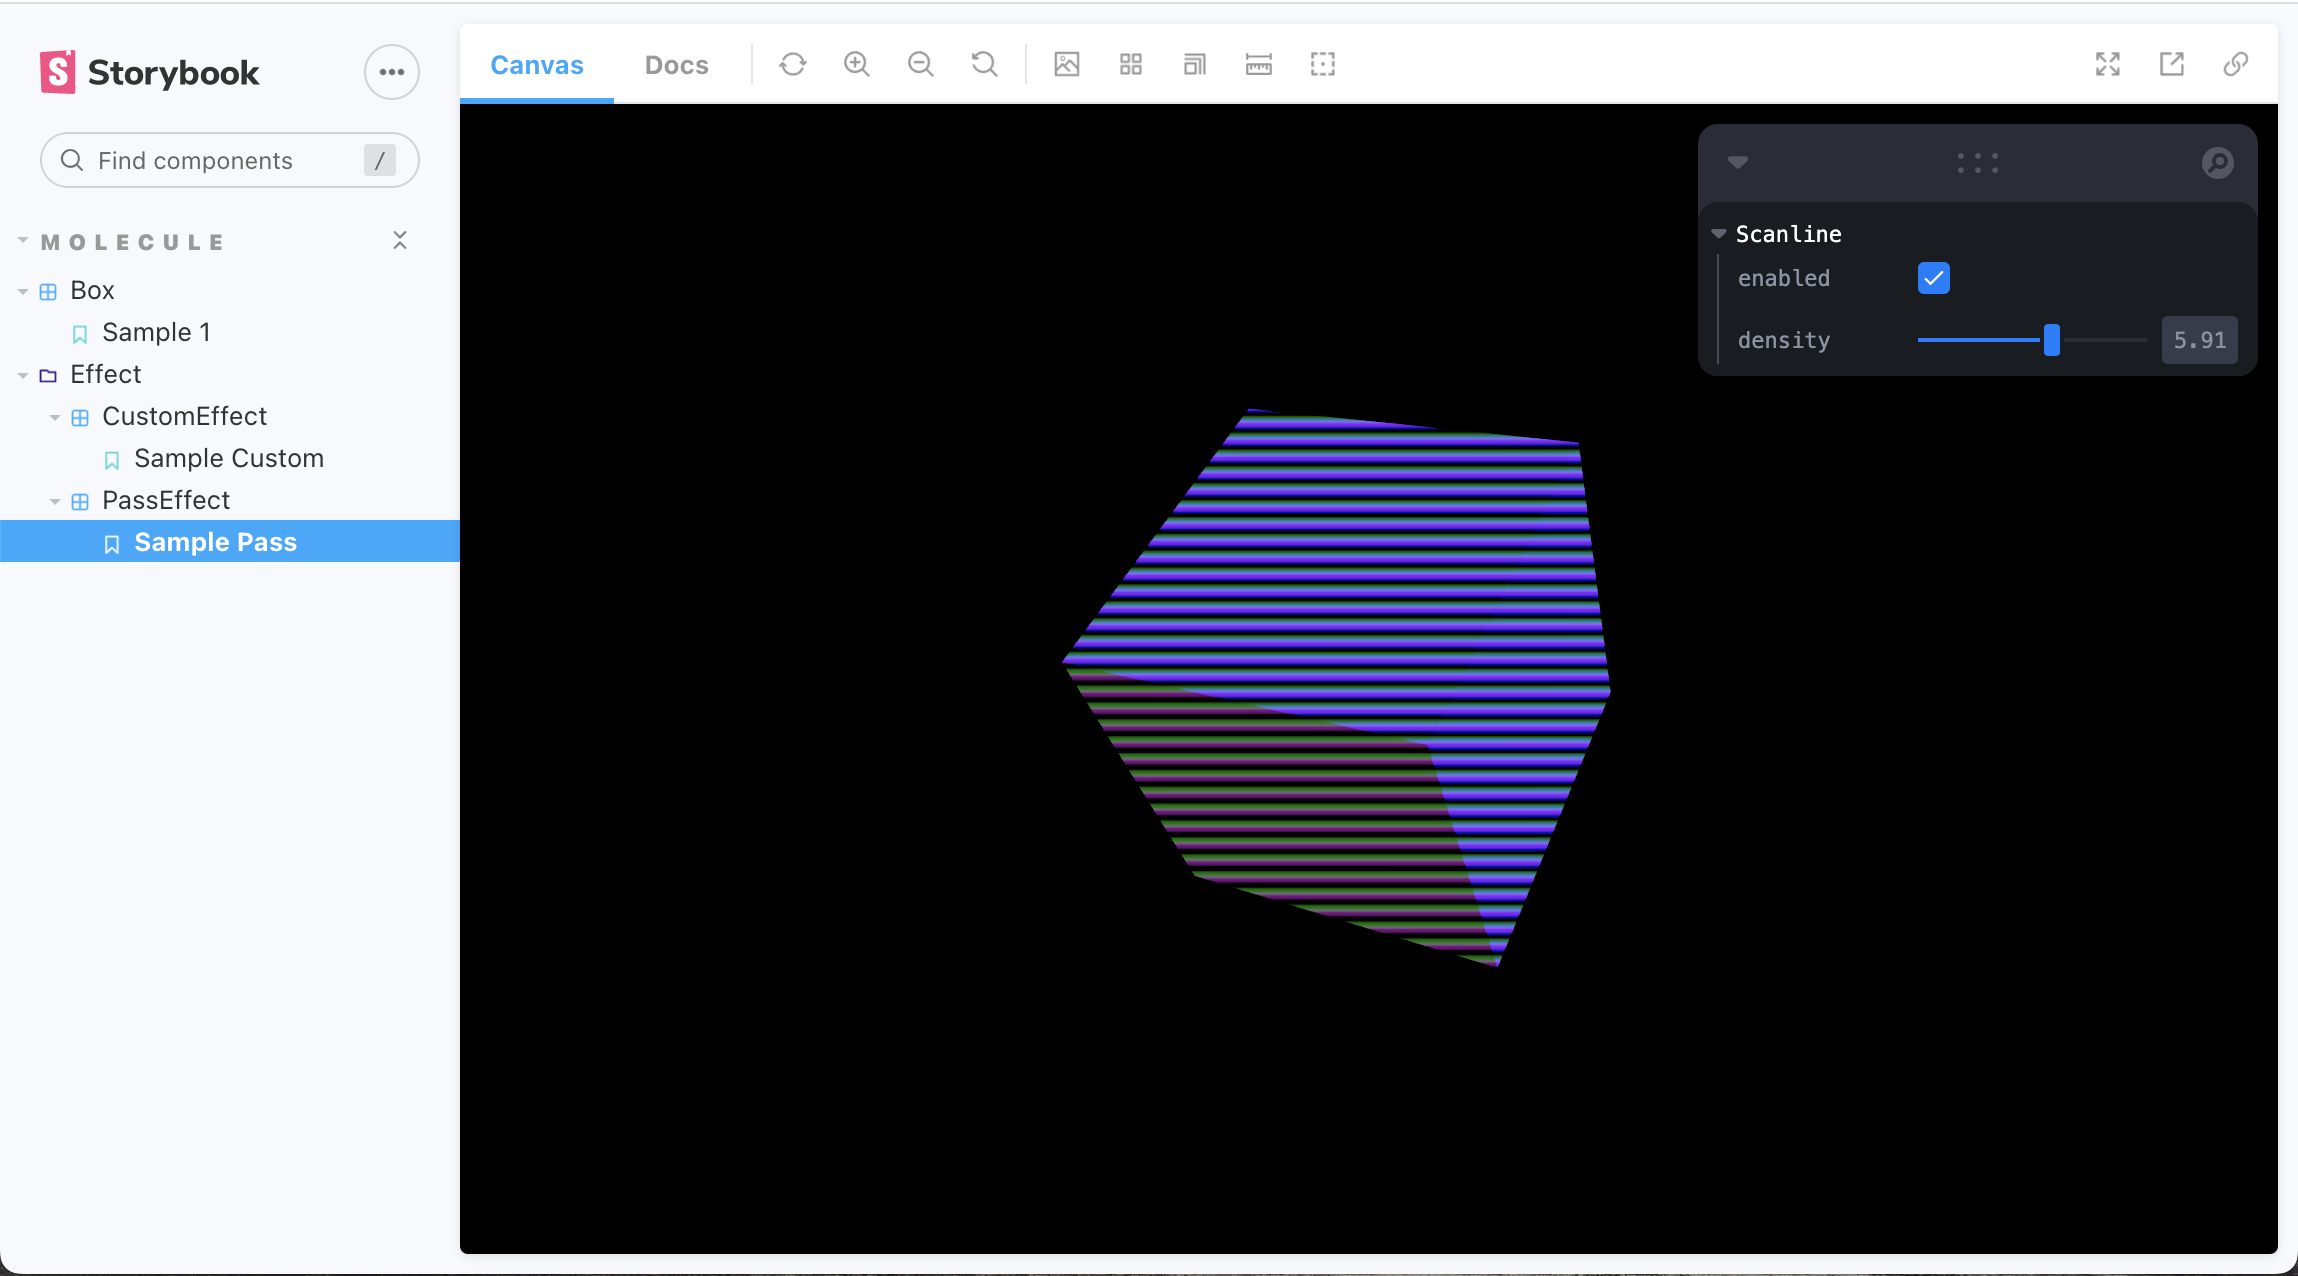
1. Three.jsに組み込まれたShaderを使用する場合
src
  L components/molecules/Effect
                            L PassEffect
                                    L index.tsx
                                    L index.stories.tsx
import { EffectComposer, Scanline } from '@react-three/postprocessing';

type Props = {
  density?: number;
};

const PassEffect: React.FC<Props> = ({ density = 0.1 }) => {
  return (
    <EffectComposer>
      <Scanline density={density} />
    </EffectComposer>
  );
};

export default PassEffect;
@react-three/postprocessingから必要なEffect用のComponentをimportしてEffectComposerのchildrenとして渡してあげるだけでシンプルに実現できます。
const Template: ComponentStory<typeof PassEffect> = () => {
  const datas = useControls('Scanline', {
    enabled: true,
    density: { value: 1.25, min: 0, max: 10, step: 0.01 },
  });

  return (
    <>
      <DemoScene cameraPosition={[2, 2, 2]}>
        <directionalLight color="blue" position={[3, 3, 0]}></directionalLight>
        <Box position={[0, 0, 0]} />
        {datas.enabled ? <PassEffect density={datas.density} /> : <></>}
      </DemoScene>
    </>
  );
};
Storybook側 (*.stories.tsxファイル)からは上記の様に呼び出します。
尚、useControlsはlevaに含まれます。下図右上の様なコントローラを表示してくれます。
結果
縞目の様なEffectが掛かっていることが確認できました。
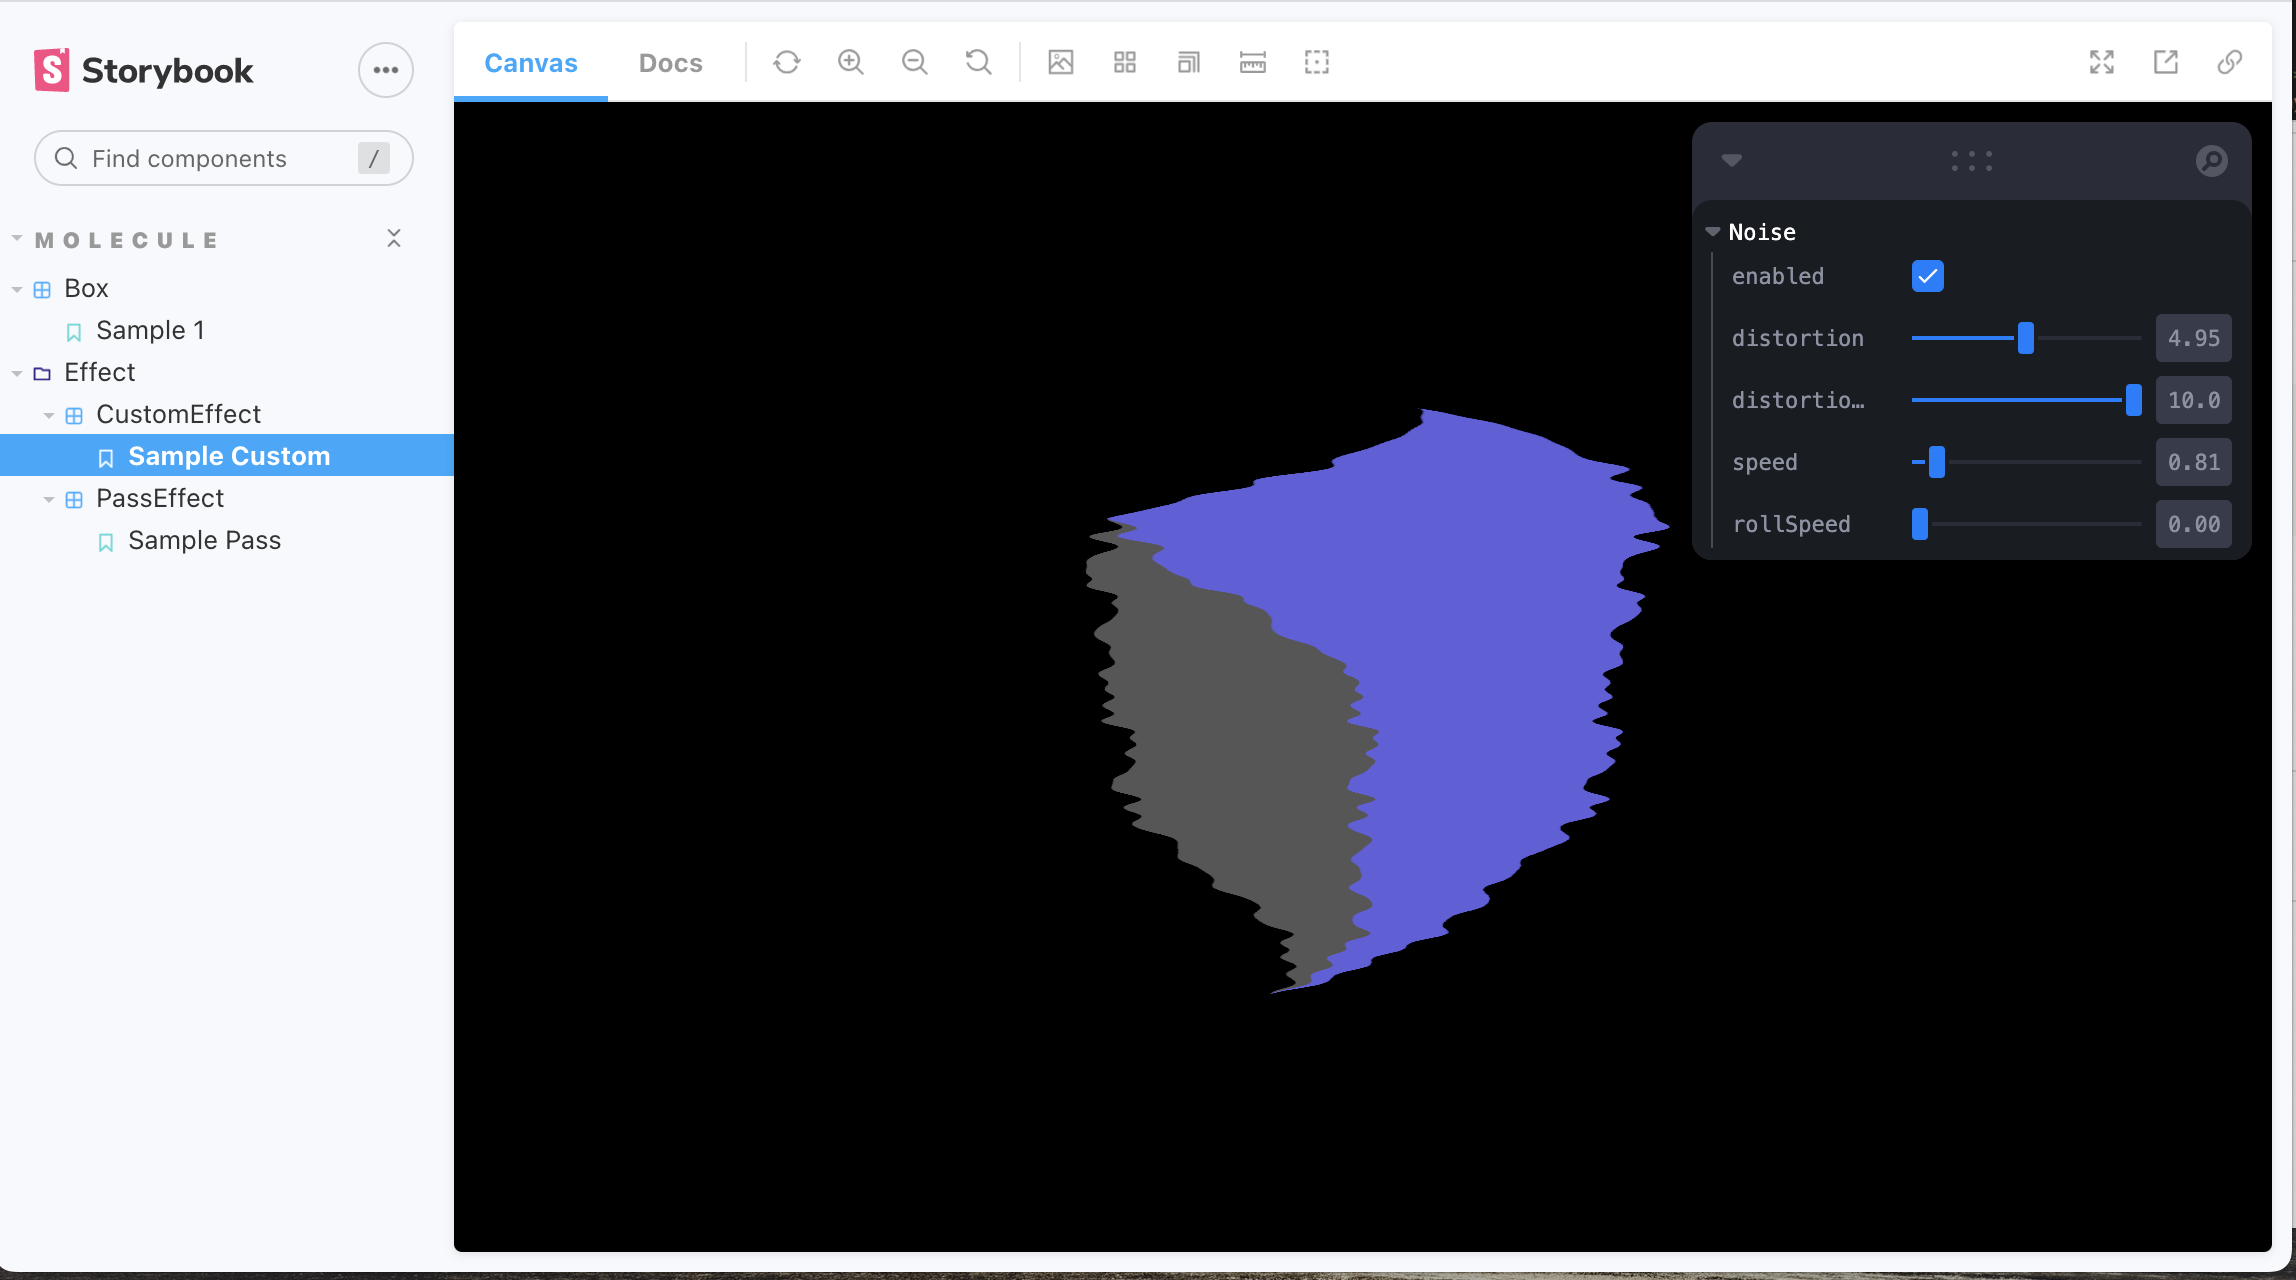
2. Custom Shaderを使用する場合
src
  L components/molecules/Effect
                            L CustomEffect
                                    L index.tsx
                                    L index.stories.tsx
  L utils/shader
            L  TVNoise
                   L index.ts // shaderとcomponent間のIFを扱う
                   L fragment.ts //  フラグメントシェーダ (postprocessing)
呼び出し元から順に追っていくと・・・
const Template: ComponentStory<typeof CustomEffect> = () => {
  ... // datasにはleva: useControlsの返り値が格納されている

  return (
    <>
      <DemoScene cameraPosition={[2, 2, 2]}>
        <directionalLight color="blue" position={[3, 3, 0]}></directionalLight>
        <Box position={[0, 0, 0]} />
        {datas.enabled ? (
          <CustomEffect
            distortion={datas.distortion}
            distortion2={datas.distortion2}
            speed={datas.speed}
            rollSpeed={datas.rollSpeed}
          />
        ) : (
          <></>
        )}
      </DemoScene>
    </>
  );
};
CustomEffectが自作したEffect Componentです。
それぞれ引数を渡しています
import { Effect } from 'postprocessing';
import { TVNoiseShader } from '../../../../utils/shader/TVNoise';

class MyCustomEffectImpl extends Effect {
  constructor(props: EffectProps) {
    const shader = TVNoiseShader({ ...props });
    super('MyCustomEffect', shader.fragmentShader, {
      uniforms: shader.uniforms,
    });
  }
}
...

const CustomEffect = forwardRef<unknown, Props>((props, ref) => {
  const effect = useMemo(
    () =>
      new MyCustomEffectImpl({
        distortion: props.distortion,
        distortion2: props.distortion2,
        speed: props.speed,
        rollSpeed: props.rollSpeed,
      }),
    [props?.distortion, props?.distortion2, props?.speed, props?.rollSpeed]
  );

  return (
    <EffectComposer>
      <primitive ref={ref} object={effect} dispose={null} />
    </EffectComposer>
  );
});

export default CustomEffect;
尚、Shaderは参考資料2におけるShaderを参考にしています。
import { Uniform } from 'three';
import { fragmentShader } from './fragment';

...
export const TVNoiseShader = ({
  distortion = 3.0,
  distortion2 = 6.0,
  speed = 0.5,
  rollSpeed = 0.2,
}: EffectProps) => ({
  uniforms: new Map([
    ['texture', new Uniform(null)],
    ['distortion', new Uniform(distortion)],
    ['distortion2', new Uniform(distortion2)],
    ['speed', new Uniform(speed)],
    ['rollSpeed', new Uniform(rollSpeed)],
  ]),
  fragmentShader,
});
export const fragmentShader = /* glsl */ `
	// ... 略

	void mainUv(inout vec2 uv) {
		uv = vec2(...); // 略
	}
`;
fragmentShaderに関してはtemplate literal (文字列形式)で記載しました。
結果
以下の様に、古いTVのNoiseの様な歪みがPost-processingにて表現される事が確認できました。
総括
コード全体は以下のgithub repositoryにて公開しています
自作したエフェクトをStorybookにてカタログ管理できるのは、とても便利に感じました。
今迄作り溜めていたコードを、どんどんまとめていきたいと思いました。
一方で、Storybook自体の機能をいまいち使いこなしていない気もするので
今後は、Storybookの魅力にフォーカスした記事の作成も検討してみたいと思います。
引き続き、どうぞよろしくお願い致します。
以上