はじめに
Dockerを使うと非常に簡単なのですが、あえてDockerを使わずに構築してみるという趣旨の記事です。
基本は公式インストールマニュアルに沿ってインストールしていきます。
環境
今回構築した環境です。
- Graphite - 蓄積
- Grafana - 描画
- Apache + mod_wsgi - webサーバ
| 項目 | 値 |
|---|---|
| OS | AmazonLinux2 |
| インスタンスタイプ | t3.micro |
| Python | 3.7.9 (デフォルトでインストール済み) |
| SQLite | 3.35.5 (デフォルトで3.7.17が入っていますが動作しないので最新版を入れなおします) |
| Apache | 2.4.46 |
| Graphite | 1.1.8 |
| Grafana | 7.5.5 |
OS設定
時刻、ロケールの設定を日本で使いやすいように設定します。
sudo timedatectl set-timezone Asia/Tokyo
sudo localectl set-locale LANG=ja_JP.UTF-8
sudo localectl set-keymap jp106
Graphite構築
基本的にrootユーザで実行しています。
Graphiteインストール
以下の公式インストール手順を参考にしています。
いくつかインストール手順がありますが、その中の pipでインストール を python3 でインストールしていきます。
※ python3は正式サポートされていないので参考程度にお願いします。
# 必要なライブラリをインストール
yum install python3-devel cairo-devel libffi-devel

# デフォルトのディレクトリにインストール
mkdir /opt/graphite
export PYTHONPATH="/opt/graphite/lib/:/opt/graphite/webapp/"
pip3 install https://github.com/graphite-project/whisper/tarball/master
pip3 install https://github.com/graphite-project/carbon/tarball/master
pip3 install https://github.com/graphite-project/graphite-web/tarball/master
Graphite初期設定
こちらも公式手順に沿って実施しています。
Webappデータベースのセットアップ
Graphite(Djangoアプリ)で使用するデータベースをセットアップします。今回はデフォルトのSQLiteを使用します。
ただし、AmazonLinux2にデフォルトでインストールされているSQLiteは3.7.17と古くDjangoが動作しないため、最新版を入れなおします。
SQLiteダウンロード
# ビルドに必要なライブラリをインストール
yum install gcc

# 最新版をダウンロードして展開
wget https://www.sqlite.org/2021/sqlite-autoconf-3350500.tar.gz
tar -zxvf sqlite-autoconf-3350500.tar.gz

# ビルドしてインストール
cd sqlite-autoconf-3350500/
./configure --prefix=/usr/local
make
make install

# シンボリックリンクを設定してPATHを通す(デフォルトのSQLiteから、最新版のSQLiteを見るようにする)
mv /usr/bin/sqlite3 /usr/bin/sqlite3_old
ln -s /usr/local/bin/sqlite3 /usr/bin/sqlite3

# 全ユーザにPATHを通す
echo /usr/local/lib > /etc/ld.so.conf.d/sqlite3.conf
ldconfig

# バージョン確認(3.35.5になっていればOK)
sqlite3 --version
最新版のSQLiteをインストールできたので、Webappデータベースをセットアップします。
PYTHONPATH=/opt/graphite/webapp django-admin.py migrate --settings=graphite.settings
/opt/graphite/storage/graphite.db が新規作成されているはずです。
Webアプリの構成
GraphiteをWebで公開するための設定をします。
ドキュメントには3つ用意されていますが、今回は Apache + mod_wsgi を使用します。
- nginx + gunicorn
- Apache + mod_wsgi
- nginx + uWSGI
apache + mod_wsgi のインストール
# apacheインストール
yum install httpd

# mod_wsgiインストール
yum install httpd-devel gcc
pip3 install mod_wsgi

# インストールしたモジュールを探索
find /usr -name "mod_wsgi*.so"

# 見つけたモジュールをコピー
cp /usr/local/lib64/python3.7/site-packages/mod_wsgi/server/mod_wsgi-py37.cpython-37m-x86_64-linux-gnu.so /etc/httpd/modules/mod_wsgi.so
apache経由でgraphiteにアクセスできるように設定します。
# httpdの実行ユーザでログを読み書きできるようにする
chown -R apache:apache /opt/graphite/storage/

# 標準設定をコピーして作成
cp /opt/graphite/conf/graphite.wsgi.example /opt/graphite/conf/graphite.wsgi
cp /opt/graphite/examples/example-graphite-vhost.conf /etc/httpd/conf.d/graphite-vhost.conf

# 静的コンテンツの設定
PYTHONPATH=/opt/graphite/webapp django-admin.py collectstatic --noinput --settings=graphite.settings
静的コンテンツ設定を追加します。
        ...
        Alias /static/ /opt/graphite/static/
        # 追加
        <Directory /opt/graphite/static/>
                Require all granted
        </Directory>
        ...
ここまでの設定を反映させて、apacheを起動させます。
systemctl start httpd
systemctl enable httpd
Carbonの構成
時系列データをリッスンするバックエンドデーモンを設定します。
# 標準設定をコピーして作成
pushd /opt/graphite/conf
cp carbon.conf.example carbon.conf
cp storage-schemas.conf.example storage-schemas.conf

# 起動
/opt/graphite/bin/carbon-cache.py start
Graphite動作確認
http://[IPアドレス]/
ここまでの設定で、ポート80にアクセスするとGraphiteのトップページが表示されます。
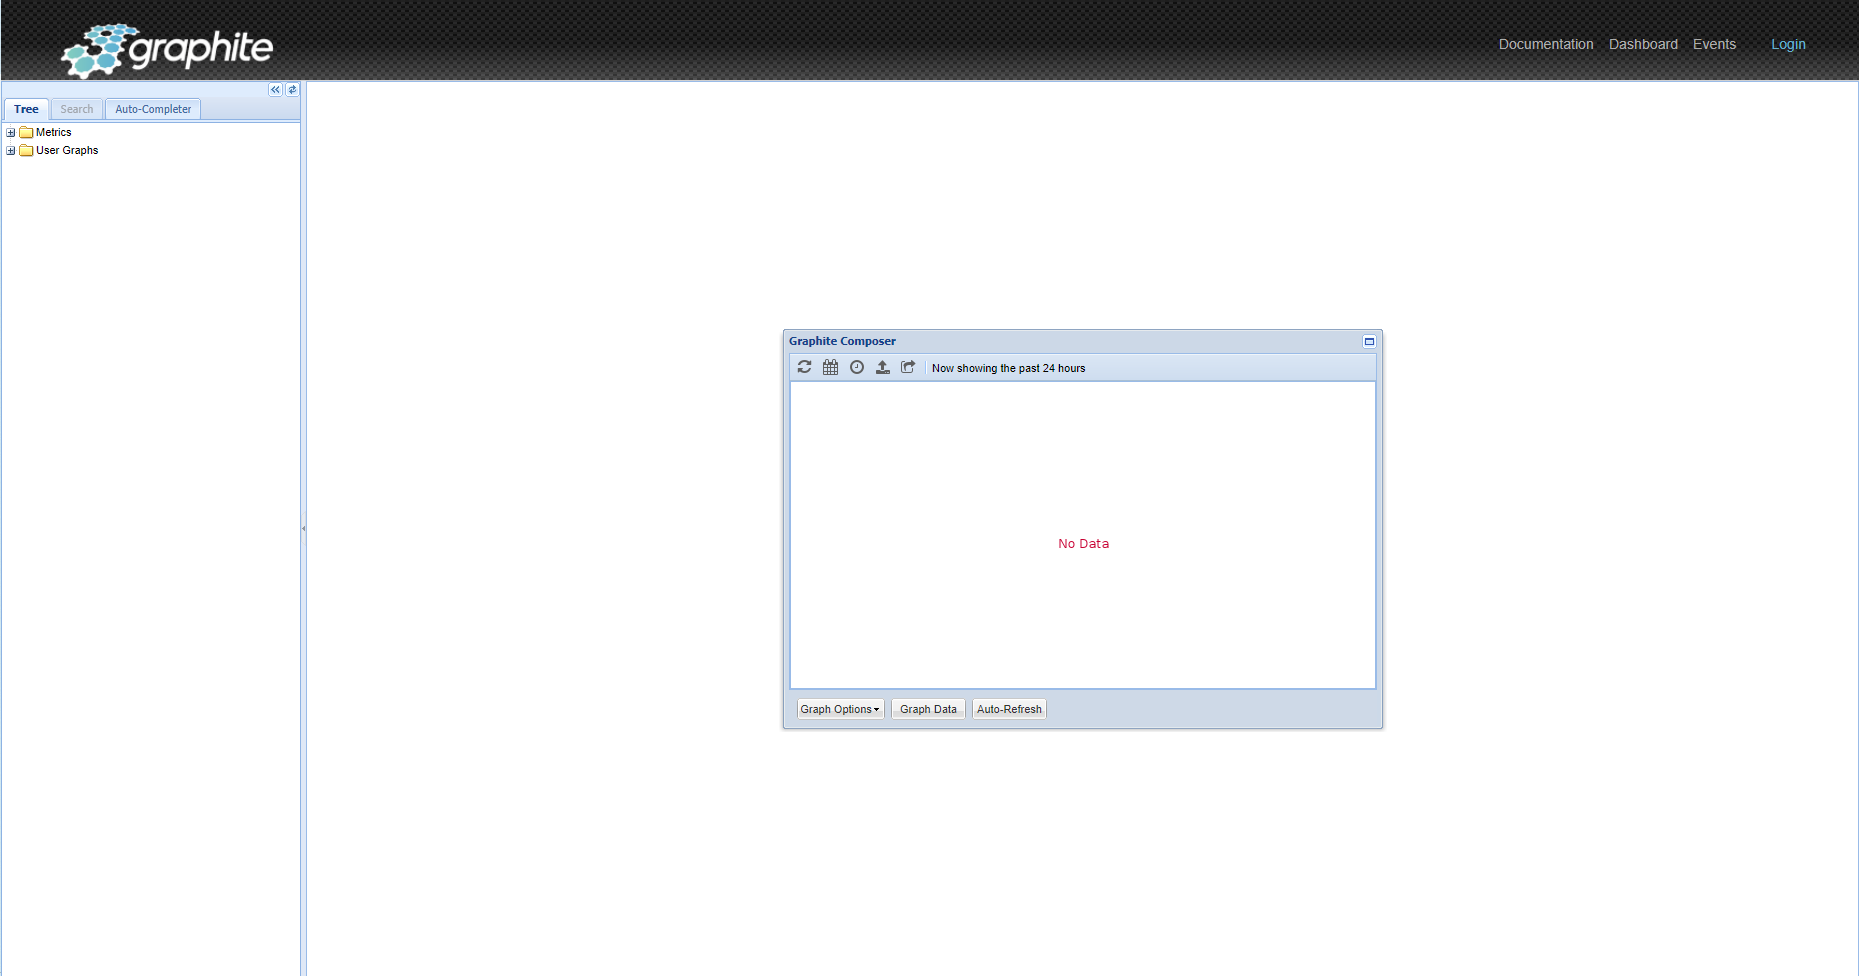
試しに手動でデータを入れてみます。
データの入力
yum install nc
echo "local.random.diceroll 4 `date +%s`" | nc localhost 2003
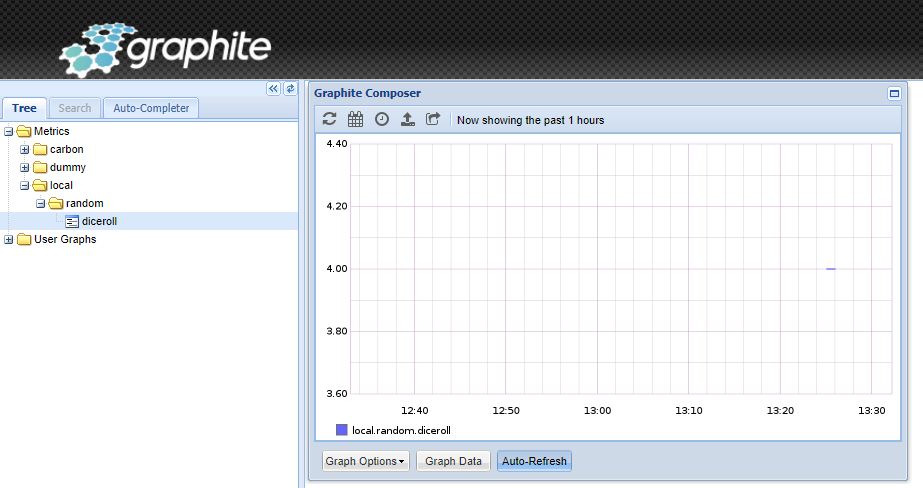
- Graphite画面から、左側のTreeで「Metrics」->「local」->「random」->「diceroll」を選択する。
- 表示されたグラフの左下「Graph Options」->「X-Axis」->「Timezone」でAsia/Tokyoに変更する。
Grafana構築
Grafanaインストール
公式インストール手順 でインストールします。
# インストール
wget https://dl.grafana.com/oss/release/grafana-7.5.5-1.x86_64.rpm
sudo yum install grafana-7.5.5-1.x86_64.rpm

# 起動
sudo systemctl enable grafana-server.service
sudo systemctl start grafana-server.service
Grafana動作確認
デフォルトでポート3000でリッスンしています。
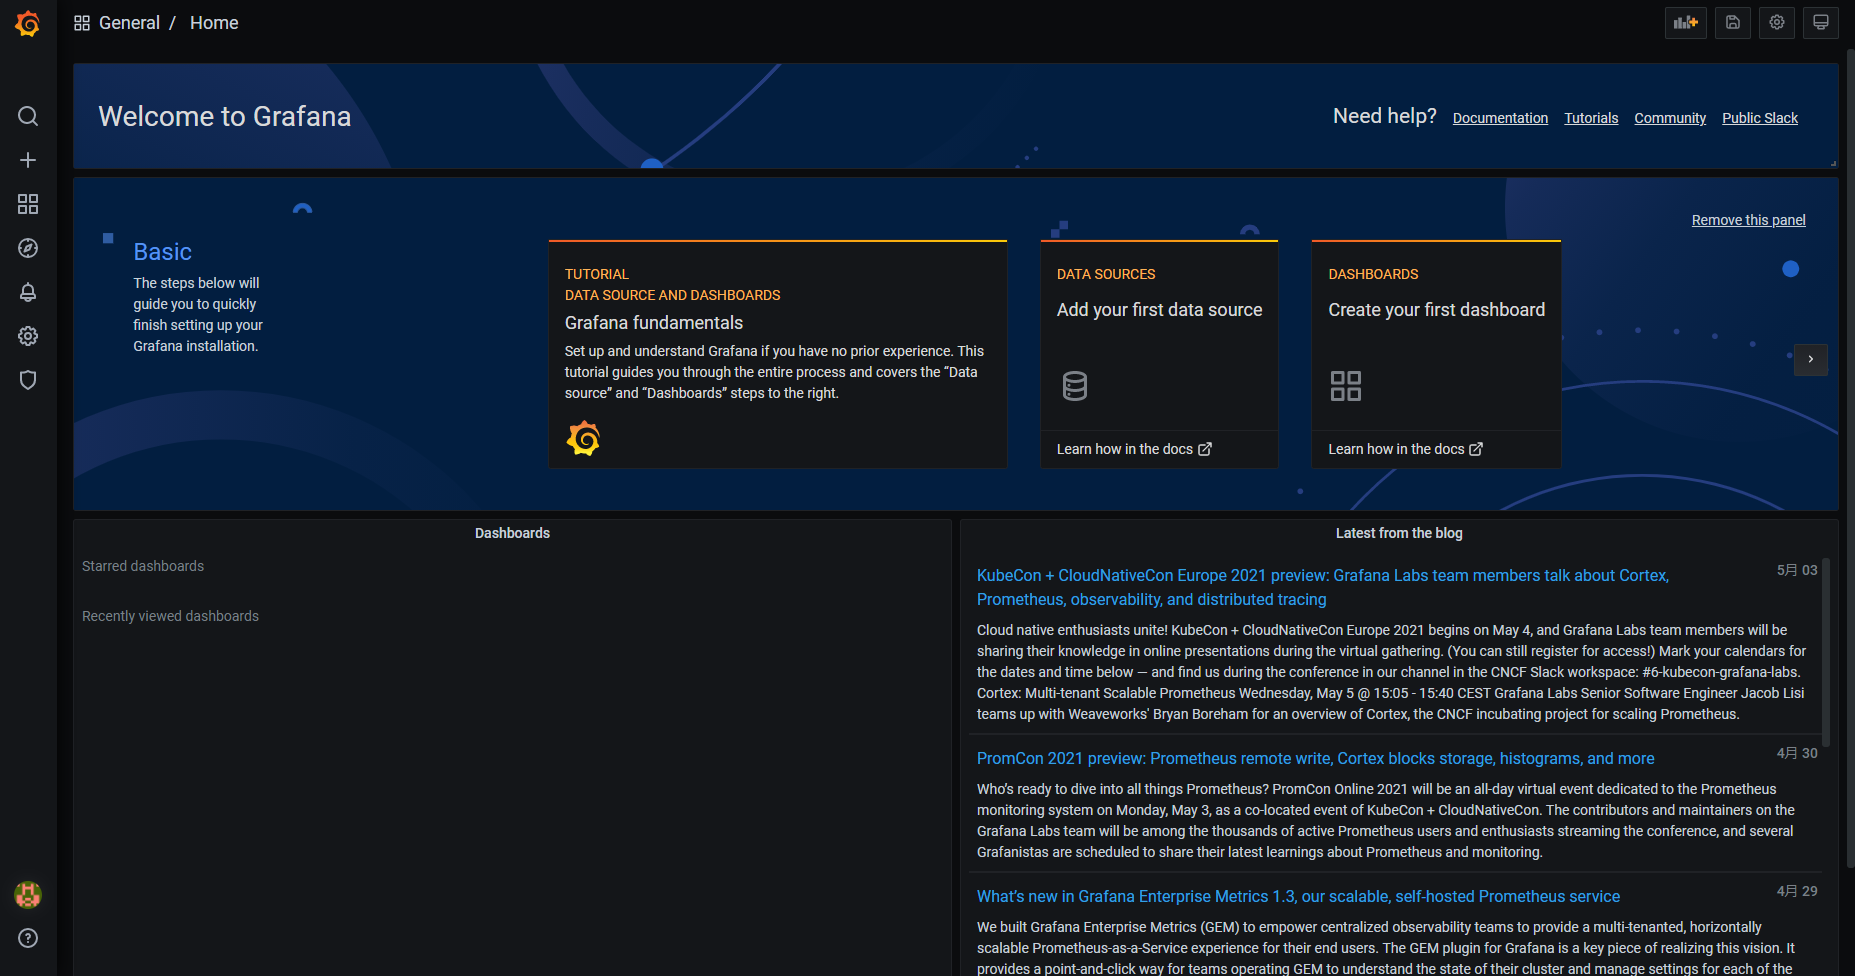
http://[IPアドレス]:3000/
ID/PW : admin/admin でログインできます。
Graphiteと連携させる
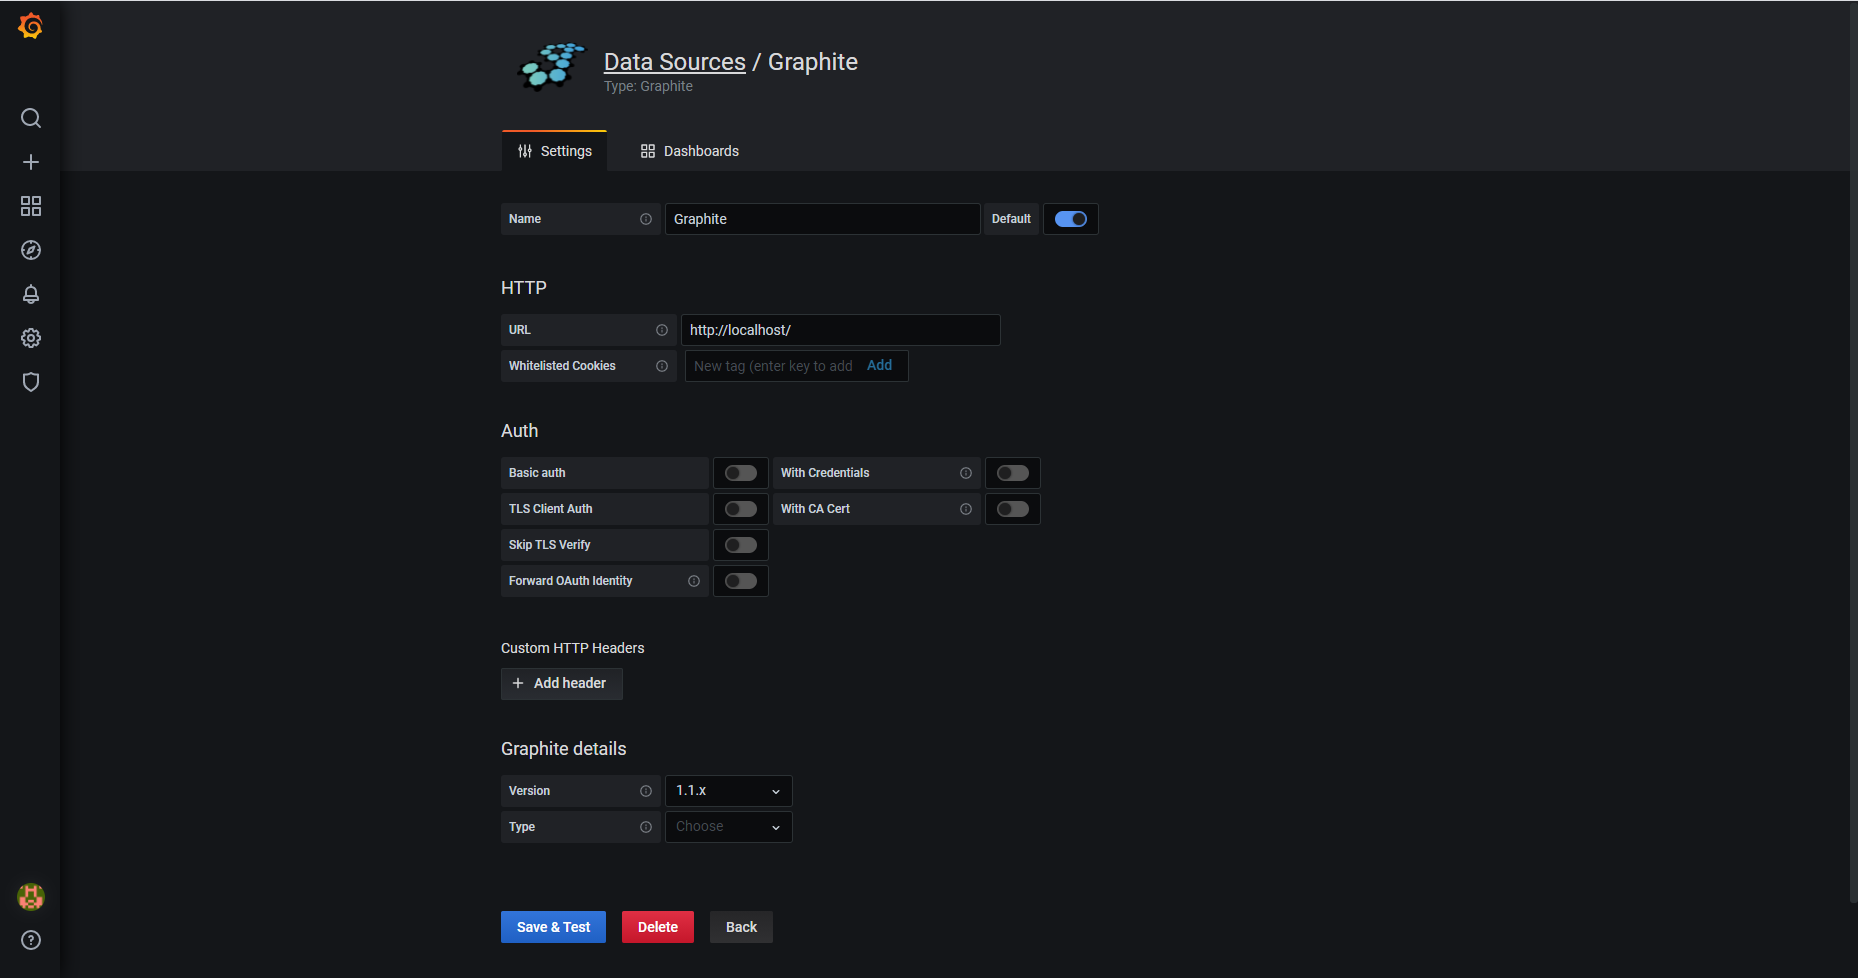
- 左タスクバー「Configuration」->「Data Sources」から、Graphiteデータソースを追加します。
- 左タスクバー「Create」->「Add an empty panel」から空のパネルを追加します。
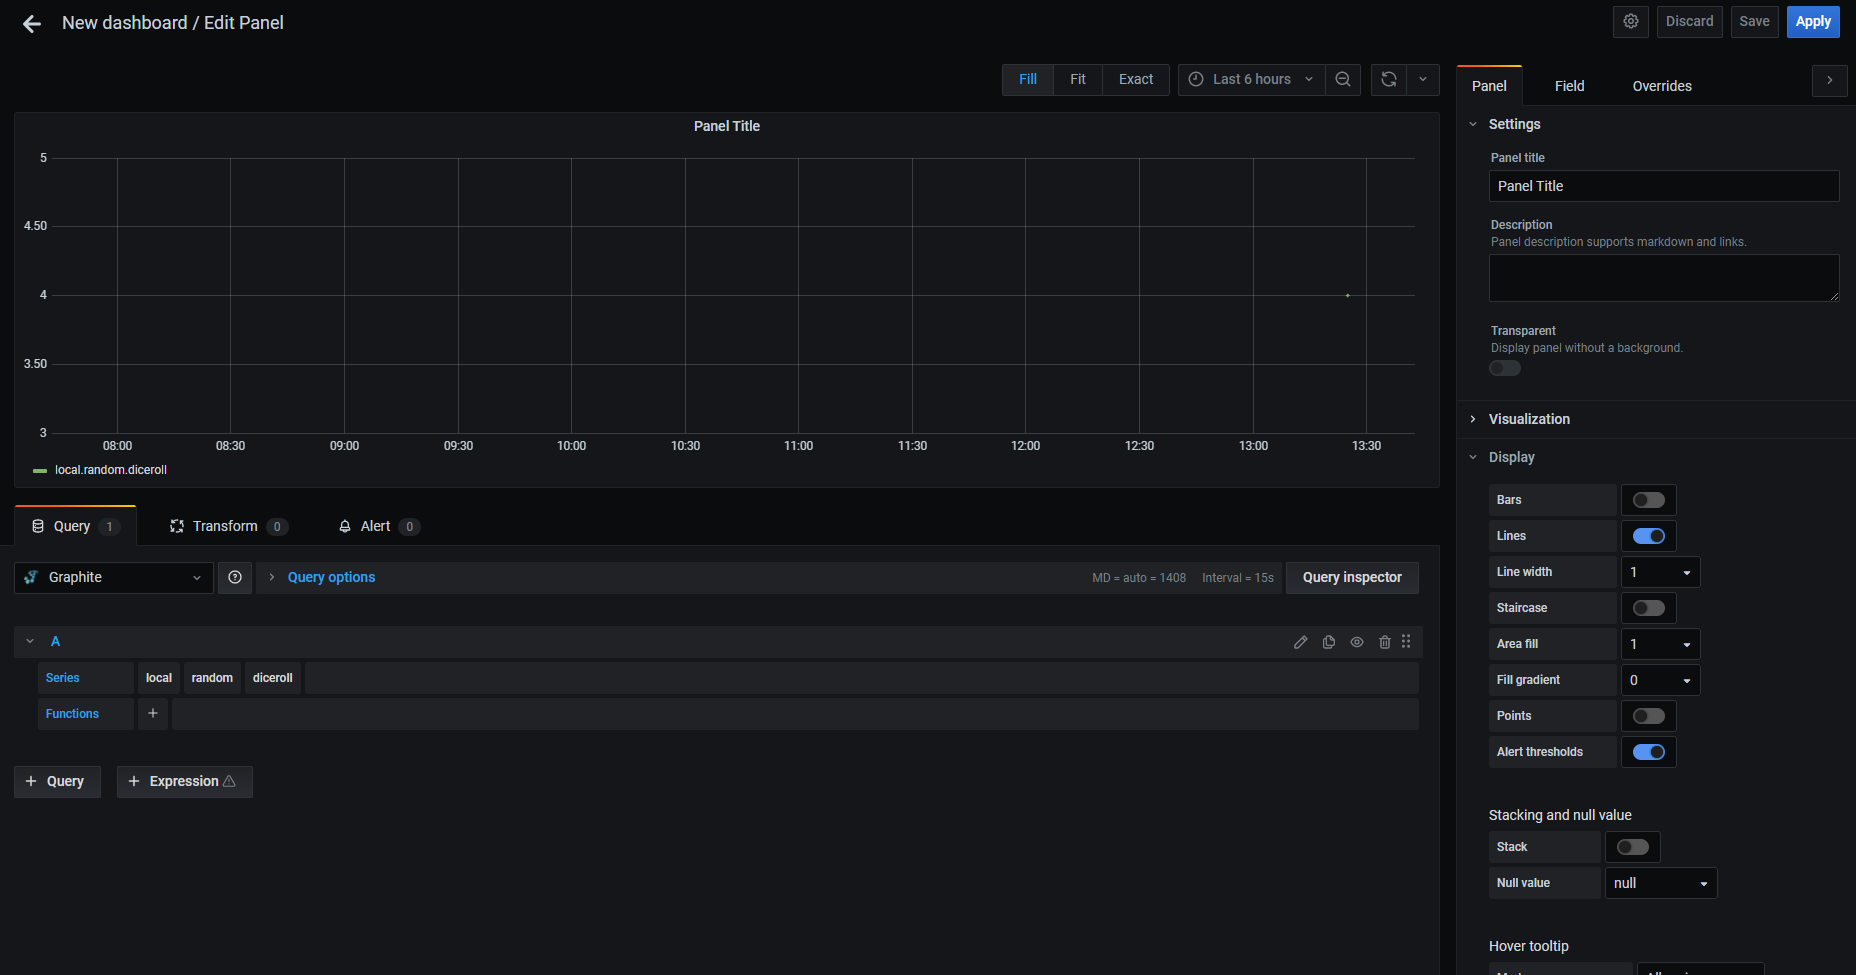
- 先ほどのサンプルデータを表示させます。
おわりに
今回はDockerを使わずにGraphite+Grafanaを構築してみましたが、やはりDockerを使用したほうが簡単ですね。
Graphiteの設定をデフォルトのままにしていますが、本番稼働するには設定を見直したほうが良いです。
次は収集部分を作ってみるつもりです。AWSで構築しているので、CloudWatch(収集) + Graphite(蓄積) + Grafana(描画)という構成にしてみようと思います。
[2021/5/6 追記]
もう少しGraphiteの設定を見直してみました。
AmazonLinux2にインストールしたGraphiteの設定を更新する
