今回は「+」「=」ボタンを追加して計算式を作るまでの過程を解説します。
前回
【1から】Godot Engineで簡易電卓を作る Part1
(実際の計算部分は次回)
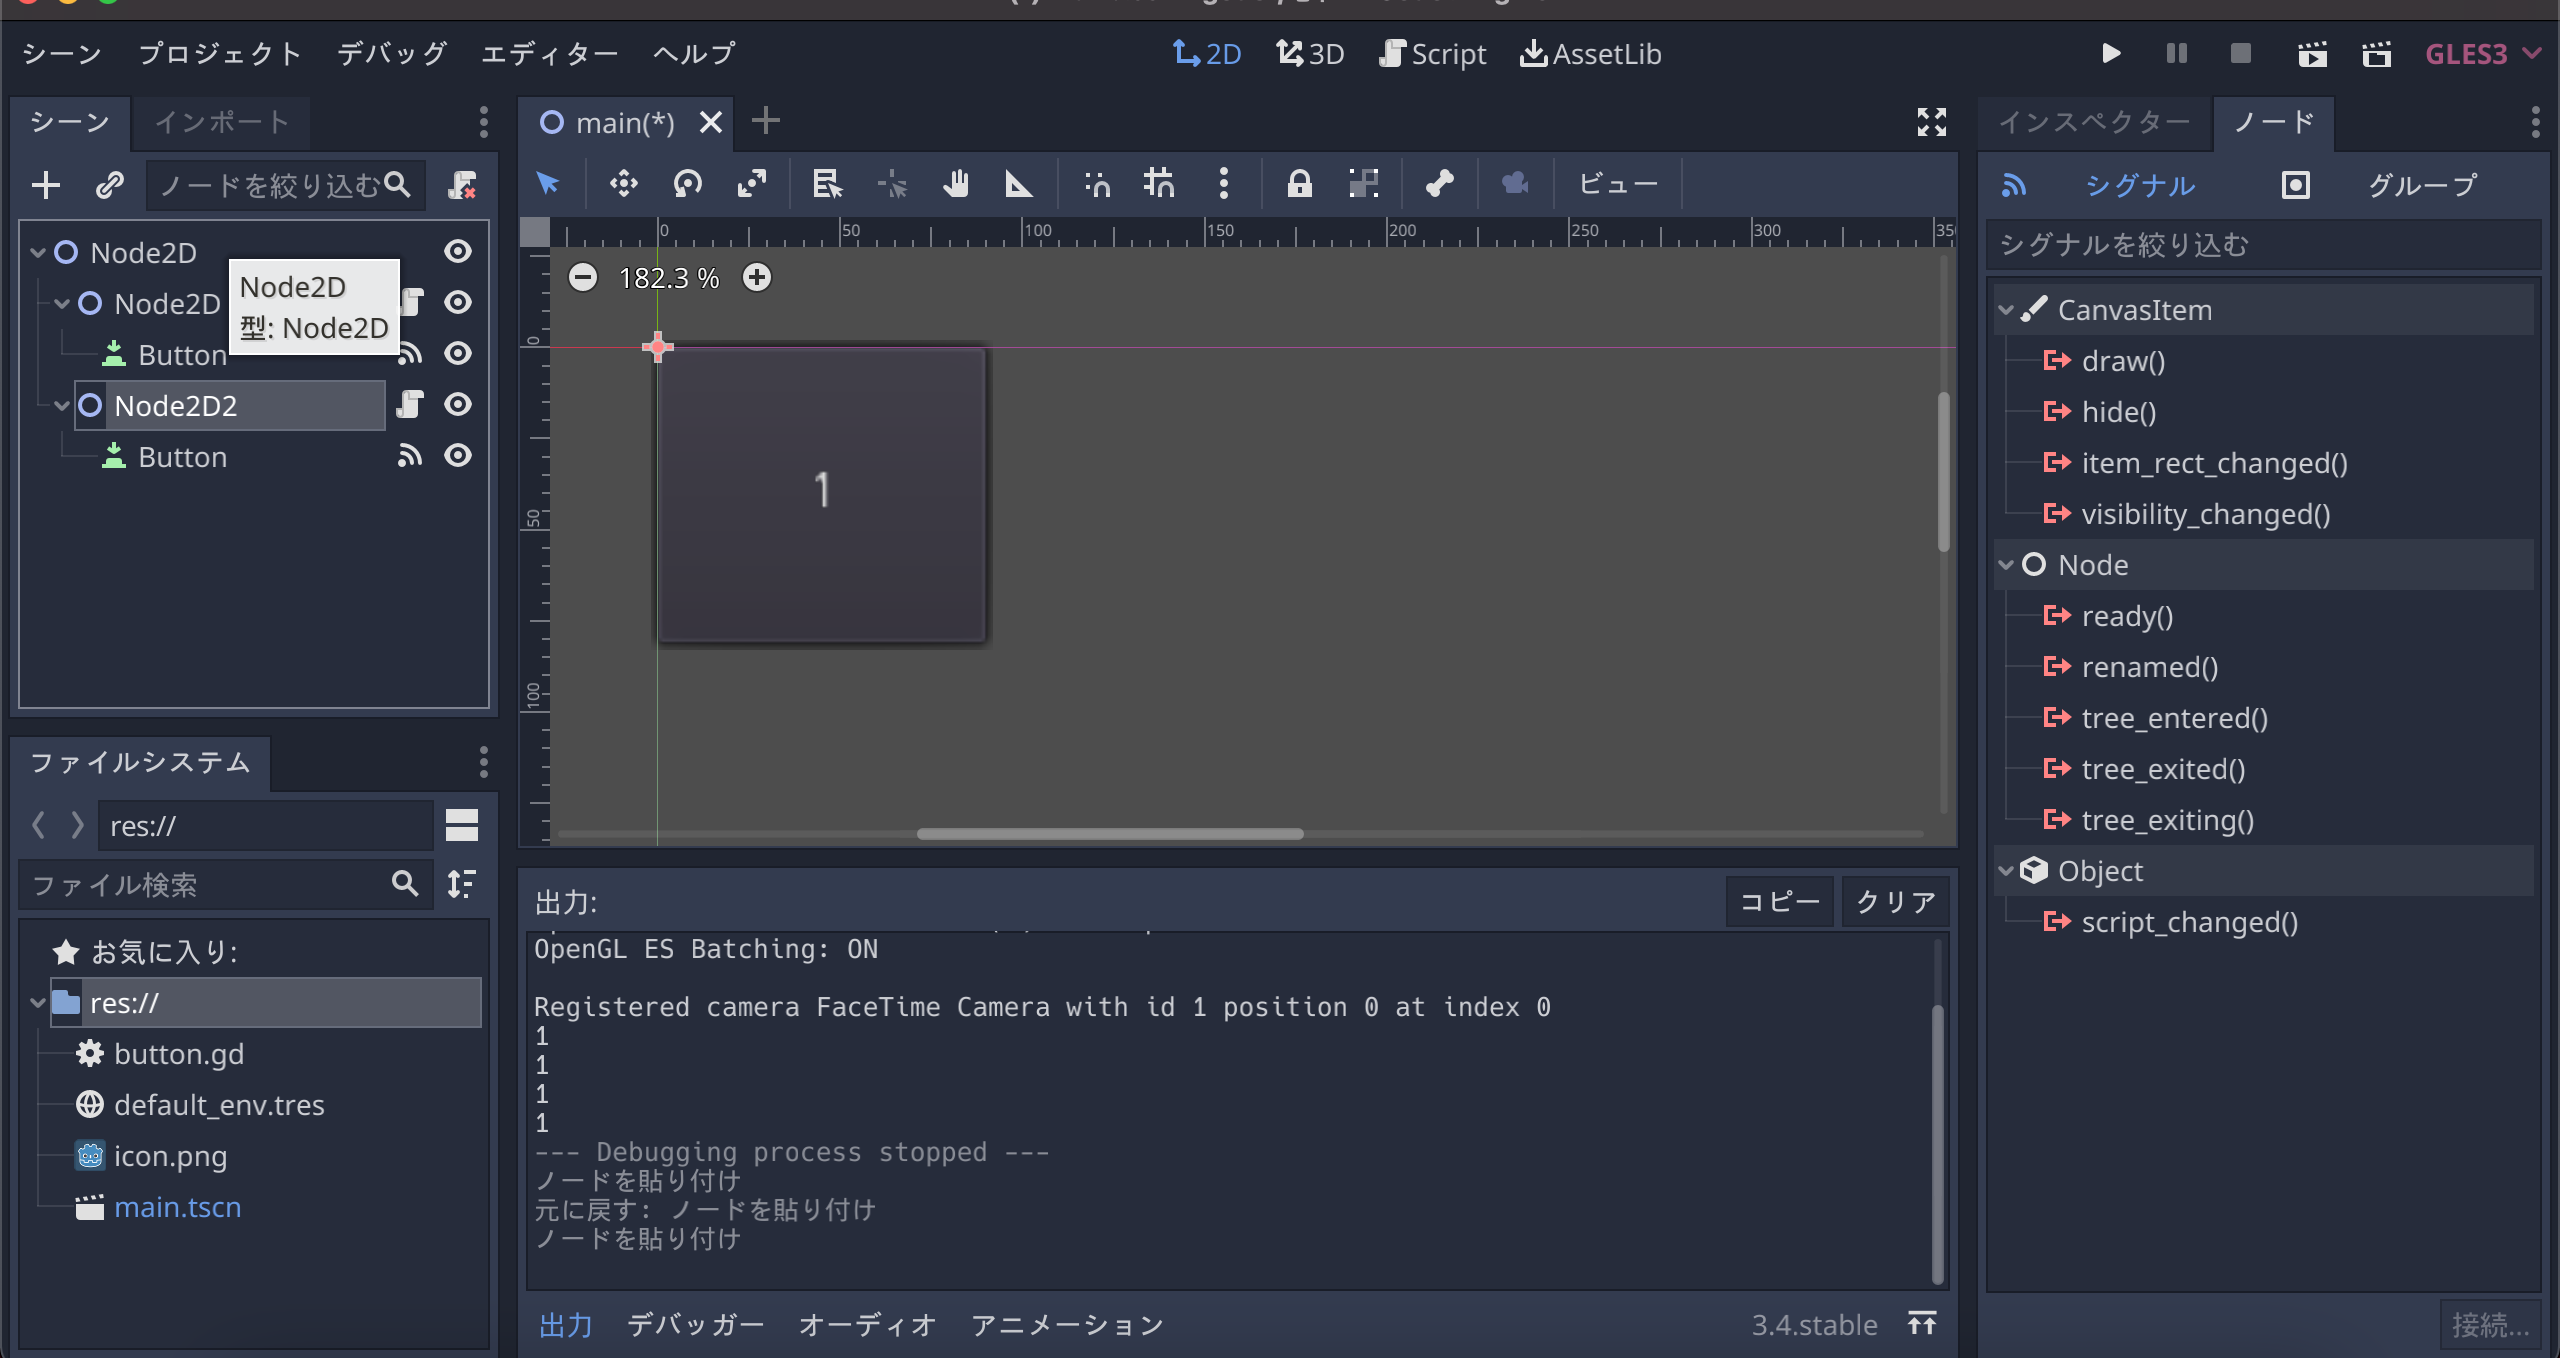
はじめに”2段目”の「Node2D」をクリックしてコピーします(ctrl+C)

そして次に”一番上”の「Node2D」をクリックで選んでからペースト(ctrl+V)すると「Node2D-Button」の構造が複製されます。
コピーされたものはクリック&ドラッグで移動させられます。
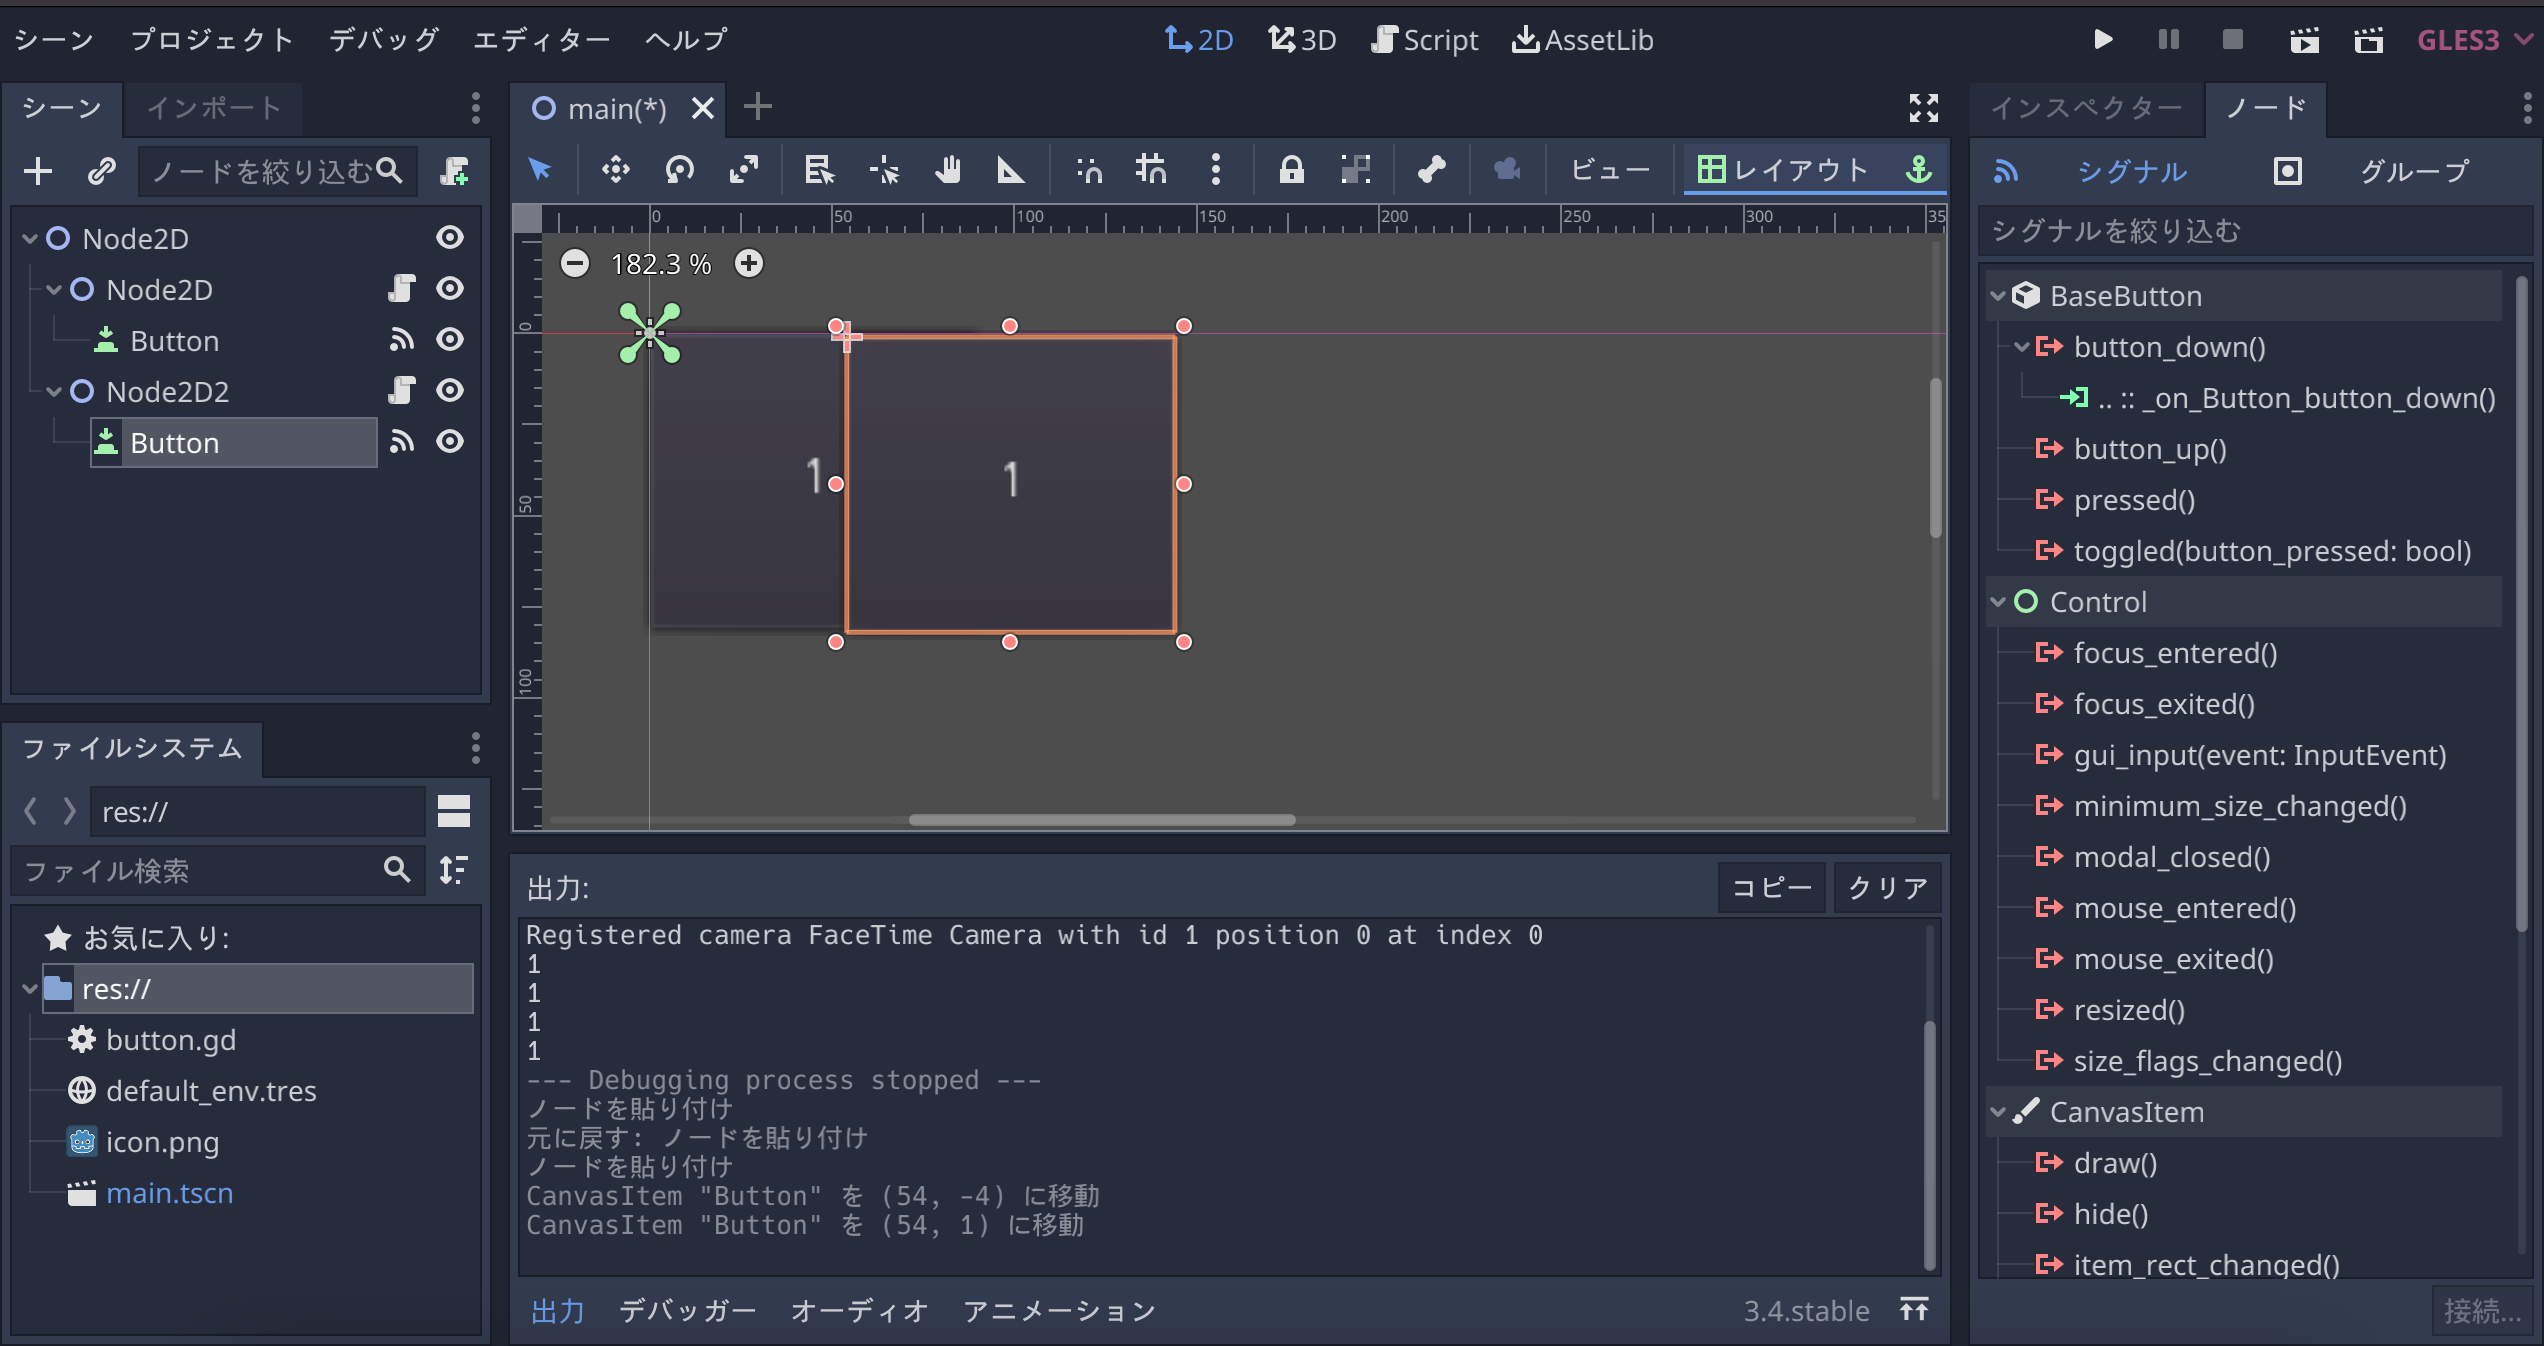
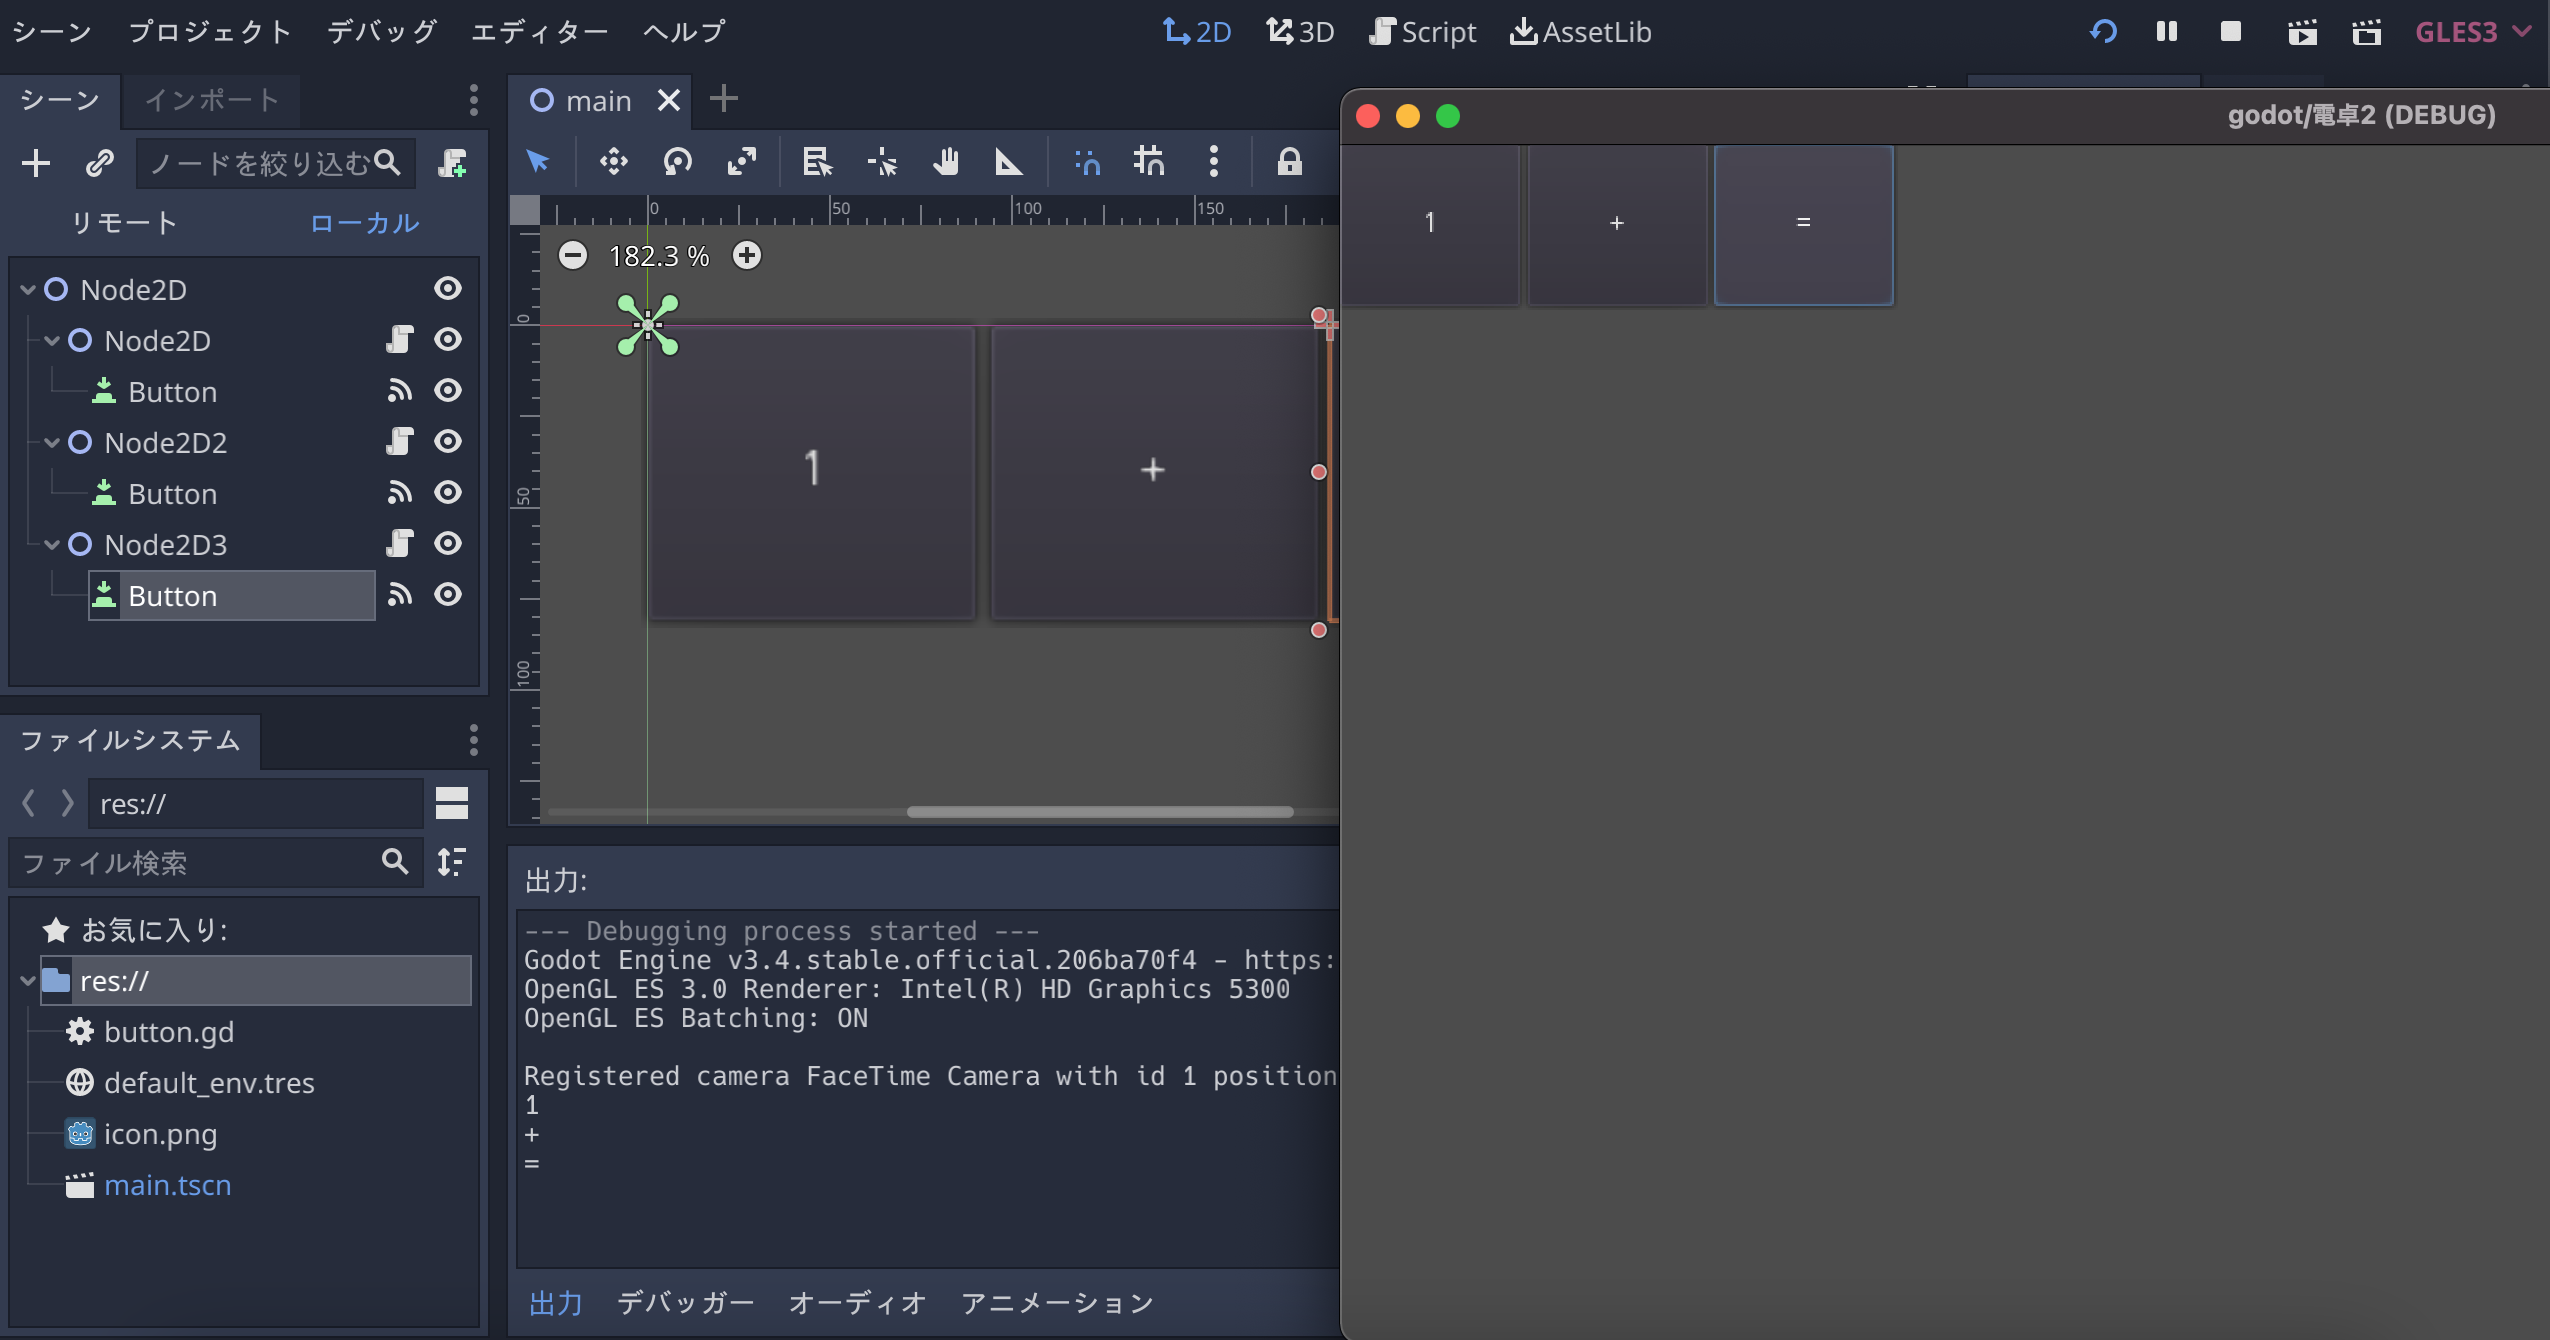
移動させたらコピーした「Buttonn」をクリックして「インスペクター」の「Text」を編集して「+」と書き換えます。
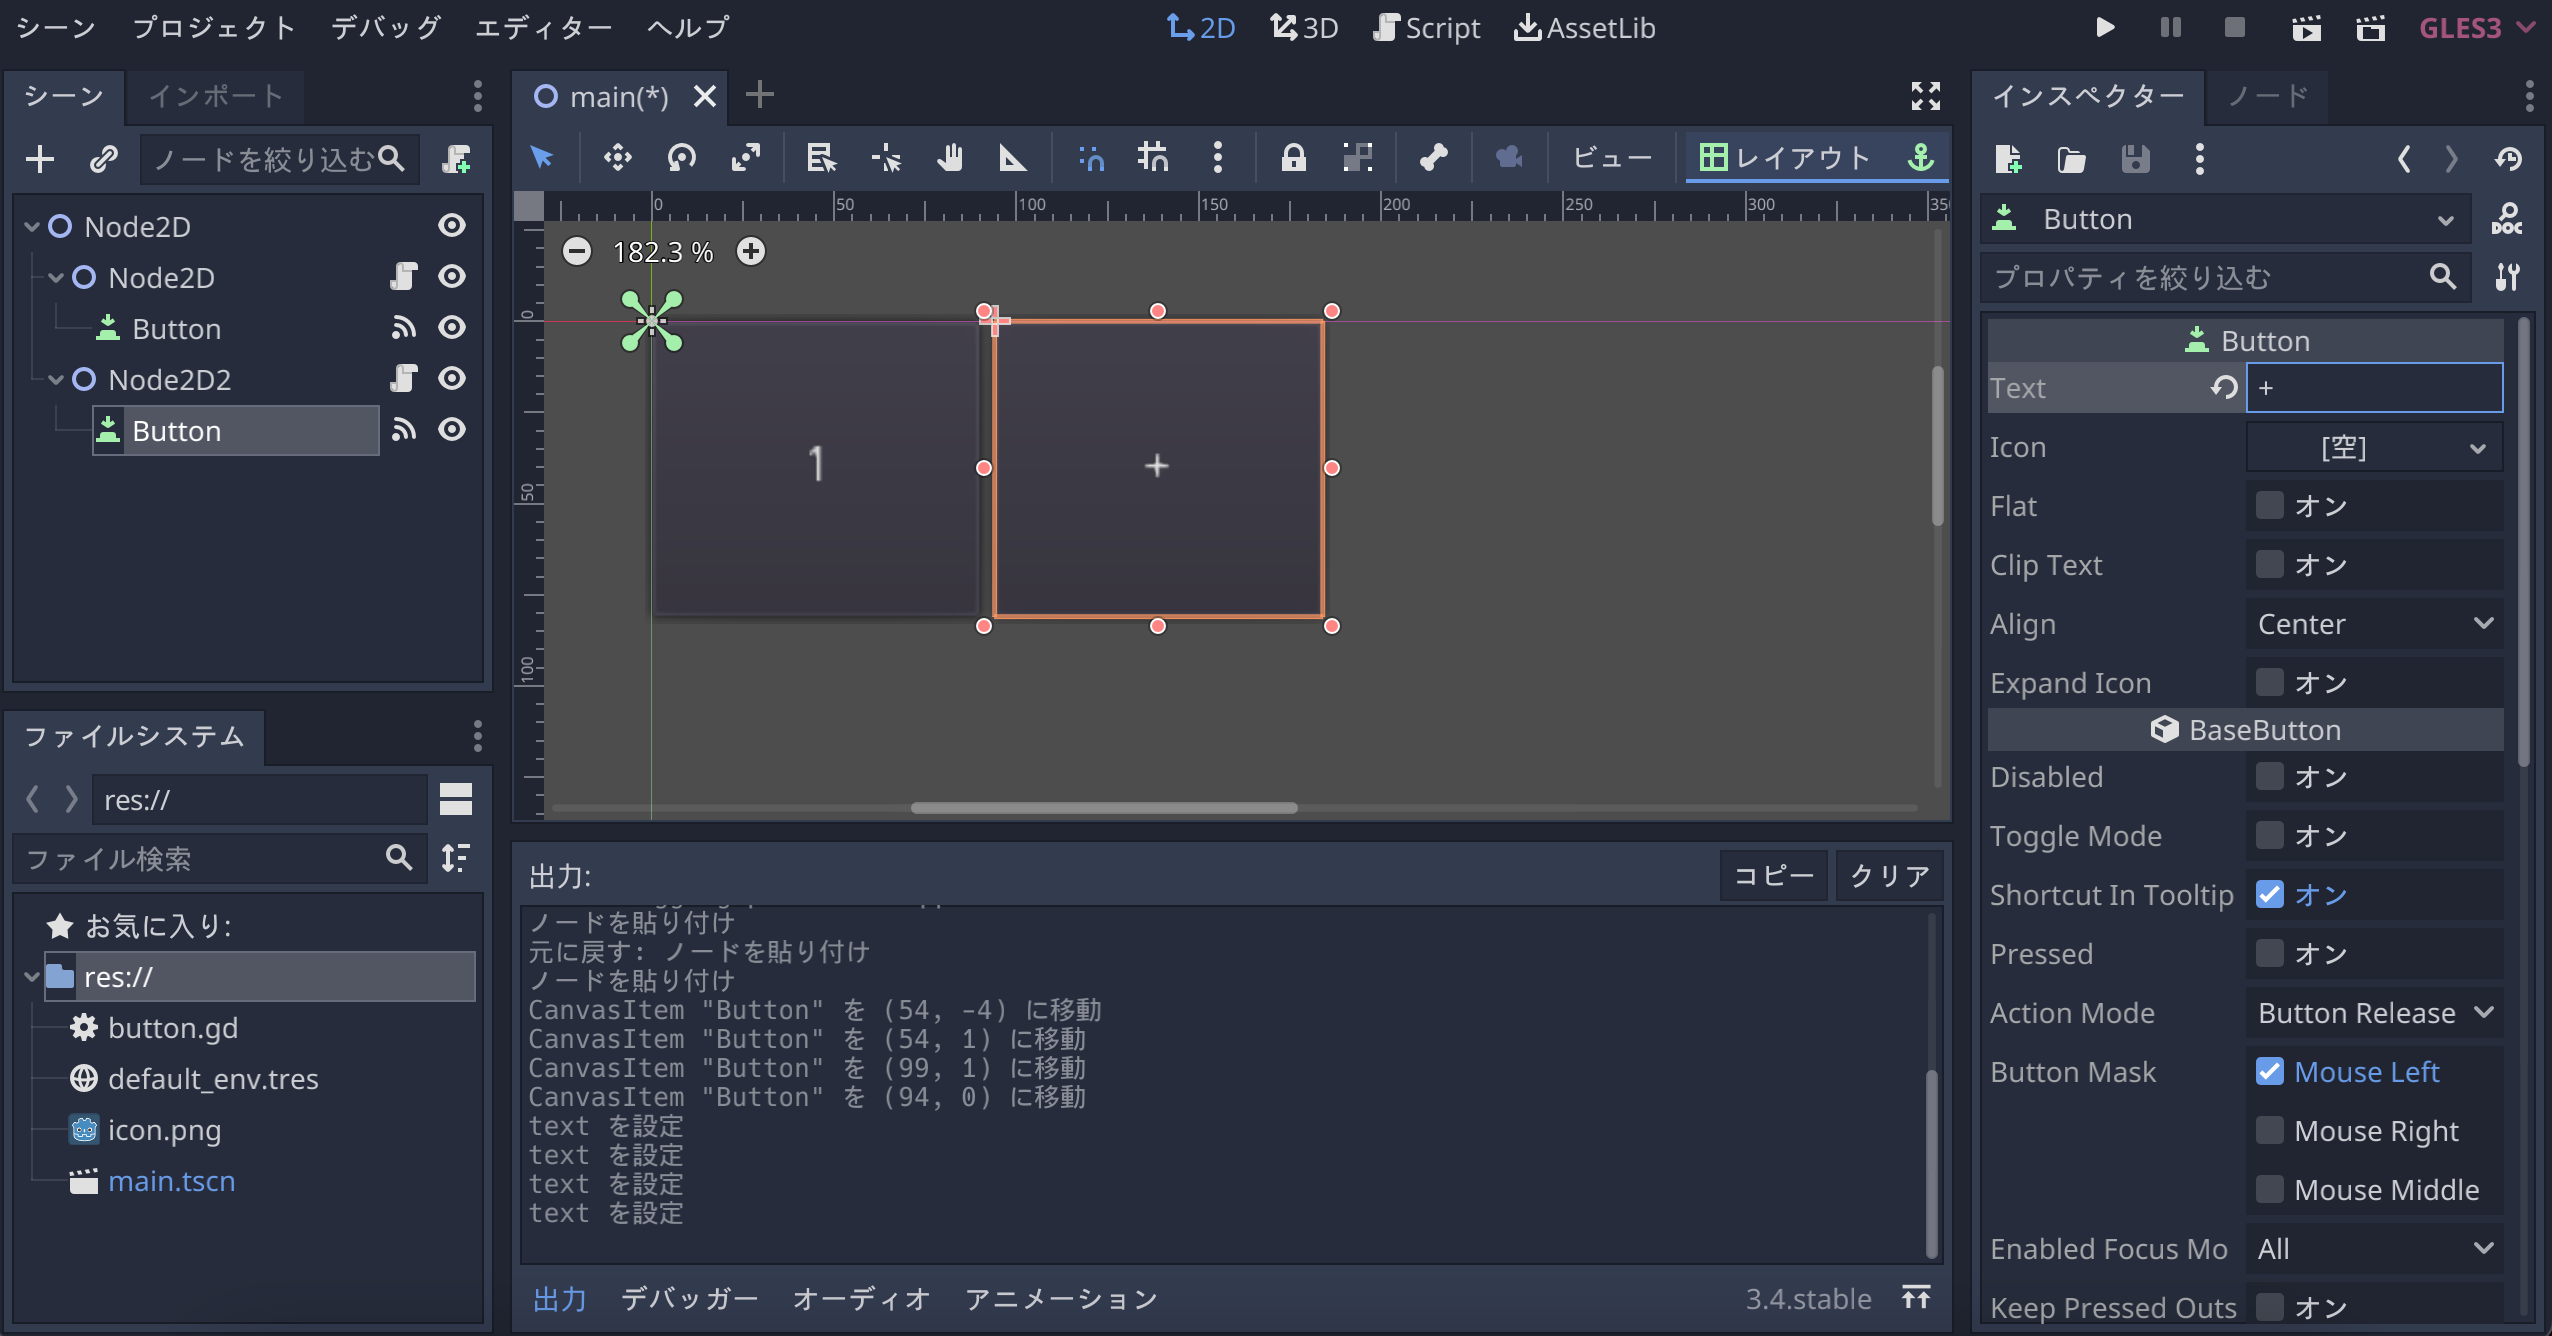
ついでに「=」ボタンも追加します。
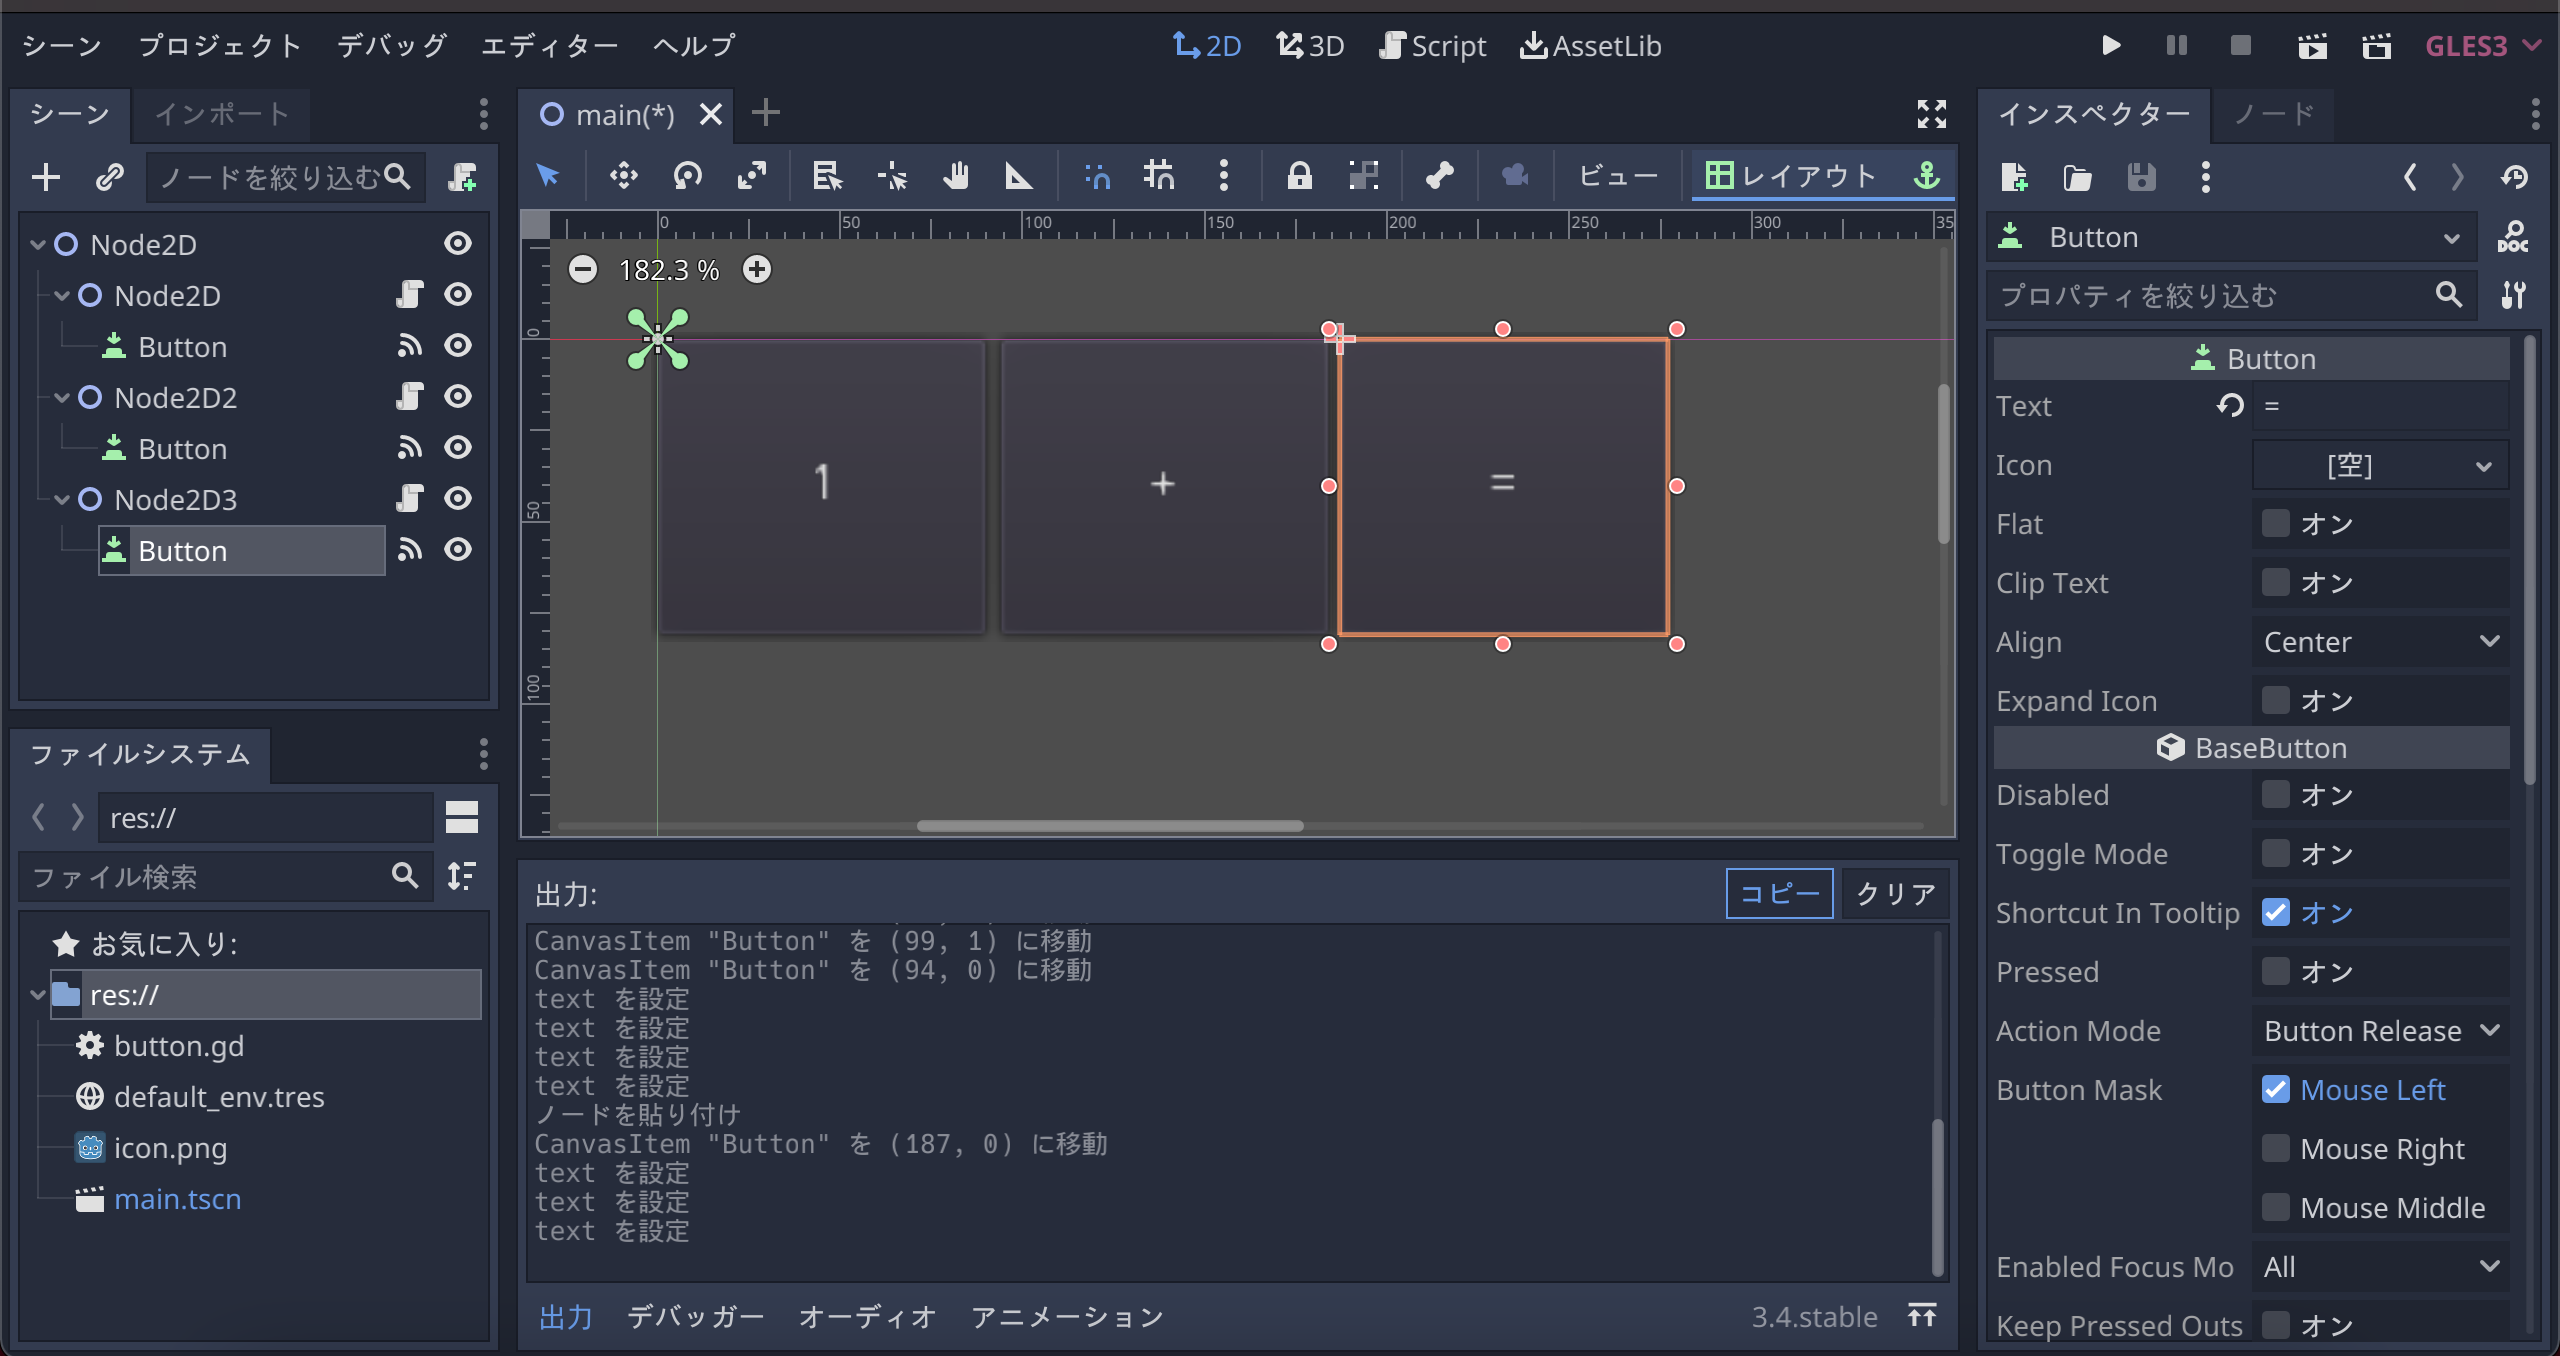
実行してボタンを押してキチンと出力されるか確認します。
このままでは数式(例:11111+11=)を作れないので、プログラムを書き換えます。
数式にする
まずは、ボタンを押すたびにボタンの値を変数に入れて、それを出力するプログラムを作ってみます。
以下のプログラムを全部コピーしてみましょう。
ends Node2D


# Declare member variables here. Examples:
# var a = 2
# var b = "text"
var num = "0"

# Called when the node enters the scene tree for the first time.
func _ready():
	pass # Replace with function body.


# Called every frame. 'delta' is the elapsed time since the previous frame.
# func _process(delta):
#	pass


func _on_Button_button_down():
	num += $Button.text
	print(num)
変更点:変数の宣言 var num = "0"
pythonみたく宣言なしに使おうとするとエラーになります。
”0”にして文字列型なのは、数字だと+=で代入すると「1,2,3...」と加算されてしまうので、文字列として足していきます。
そしてnumに$Button.textを代入して、numをprint。
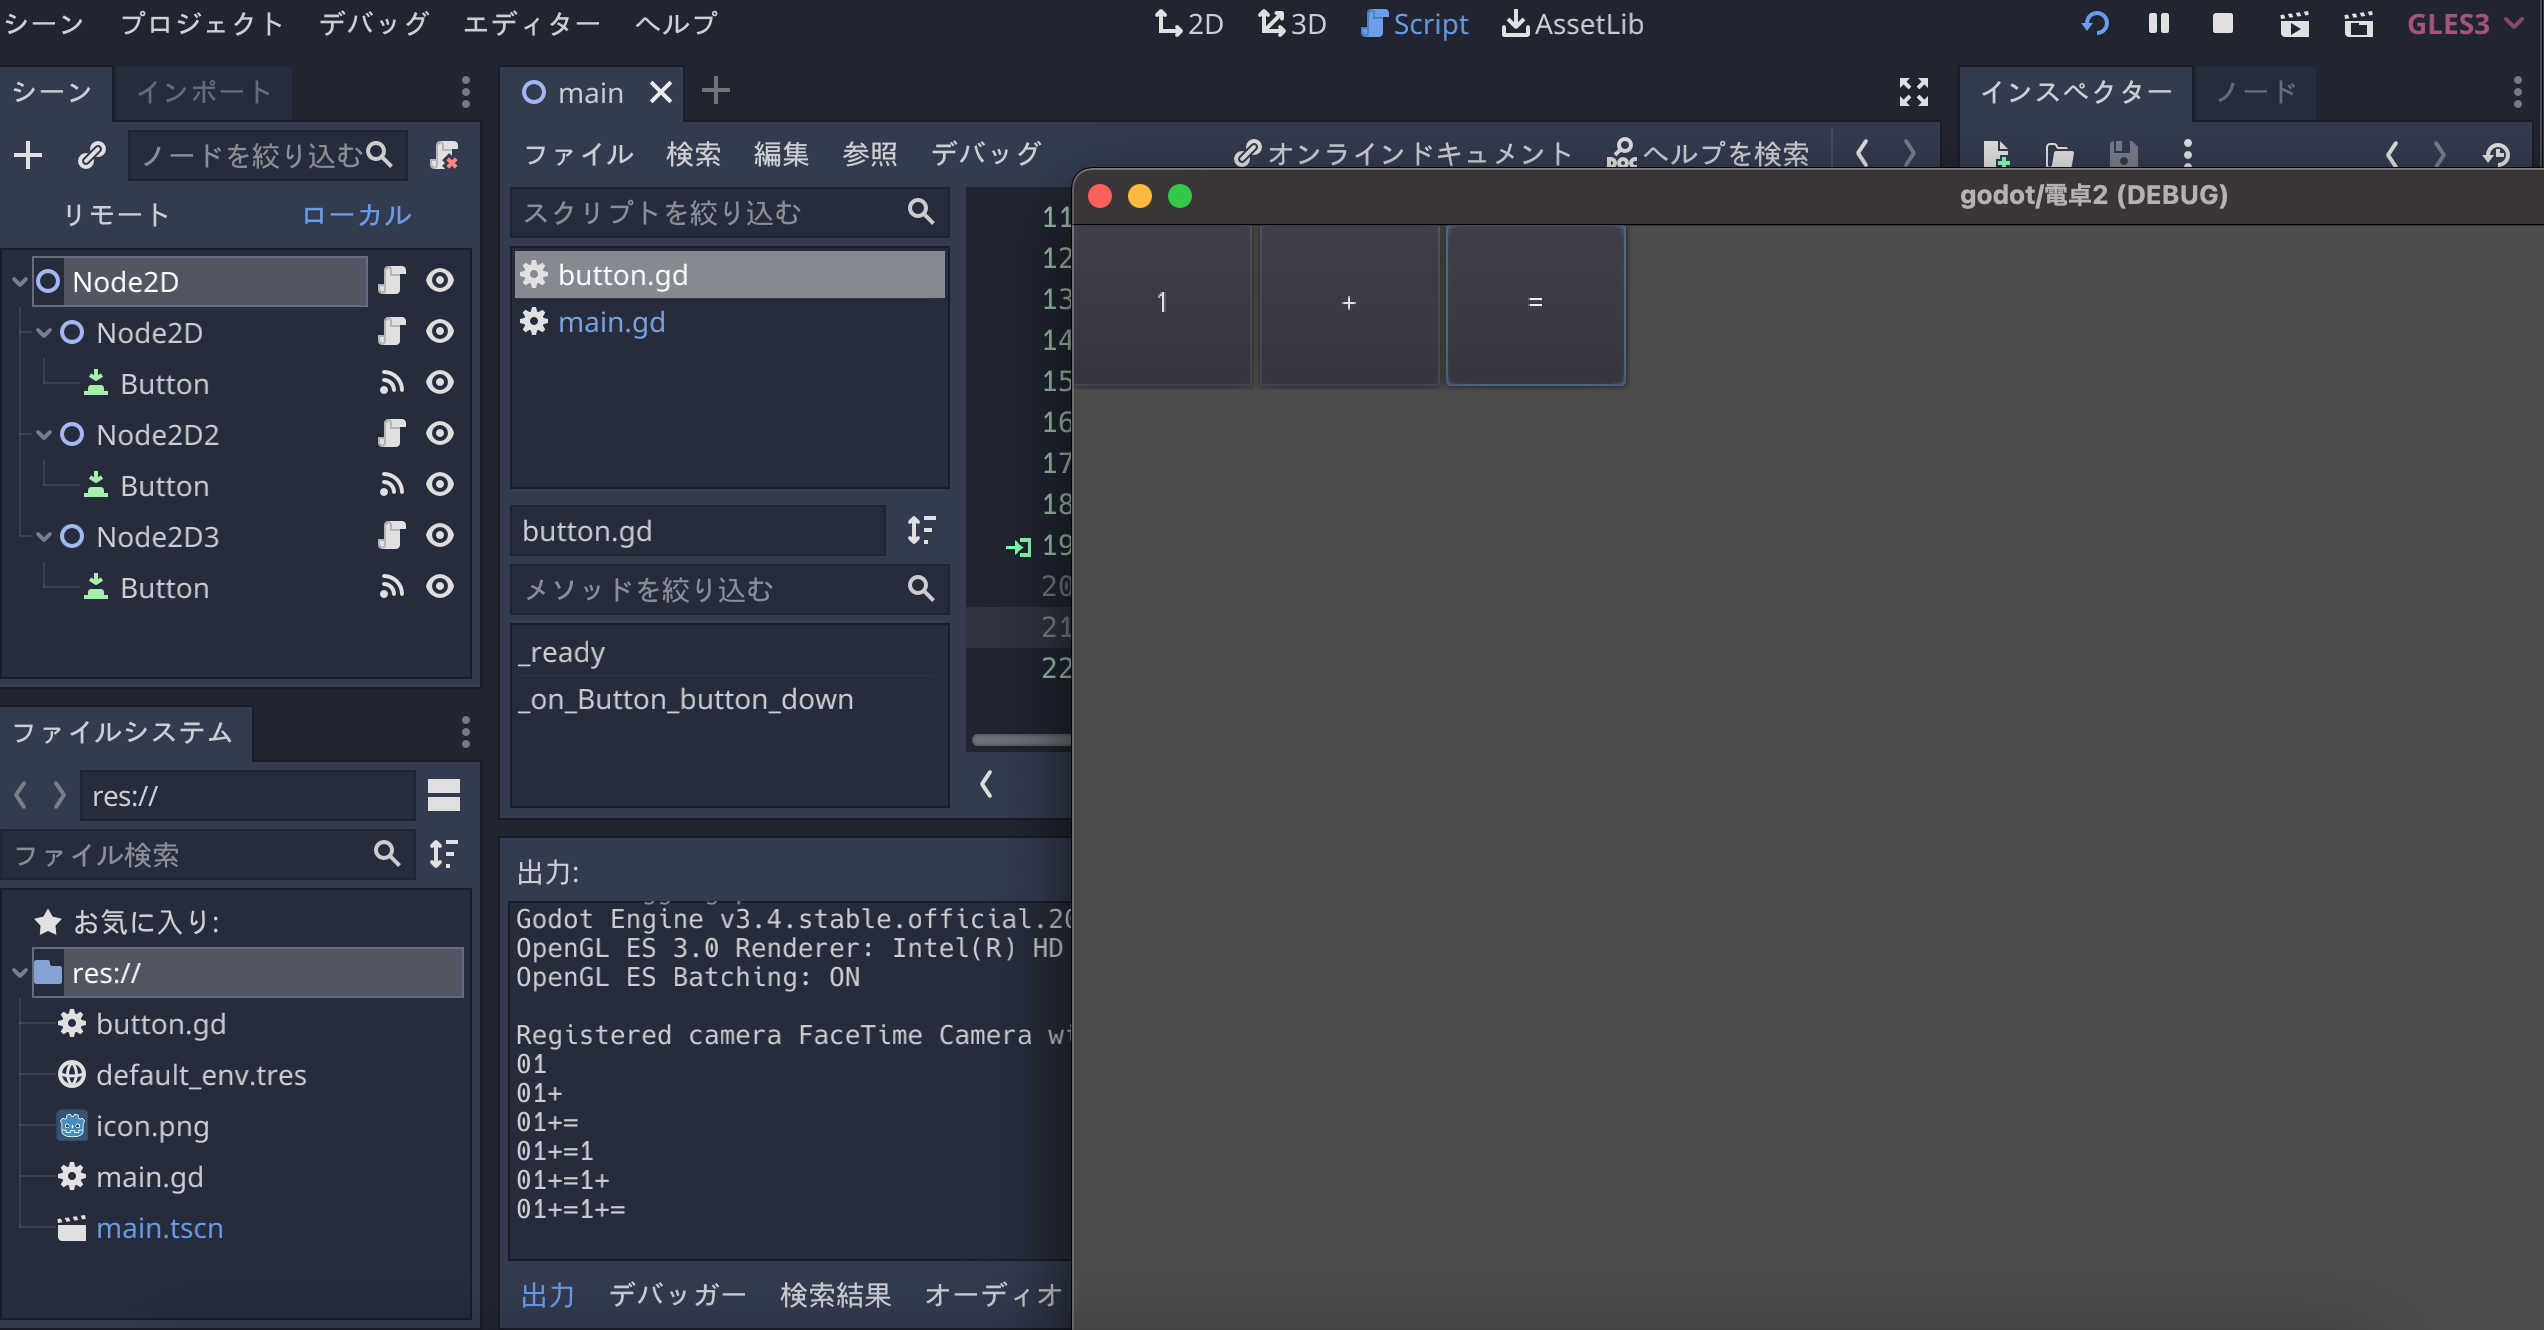
実行して1を連打すると文字列が表示されるようになります。
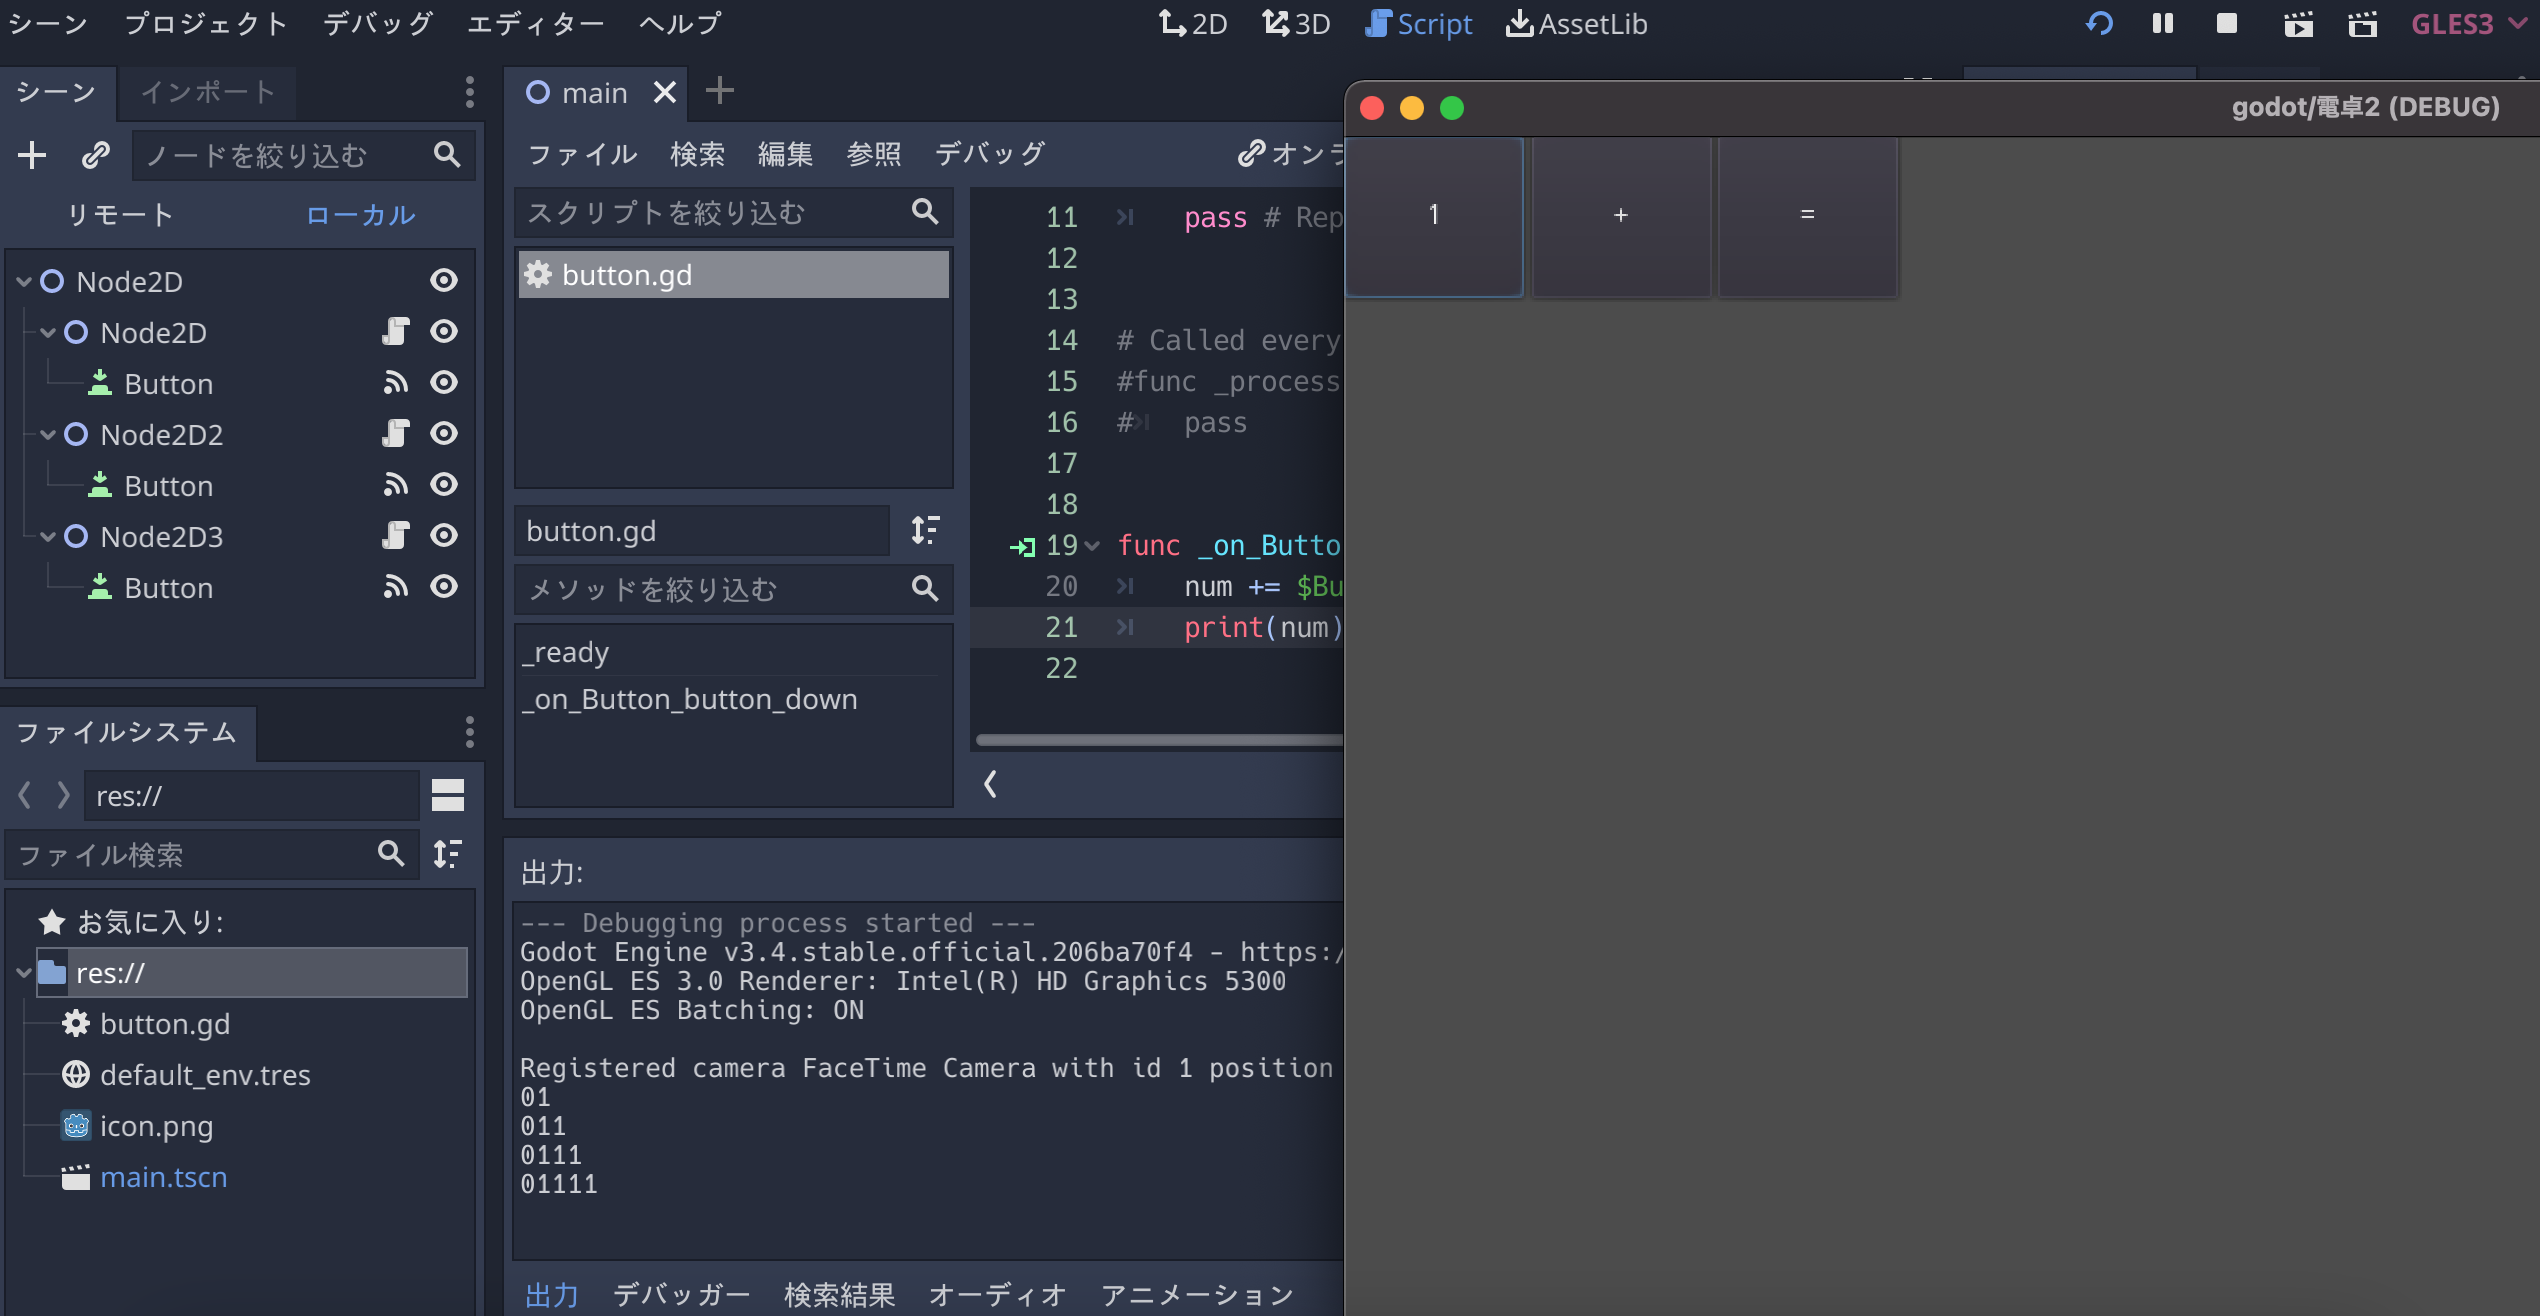
ただ、他の文字を入力すると途端に続かなくなり、それぞれ1や+、=だけが続くように出力されます。
これは各「Node2D-button」の構造において、それぞれ個別に変数numが設定され、そこに個別のボタンテキストの値が代入されていくことで、↑のような結果になるわけです。
つまり、それぞれが独立して動いているので、全てを同じ変数に入れるためには、共有できる変数を用意する必要があります。
ただ、「button.gd」に変数を用意しても先程と同じ結果になるので、一番上の階層にある「Node2D」に別のプログラムを書き込んでいきます。
「Node2D」を選択して、シーンカテゴリ右上の「ページアイコン(緑色の+がついたもの)」をクリックしてファイルを作成します(ここでは名前をmainに変更)。
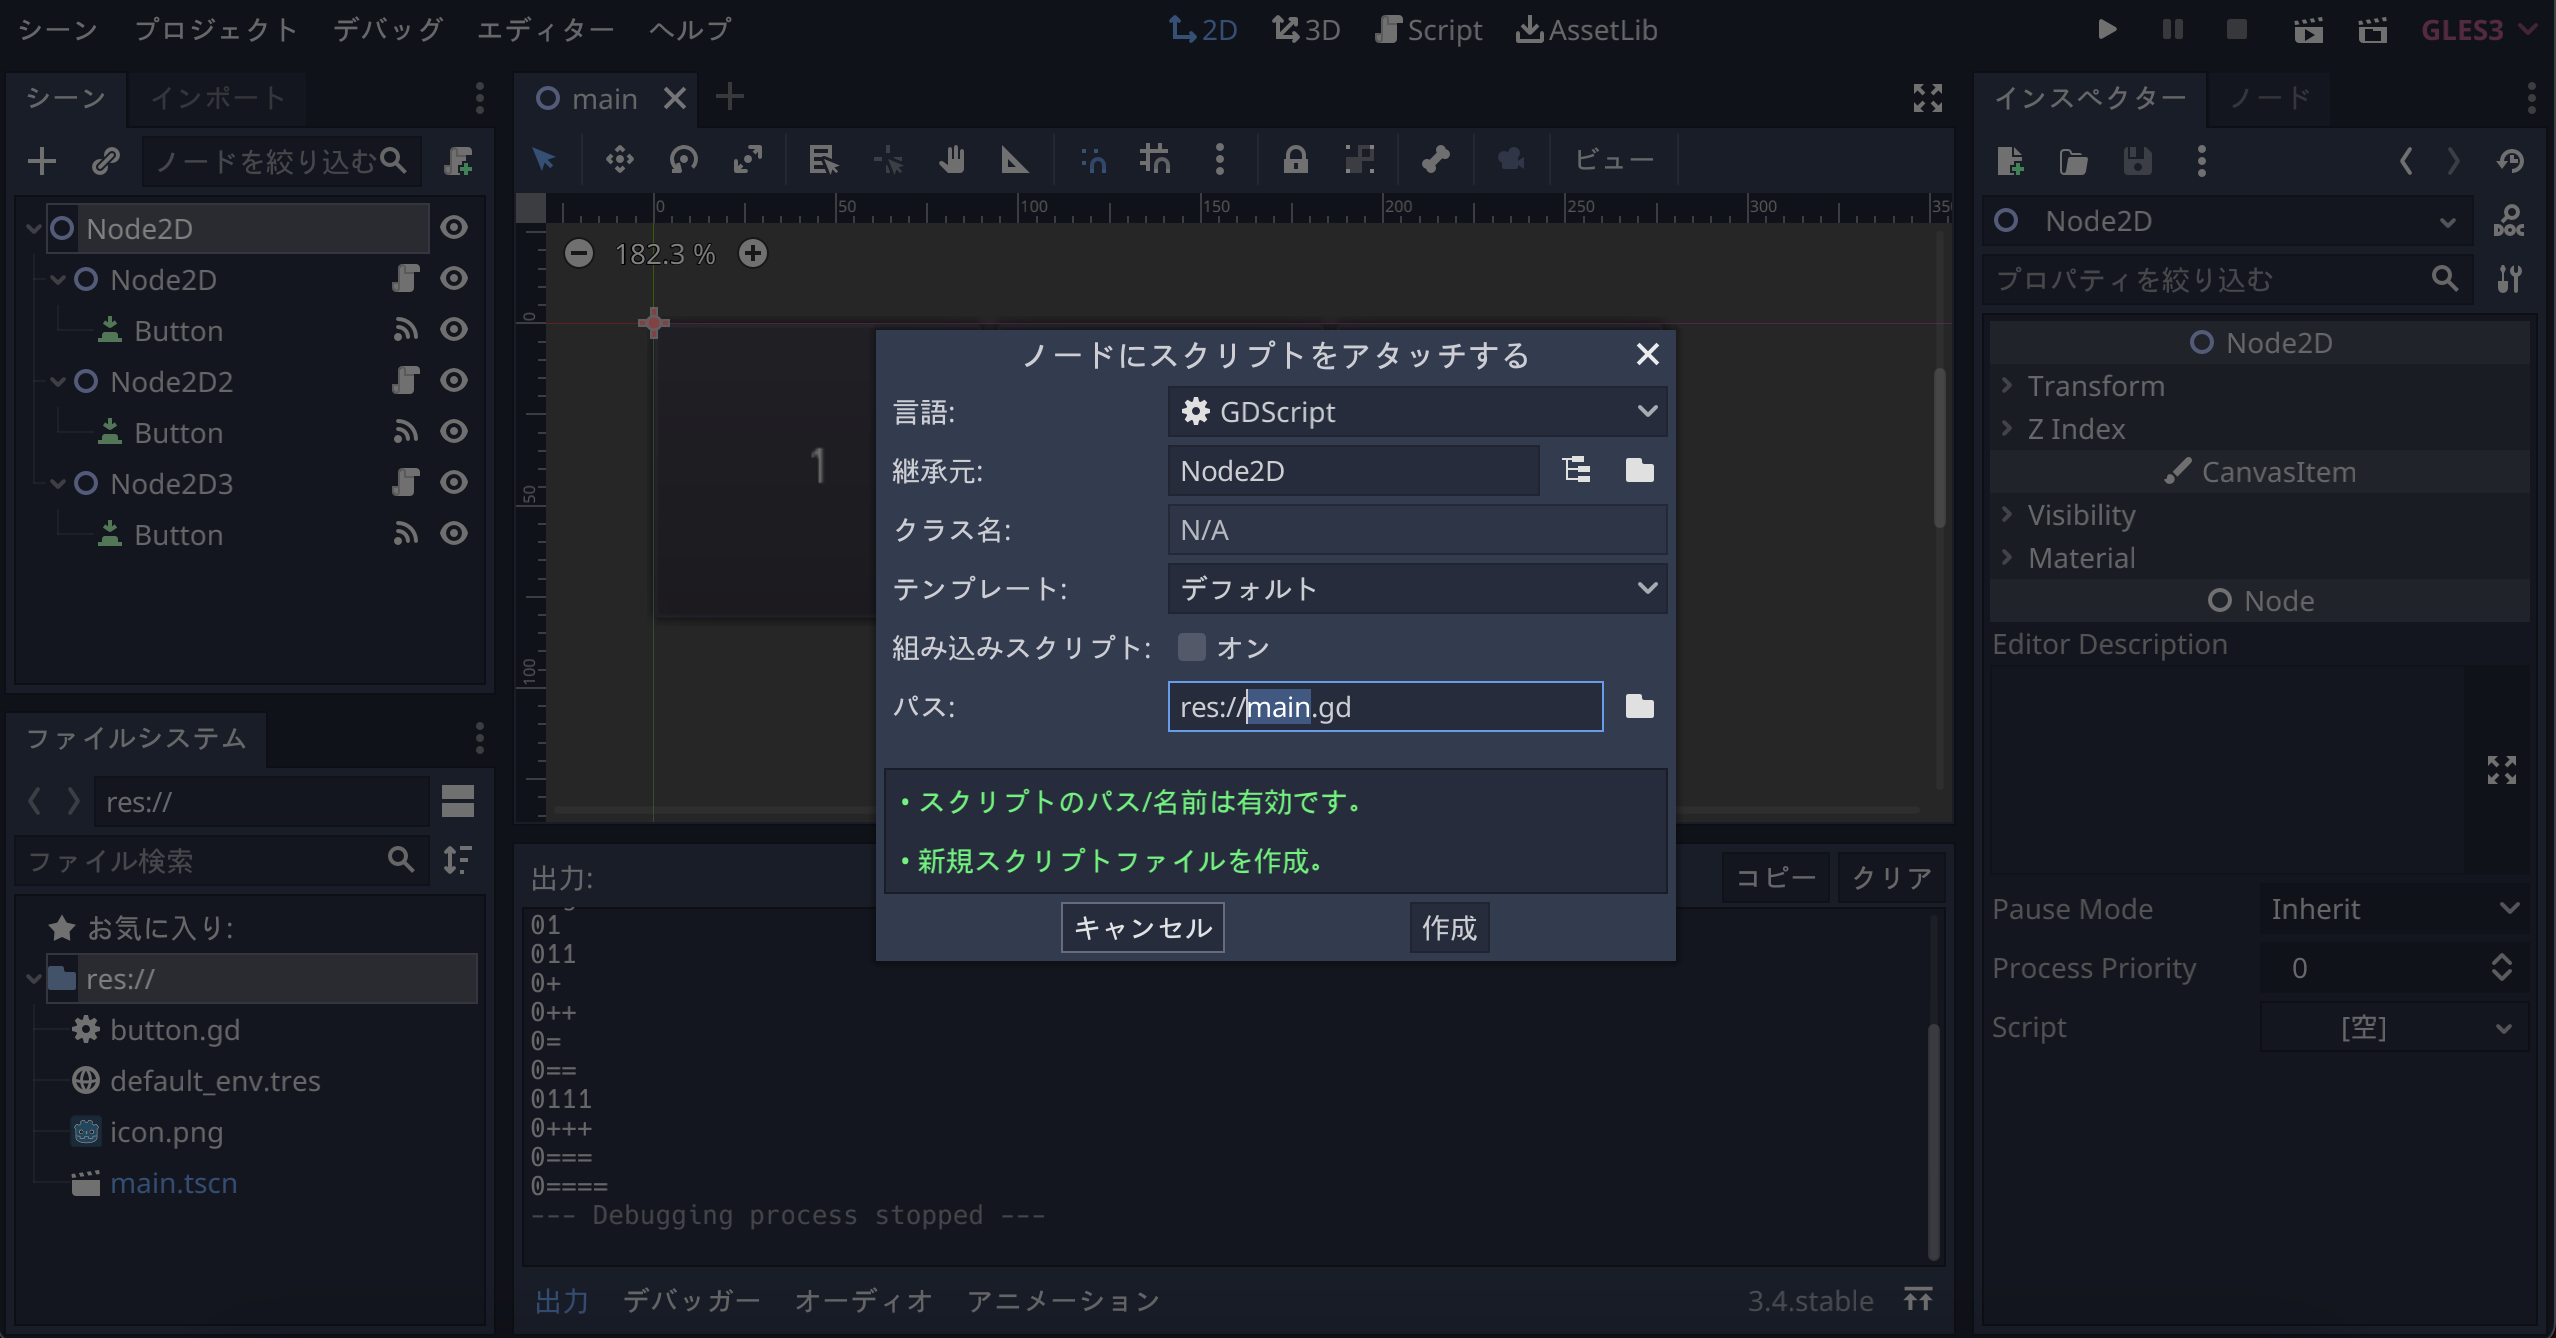
追加されたら

main.gdにて「var num = "0"」と打ち込み

button.gdは以下に書き換え
extends Node2D


# Declare member variables here. Examples:
# var a = 2
# var b = "text"
onready var main = get_node("/root/Node2D")

# Called when the node enters the scene tree for the first time.
func _ready():
	pass # Replace with function body.


# Called every frame. 'delta' is the elapsed time since the previous frame.
# func _process(delta):
#	pass


func _on_Button_button_down():
	main.num += $Button.text
	print(main.num)
変更点
1.onready var main = get_node("/root/Node2D")
main.gdのnum変数をbutton.gdでも使えようにするための宣言。
onreadyは付けないとエラーが帰ってきます。
2.main.num += $Button.text と print(main.num)
そしてmain.gdにあるtextに値を代入する場合はmain.numと書くことになります。
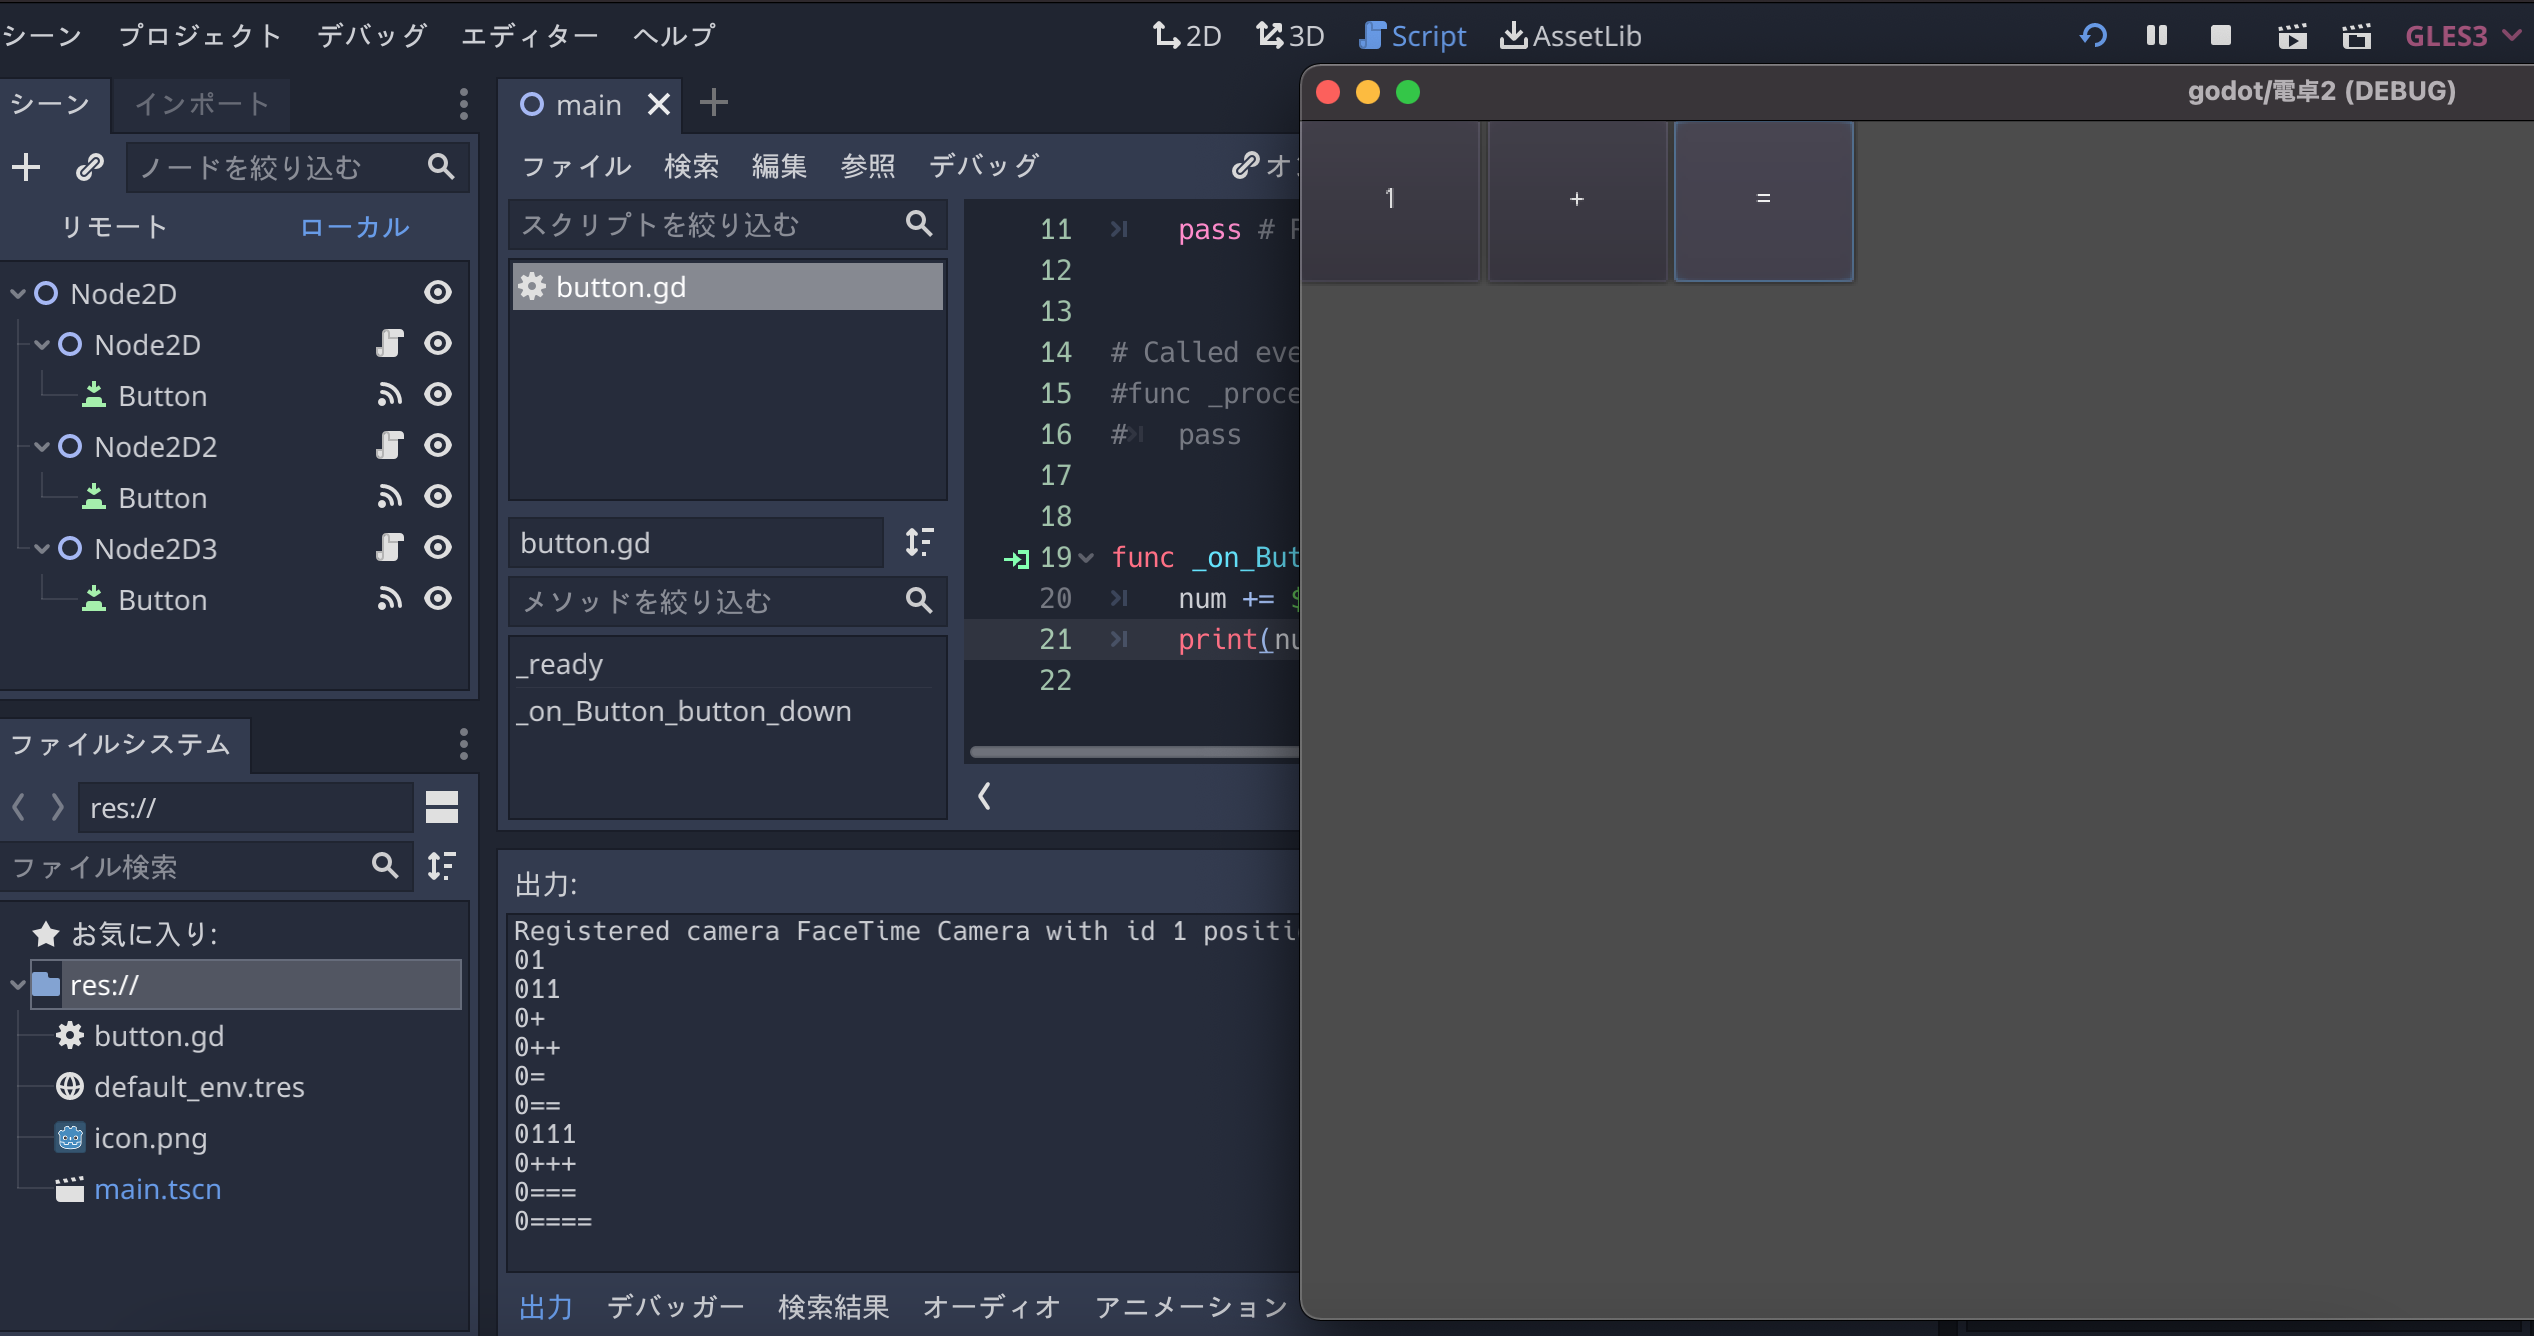
そして実行すると打ち込んだ文字がそのまま直列でひょうじされるようになりました。
次回はここから計算ができるようになる方法を解説していきます。