この記事はOIC ITCreate Club Advent Calendar 2016 12日目の記事です。
はじめに
ITCreate Club Advent Calendar 2016 12日目を担当させていただきます、@t-kusakabeです。
最近やたらSass書いてる気がする(するだけ)ので、Sassについて少し書いてみようかと思います。
Sassって何?
Sasstとはハンプトン・キャトリン[4]が設計しネイサン・バイゼンバウムが開発したスタイルシート言語である。
(wiki参照)
要するにCSSの上位互換みたいな立ち位置ですかね。
メリット
- セレクタのネストができる
- プログラムチックなことができる
- 複数のcssファイルまとめることができる
- 変数が使える
使ってみよう。
とりあえずsassを書いてみましょう。
<!DOCTYPE html>
<html>
  <head>
    <title>sample</title>
    <link rel="stylesheet" type="text/css" href="sample.css">
  </head>

  <body>
    <div class='foo'>
      <div class='foo__hoge'>
        <p class='foo__hoge__fuga'>ITCreate</p>
        <p class='foo__hoge__fuga foo__hoge__fuga--piyo'>ITCreate</p>
      </div>
    </div>
    <div class= 'bar'>
      Advent Calendar
    </div>
  </body>
</html>
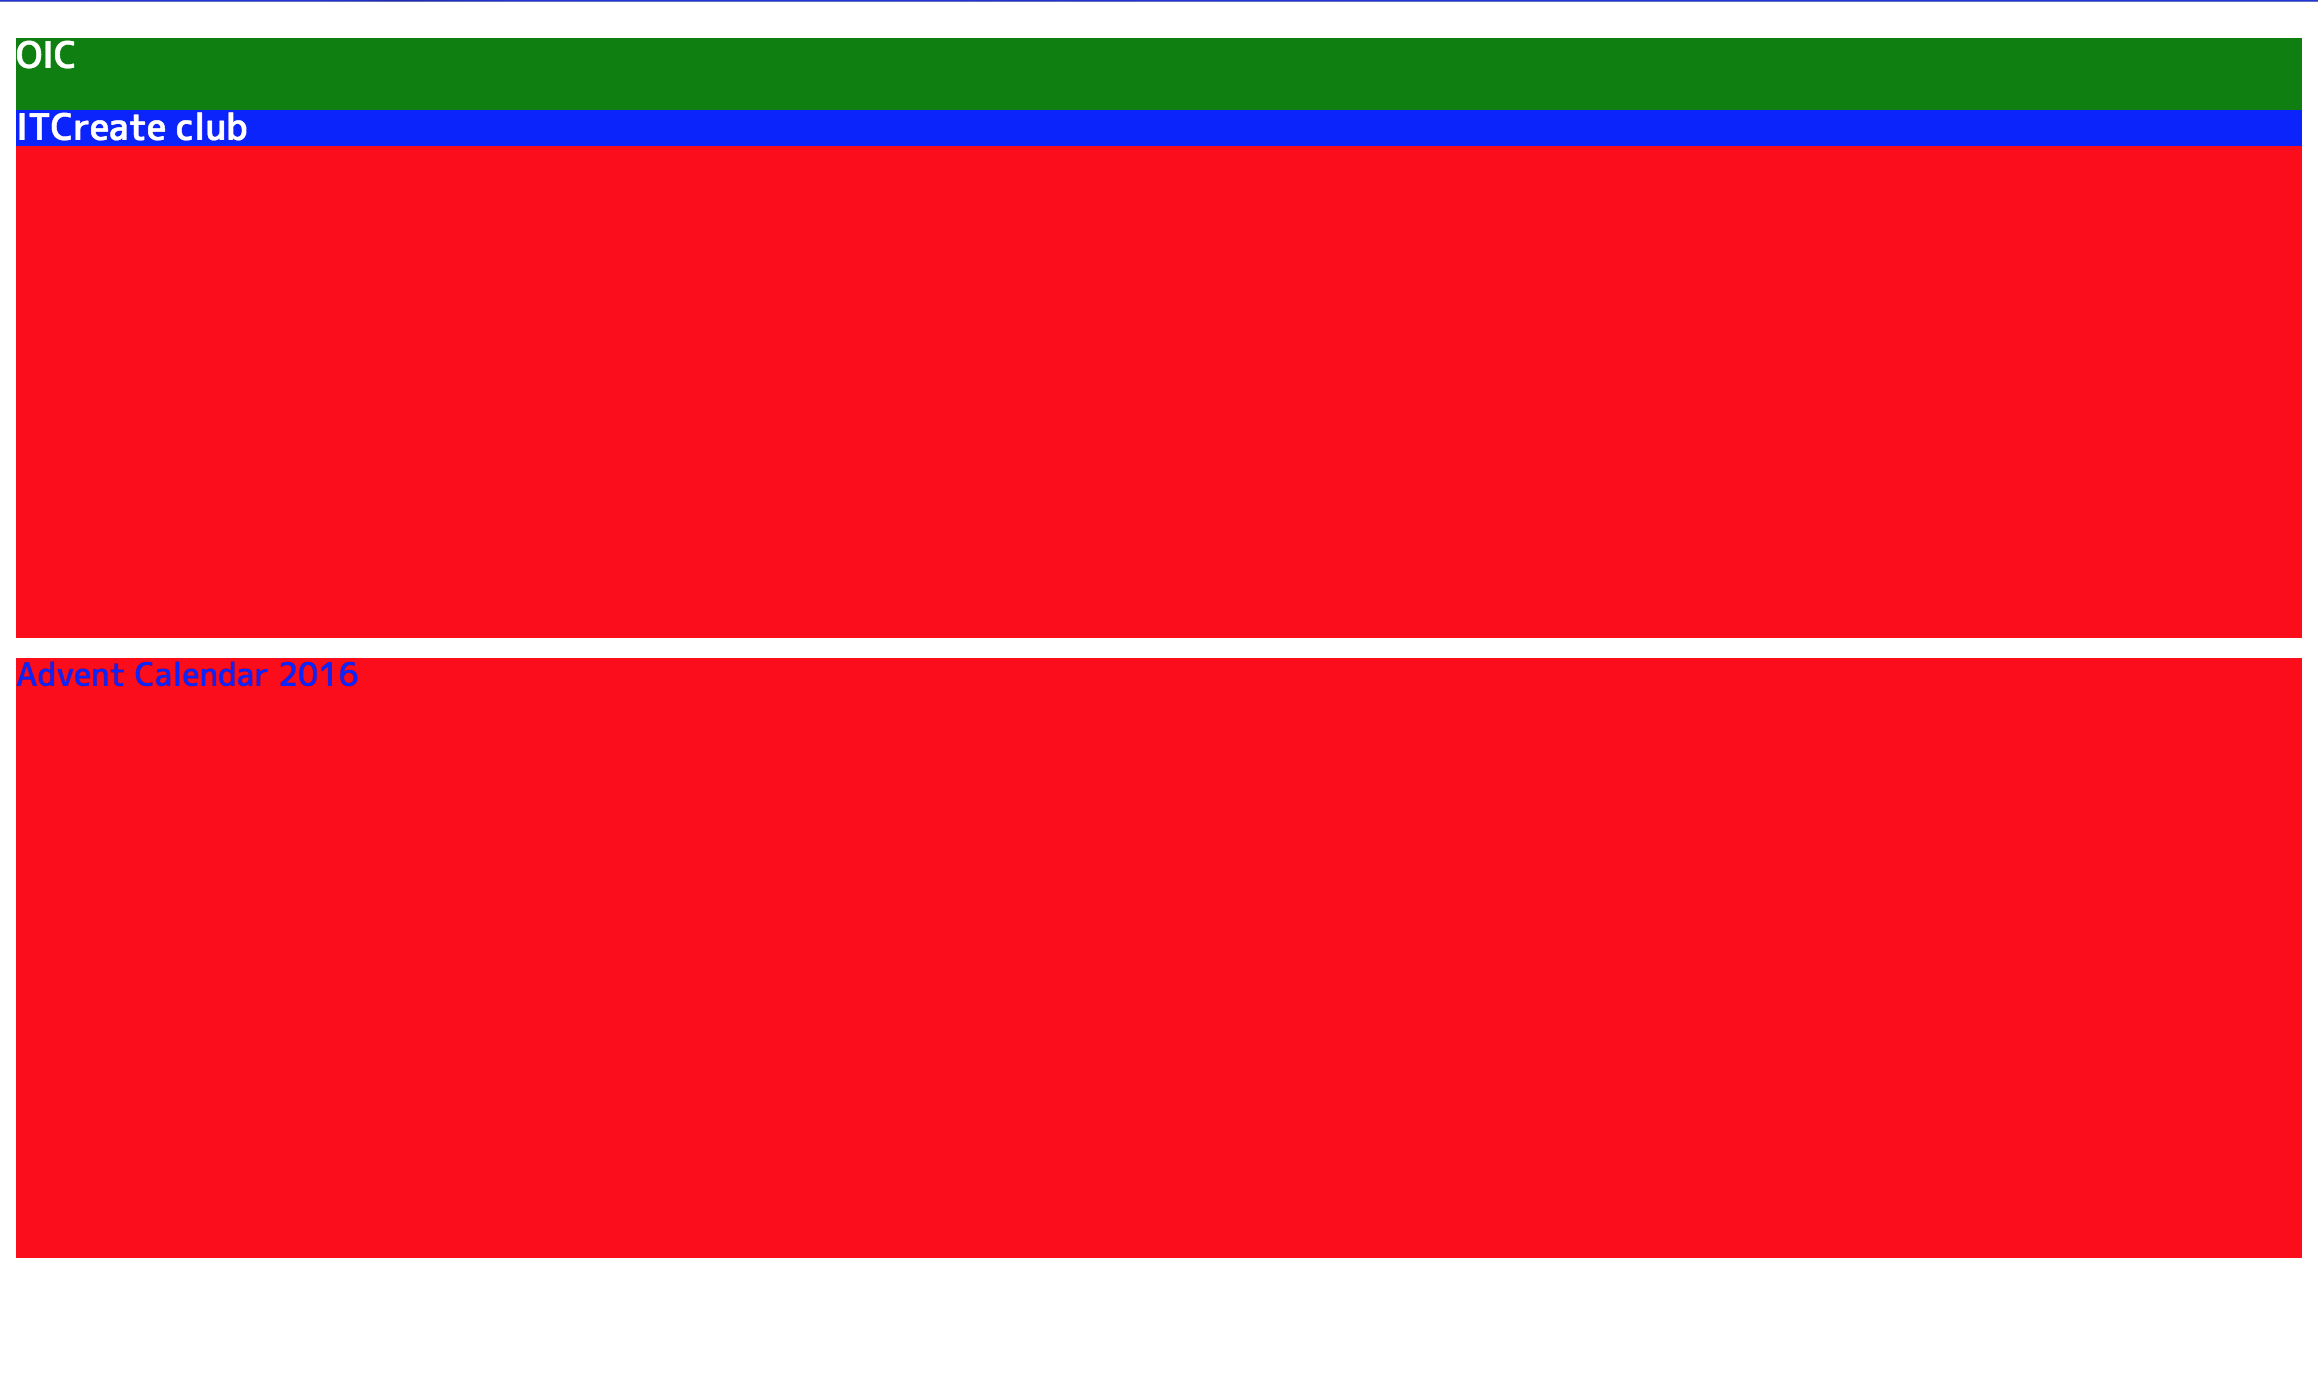
これに適当にCSSを当ててみます。
.foo {
  background-color: red;
  height: 300px;
  color: white;
}
.foo__hoge {
  background-color: green;
}
.foo__hoge__fuga {
  font-size: 18px;
}
.foo__hoge__fuga--piyo {
  background-color: blue;
}
.bar {
  margin-top: 10px;
  background-color: red;
  height: 300px;
  color: blue;
}
こんな感じになりました。
では、実際にsassで。
sassではセレクタをネストして書くことができるので、
.foo {
  background-color: red;
  height: 300px;

  .foo__hoge {
    background-color: green;

    .foo__hoge__fuga {
      font-size: 18px;

      .foo__hoge__fuga--piyo {
        background-color: blue;

      }
    }
  }
}

.bar {
  margin-top: 10px;
  background-color: red;
  height: 300px;
  color: blue;
}
のようにまとめて書くことができます!
各セレクタの関係がわかりやすくなりましたね!
ここからもっとSassの機能を取り入れてみましょう。
&(アンパサンド)
Sassではこの & がすごい便利です!
親セレクタを参照することができます。
.foo {
  background-color: red;
  height: 300px;
  color: white;

  &__hoge {
    background-color: green;

    &__fuga {
      font-size: 18px;

      &--piyo {
        background-color: blue;

      }
    }
  }
}

.bar {
  margin-top: 10px;
  background-color: red;
  height: 300px;
  color: blue;
}
だいぶスッキリ書くことができました!!!
変数
Sassでは変数を使うことができます!
16進数で色を指定するときや、header、footerなどの幅を変数化することでわかりやすくできます。
$red: red;
$white: white;
$green: green;
$blue: blue;
$foo_height: 300px;
$fuga_font_size: 18px;
$bar_margin_top: 10px;

.foo {
  background-color: $red;
  height: $foo_height;
  color: $white;

  &__hoge {
    background-color: $green;

    &__fuga {
      font-size: $fuga_font_size;

      &--piyo {
        background-color: $blue;
      }
    }
  }
}

.bar {
  margin-top: $bar_margin_top;
  background-color: $red;
  height: $height;
  color: $blue;
}
変数化することで重複する部分を一元管理できたり、マジックナンバー的なものをなくせたりできます。
パーシャル
パーシャルとはCSSファイルを複数に分割することです。
機能ごとなど、複数のCSSファイルに分割することでCSSファイルの肥大化を防ぐことができます。
ファイルを分割するときにはファイル名の先頭に _ をつけます。( _ をつけることで分割されているファイルであることを明示的に示します。)
読み込む側のファイルで @import 'ファイル名'; とすることで呼び出せます。
@import 'variable';
@import 'bar';

.foo {
  background-color: $red;
  height: $foo_height;
  color: $white;

  &__hoge {
    background-color: $green;

    &__fuga {
      font-size: $fuga_font_size;

      &--piyo {
        background-color: $blue;
      }
    }
  }
}
$red: red;
$white: white;
$green: green;
$blue: blue;
$height: 300px;
$fuga_font_size: 18px;
$bar_margin_top: 10px;
.bar {
  margin-top: $bar_margin_top;
  background-color: $red;
  height: $height;
  color: $blue;
}
mixin
mixinとはいくつかの記述をまとめることができる機能です。
mixinを利用することで、再利用性が増すため、何度も同じ記述をする必要がなくなります!
@mixin で定義し、 @include で呼び出すことができます。
@import 'variable';
@import 'mixin';
@import 'bar';

.foo {
  color: $white;
  @include mixin;

  &__hoge {
    background-color: $green;

    &__fuga {
      font-size: $fuga_font_size;

      &--piyo {
        background-color: $blue;
      }
    }
  }
}
.bar {
  margin-top: $bar_margin_top;
  color: $blue;
  @include mixin;
}
@mixin mixin {
  background-color: $red;
  height: $height;
}
まとめ
Sassを使うことでより効率的にCSSを書くことができるようになります!
他にもSassには色々な機能があります。
興味を持たれた方は是非一度使ってみてください。

