Amplify Studio とは
先日の re:Invent2021 で Figma から React コンポーネントコードを生成する AWS Amplify Studio が発表されました。これはその調査記事です。
AWS Amplifyにおいて、Amplifyの強力なバックエンドとの統合・管理機能を持ち、最小限のコーディングでUI開発を加速する新機能(パブリックプレビュー)をフロントエンド開発者に提供するGUI開発環境「AWS Amplify Studio」を発表しました。
Amplify Studioは、Figmaで作成されたデザインを人間が読めるReactのコンポーネントコードに自動的に変換します。また、Amplify Studioでは、開発者が生成されたコンポーネントをアプリのバックエンドデータに視覚的に接続することができます。
これまでAmplify Admin UIが持っていたバックエンドの設定と管理機能(「データ」、「認証」、「ストレージ」など)は、今後Amplify Studioの一部となり、統一されたインターフェイスを提供することで、開発者がフルスタックのアプリをより高速に構築できるようになります。
何がうれしいのか?
デザイナーとプログラマーの役割が変わります。
これまでのデザイナーとプログラマー
■ デザイナー
- デザインを作成
- 会議でデザインを確認、決定
- 完成したデザインをプログラマーに渡す
■ プログラマー
4. 完成したデザインをプログラムパーツに落とし込む
5. デザインパーツを使って、サイト/アプリを構築
6. データ・機能の開発をする
これからのデザイナーとプログラマー
■ デザイナー
- Figma でデザインを作成
- 共有リンクでデザインをオンラインで確認、決定。
- Amplify Studio で Figma から React コンポーネントコードを自動生成してプログラマーに渡す
■ プログラマー
4. 自動生成された React コンポーネントコードを使って、サイト/アプリを構築
5. データ・機能の開発に集中
こんな仕事の仕方になる日も近いかも知れません。
Amplify 環境セットアップ
事前準備です。
Amplify CLI のインストール
npm install -g @aws-amplify/cli
React プロジェクト作成
npx create-react-app amplify-studio-ui-library-prac --template typescript
cd amplify-studio-ui-library-prac
UI Library(プレビュー版)を実際に触ってみる
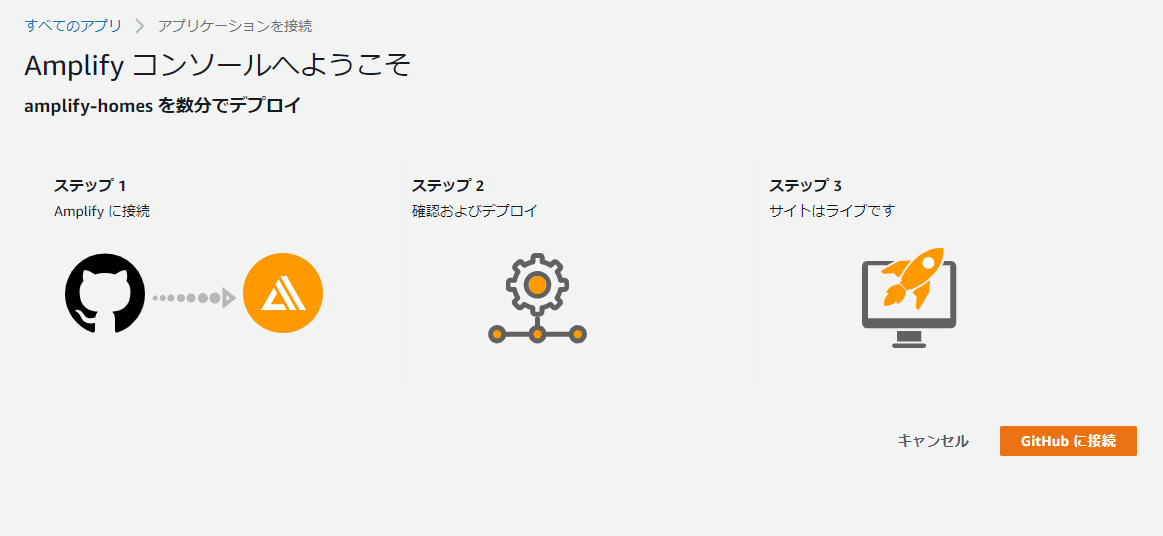
チュートリアル途中にある Deploy with Amplify Hostingを押して下さい。
Github に接続
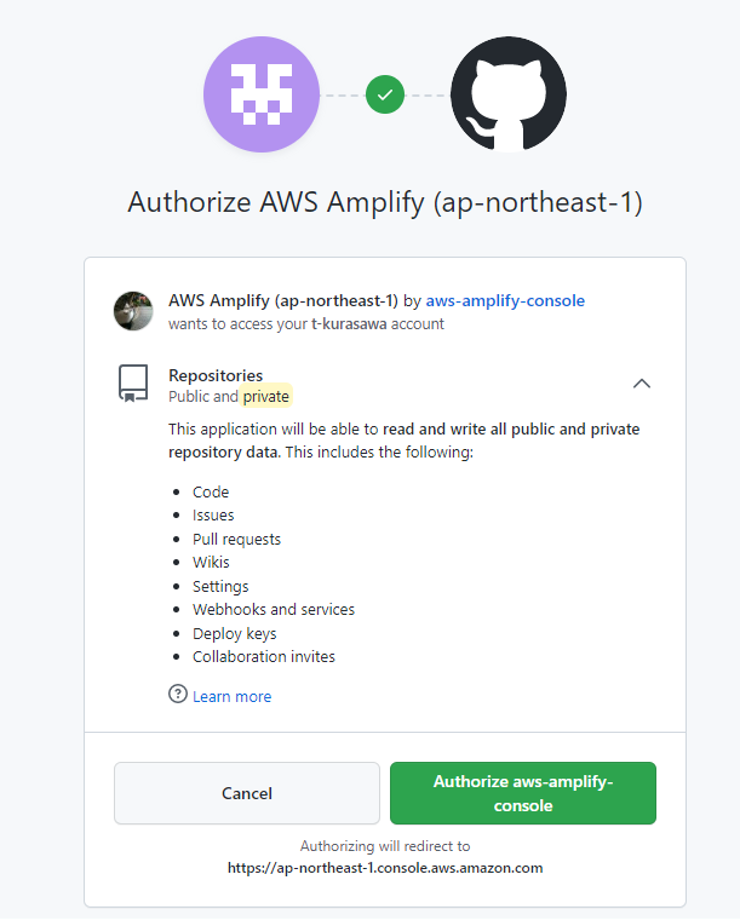
接続を許可
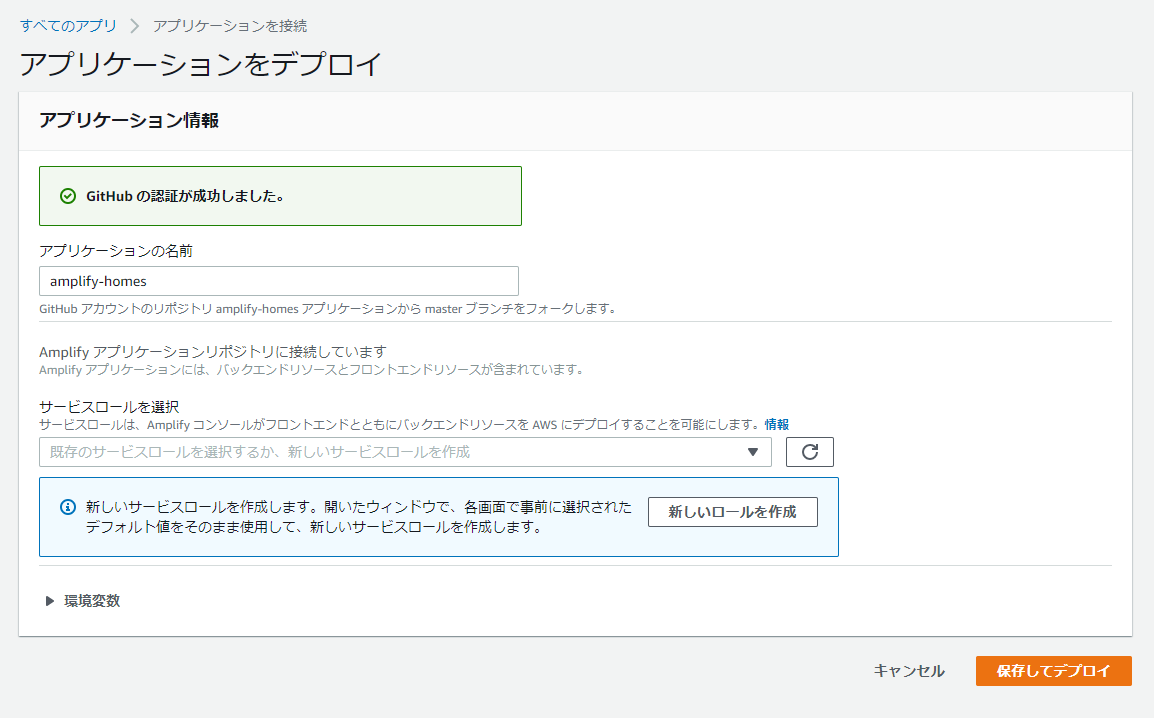
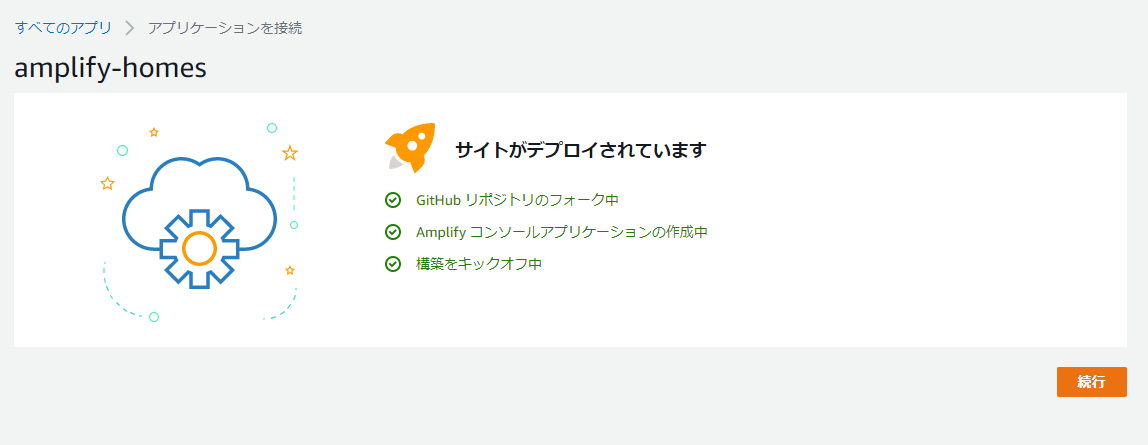
サンプルアプリケーションをデプロイ
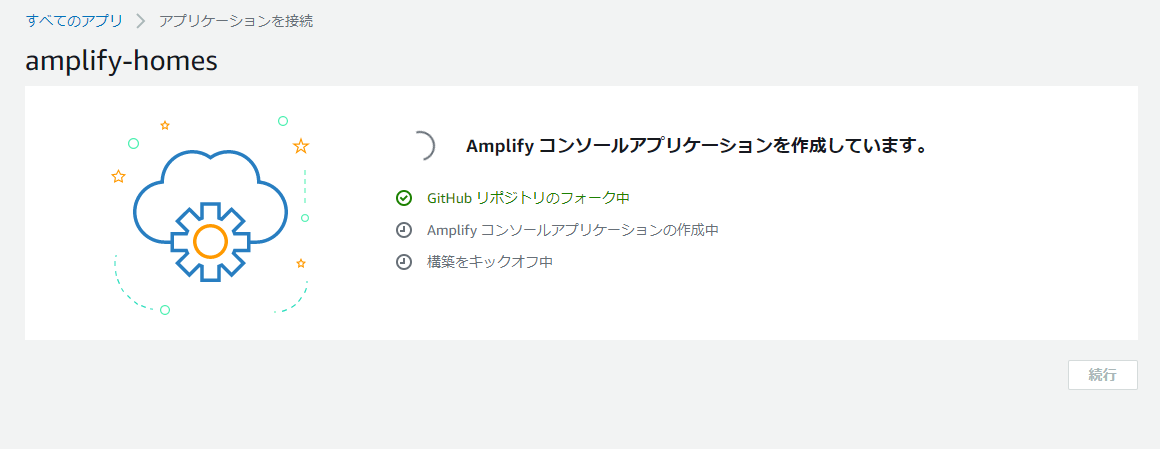
Amplifyコンソールアプリケーションを作成
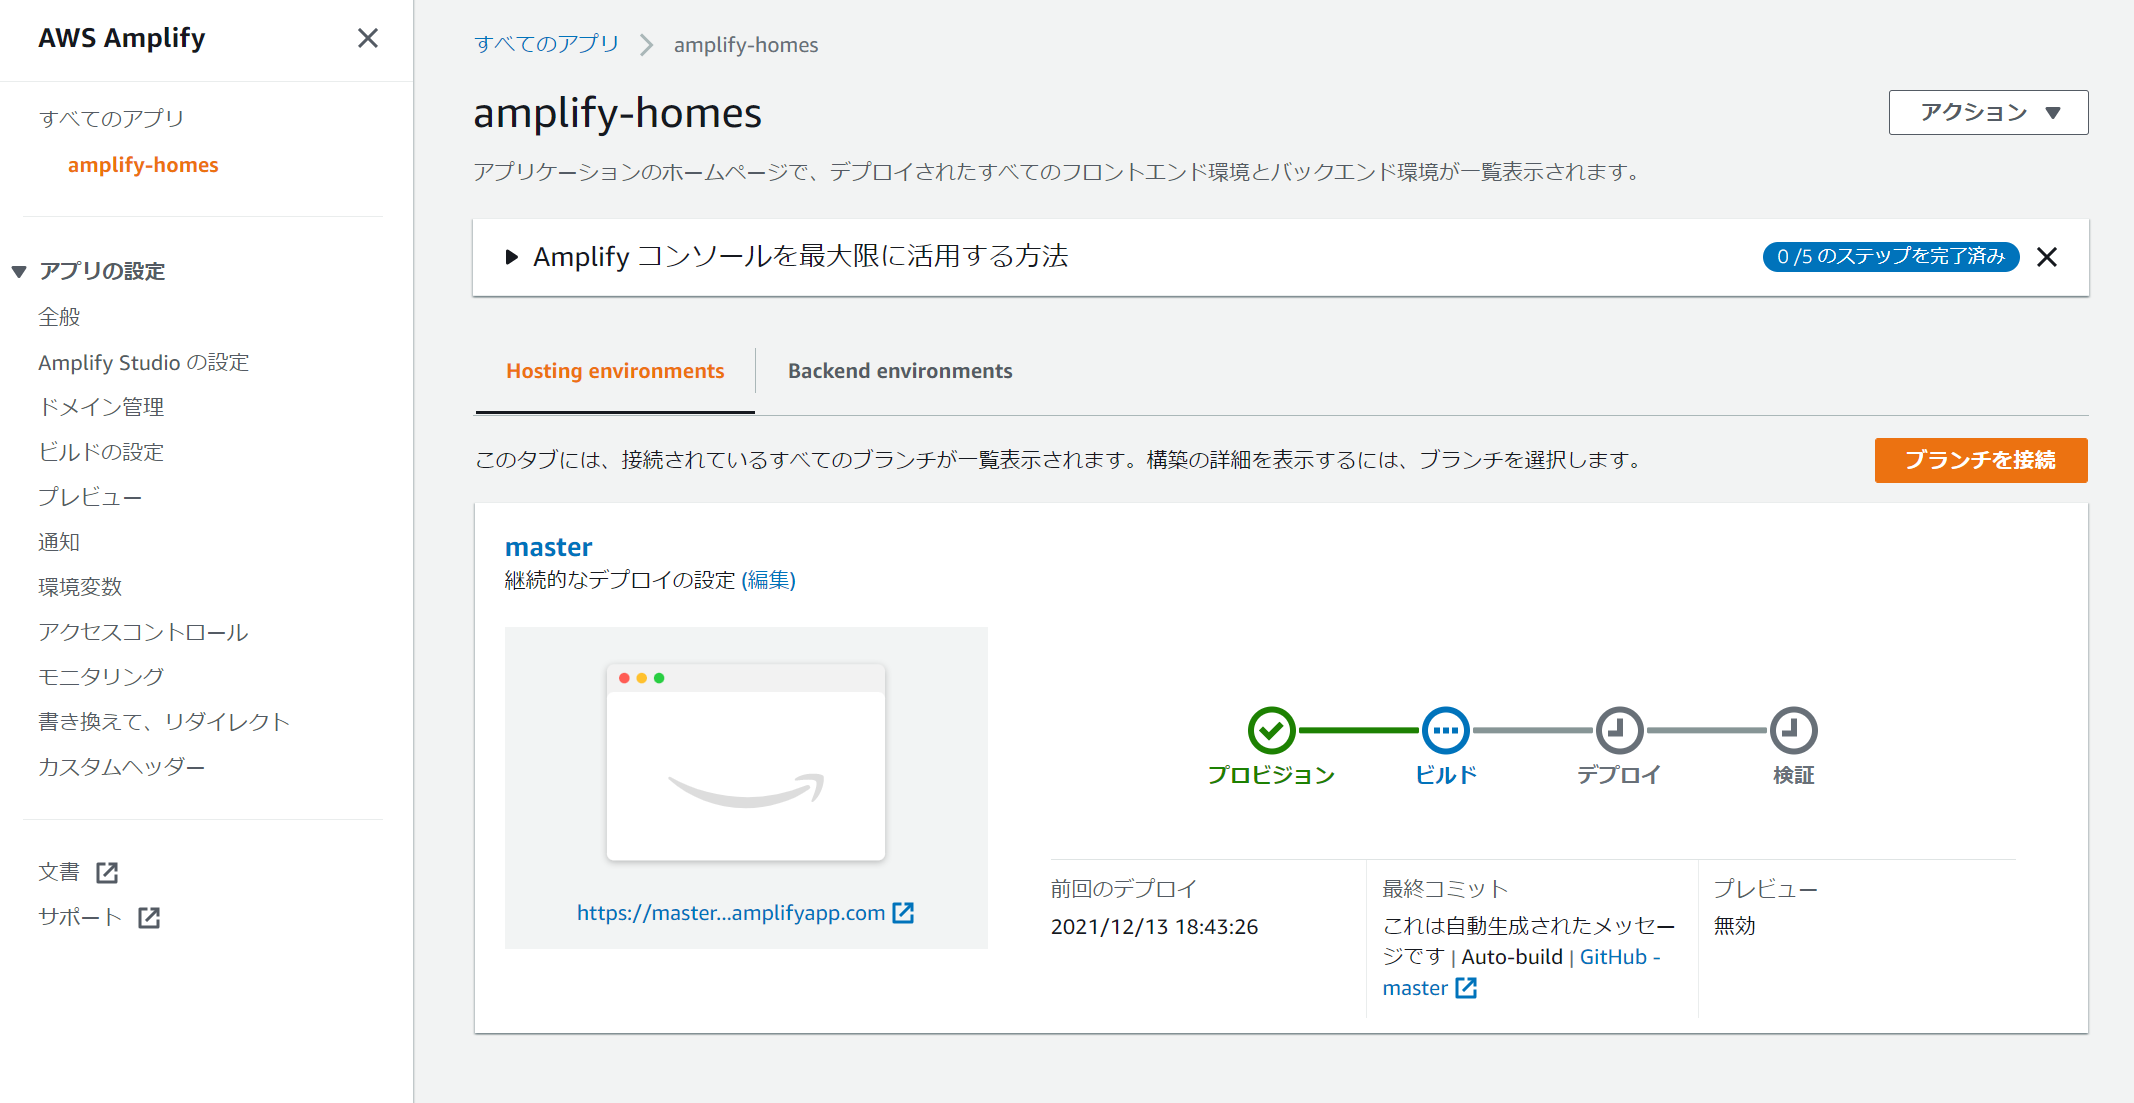
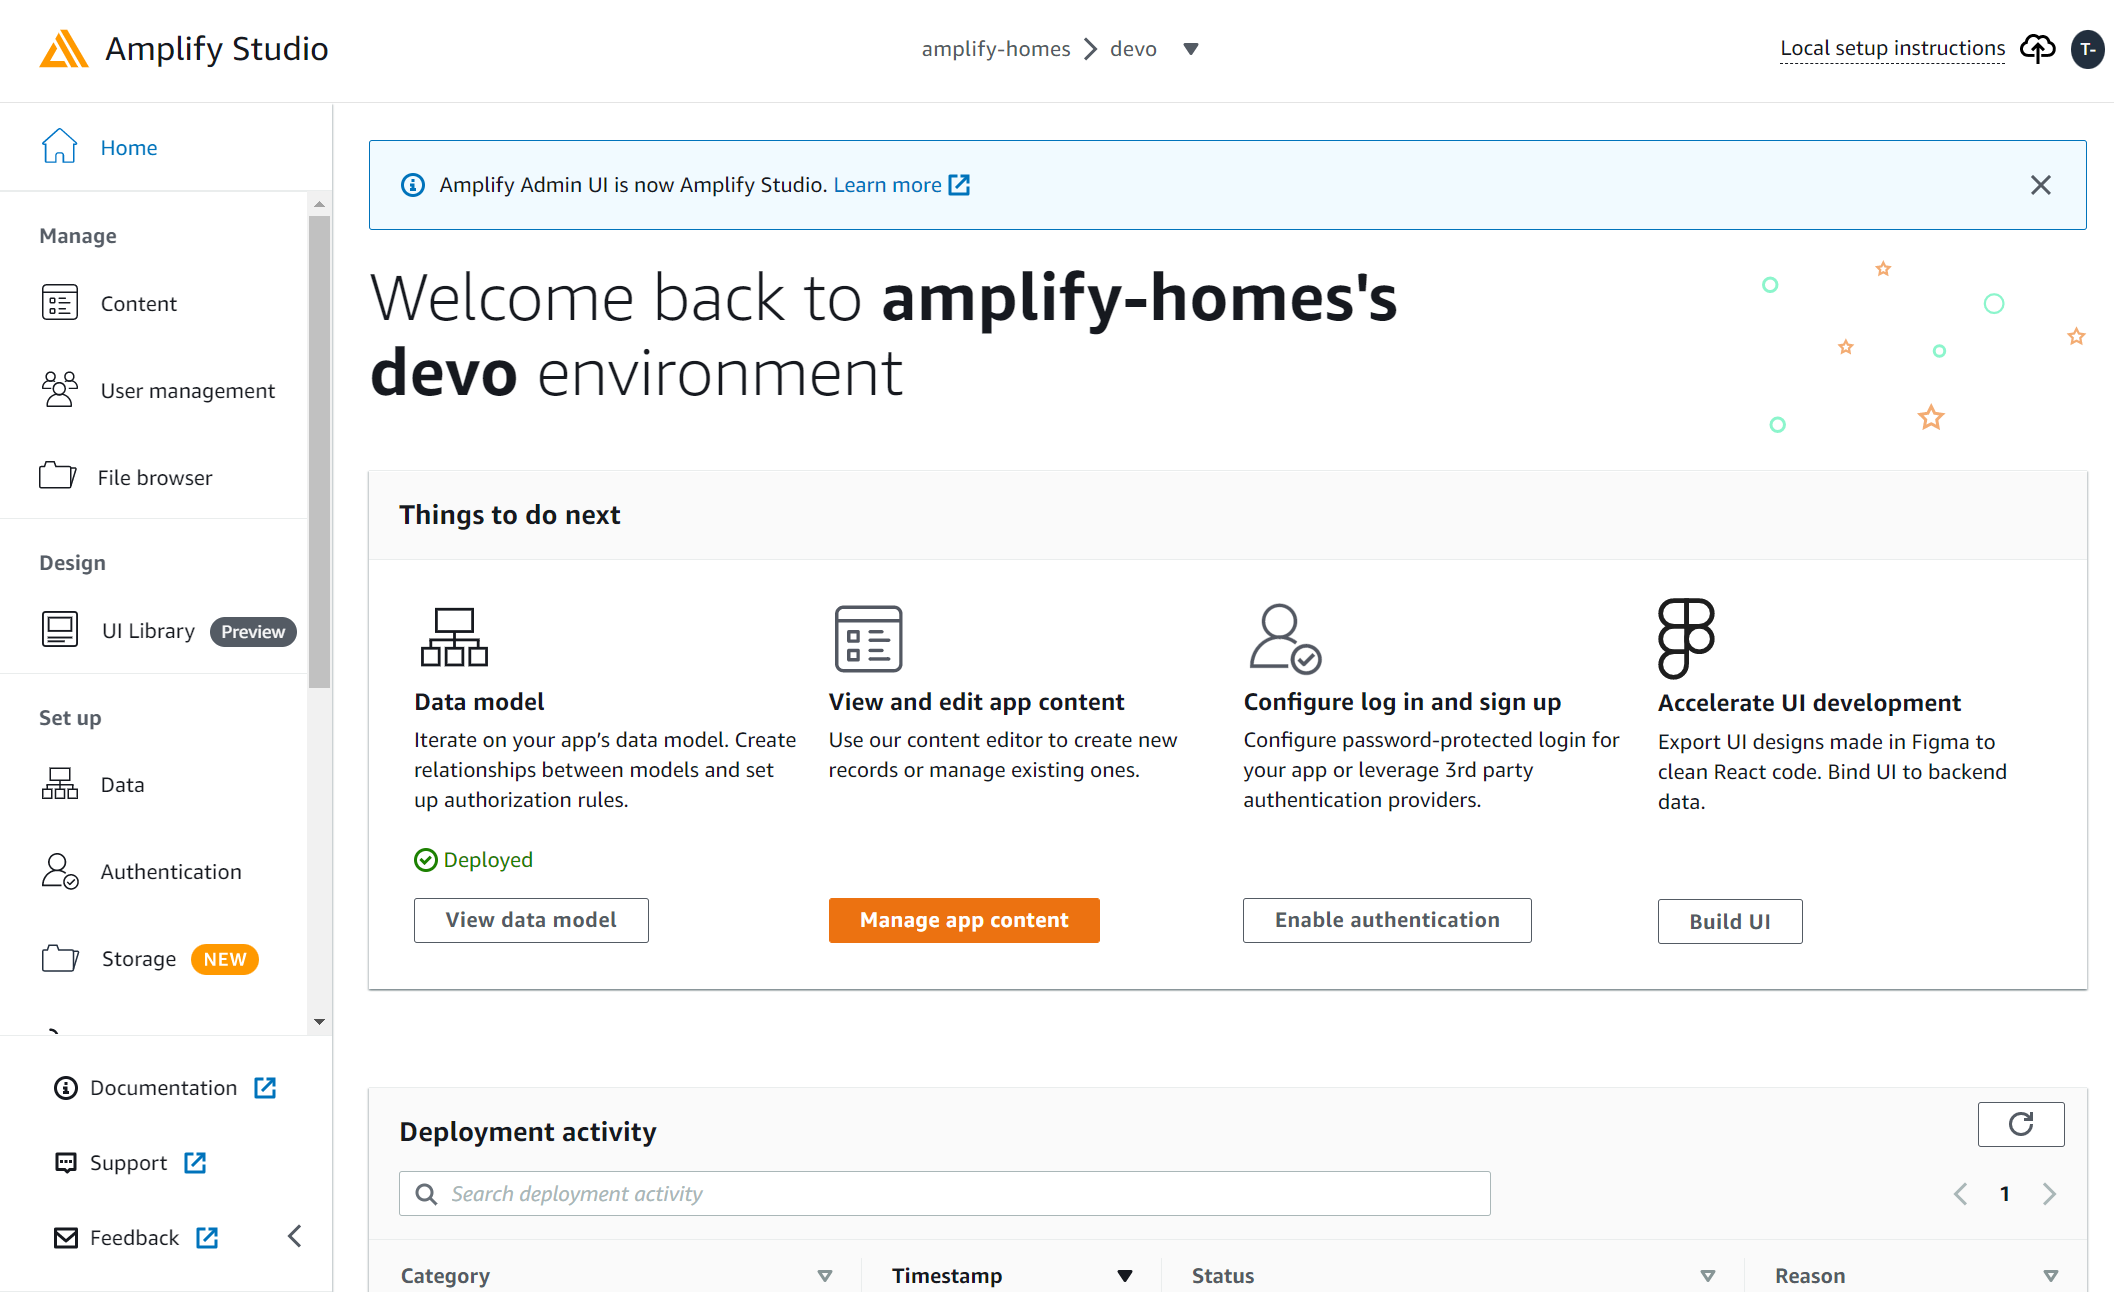
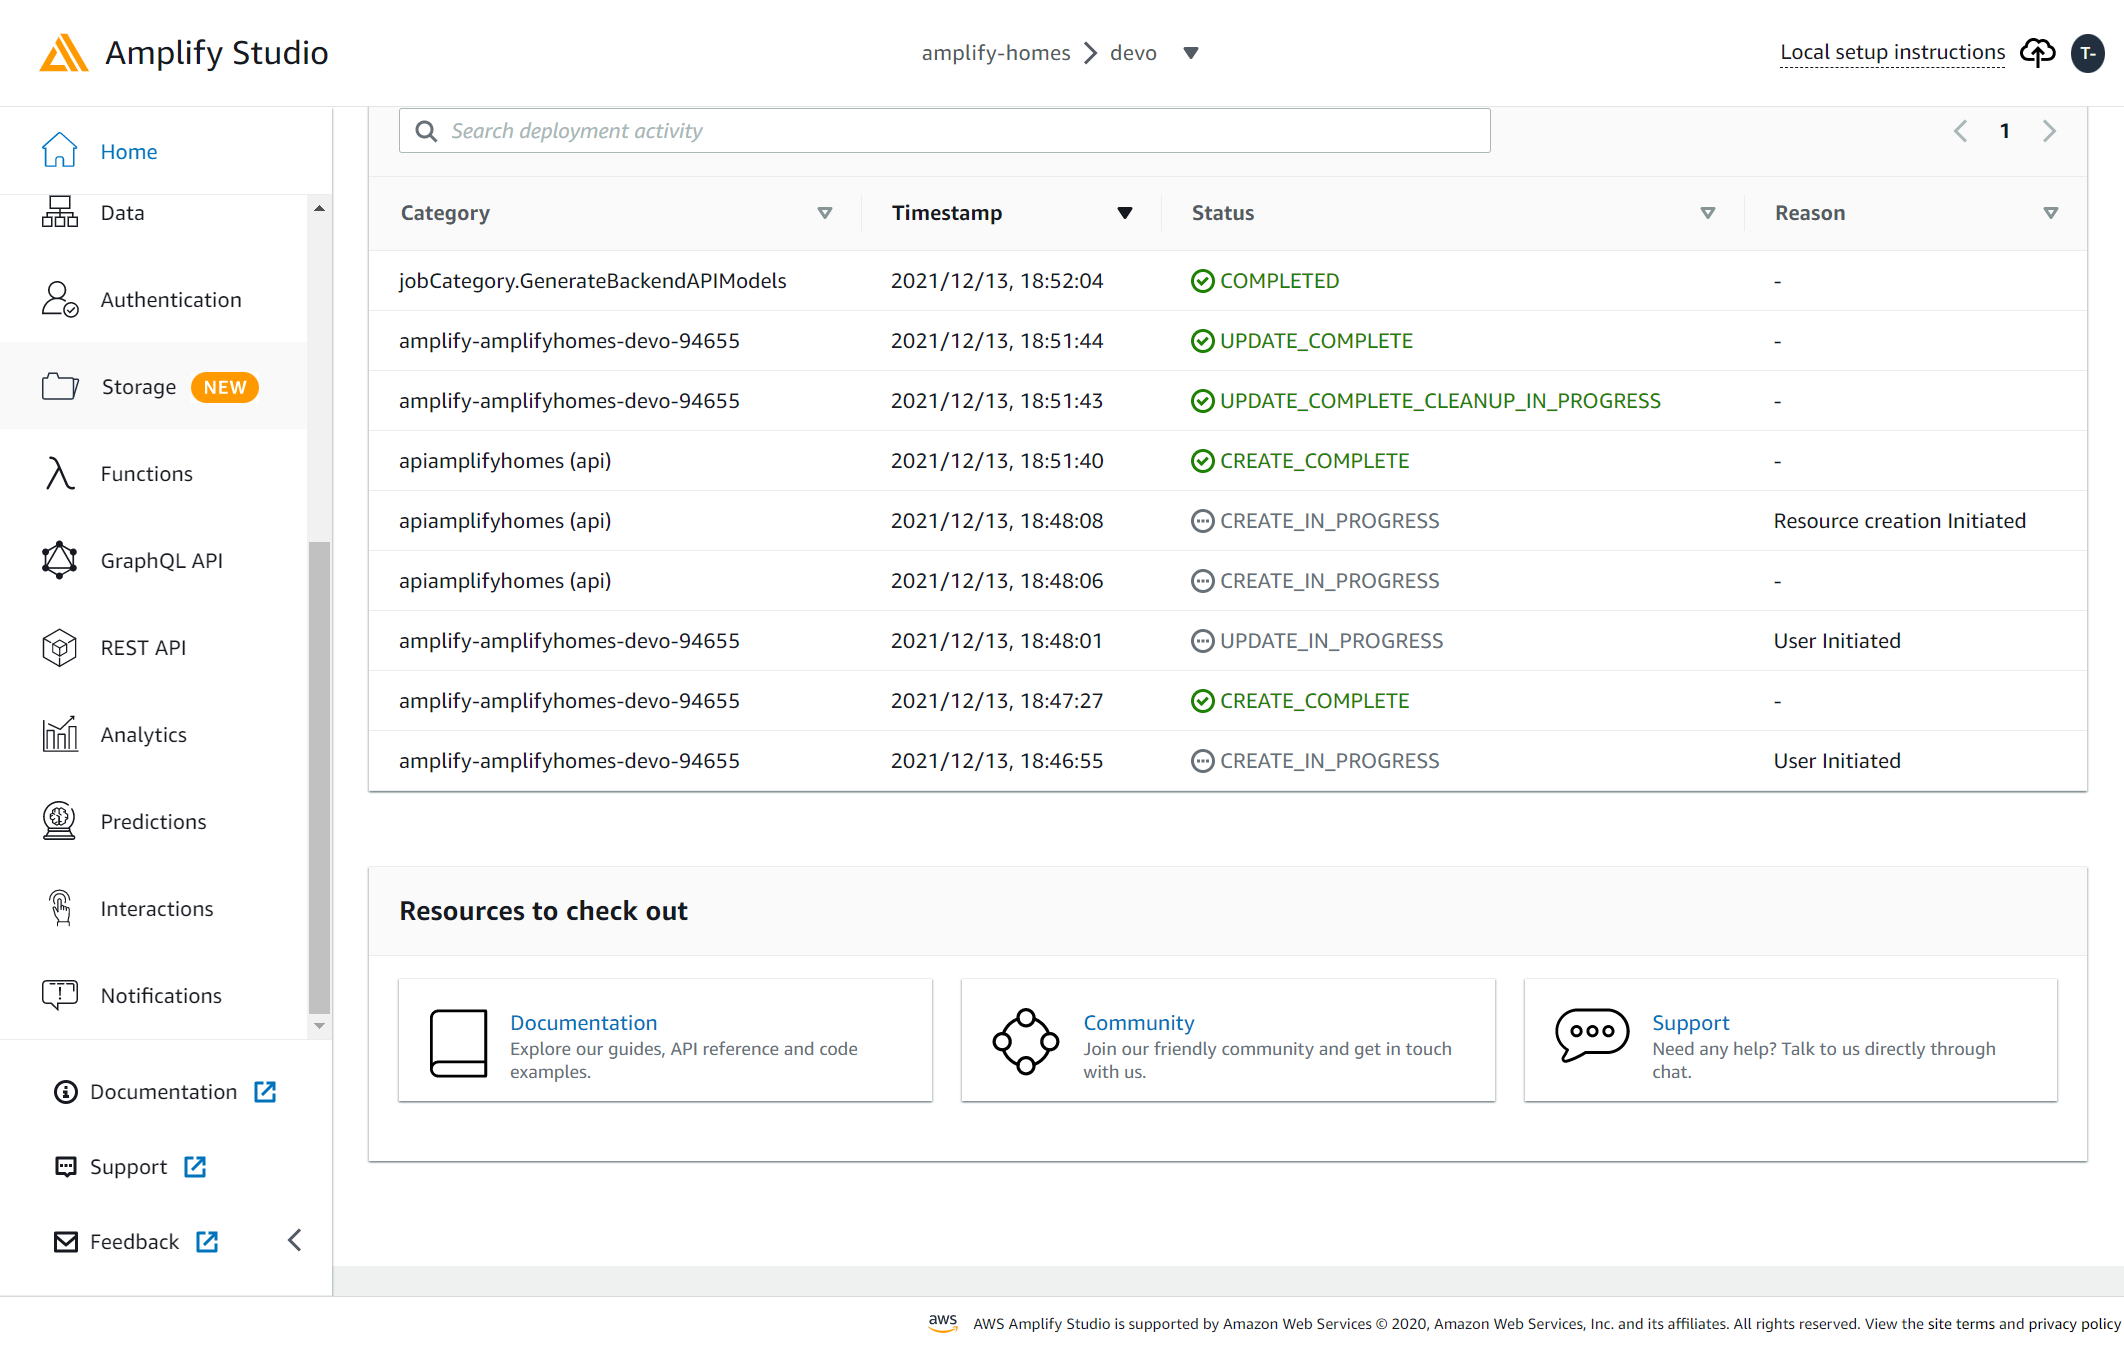
Amplify Studio のホームページ
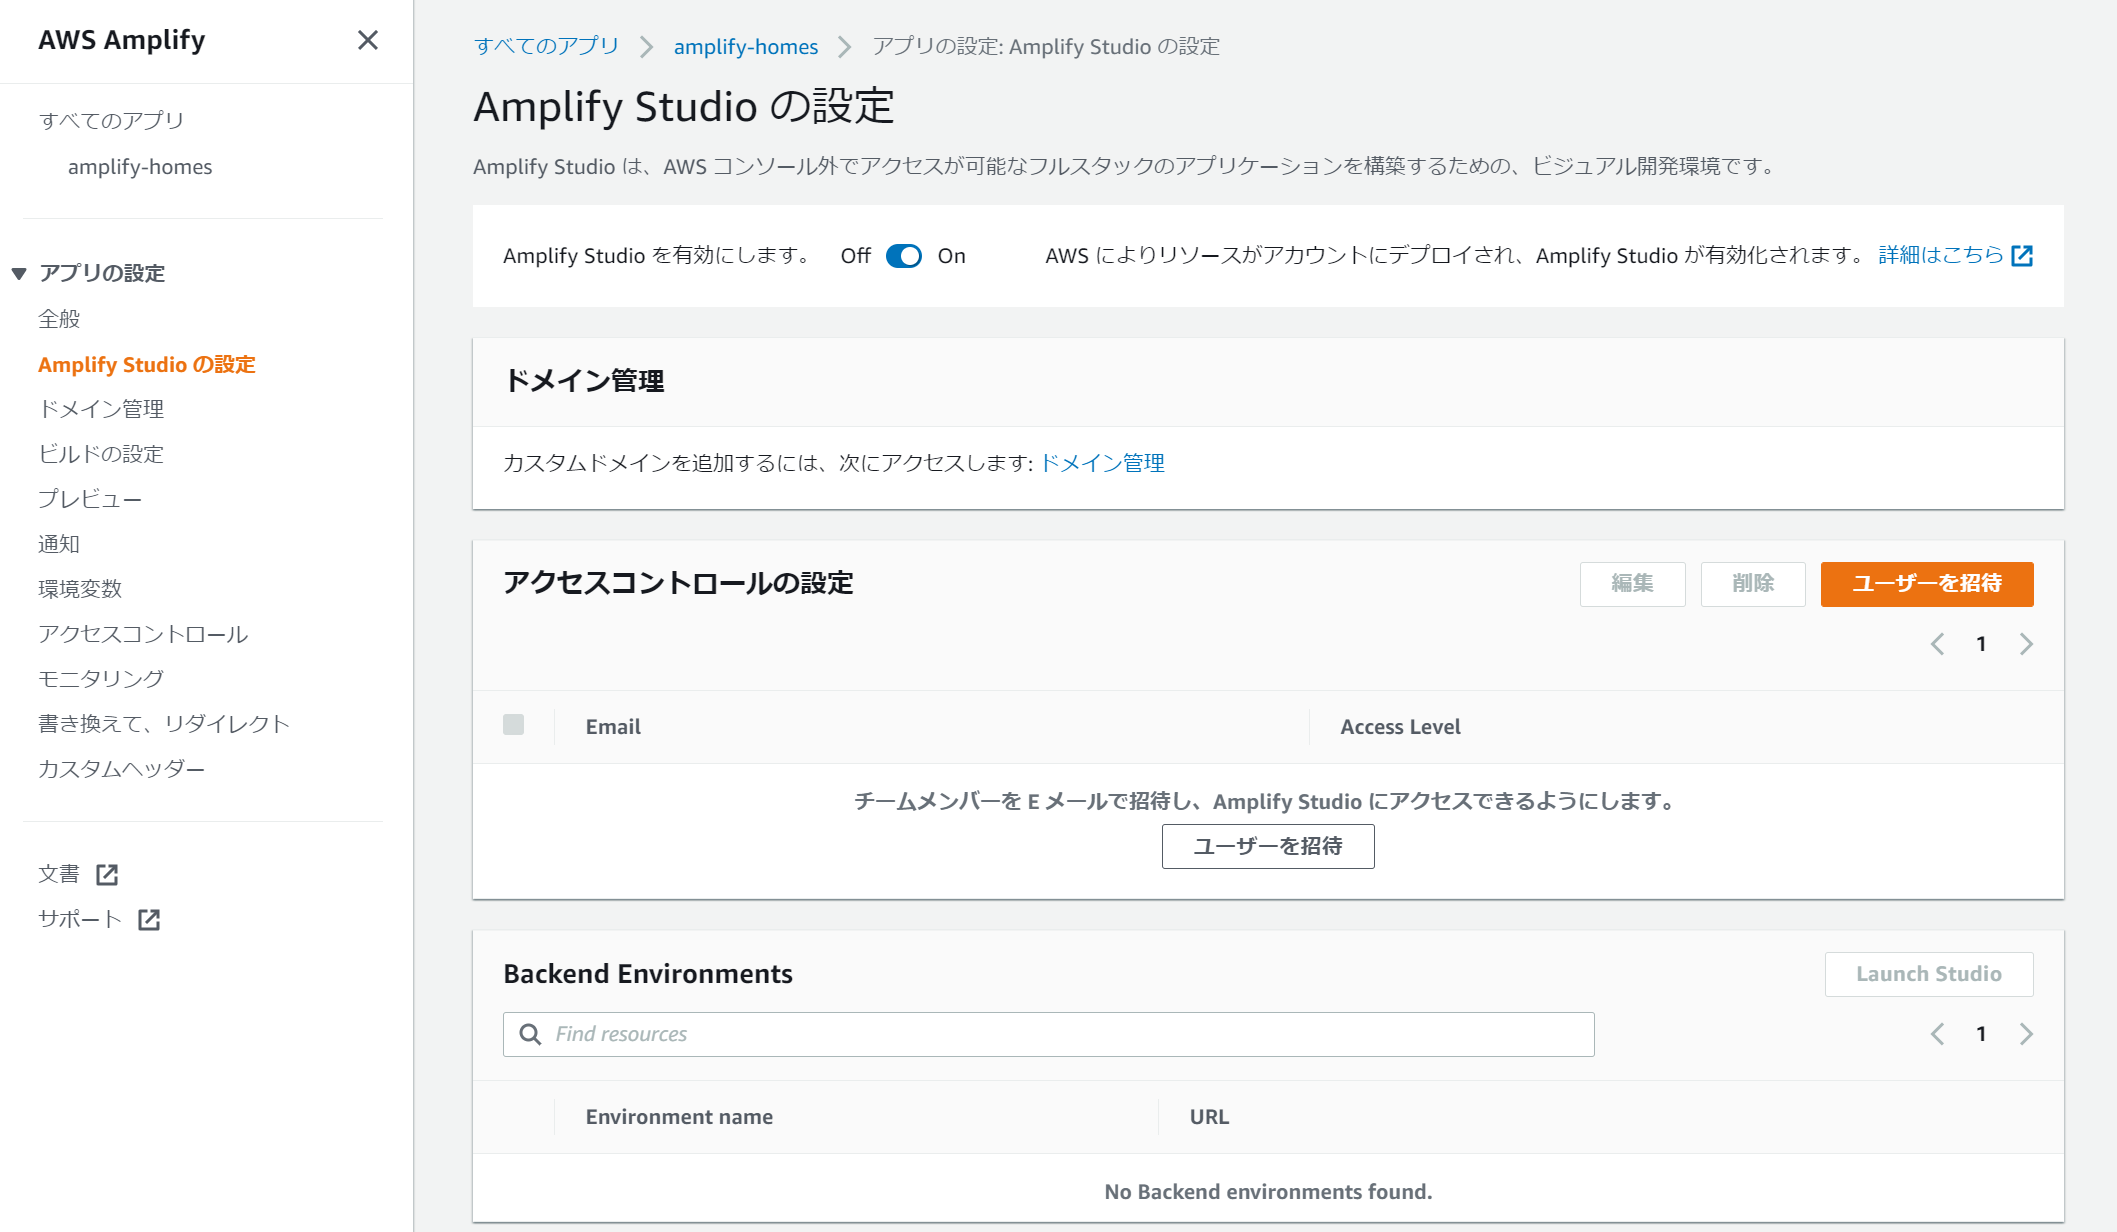
Amplify Studio の設定
Amplify Studio を有効にします: ON
アクセスコントロールの設定でユーザーを招待するとパスワードがメールで届きます。Visit the Amplify Studio UI のリンクをクリックしてください。
Hi!
You are invited to collaborate on the amplifyhomes (*******) project on AWS Amplify.
Your temporary credentials are:
Username: 招待したメールアドレス
Temporary Password: 初期パスワード
Visit the Amplify Studio UI to get started!
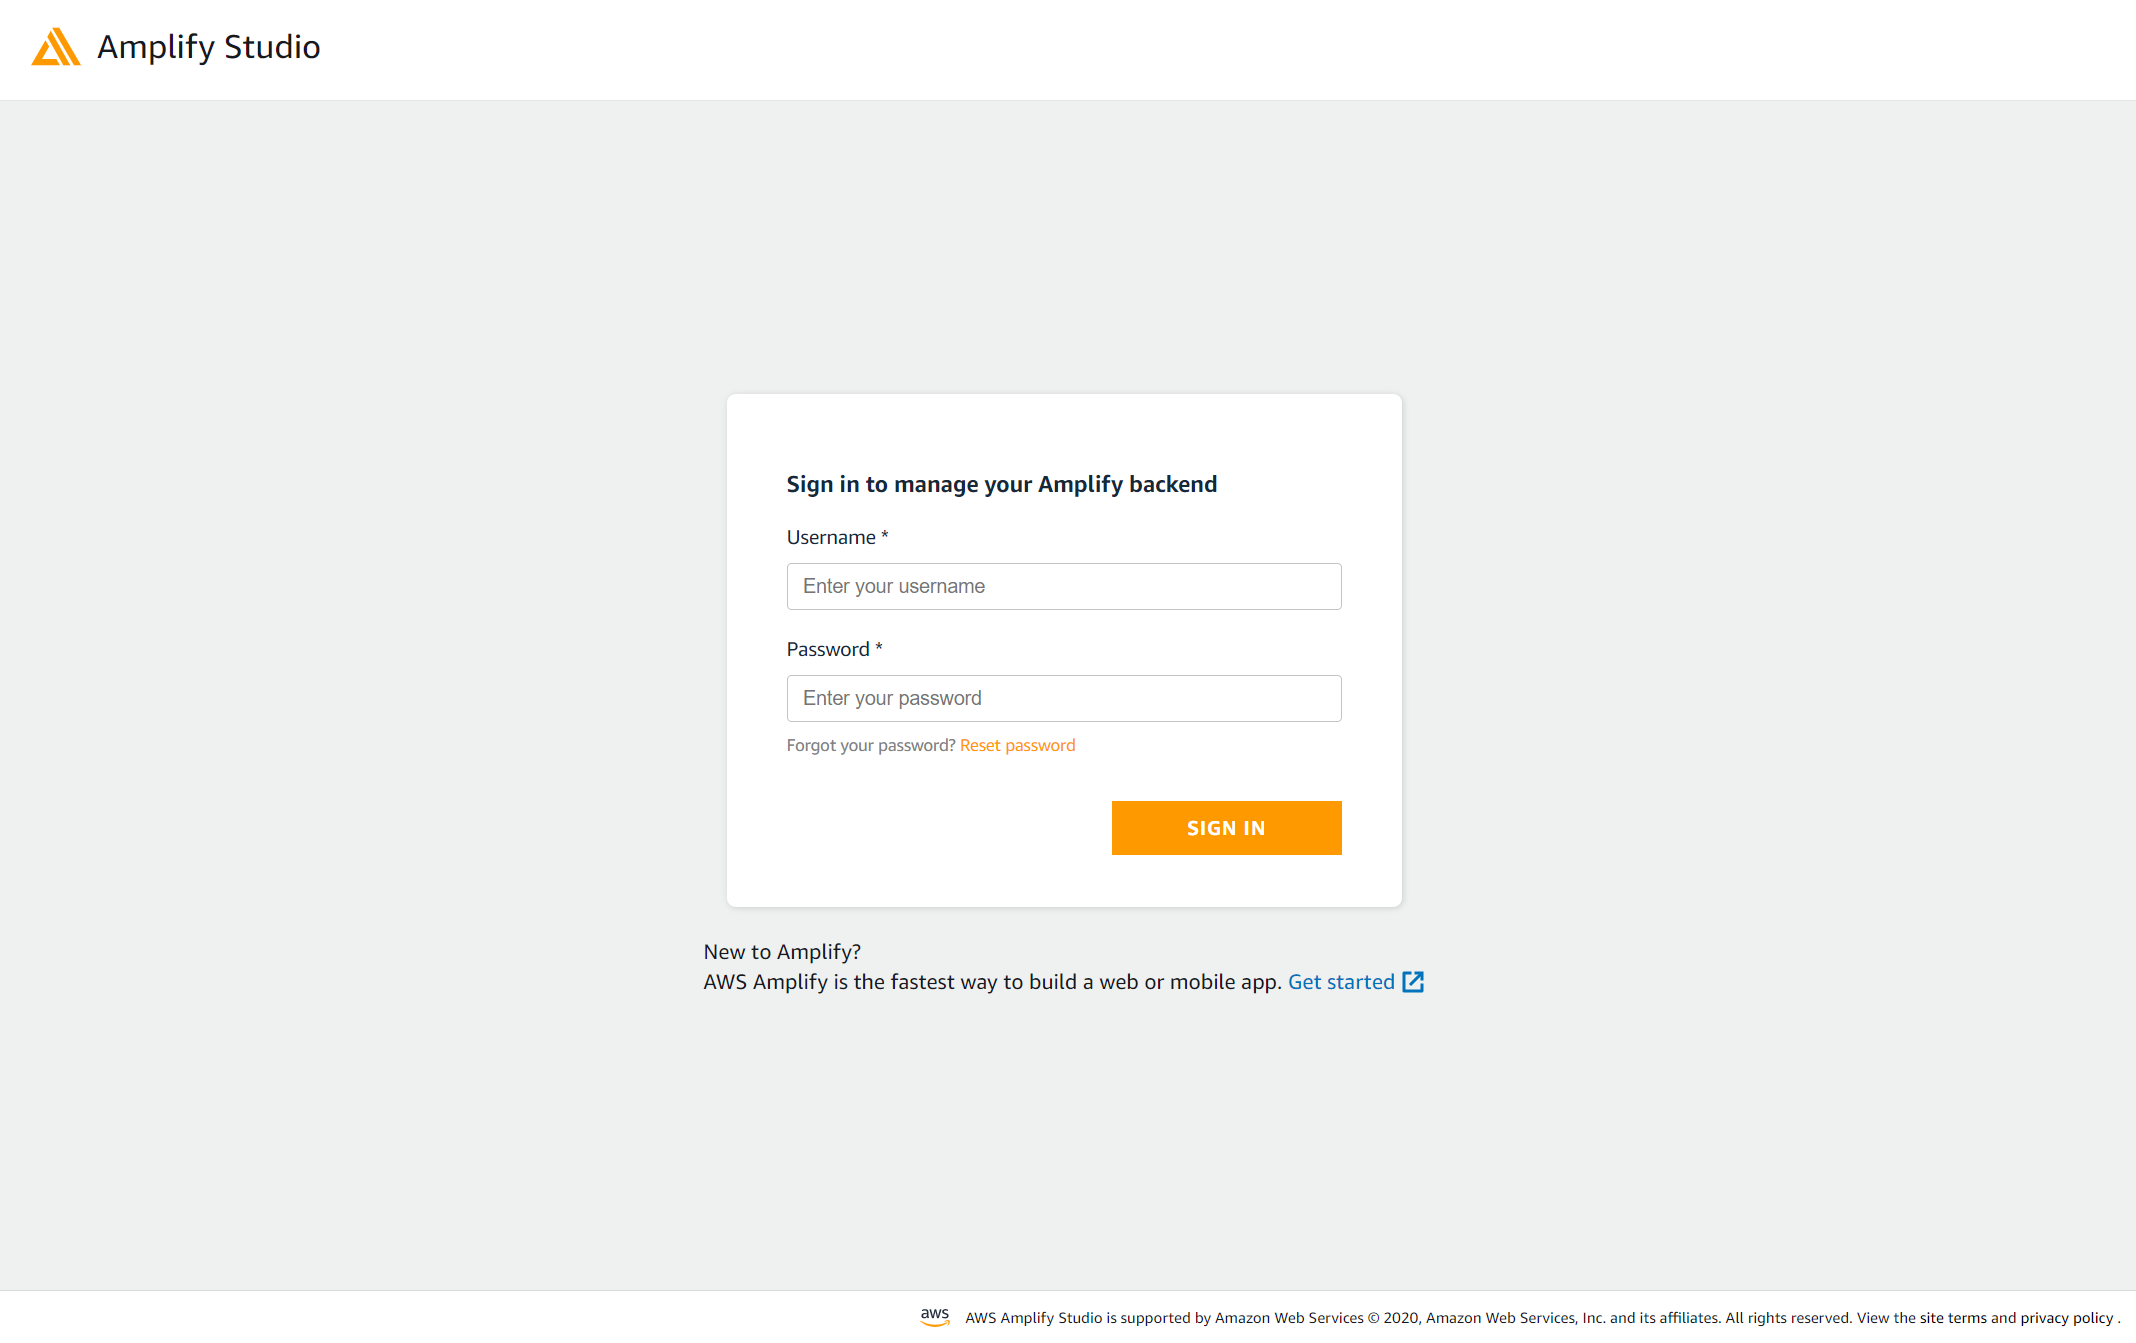
Amplify Studio の起動
UI Library (Preview) で Figma から React コードを生成
さて、ここからが本題です。Figma から React ソースコードを生成してみましょう。今回は、Figma Community で公開されている AWS Amplify UI Kit を利用します。
※ちなみに他の Figma を取り込めるか試しましたがすんなりとは成功しませんでした。Figma 力が必要なようです。
右上の Share を押して、共有 URL を取得してください。
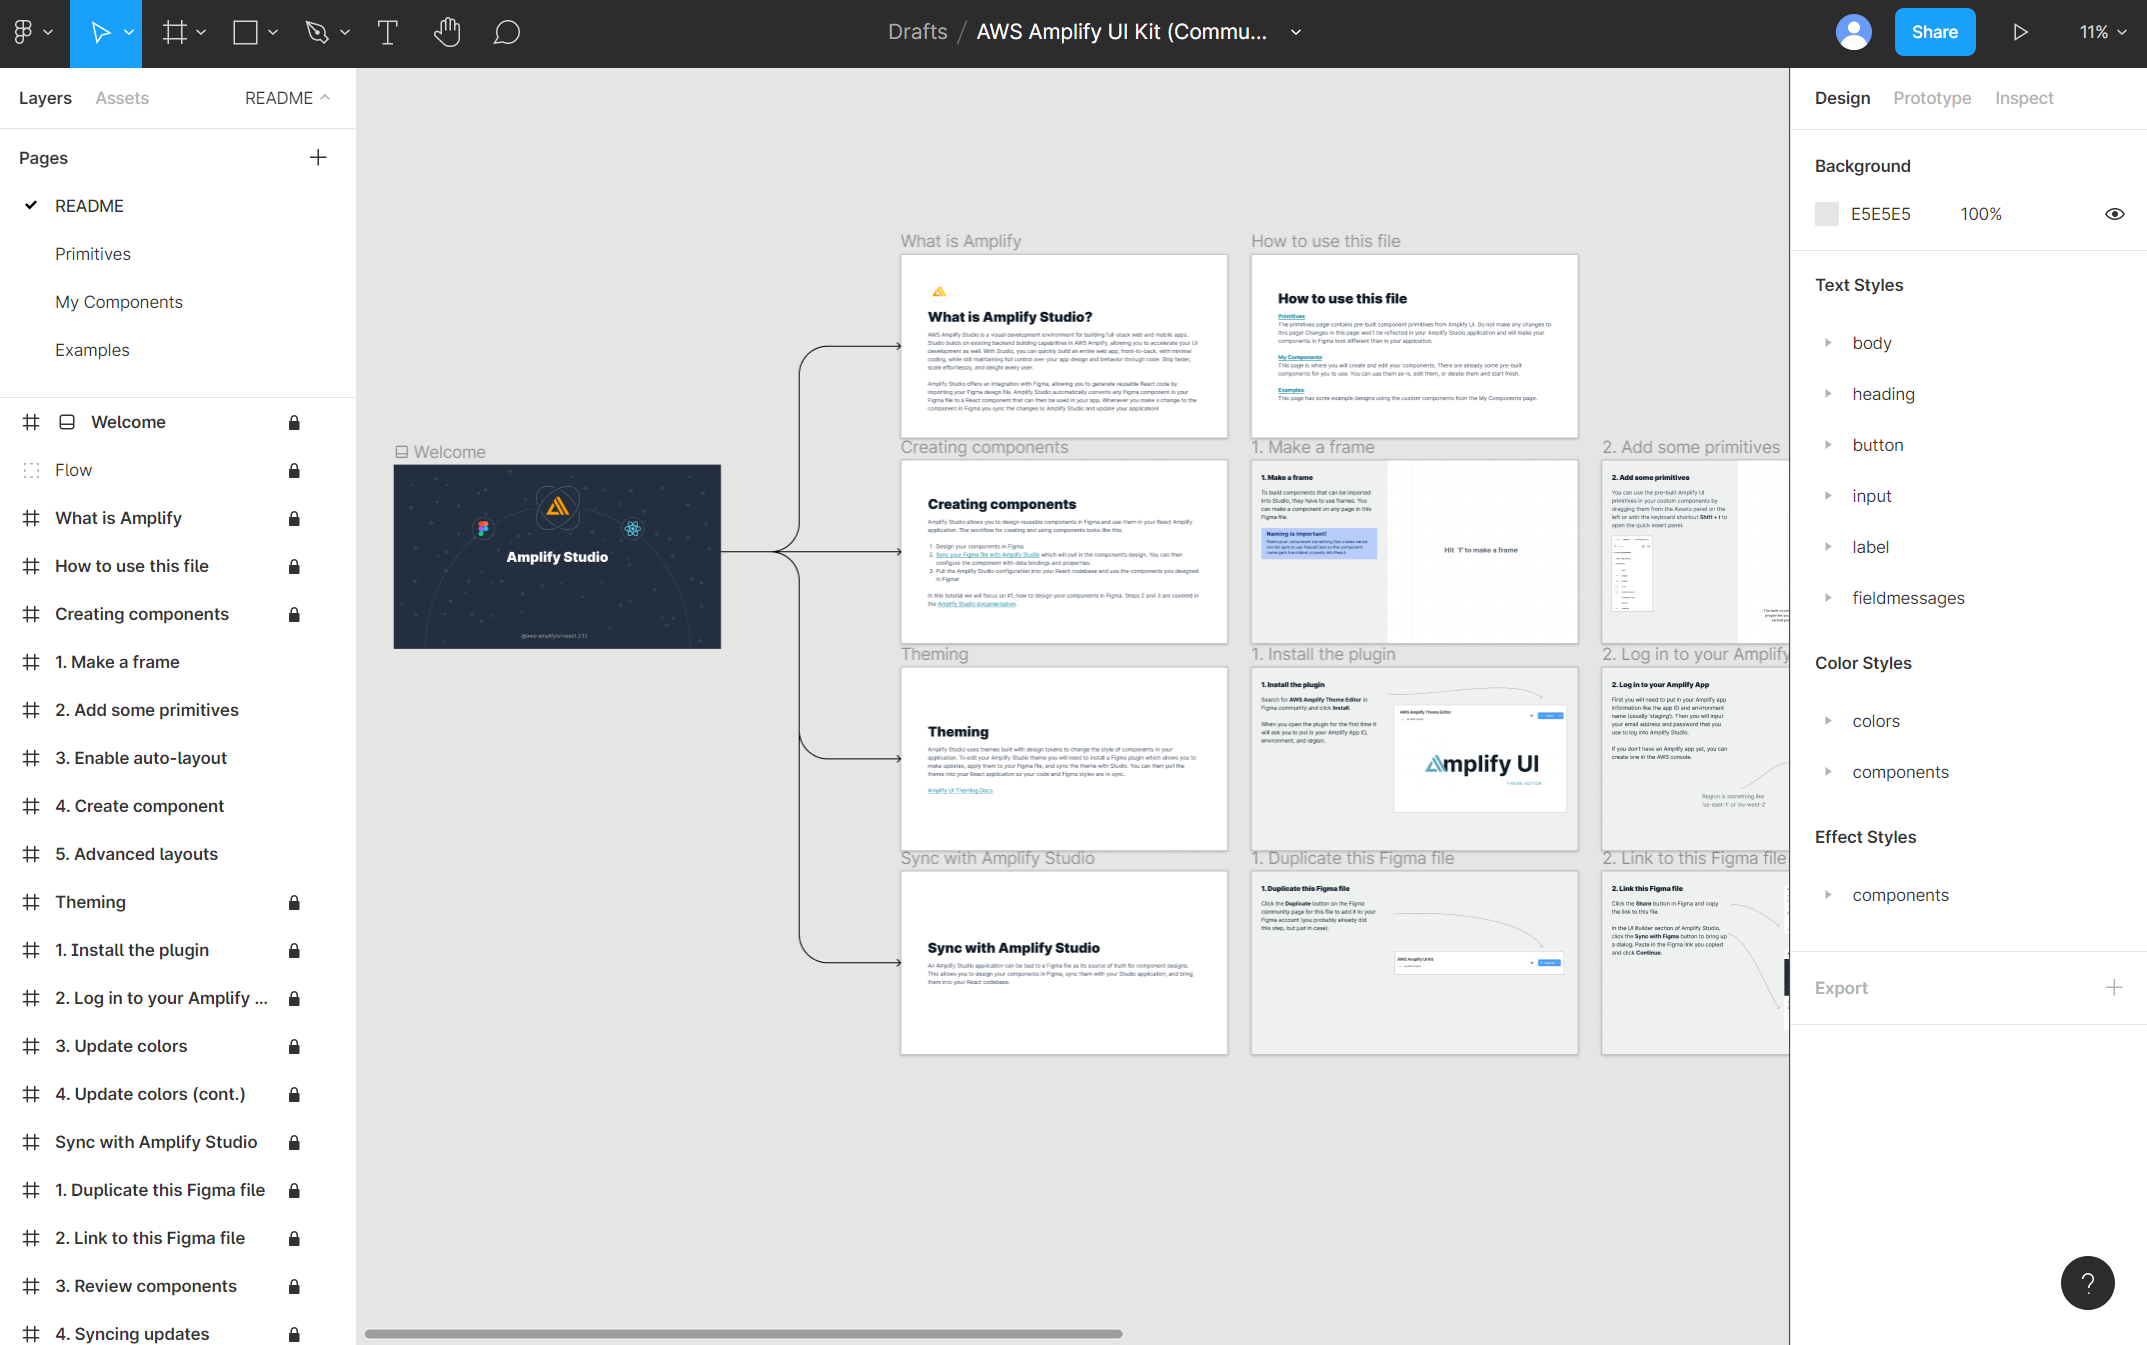
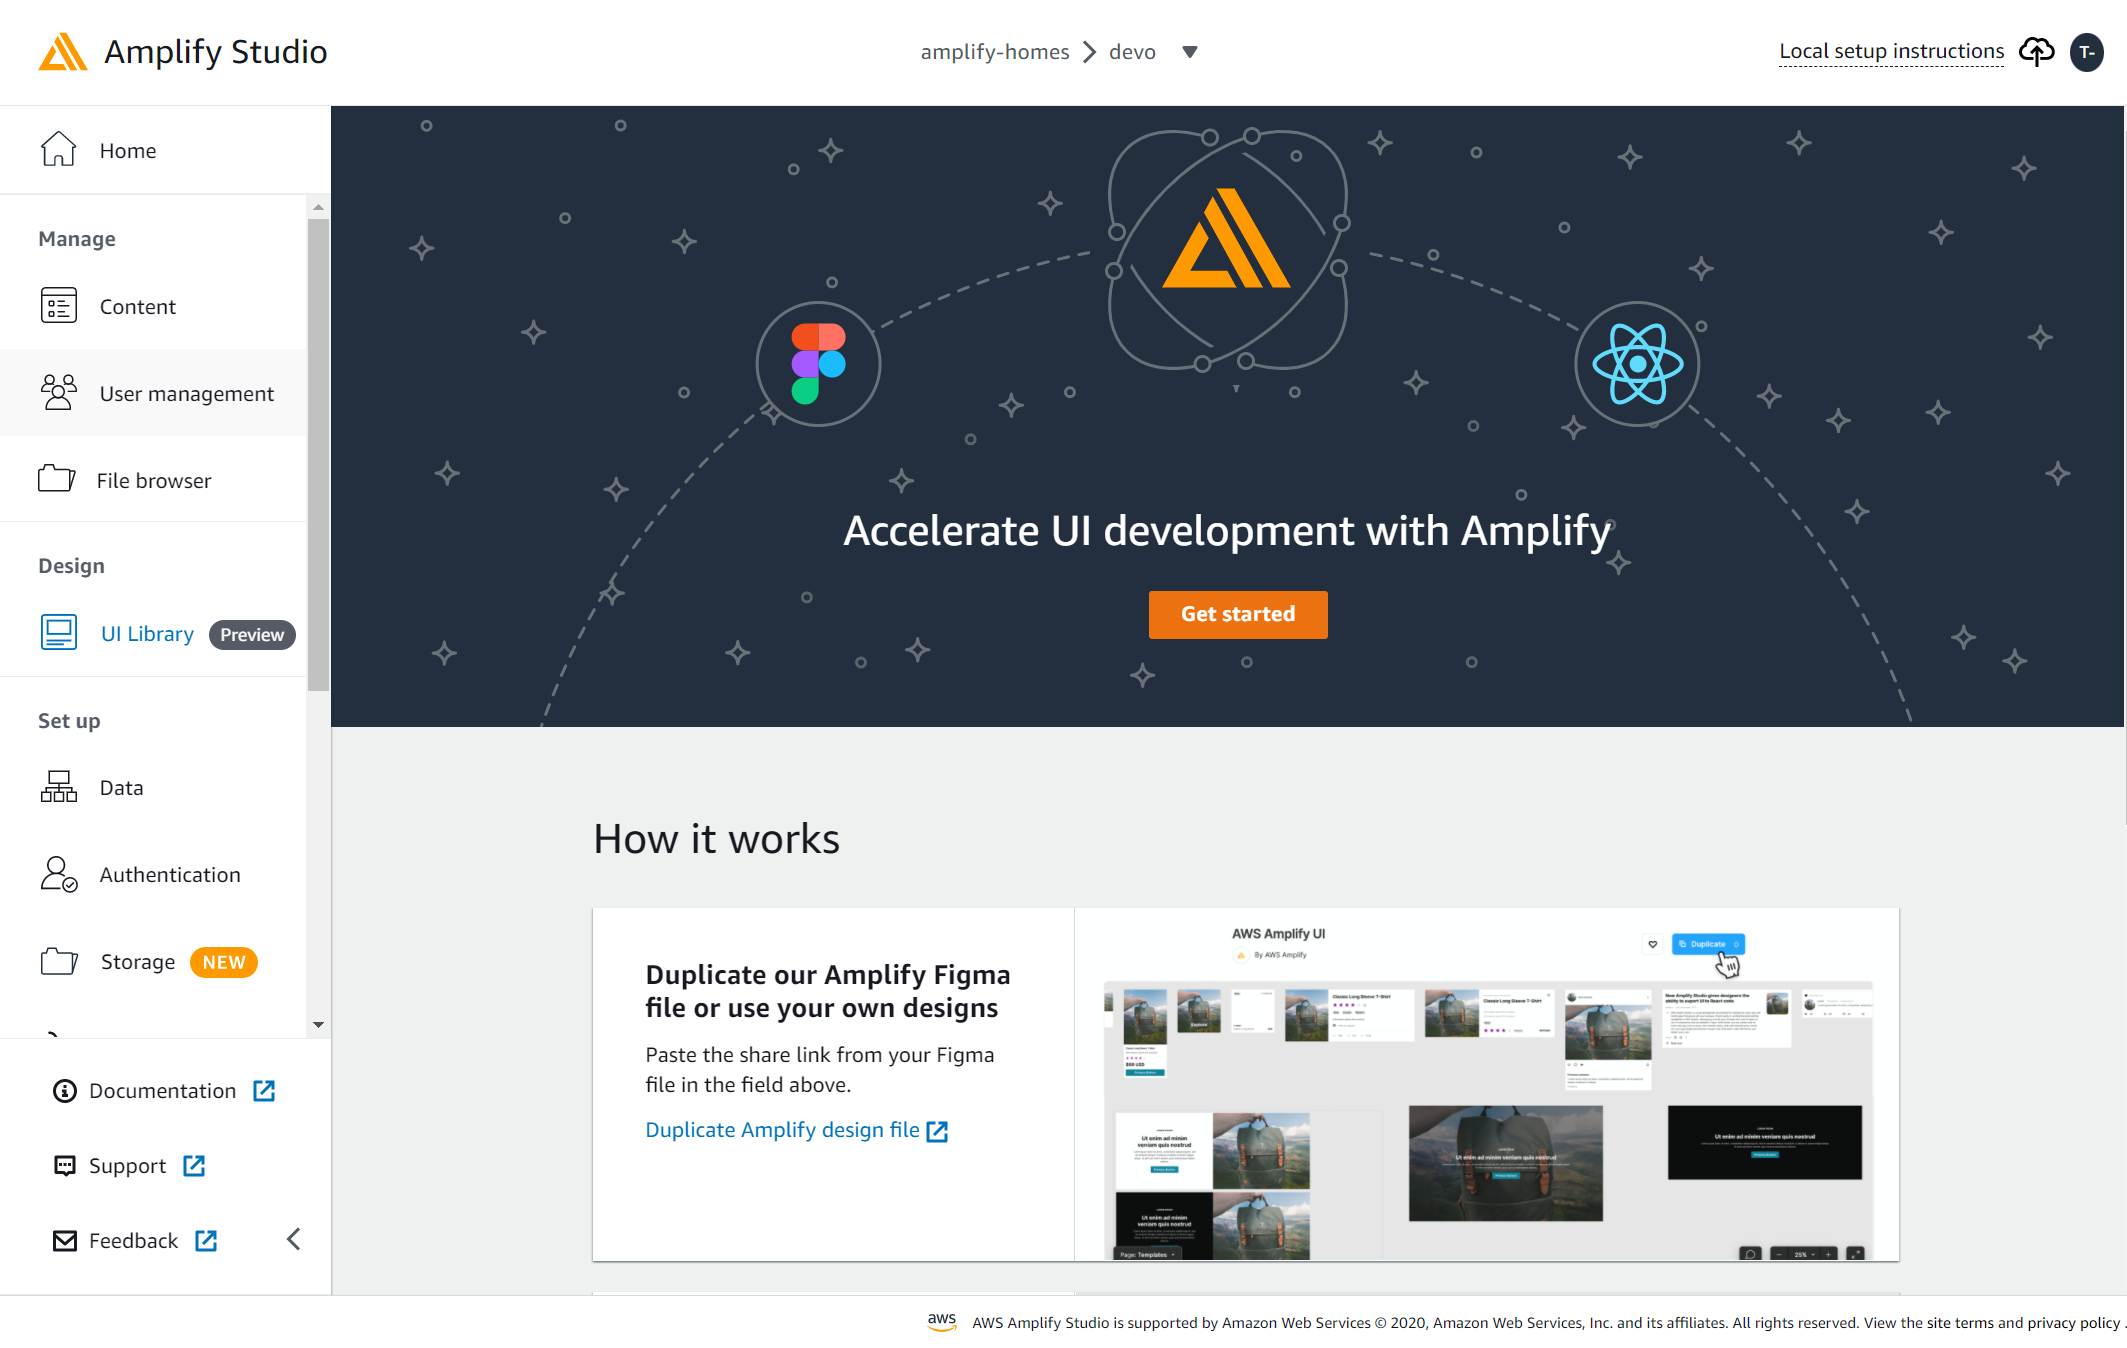
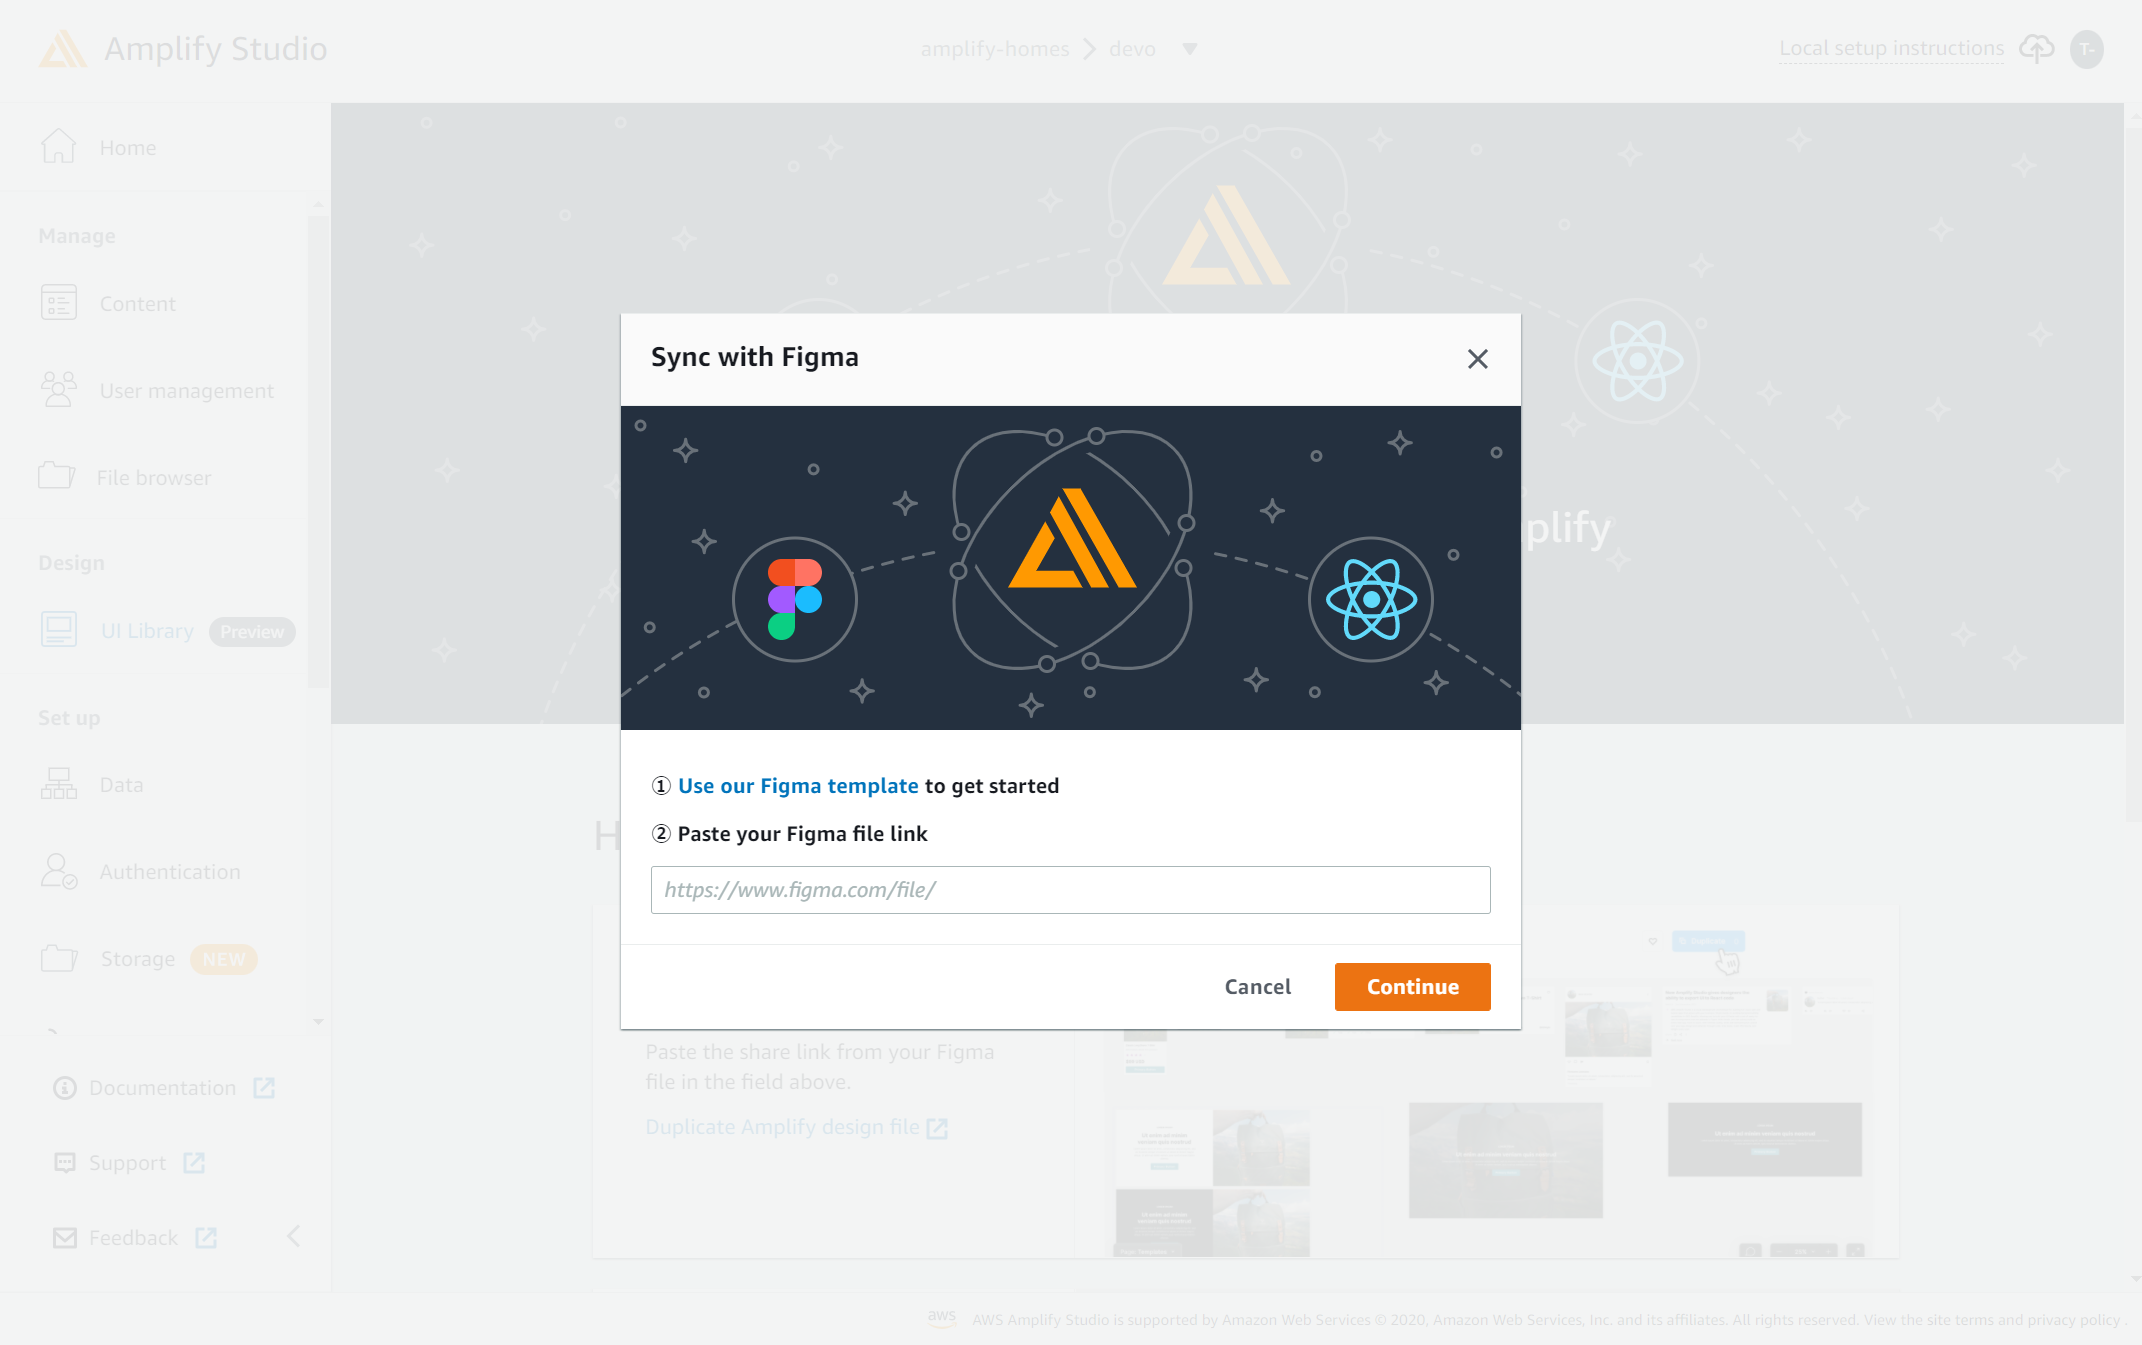
Get Started をクリックして Figma の共有 URL を入れて下さい。
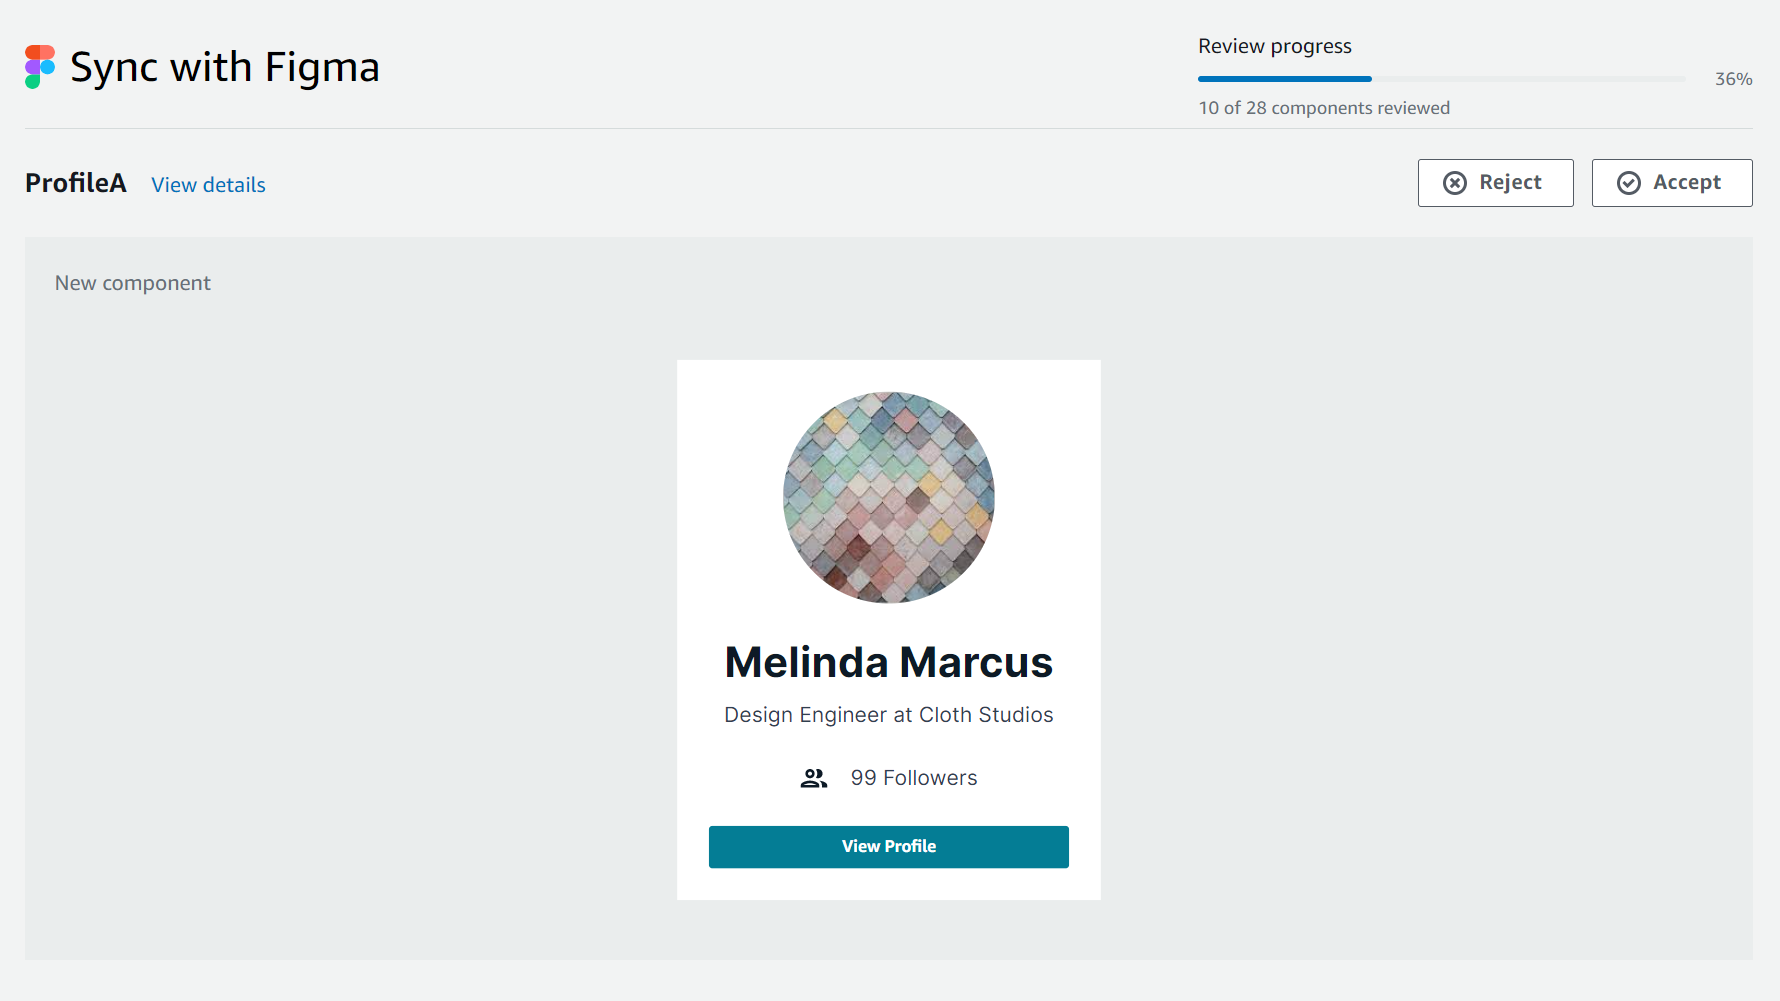
うまく取り込めたようです。
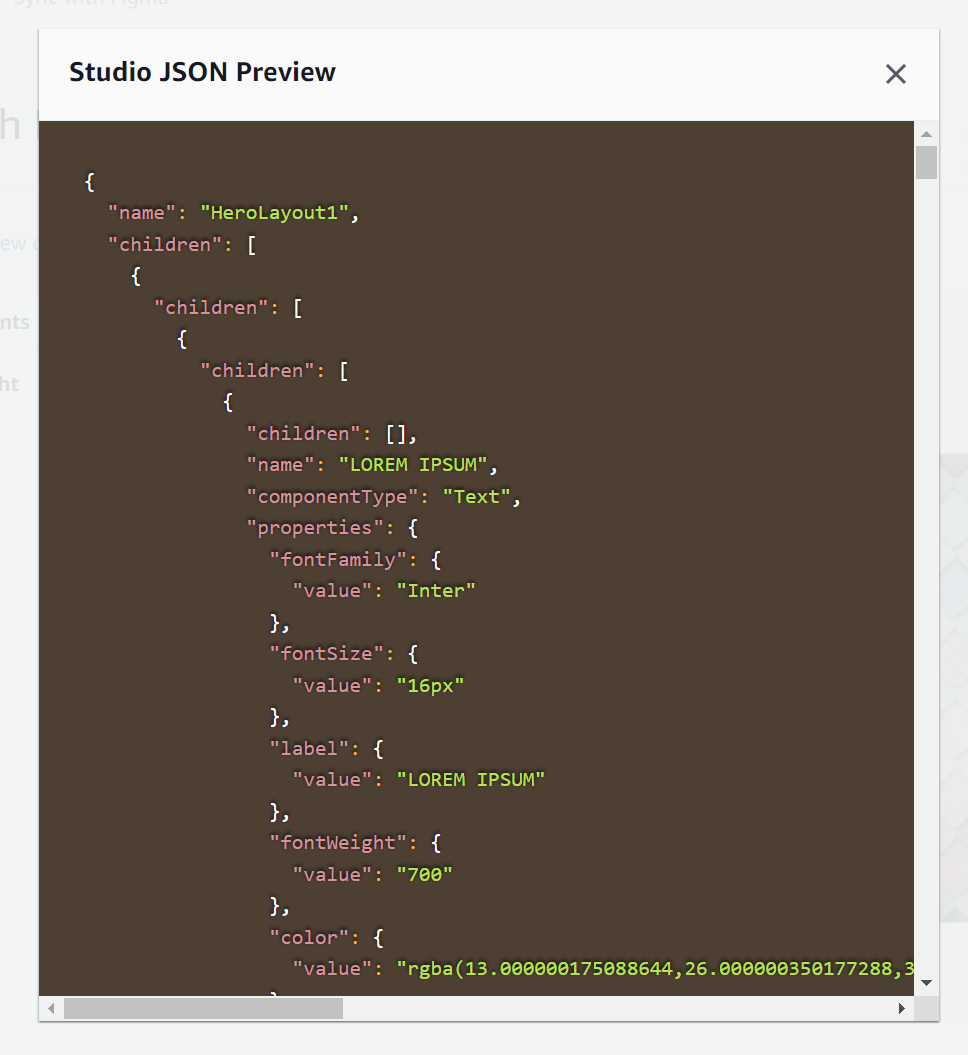
JSON で Figma と Amplify Studio 間のやりとりをしているようです。
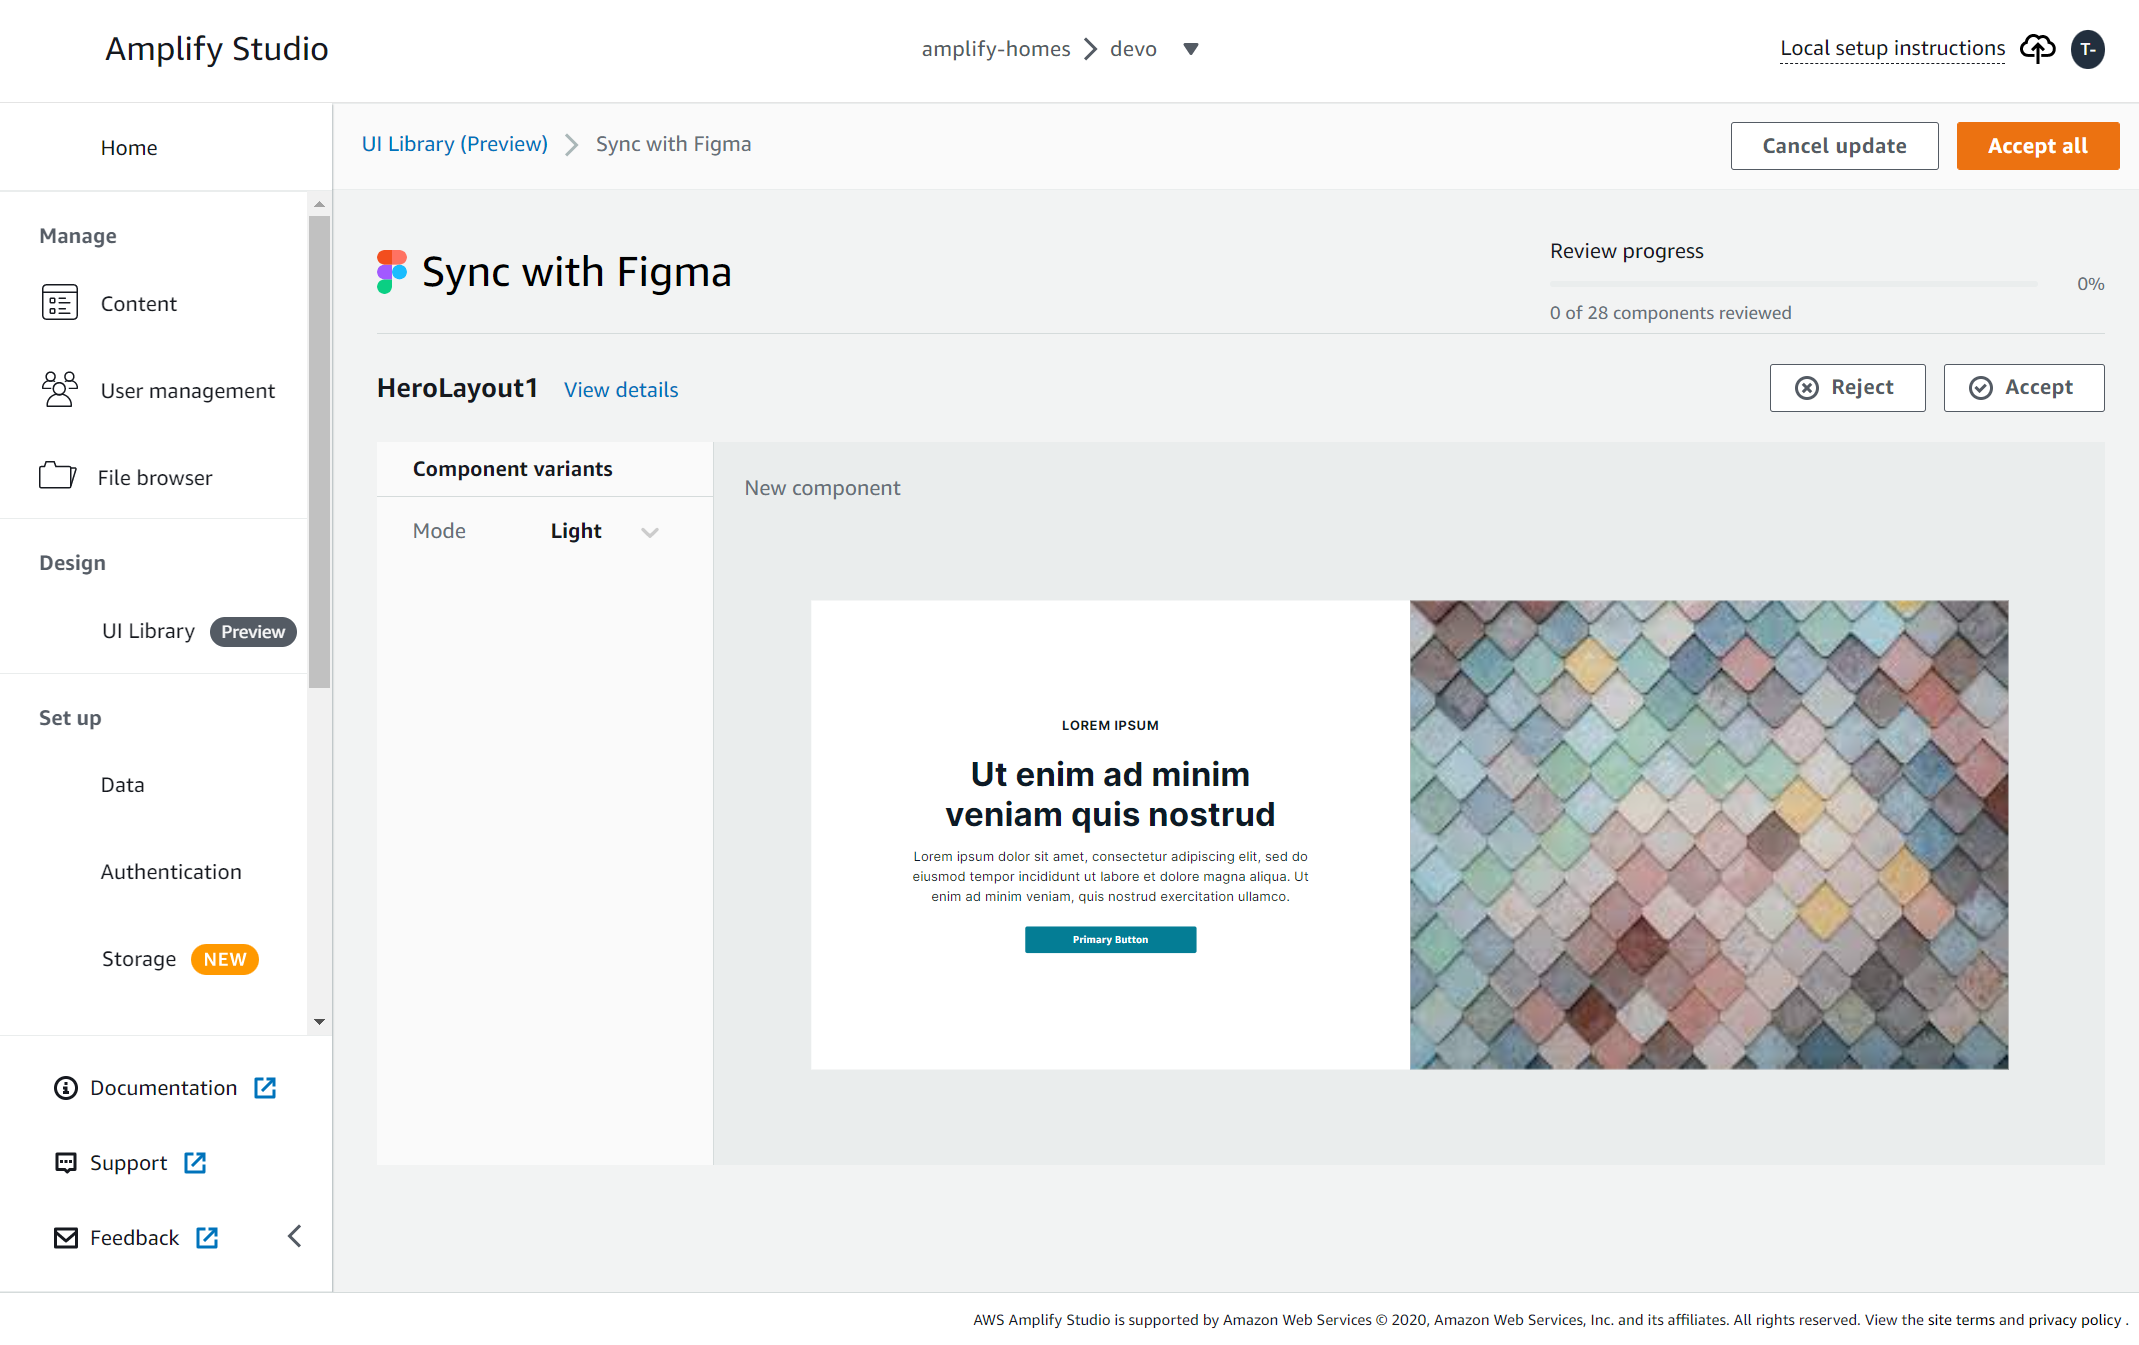
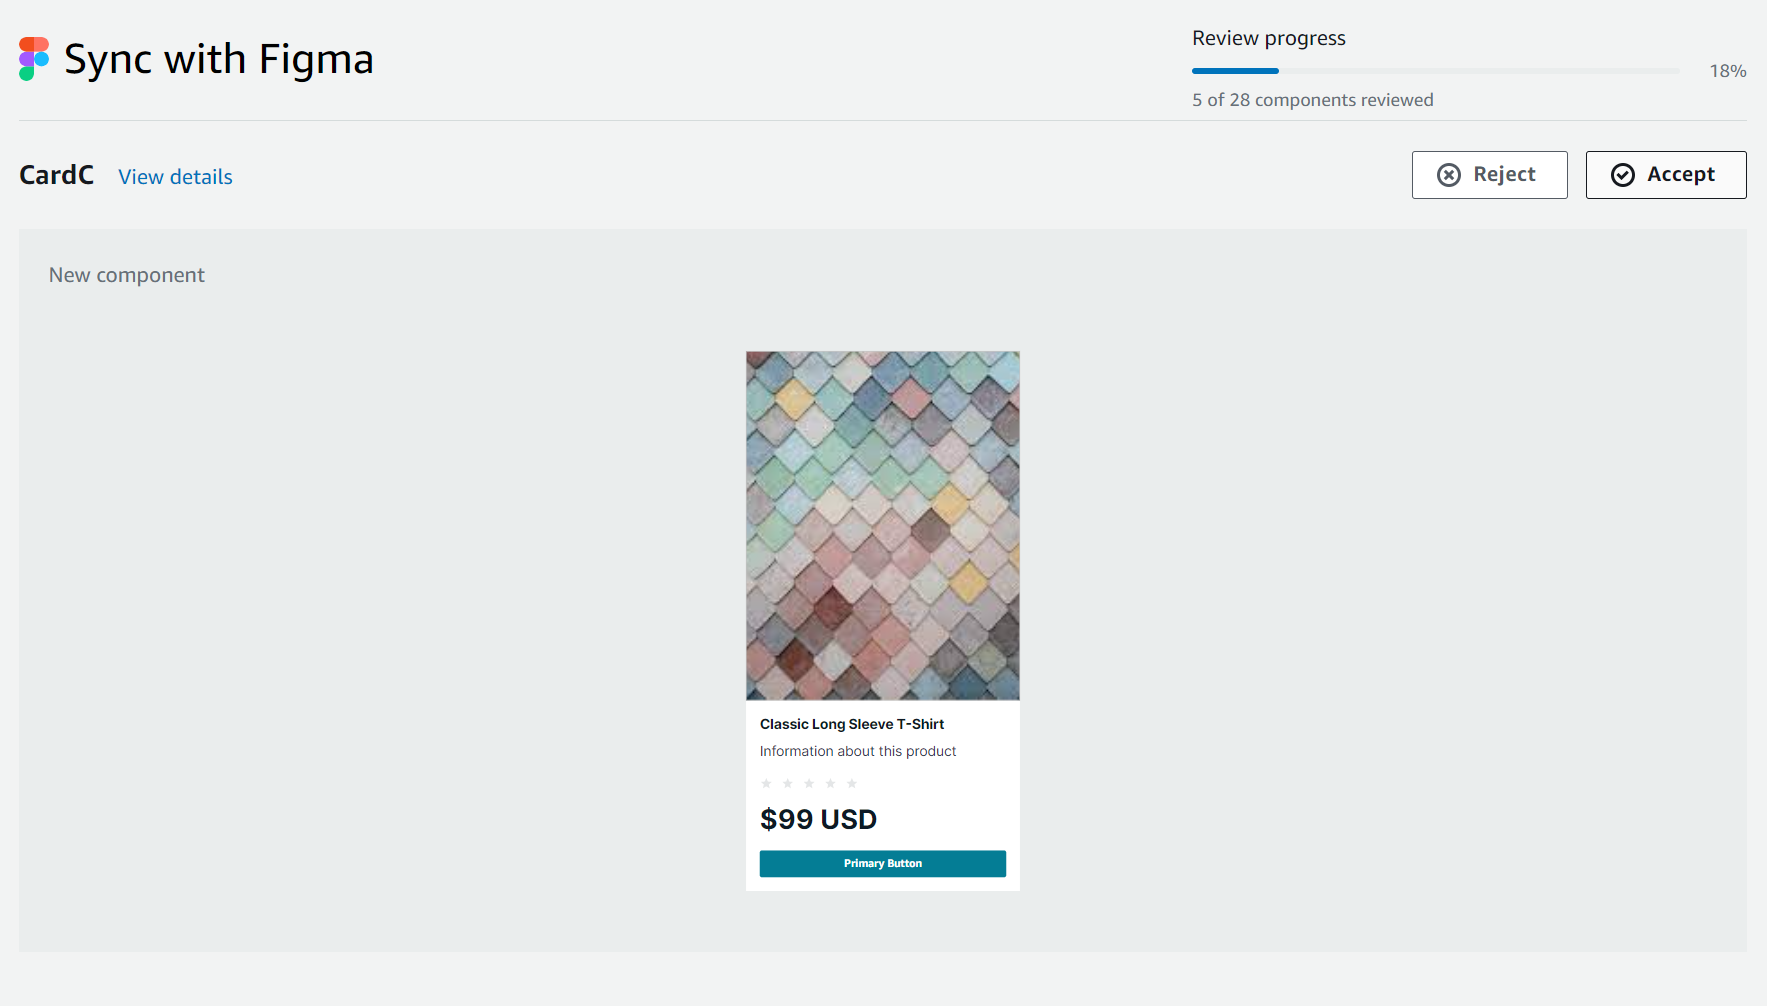
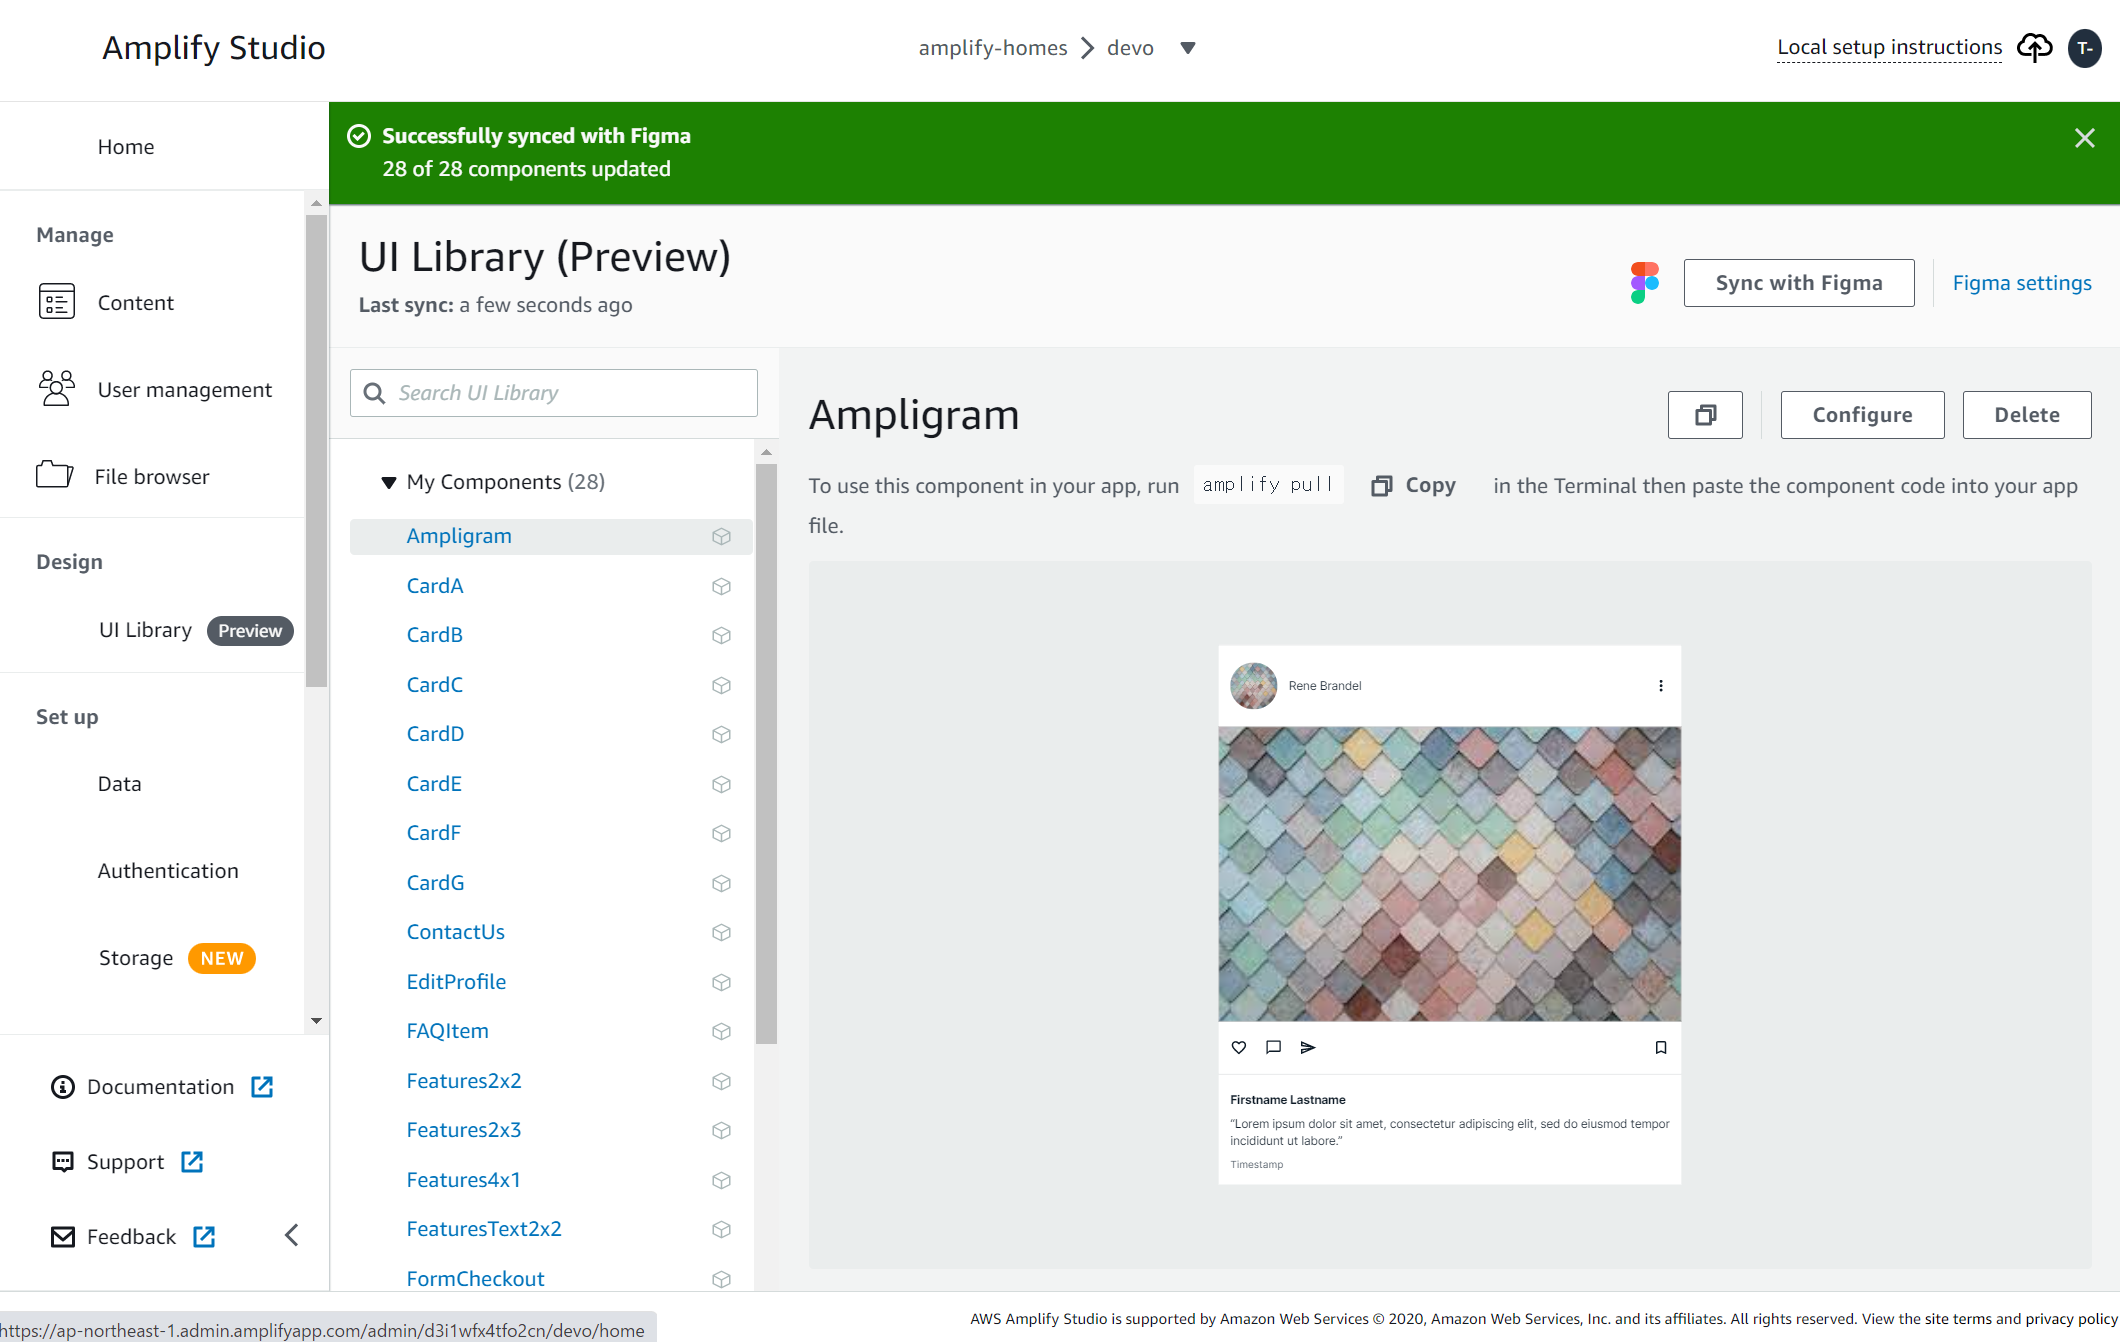
Figma から React コンポーネントが生成されていきます。
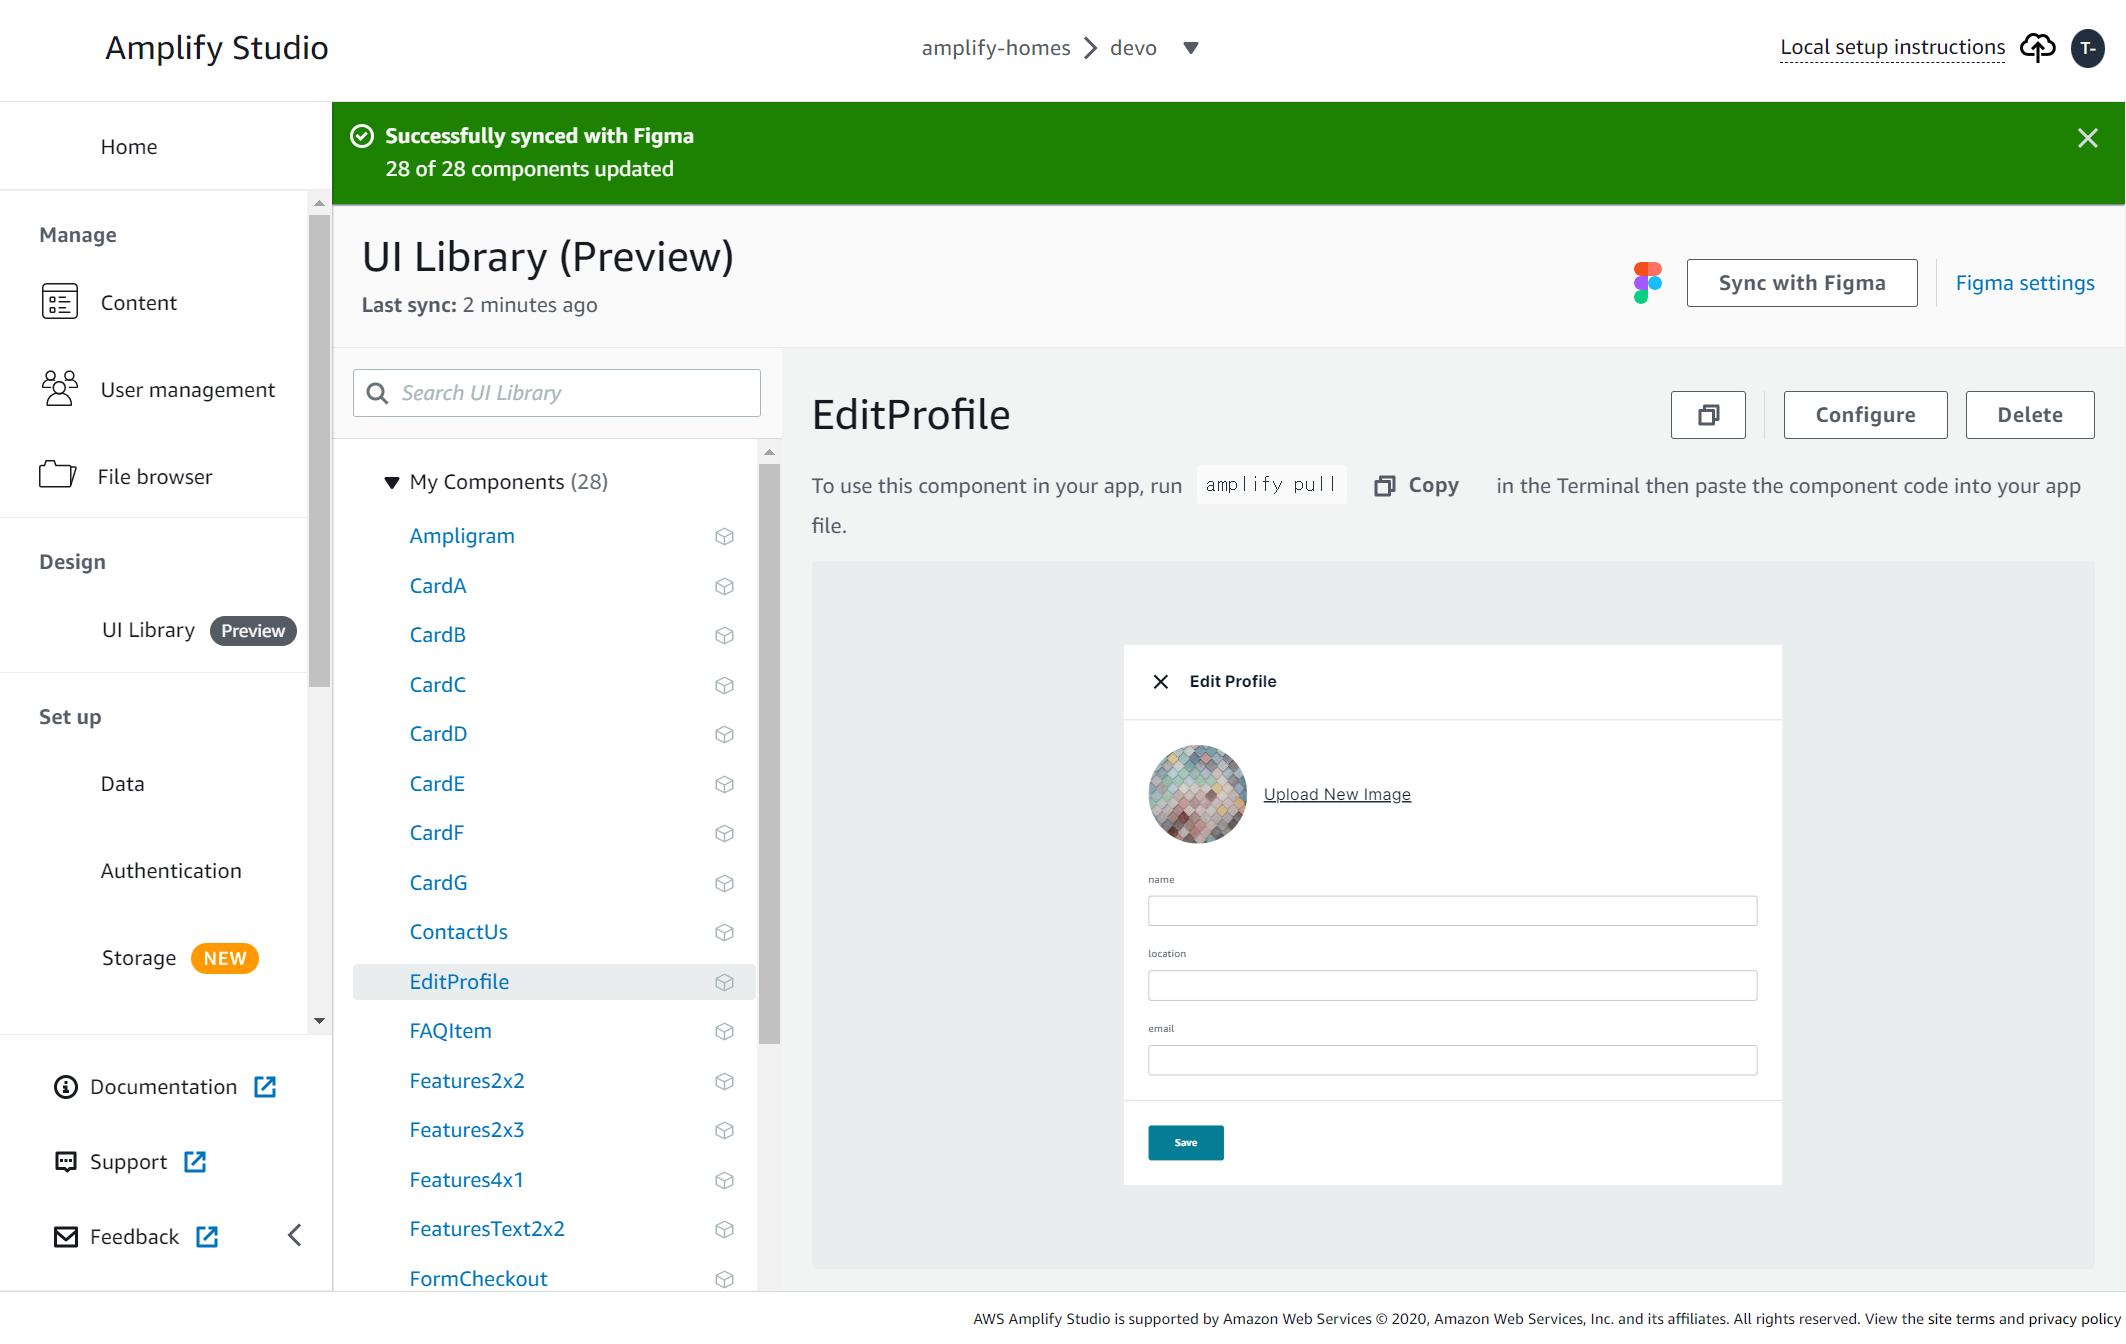
28個の React コンポーネントが出来ました。
import { Ampligram as  } from "./ui-components";

<Ampligram />
import { EditProfile as  } from "./ui-components";

<EditProfile />
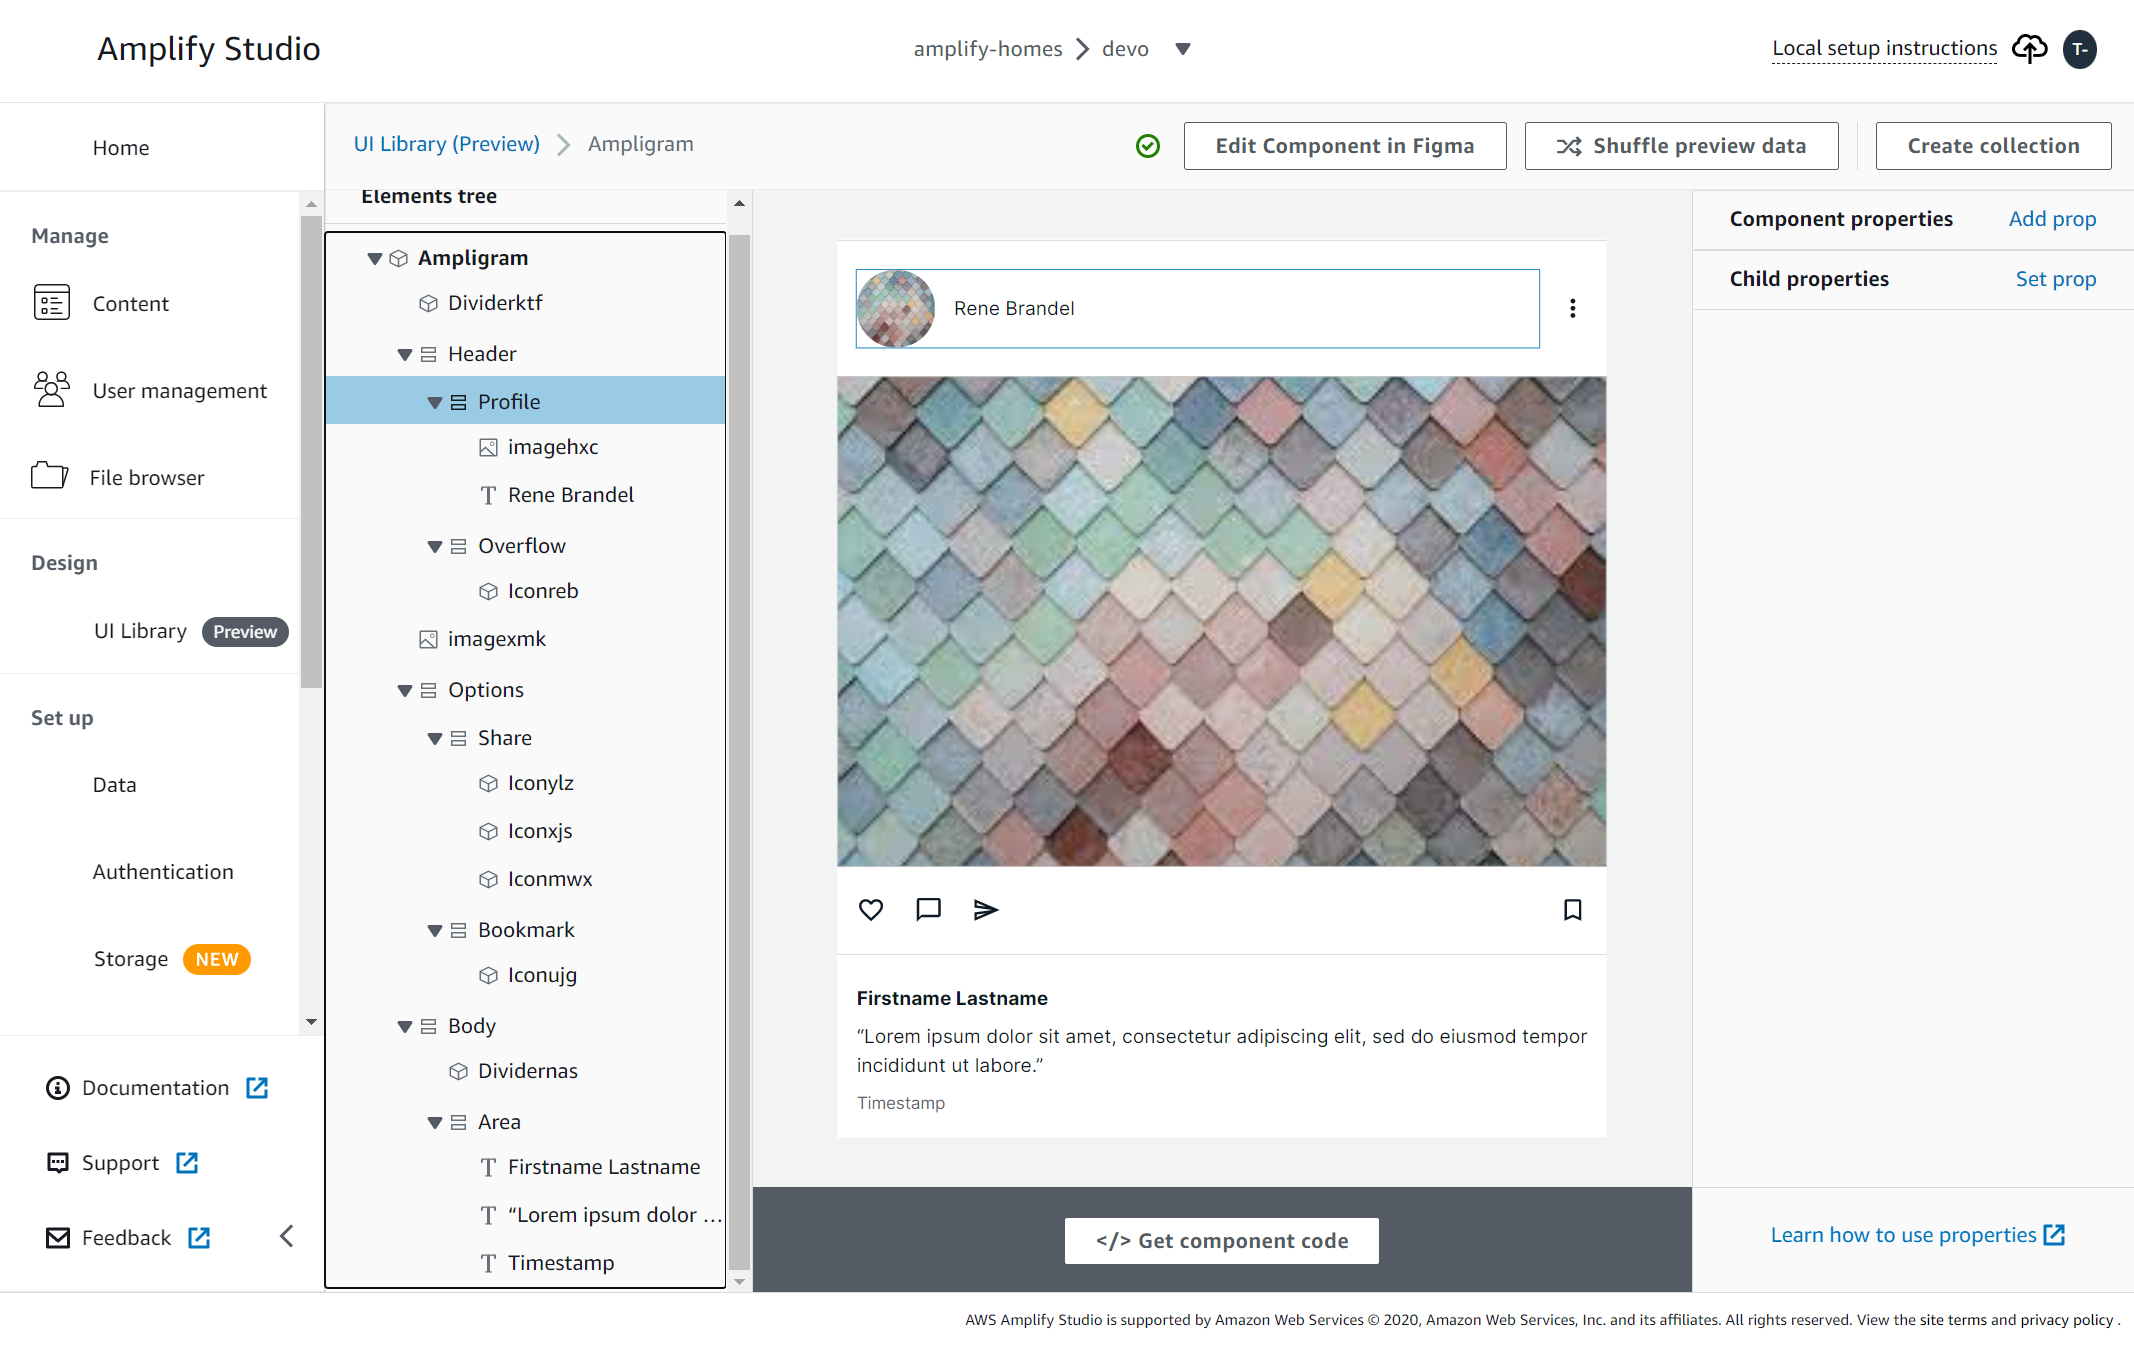
コンポーネントを選んで Configure を押すと詳細が見れます。
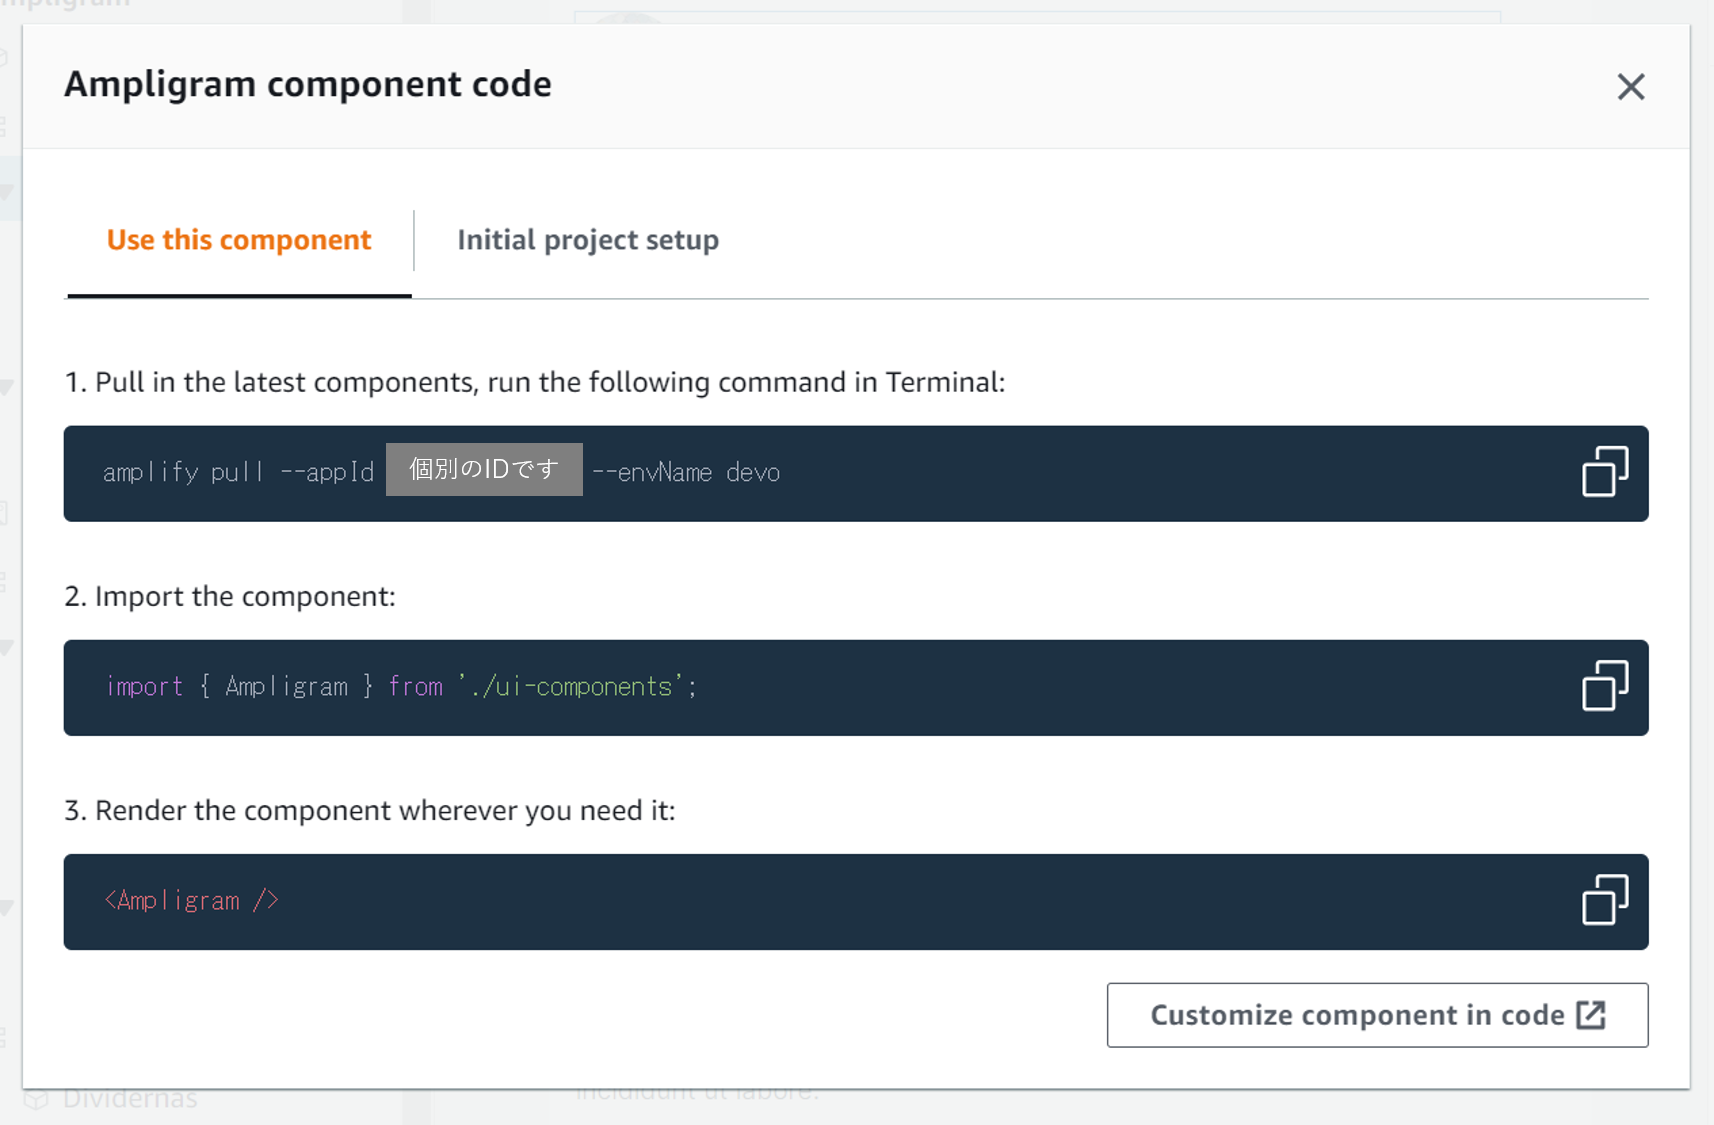
</> Get component code をクリック
これで自動生成されたコンポーネントを手元の VSCode に持ってくることができます。
Use this component
amplify pull --appId ******--envName devo
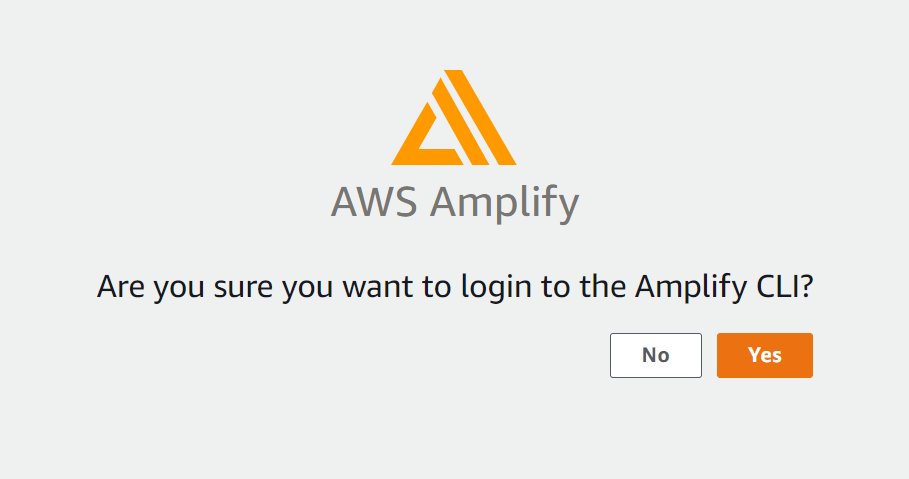
Opening link: https://ap-northeast-1.admin.amplifyapp.com/admin/*********/devo/verify/
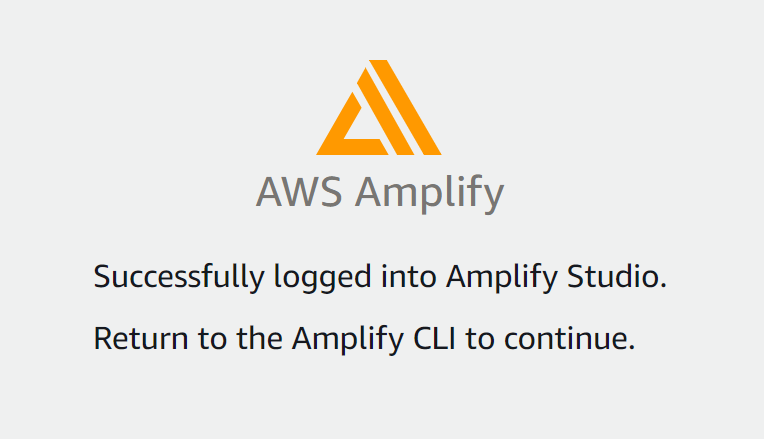
✔ Successfully received Amplify Studio tokens.
Amplify AppID found: ********. Amplify App name is: amplify-homes
Backend environment devo found in Amplify Console app: amplify-homes
? Choose your default editor: Visual Studio Code
? Choose the type of app that you're building javascript
Please tell us about your project
? What javascript framework are you using react
? Source Directory Path:  src
? Distribution Directory Path: build
? Build Command:  npm run-script build
? Start Command: npm run-script start
✔ Synced UI components.
UIBuilder components required "@aws-amplify/ui-react" that is not in your package.json. Please run `npm install @aws-amplify/ui-react`
UIBuilder components required "aws-amplify" that is not in your package.json. Please run `npm install aws-amplify`

GraphQL schema compiled successfully.

Edit your schema at /mnt/c/dev/prac/amplify-studio-ui-library-prac/amplify/backend/api/amplifyhomes/schema.graphql or place .graphql files in a directory at /mnt/c/dev/prac/amplify-studio-ui-library-prac/amplify/backend/api/amplifyhomes/schema
Successfully generated models. Generated models can be found in /mnt/c/dev/prac/amplify-studio-ui-library-prac/src
? Do you plan on modifying this backend? Yes
⠙ Fetching updates to backend environment: devo from the cloud.GraphQL schema compiled successfully.

Edit your schema at /mnt/c/dev/prac/amplify-studio-ui-library-prac/amplify/backend/api/amplifyhomes/schema.graphql or place .graphql files in a directory at /mnt/c/dev/prac/amplify-studio-ui-library-prac/amplify/backend/api/amplifyhomes/schema
✔ Successfully pulled backend environment devo from the cloud.

Successfully pulled backend environment devo from the cloud.
Run 'amplify pull' to sync future upstream changes.
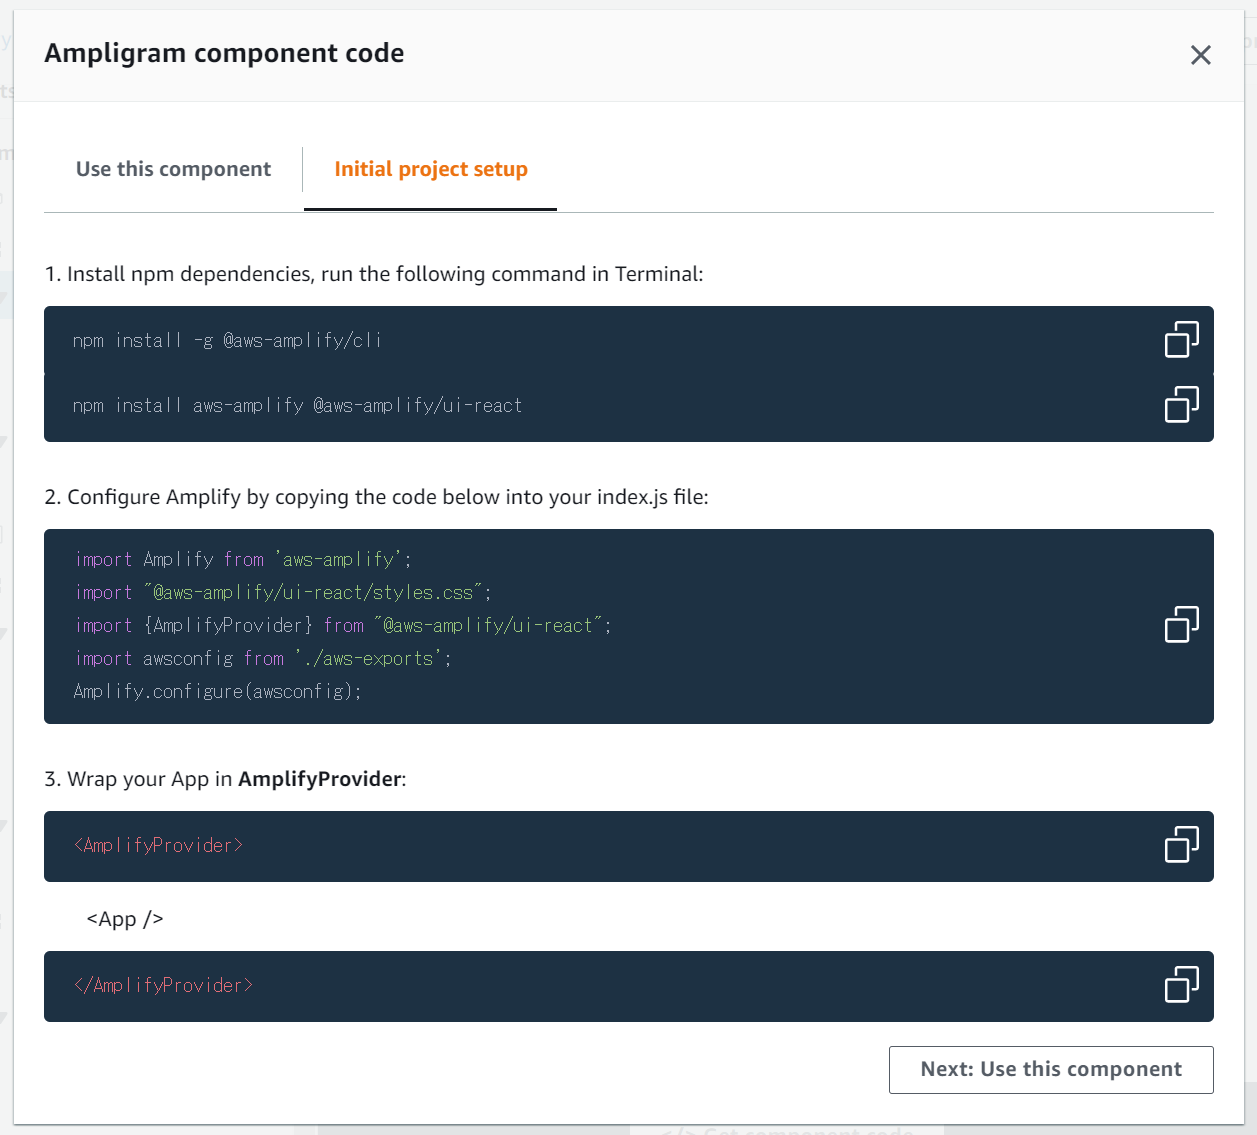
もろもろインストールされました。追加でこちらもやっておきます。
npm install @aws-amplify/ui-react
npm install aws-amplify
インストール完了。ソースコードを見てみます。
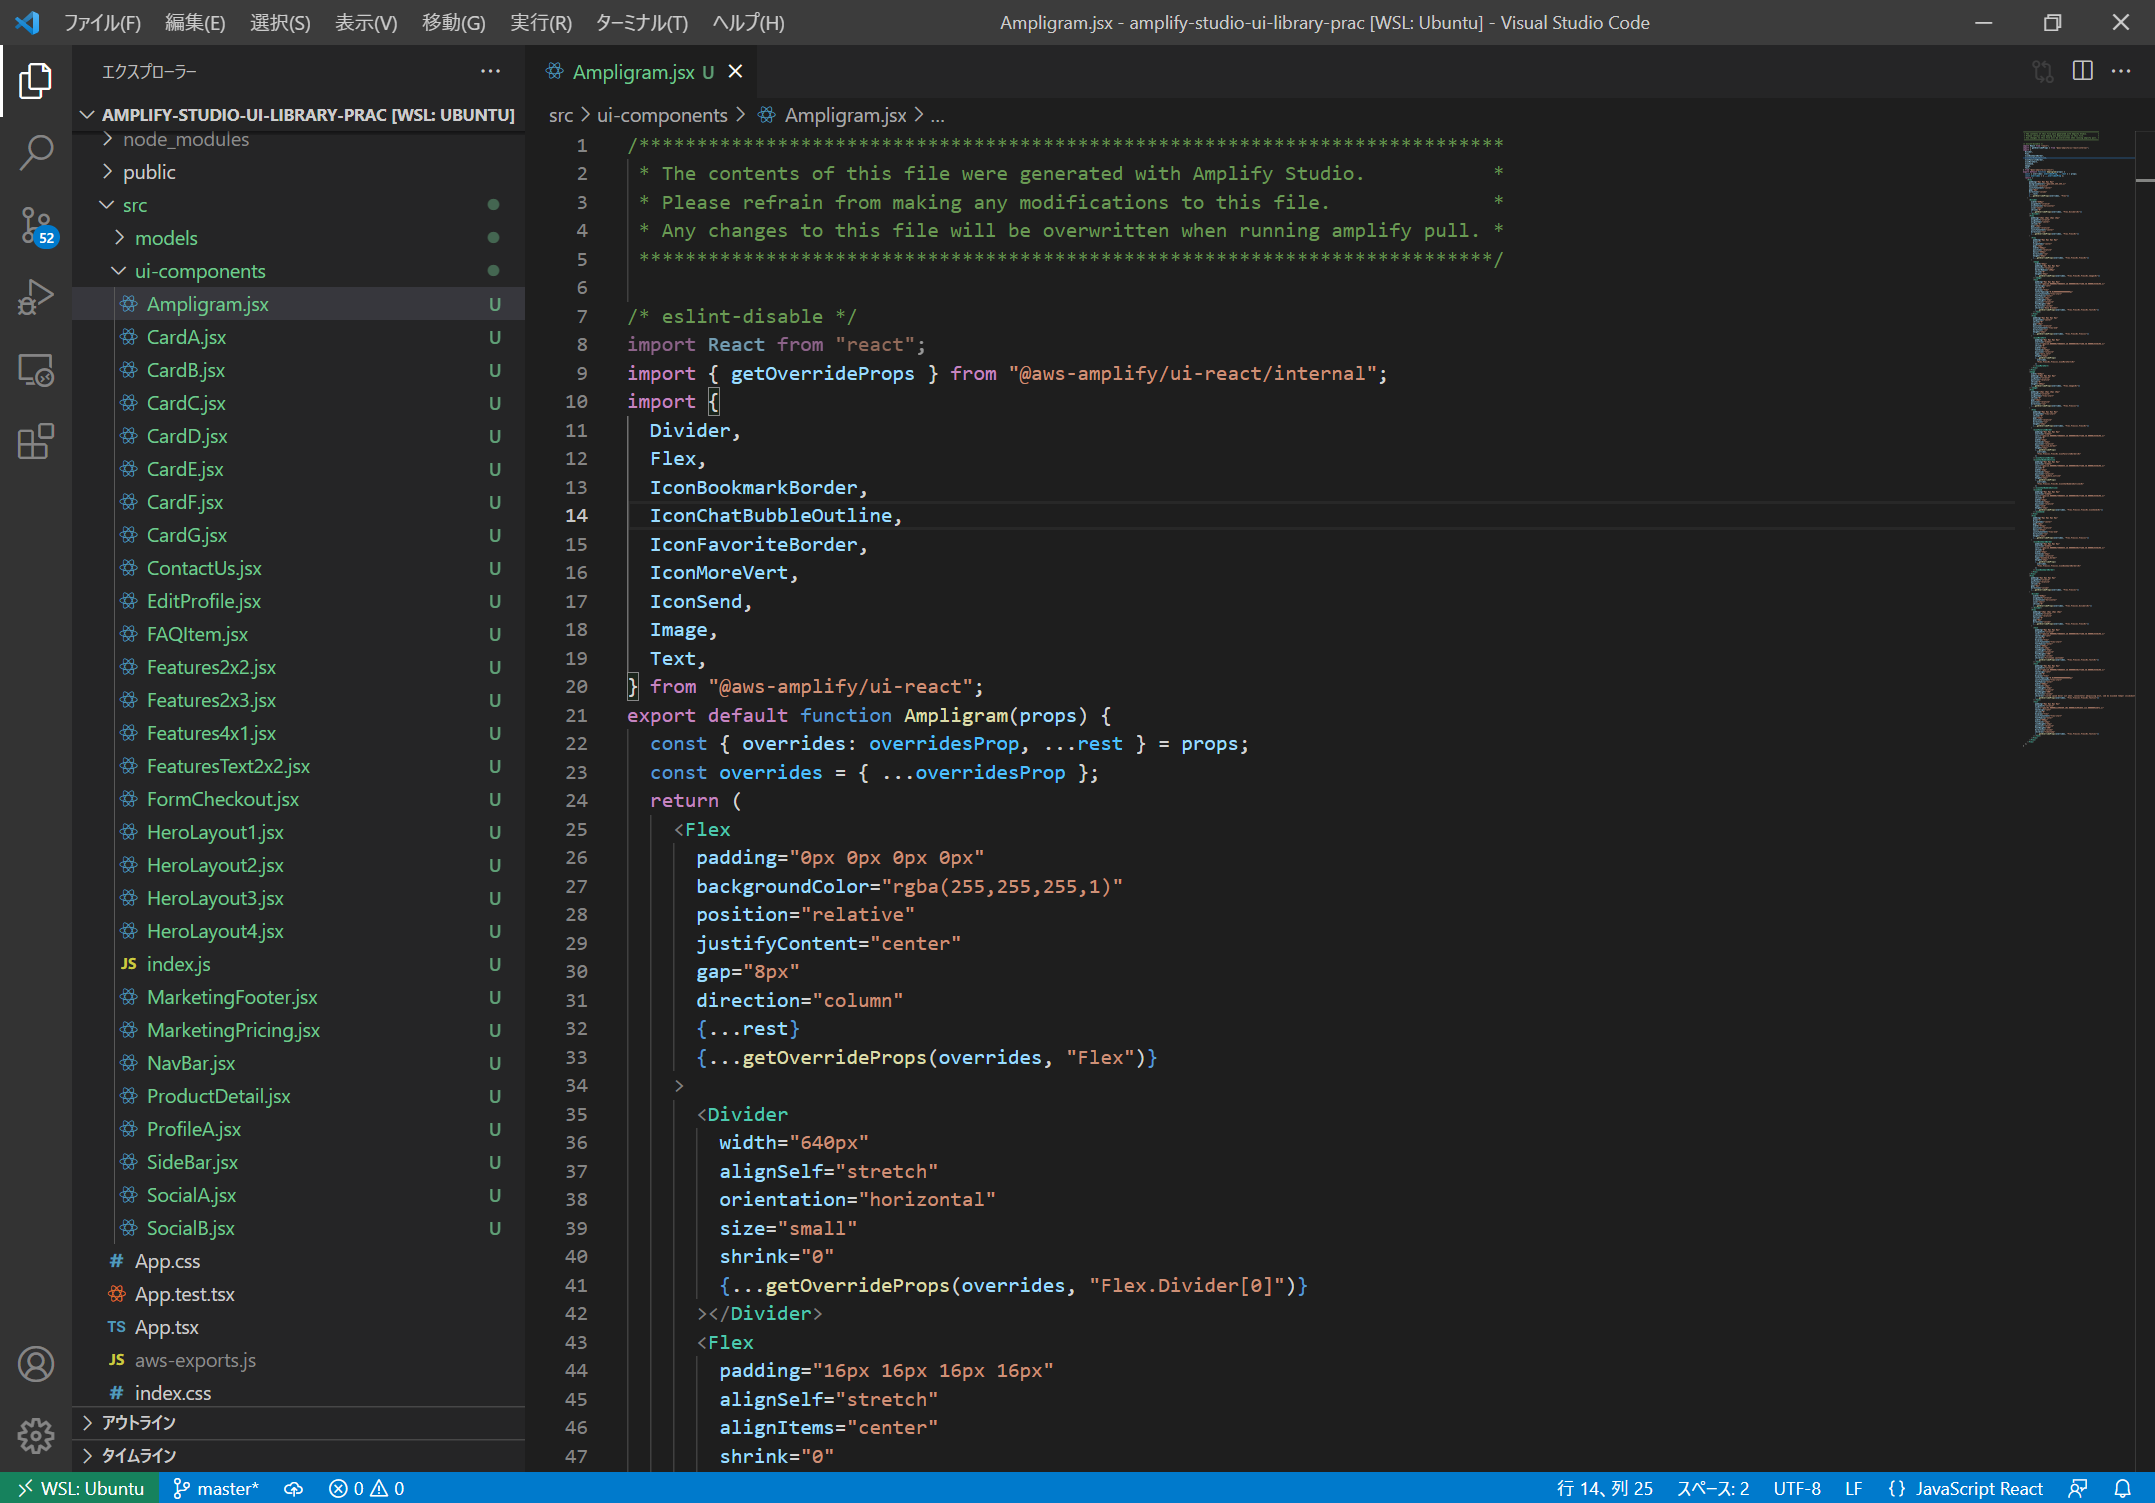
見事に生成されてますね。
/***************************************************************************
 * The contents of this file were generated with Amplify Studio.           *
 * Please refrain from making any modifications to this file.              *
 * Any changes to this file will be overwritten when running amplify pull. *
 **************************************************************************/

/* eslint-disable */
import React from "react";
import { getOverrideProps } from "@aws-amplify/ui-react/internal";
import { Flex, Text } from "@aws-amplify/ui-react";
export default function Features2x2(props) {
  const { overrides: overridesProp, ...rest } = props;
  const overrides = { ...overridesProp };
  return (
    <Flex
      padding="40px 160px 40px 160px"
      backgroundColor="rgba(239.00000095367432,240.00000089406967,240.00000089406967,1)"
      alignItems="center"
      gap="0"
      width="1440px"
      position="relative"
      justifyContent="center"
      direction="column"
      {...rest}
      {...getOverrideProps(overrides, "Flex")}
    >
      <Flex
        padding="0px 0px 0px 0px"
        alignSelf="stretch"
        position="relative"
        shrink="0"
        gap="24px"
        direction="column"
        {...getOverrideProps(overrides, "Flex.Flex[0]")}
      >
        <Flex
          padding="0px 0px 0px 0px"
          alignSelf="stretch"
          alignItems="center"
          shrink="0"
          gap="24px"
          position="relative"
          justifyContent="center"
          direction="row"
          {...getOverrideProps(overrides, "Flex.Flex[0].Flex[0]")}
        >
          <Flex
            padding="160px 40px 40px 40px"
            alignSelf="stretch"
            backgroundColor="rgba(255,255,255,1)"
            grow="1"
            alignItems="center"
            gap="16px"
            position="relative"
            basis="548px"
            justifyContent="center"
            direction="column"
            height="336px"
            {...getOverrideProps(overrides, "Flex.Flex[0].Flex[0].Flex[0]")}
          >
            <Text
              padding="0px 0px 0px 0px"
              alignSelf="stretch"
              color="rgba(13.000000175088644,26.000000350177288,38.0000015348196,1)"
              textAlign="left"
              shrink="0"
              display="flex"
              justifyContent="flex-start"
              fontFamily="Inter"
              width="468px"
              fontSize="40px"
              lineHeight="48px"
              position="relative"
              fontWeight="700"
              direction="column"
              children="Feature A"
              {...getOverrideProps(
                overrides,
                "Flex.Flex[0].Flex[0].Flex[0].Text[0]"
              )}
            ></Text>
            <Text
              padding="0px 0px 0px 0px"
              alignSelf="stretch"
              color="rgba(48.000000938773155,64.00000378489494,80.00000283122063,1)"
              textAlign="left"
              shrink="0"
              display="flex"
              letterSpacing="0.010000000000000009px"
              justifyContent="flex-start"
              fontFamily="Inter"
              width="468px"
              fontSize="16px"
              lineHeight="24px"
              position="relative"
              fontWeight="400"
              direction="column"
              children="Lorem ipsum dolor sit amet, consectetur adipiscing elit, sed do eiusmod tempor incididunt ut labore et dolore magna aliqua. Ut enim ad minim veniam, quis nostrud exercitation."
              {...getOverrideProps(
                overrides,
                "Flex.Flex[0].Flex[0].Flex[0].Text[1]"
              )}
            ></Text>
          </Flex>
(中略)
        </Flex>
      </Flex>
    </Flex>
  );
}
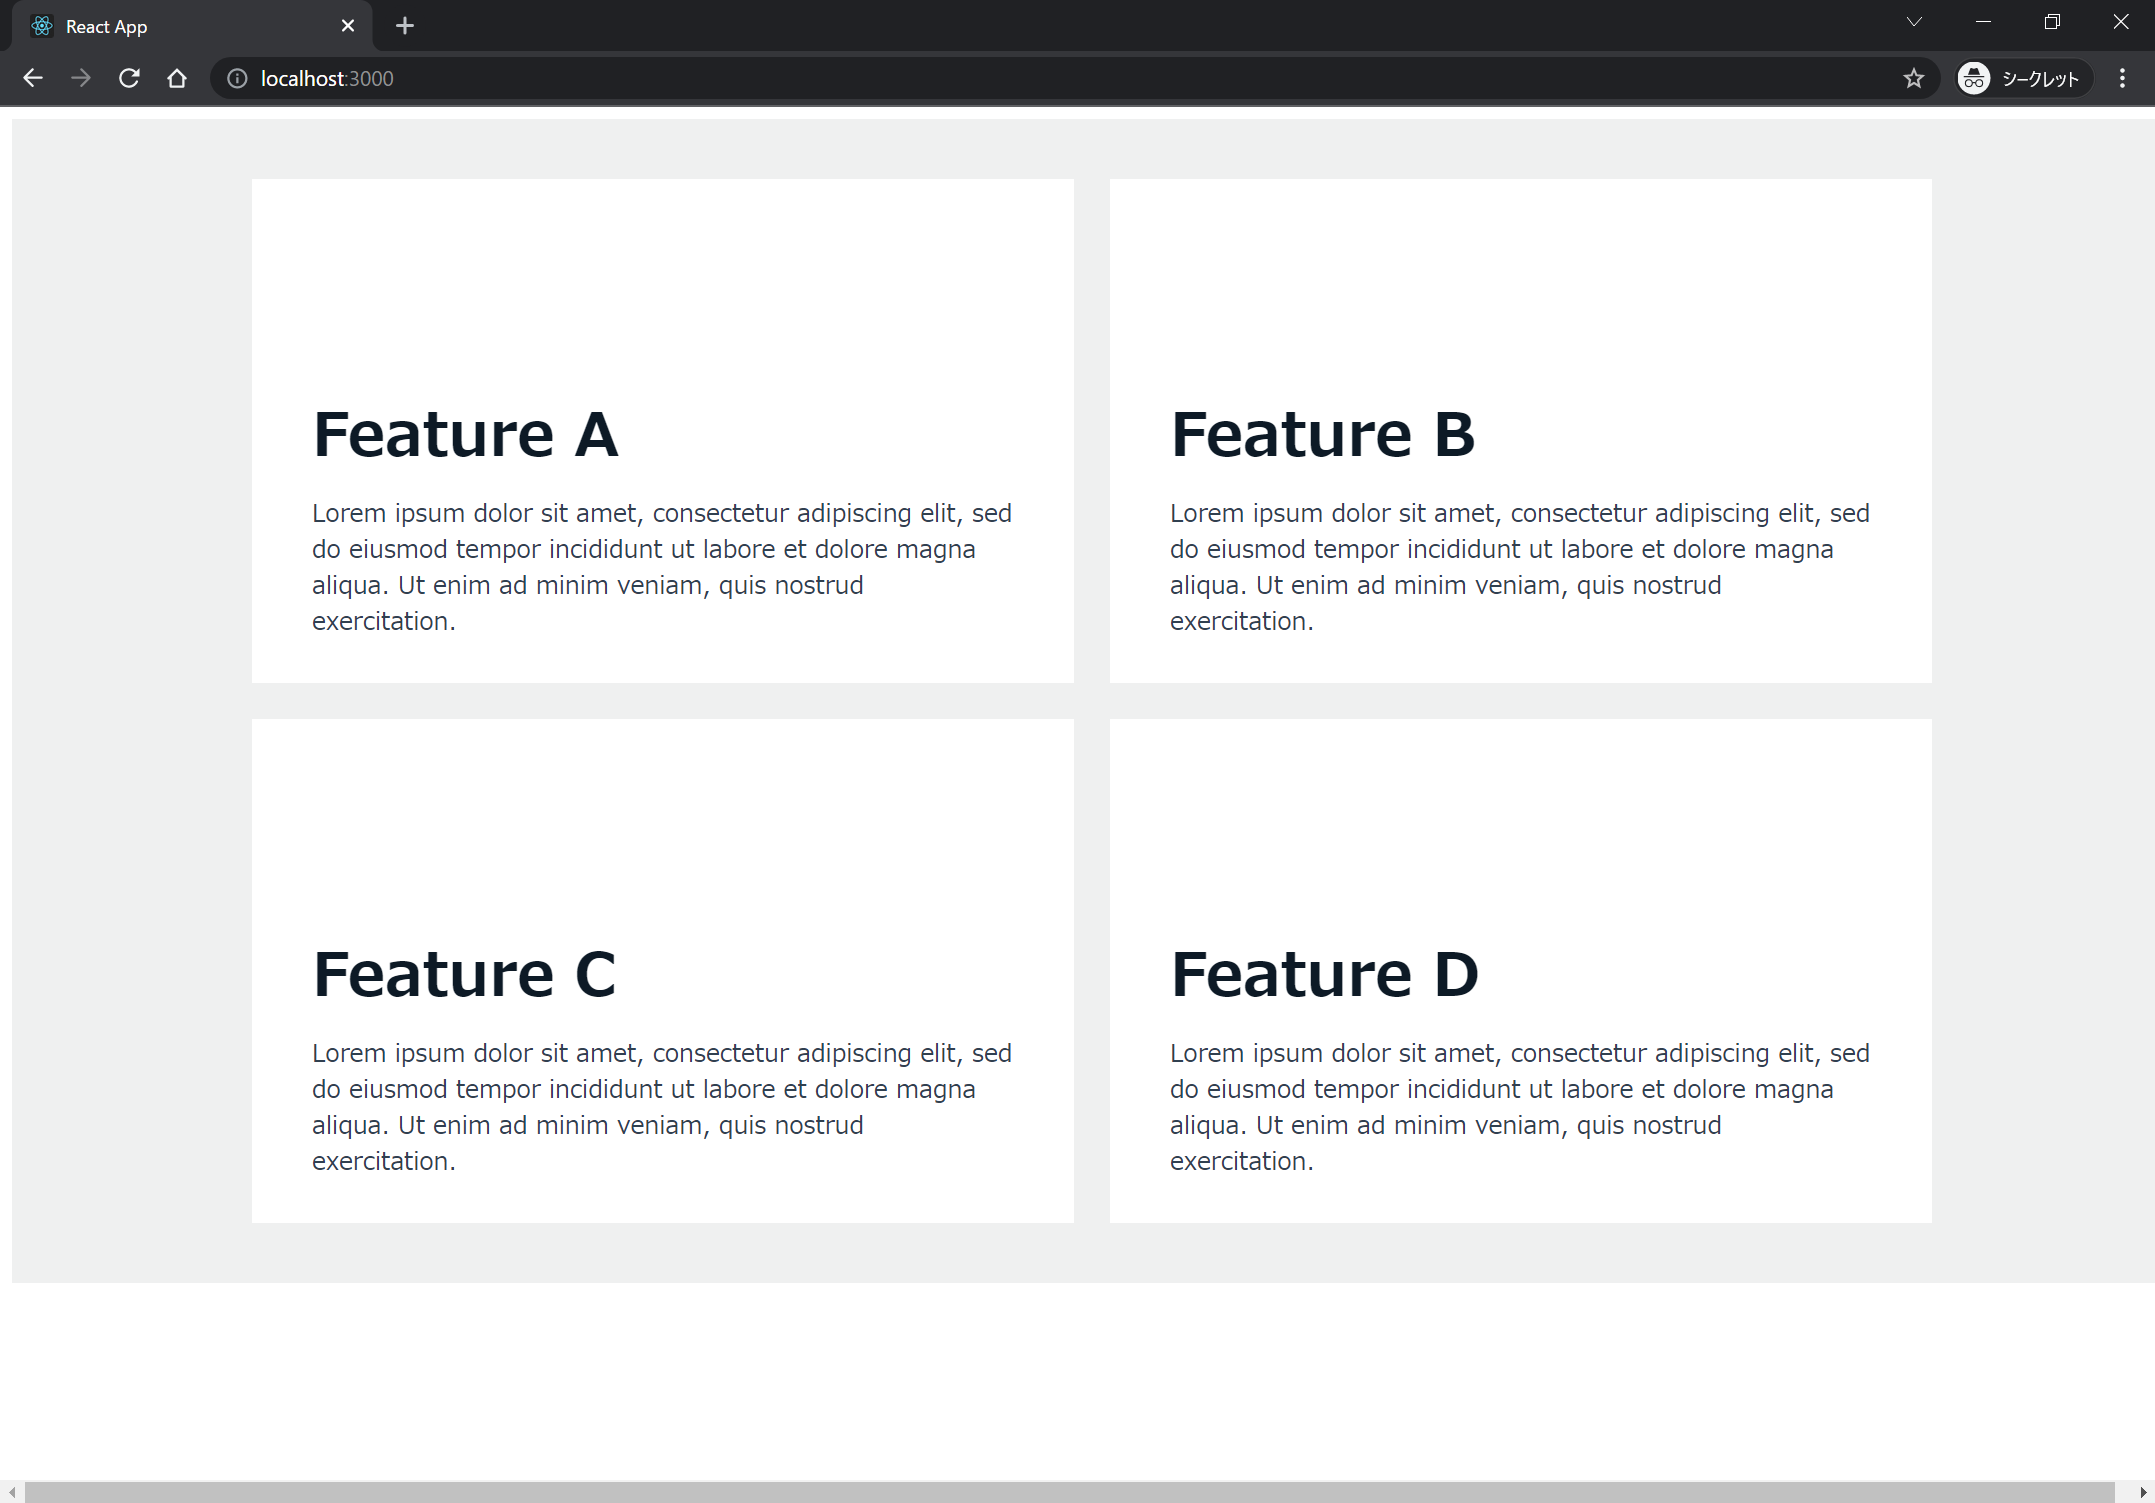
コンポーネントを埋め込んでみましょう。
import React from 'react';
import Amplify from 'aws-amplify';
import "@aws-amplify/ui-react/styles.css";
import {AmplifyProvider} from "@aws-amplify/ui-react";
import { Features2x2 } from './ui-components';
import awsconfig from './aws-exports';
Amplify.configure(awsconfig);

function App() {
  return (
    <AmplifyProvider>
      <Features2x2 />
    </AmplifyProvider>
  );
}

export default App;
所感
Figma を使いこなすと React コードが正しく作られる
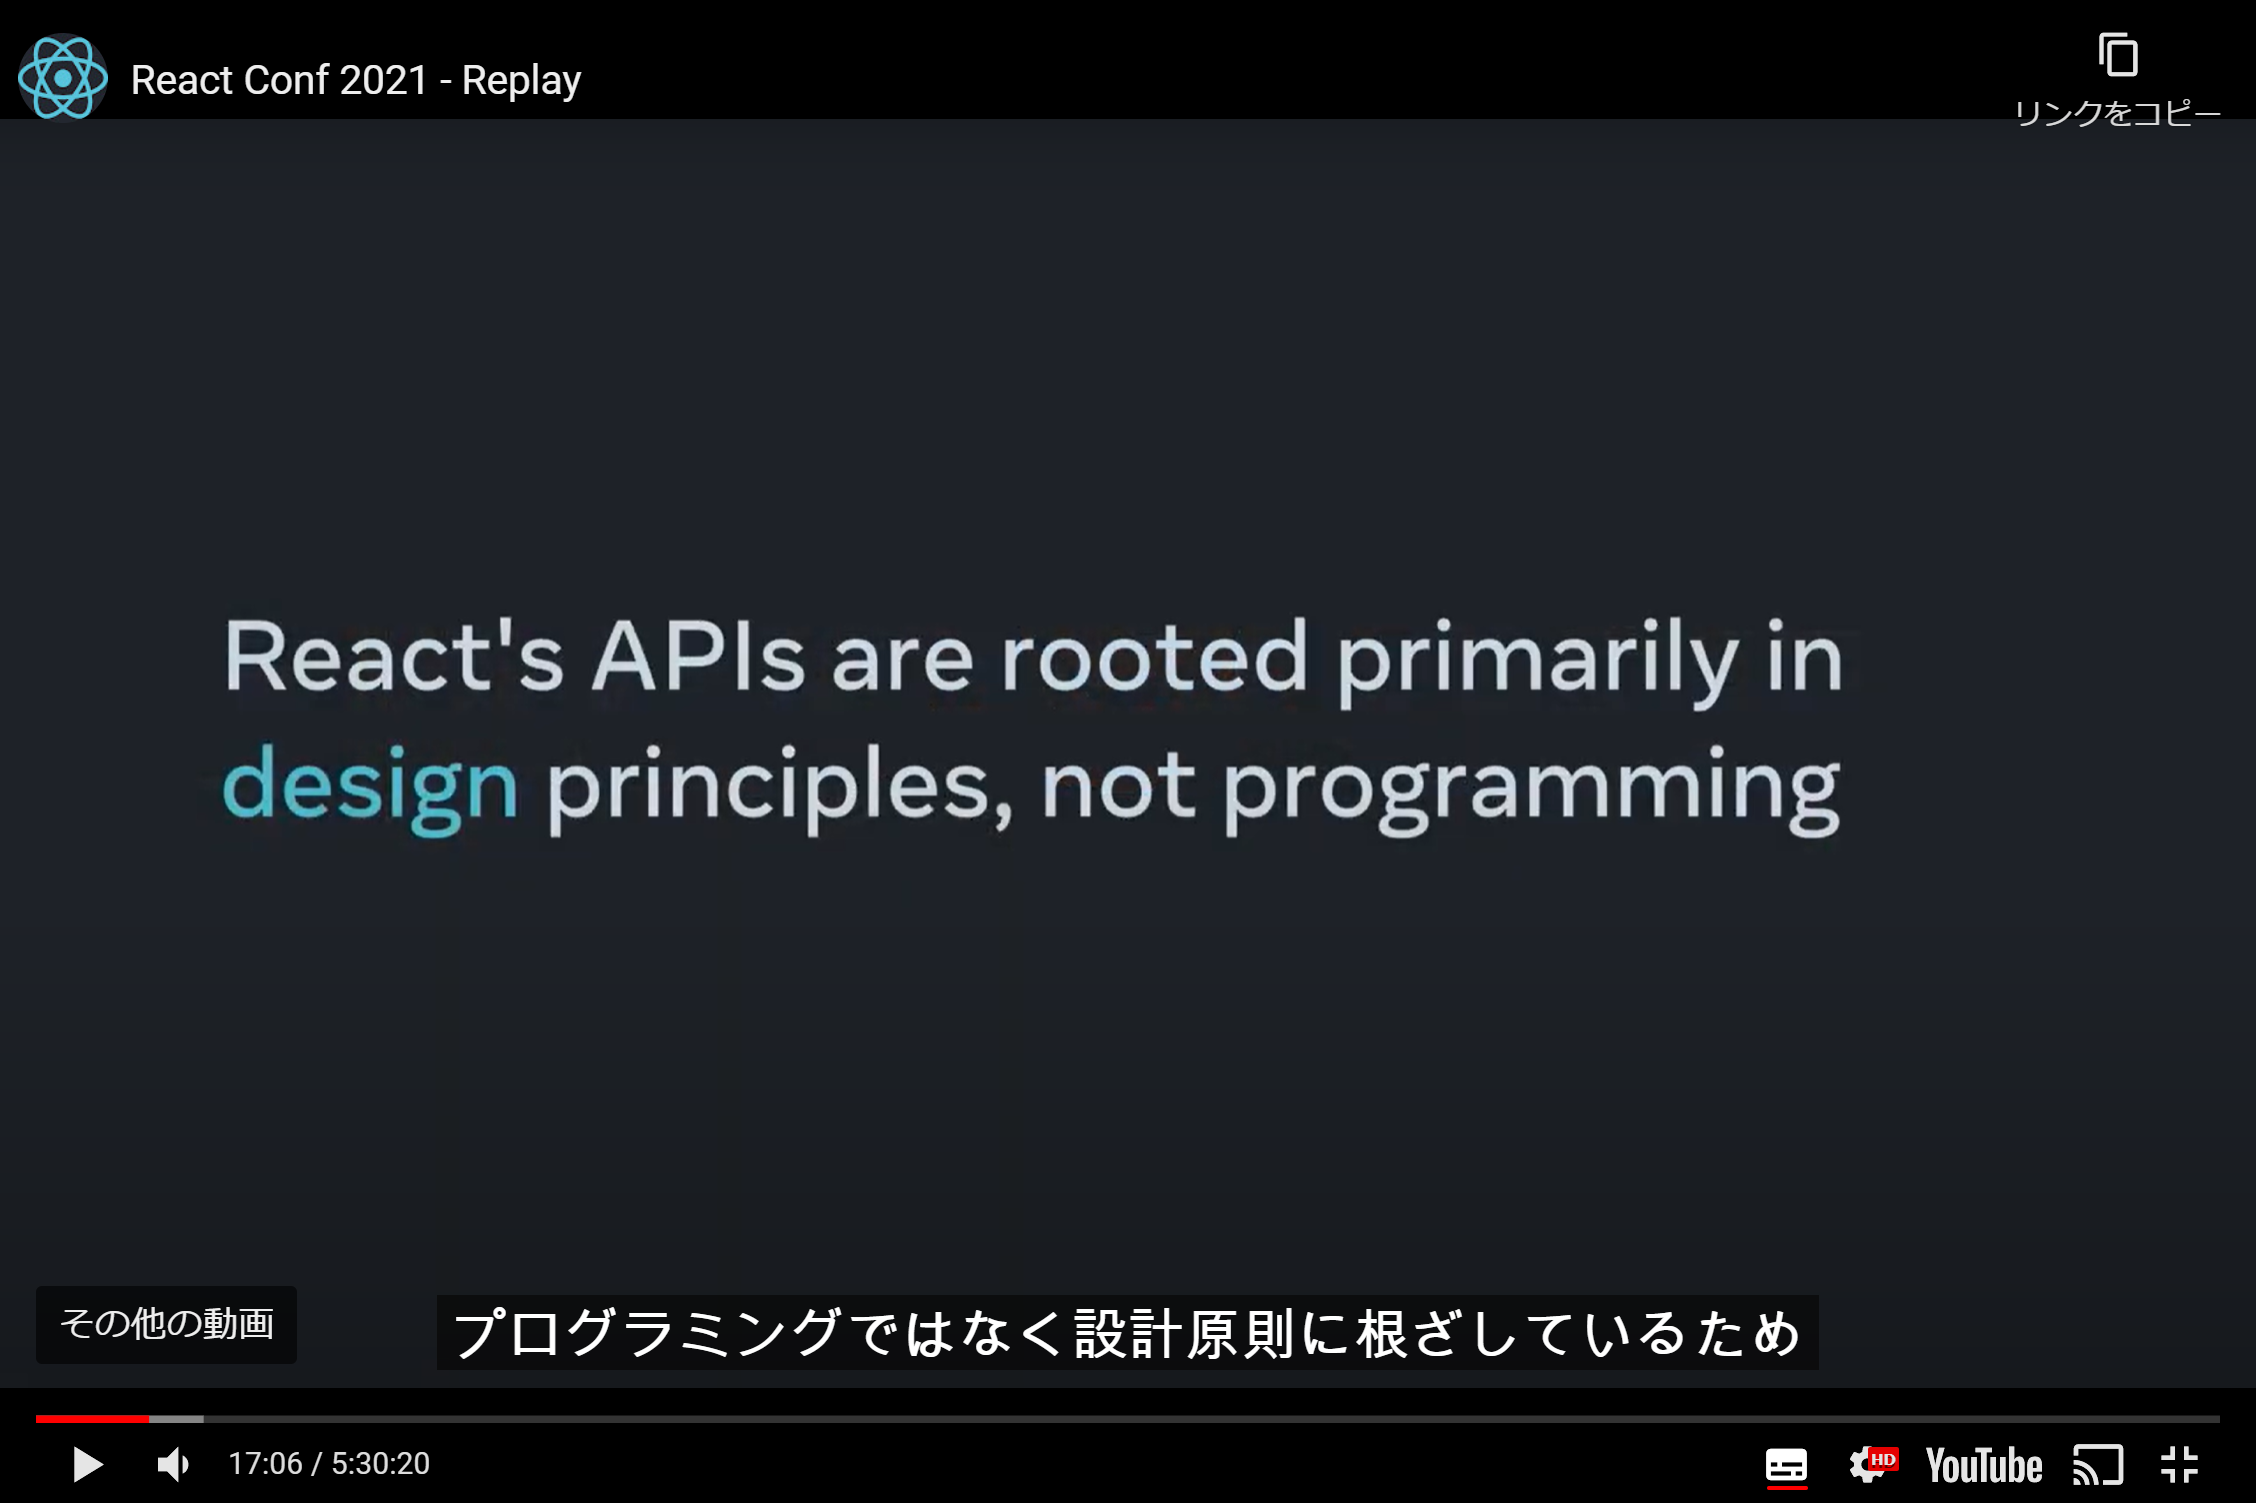
先日の React Conf 2021 keynote で React は「design principles」(設計原則)に根差していて、デザインとプログラミングの統合という話がありました。Figma から React コードが生成できるのはこれの象徴ですね。デザイナーとプログラマーの仕事の境目はだいぶ無くなってきたのではないでしょうか。
Amplify UI ライブラリーに依存している
チュートリアルのサンプルではコンポーネント単位で React コードを生成してくれました。基本的には Amplify の UI ライブラリーがベースになるようです。
import { Flex, Text } from "@aws-amplify/ui-react";
Figma をうまく作っていけばページや画面遷移まで実現出来るのかは気になるところです。
今後に期待!
まだプレビュー版ですが、近い将来はデザイナーとプログラマーの橋渡しはもっと楽になり "同じ言語" で会話できるようになっていくのかもしれないと感じました。今後が楽しみです!
