DjangoのプロジェクトをHerokuにデプロイしてみます。
環境
 windows10 home 64bit
python 3.6.5
Django 2.0.7
参考サイト:
・ Django Girls Tutorial
1.準備
(1)gitをインストール
以下のリンクを参考にインストールしました。
・ 自分用 Git For Windowsのインストール手順
(2)Herokuをインストール
こちらも、以下のリンクを参考にインストール。
・ 5分でわかるherokuとは?
(3)Herokuの無料アカウントを取得する
HEROKUのサインアップページで、無料アカウントを取得します。
Sign up
(4)プロジェクトとアプリケーションを作成
デプロイ用に、新規にプロジェクトを作成します。以下のサイトの手順通りに進めます。
Django Girls Tutorial - プロジェクトを作成しよう
Django Girls Tutorial - Django models
Django Girls Tutorial - ログインページを作ろう
- プロジェクト名:girls
- アプリケーション名:blog
- setting.pyの設定
としておきます。
2.デプロイのためのプロジェクトの編集
アプリケーション作成後、構成は以下のようになっています。
girls
│  manage.py
├─blog
│  │  admin.py
│  │  apps.py
│  │  models.py
│  │  tests.py
│  │  views.py
│  │  __init__.py
│  ├─migrations
(省略)
│  └─__pycache__
(省略)
└─girls
    │  settings.py
    │  urls.py
    │  wsgi.py
    │  __init__.py
    └─__pycache__
(省略)
(1)dj-database-url,gunicorn,whitenoiseをインストールする
Herokuに必要ということなのでpipでインストールします。
pip install dj-database-url gunicorn whitenoise
(2)requirements.txtの作成
pipコマンドを使ってプロジェクトの直下にrequirements.txtが作成されるようにします。
(venv) C:\data\python\girls>pip freeze > requirements.txt
click==6.7
dj-database-url==0.5.0
Django==2.0.7
django-bootstrap-form==3.4
django-bootstrap4==0.0.6
django-crispy-forms==1.7.2
django-extra-views==0.11.0
django-filter==2.0.0
django-pure-pagination==0.3.0
djangorestframework==3.8.2
ez-setup==0.9
Flask==1.0.2
gunicorn==19.9.0
itsdangerous==0.24
Jinja2==2.10
MarkupSafe==1.0
Pillow==5.2.0
psycopg2==2.7.5
pytz==2018.5
reportlab==3.5.1
six==1.11.0
Werkzeug==0.14.1
whitenoise==3.3.1
※requirements.txtに「psycopg2==2.7.5」がない場合は追加する必要があるようです。
(3)Procfileの作成
プロジェクトの直下にProcfileというファイルを作成して以下のように編集します。
girls\Procfile
web: gunicorn girls.wsgi
(4)runtime.txtの作成
プロジェクトの直下にruntime.txtというファイルを作成して以下のように編集します。
python-3.6.5
(5)local_settings.pyの作成
ローカル環境でアプリを動かすための設定です。プロジェクトの下の「girls」フォルダの下に、「local_settings.py」を作成して以下のように編集します。
import os
BASE_DIR = os.path.dirname(os.path.dirname(__file__))

DATABASES = {
    'default': {
        'ENGINE': 'django.db.backends.postgresql_psycopg2',
        'NAME': 'girls',
        'USER': 'testuser',
        'PASSWORD': 'xxxxxxxx',
        'HOST': 'localhost',
        'PORT': '5432',
    }
}

DEBUG = True
(5)settings.pyの編集
Herokuで動くための設定を追加します。settings.pyの最後に以下を追加します。
import dj_database_url
DATABASES['default'] = dj_database_url.config()

SECURE_PROXY_SSL_HEADER = ('HTTP_X_FORWARDED_PROTO', 'https')

ALLOWED_HOSTS = ['*']

STATIC_ROOT = 'staticfiles'

DEBUG = False

try:
    from .local_settings import *
except ImportError:
    pass
(6)wsgi.pyの編集
Herokuで動くための設定を追加します。settings.pyの最後に以下を追加します。
from whitenoise.django import DjangoWhiteNoise
application = DjangoWhiteNoise(application)
3.デプロイ
※heroku, gitコマンドはあらかじめ環境変数のpathを追加しておきます。
以下のパスを環境変数に追加
C:\Program Files\Git\bin
C:\Program Files\heroku\bin
(1)herokuにログイン
(venv) C:\data\python\girls>heroku login
(2)gitにプロジェクトを追加する
init
(venv) C:\data\python\girls>git init
Reinitialized existing Git repository in C:/data/python/girls/.git/
status
(venv) C:\data\python\girls>git status
On branch master

No commits yet

Untracked files:
  (use "git add <file>..." to include in what will be committed)

        .gitignore
        Procfile
        blog/
        girls/
        manage.py
        requirements.txt
        runtime.txt

nothing added to commit but untracked files present (use "git add" to track)
add
(venv) C:\data\python\girls>git add -A .
commit
(venv) C:\data\python\girls>git commit -m "My Django Girls app"
[master (root-commit) 1c003e5] My Django Girls app
 17 files changed, 300 insertions(+)
 create mode 100644 .gitignore
 create mode 100644 Procfile
 create mode 100644 blog/__init__.py
・・・(省略)・・・
 create mode 100644 requirements.txt
 create mode 100644 runtime.txt
gitにメール、ユーザを登録していないと、commit時にエラーになります。
*** Please tell me who you are.
Run
  git config --global user.email "you@example.com"
  git config --global user.name "Your Name"
to set your account's default identity.
Omit --global to set the identity only in this repository.

fatal: unable to auto-detect email address (got 'ycnp4@DESKTOP-B5N6I3B.(none)')
その場合は登録してください。
(venv) C:\data\python\girls>git config --global user.email "hogehoge@gmail.com"
(venv) C:\data\python\girls>git config --global user.name "taro suzuki"
(3)herokuにプロジェクトを作成する。
(venv) C:\data\python\girls>heroku create xxxxx-sample-blog
Creating ⬢ xxxxx-sample-blog... done
https://xxxxx-sample-blog.herokuapp.com/ | https://git.heroku.com/xxxxx-sample-blog.git
(4)herokuにプロジェクトをpushする。
(venv) C:\data\python\girls>git push heroku master
Enumerating objects: 23, done.
Counting objects: 100% (23/23), done.
Delta compression using up to 4 threads.
Compressing objects: 100% (20/20), done.
Writing objects: 100% (23/23), 4.97 KiB | 636.00 KiB/s, done.
Total 23 (delta 2), reused 0 (delta 0)
・・・(省略)・・・
remote: Verifying deploy... done.
To https://git.heroku.com/xxxxx-sample-blog.git
 * [new branch]      master -> master

(venv) C:\data\python\girls>heroku ps:scale web=1
Scaling dynos... done, now running web at 1:Free
(5)herokuで、migirate
heroku上のプロジェクトをmigrateします。
(venv) C:\data\python\girls>heroku run python manage.py migrate
・・・
  Applying sessions.0001_initial... OK
(6)herokuで、createsuperuser
(venv) C:\data\python\girls>heroku run python manage.py createsuperuser
Running python manage.py createsuperuser on ⬢ xxxxx-sample-blog... up, run.3497 (Free)
/app/.heroku/python/lib/python3.6/site-packages/psycopg2/__init__.py:144: UserWarning: The psycopg2 wheel package will be renamed from release 2.8; in order to keep installing from binary please use "pip install psycopg2-binary" instead. For details see: <http://initd.org/psycopg/docs/install.html#binary-install-from-pypi>.
  """)
Username (leave blank to use 'u20175'): admin
Email address: admin@localhost
Password:
Password (again):
Superuser created successfully.
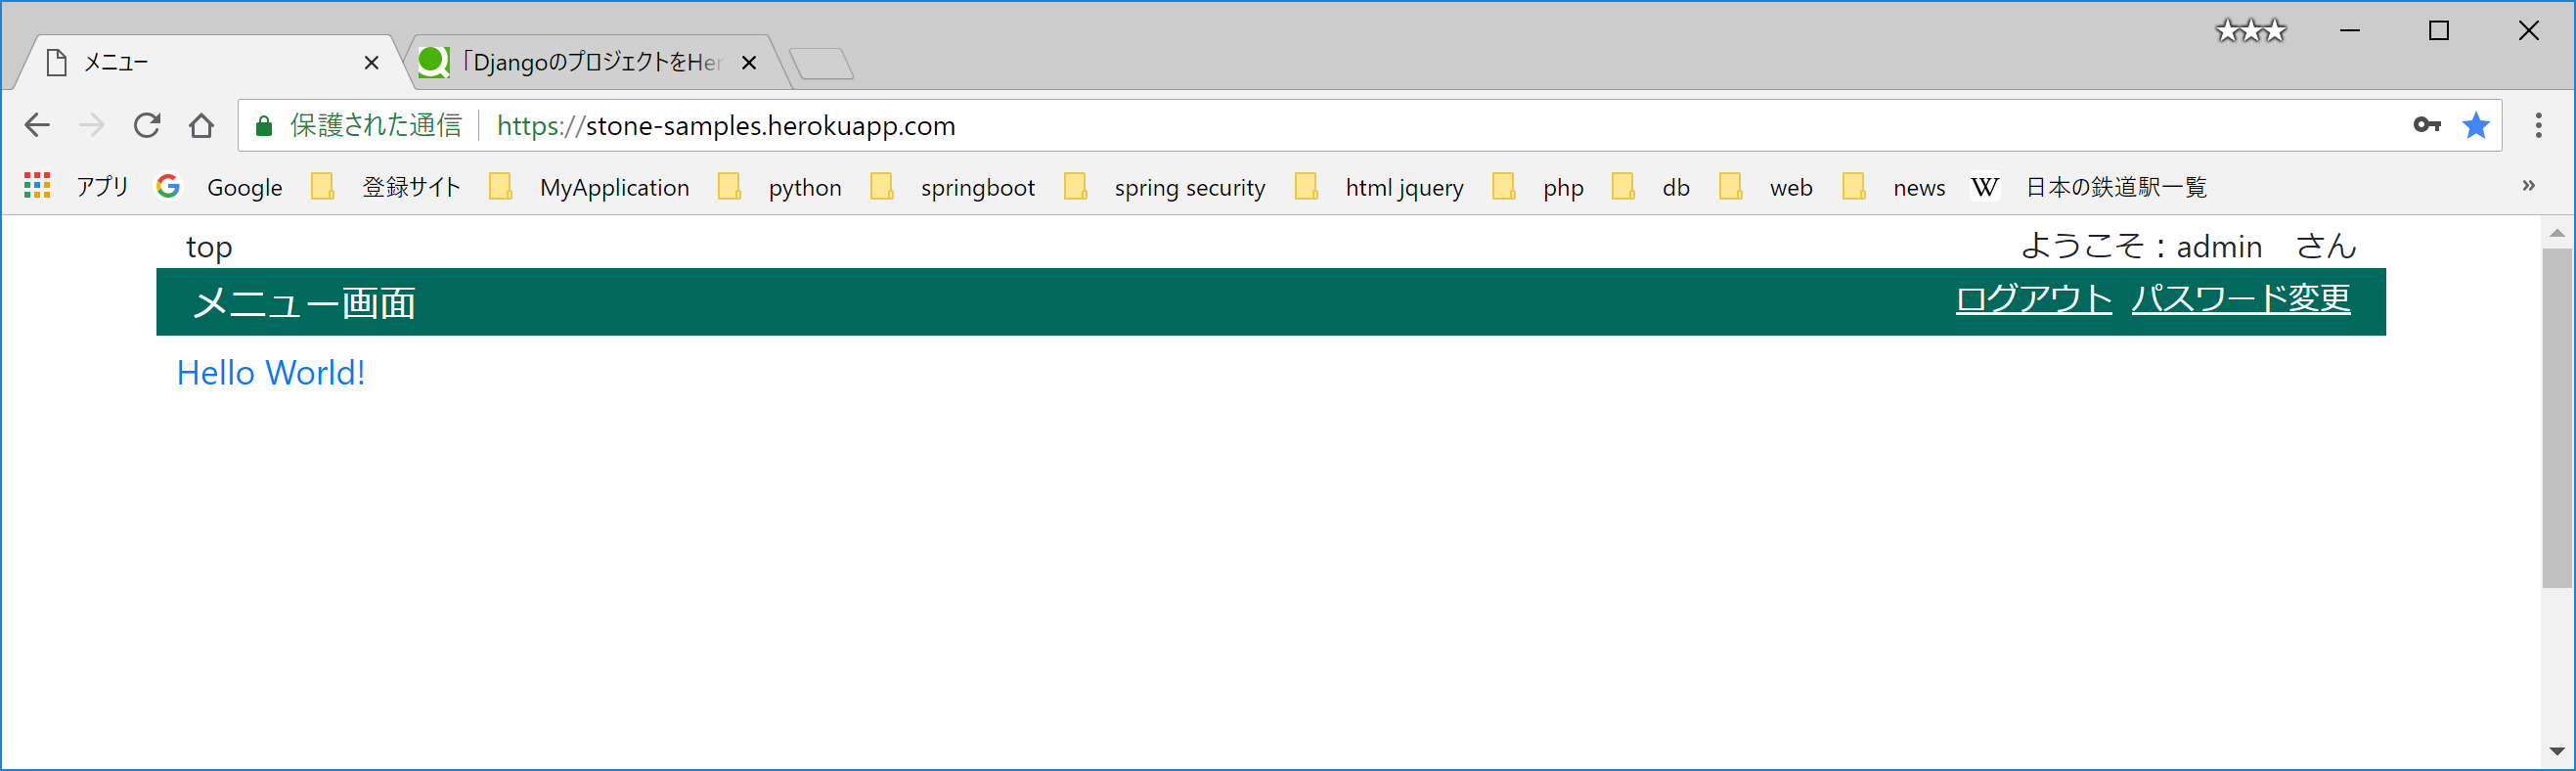
4.動作確認