OutSystemsのITユーザーやチームを簡単に管理したいな~と思ったとき
LifeTimeのAPIなるものがあったので、その使い方をまとめてみました
今回はLifeTime API v2の使い方になります
環境
Service Studio
手順
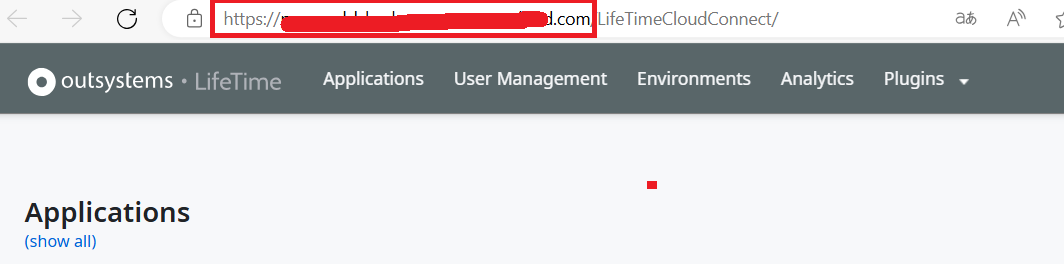
1. URL取得
LifeTimeにログインして、図の赤枠部分をコピーして置いておきましょう
2. 認証トークンの取得
を参考にサービスアカウントを作成してください
認証トークンが表示されるので、コピーしてください
※サービスアカウントの作成にはライセンスが必要です
3. Consume REST APIで目的のAPIにアクセスしましょう
URLは次の方になります
<手順1で取得したURL>/lifetimeapi/rest/v2/<目的のAPI>
※GetAPIの時は、公式ドキュメントを確認して必要なクエリも追加してください
例:Get Applicationの場合
https://xxxxxxxxxxxxxxxxxx.com//lifetimeapi/rest/v2/applications?IncludeModules={IncludeModules}&IncludeEnvStatus={IncludeEnvStatus}
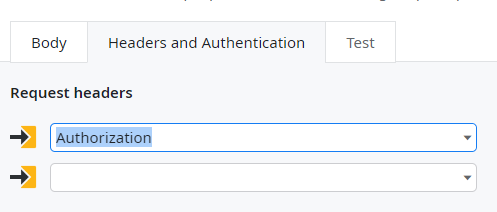
4. ヘッダーにAuthorizationを追加
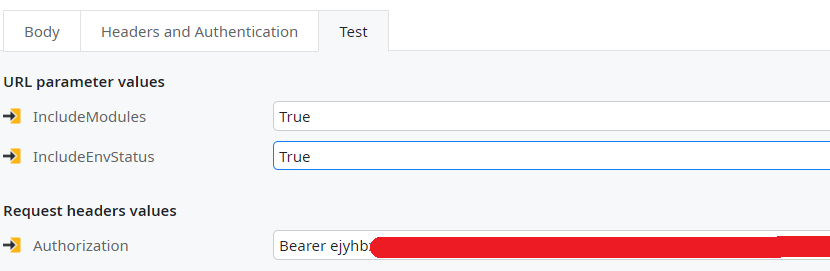
5. テスト実行してみましょう
Authorizationには、Bearer <authentication_token>を渡してださい
※Bearerの後ろに半角スペース忘れずに😘
それ以外の引数には、公式ドキュメントを確認して任意の値を渡してください
6. 結果を確認してみましょう
テストを実行して 200 OKが帰ってくれば成功です
まとめ
LifeTime API v2の使い方は以上になります
これらを使って、何をするのか、それとも何もしないのか
心にしたがって決めてみてください