OutSystemsのITユーザーやチームを簡単に管理したいな~と思ったとき
LifeTimeのAPIなるものがあったので、その使い方をまとめてみました
今回はLifeTime Services APIの使い方になります
環境
Personal Environment
Service Studio
手順
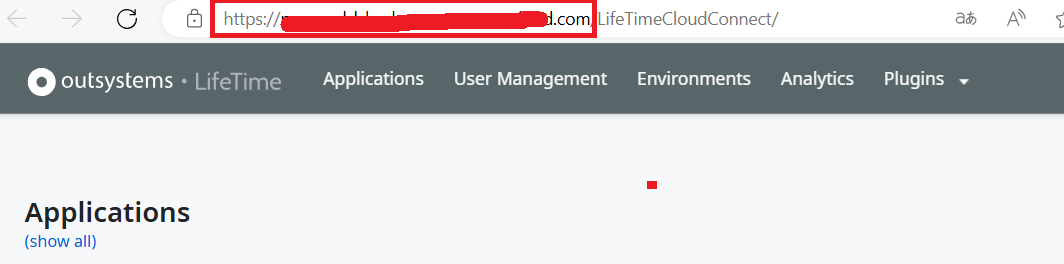
1. URL取得
LifeTimeにログインして、図の赤枠部分をコピーして置いておきましょう
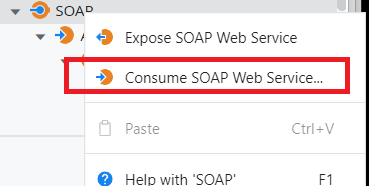
2. セッショントークンの取得
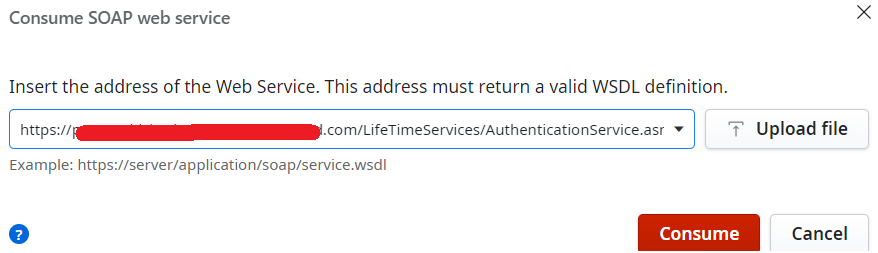
1. Consume SOAP Web ServiceでAuthenticationServiceにアクセスします
2. URLはhttp://<手順1で取得したLifeTimeのURL>/LifeTimeServices/AuthenticationService.asmx?WSDL
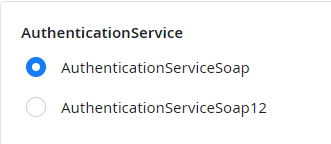
3. AuthenticationServiceSopeを選択
:::note warn
AuthenticationServiceSope12だと、なぜかヘッダーが大きすぎるのエラーが出ます
:::
4. 作成されたアクションを呼びだします
引数のUserName/PasswordにはITユーザーの値を渡してください
戻り値のTokenを取得してください

3. セッショントークンを使用してみましょう
今回はUserManagementServiceを使用して、ITユーザのリストを取得してみます
1. AuthenticationServiceと同じようにConsume SOAP Web Serviceでアクセスします
URLはhttp://<手順1で取得したLifeTimeのURL>/LifeTimeServices/UserManagementService.asmx?WSDL
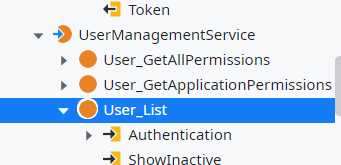
2. User_Listのアクションを呼びます
引数のUserName/Passwordにはセッショントークンを取得したITユーザーの値を渡してください
引数のTokenにはAuthenticationServiceから取得したセッショントークンを渡してください
それ以外の引数は公式ドキュメントに従って任意の値を渡してください
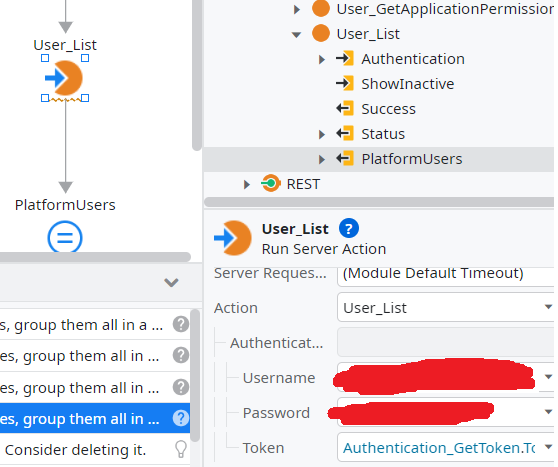
3. PlatformUsersを取得できれば完了です
まとめ
LifeTime Services APIの使い方は以上になります
これらを使って、何をするのか、それとも何もしないのか
心にしたがって決めてみてください