はじめに
自宅サーバ環境で以前、Kubespray で CentOS での構築を実施した
今回、Ubuntu (20.4 LTS) で再度構築してみたのでその内容を記載する
結論、kubespray 実施前の設定方法が OS の違いで若干違うだけでほとんど変わらずできた
環境
- ESXi
- Version: 7.0u2a
- license: Free
- Network (Server Gateway Router)
- Edgerouter-X (ER-X)
- Version: v2.0.9-hotfix.2 [記載時(2021.11.28)最新版]
- 注意: 本稿には記載しないが、v1.x.xだと MetaLB との組み合わせで本環境では不具合を確認しているため、v2系が必要
上記以外の環境と、Kubernetes のノードスペック設定は過去に CentOS べースで作成した際と同じ
Kubespray は v2.17.1 を使用する
VM 構築
ESXi での Ubuntu サーバ構築。VM構築のみ記載なので、環境が整っている場合は、この項目はスキップ可能
Ubuntu Image 作成
ESXi で Ubuntu 20.04 LTS の VM を立てる
新規で VM を作成する
VM 名称と、OS の種類を選択する
VM のストレージを選択する (ここではローカルの datastore1)
VM のスペックを設定する
Disk はサイズ節約のため Thin provisioned にしている
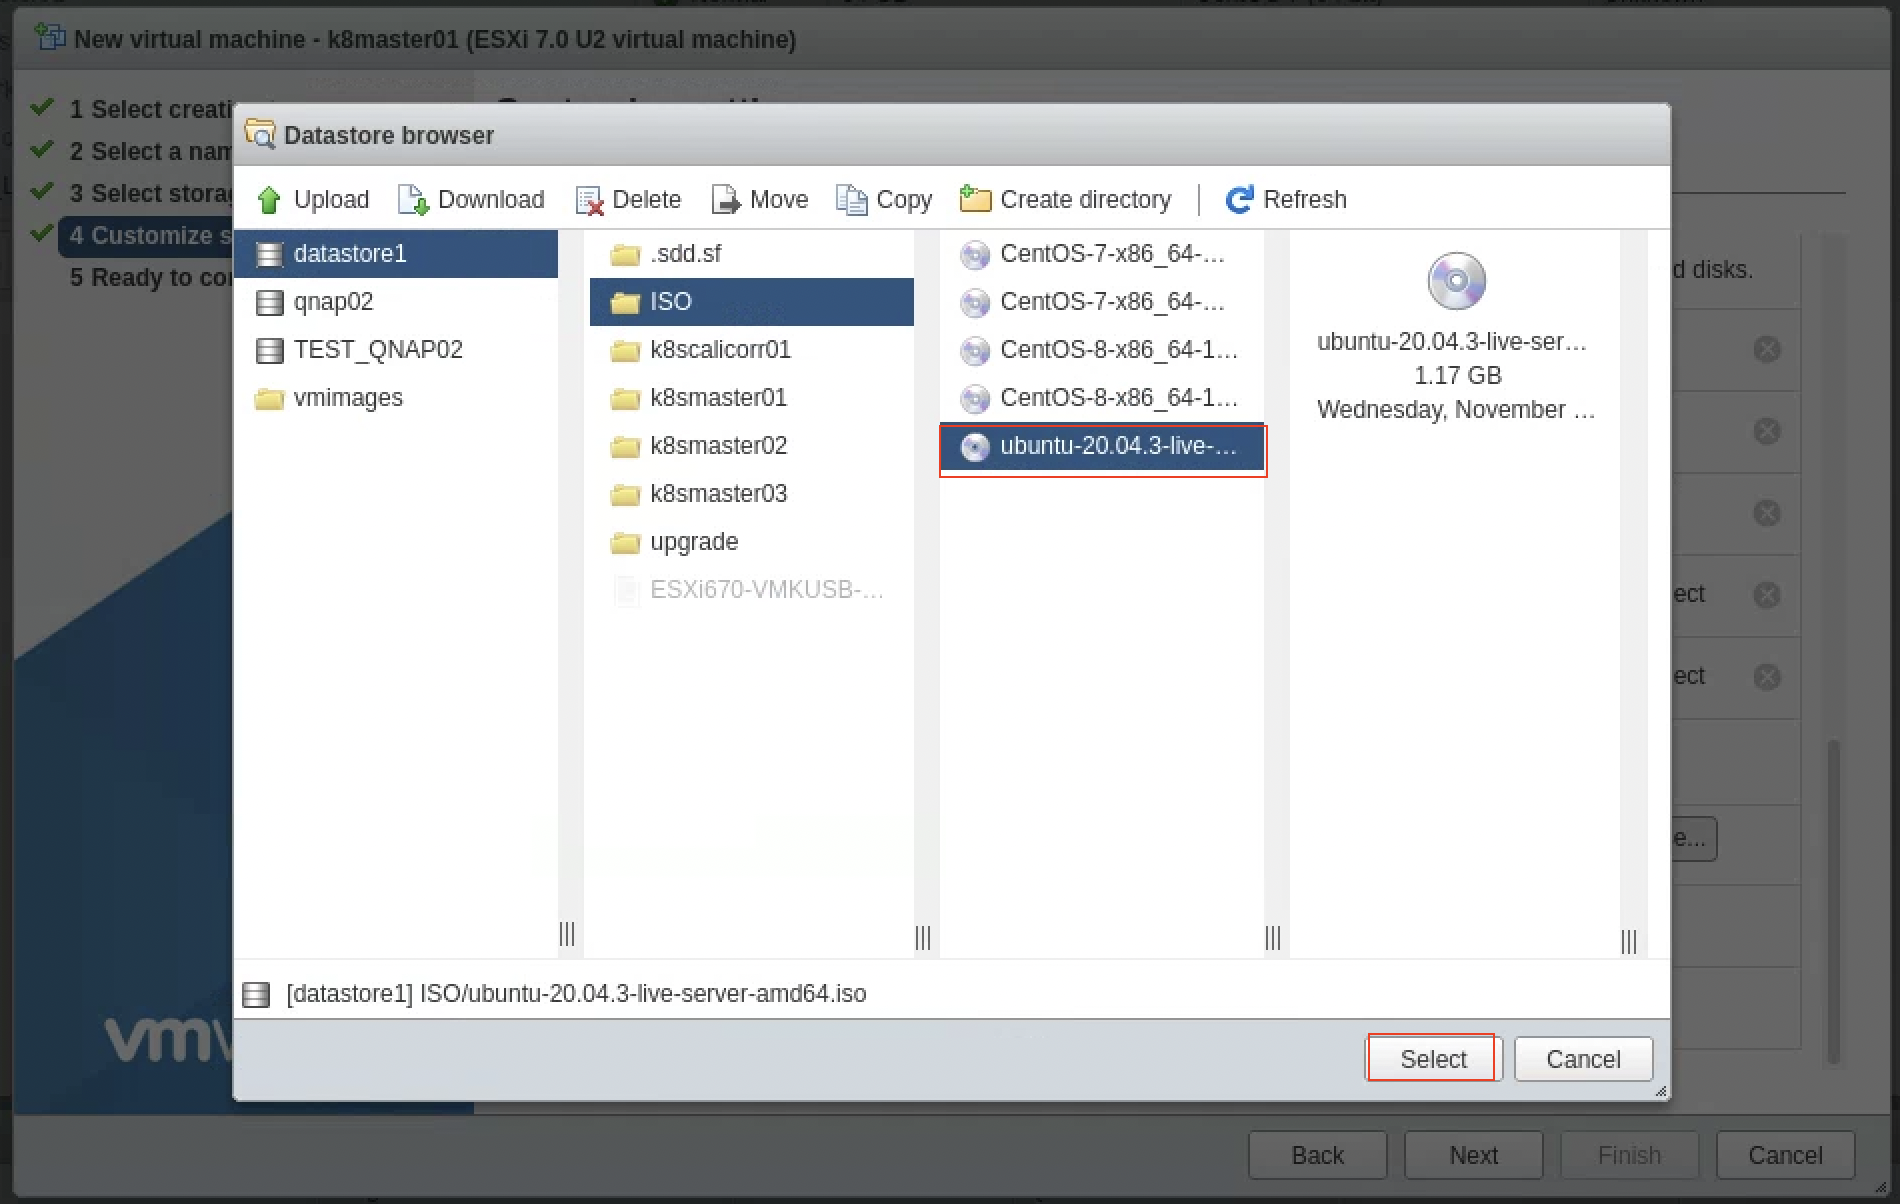
CD/DVD Media の Browese... をクリックして事前にアップロードした Ubuntu の ISO を選択する
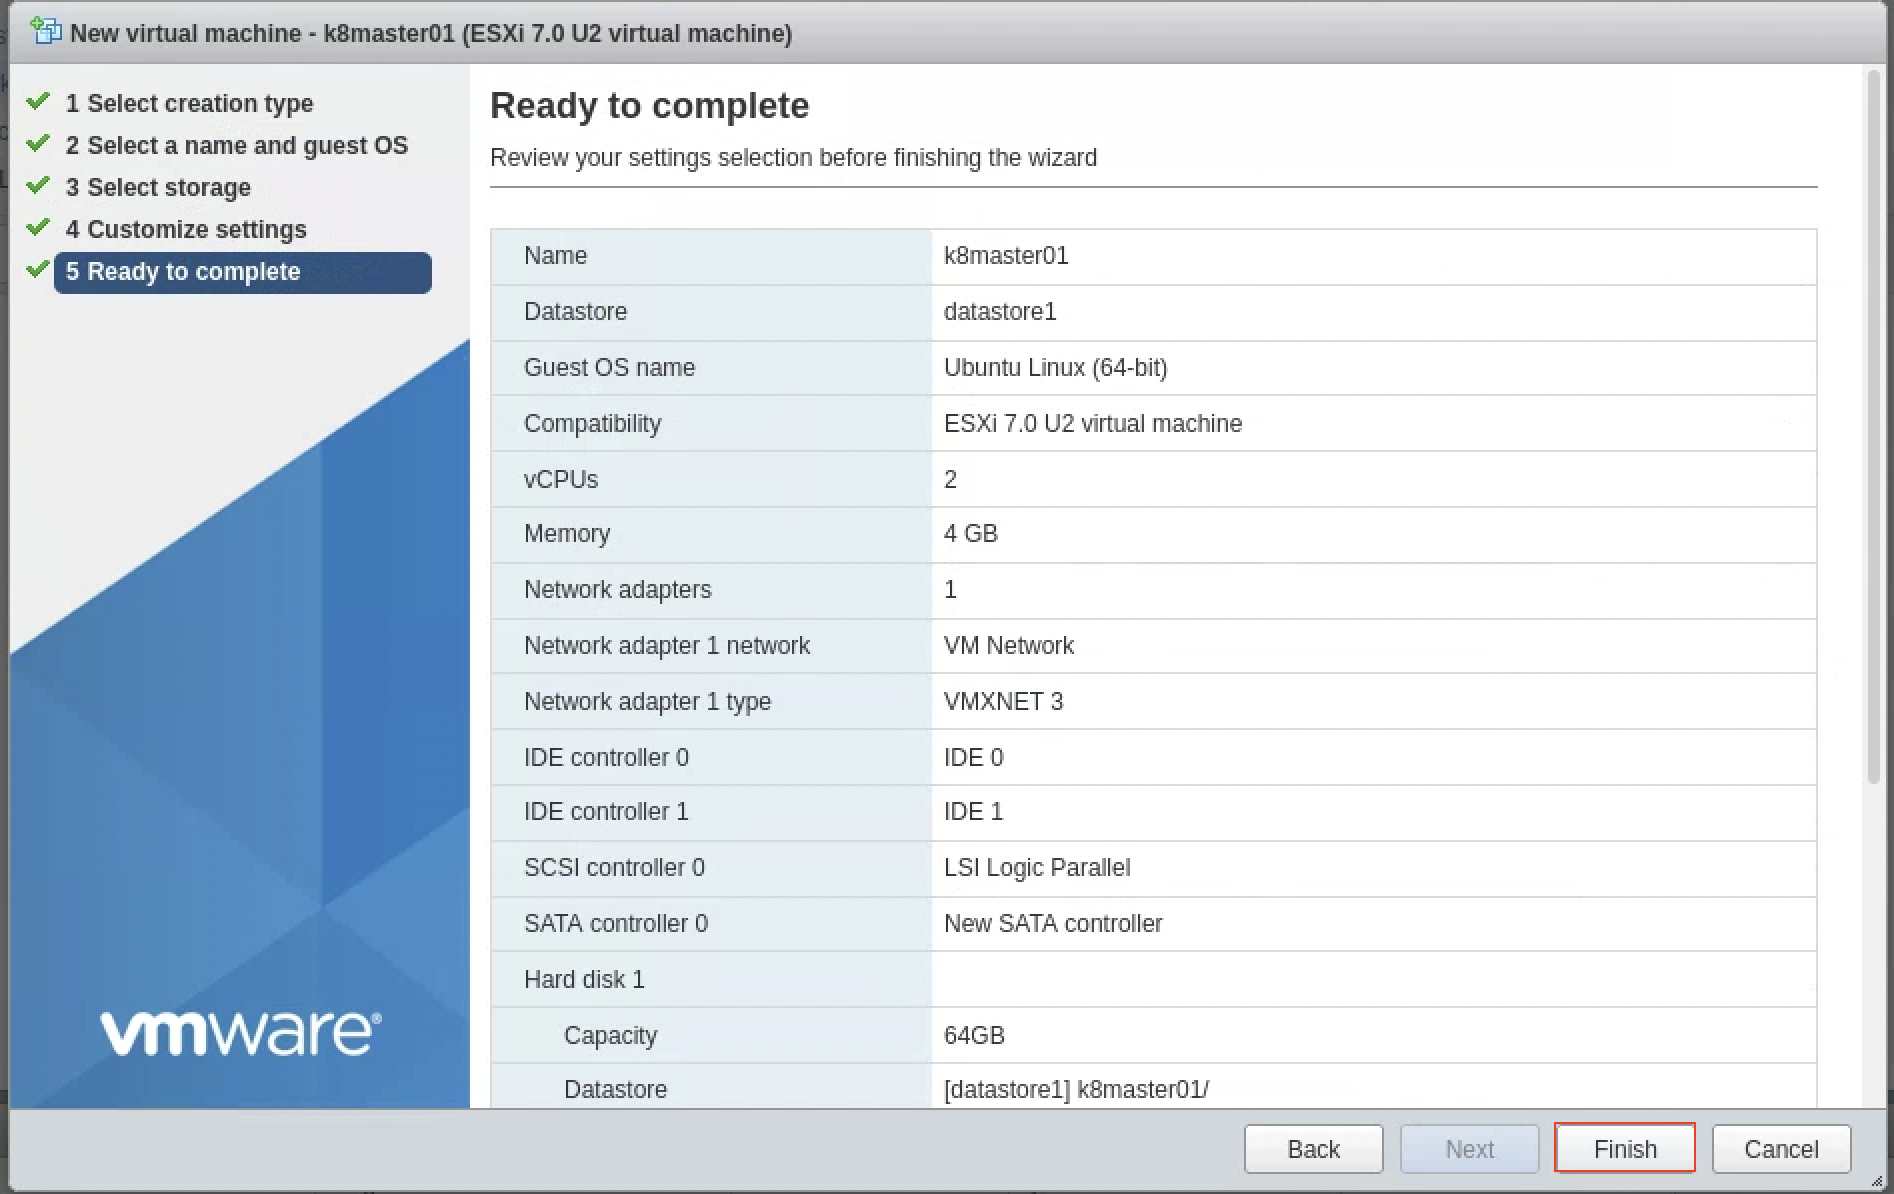
入力した内容を確認してFinishを押して完了する
起動すると Network adapter に MAC Address がアサインされる
Gateway の DHCP でアドレス管理をしている場合は、上記 MAC Address を参照して、登録する
下記は、ER-X の際の MAC アドレスとアサイン IP アドレスの設定組み合わせの抜粋例
set service dhcp-server shared-network-name TRUST_POOL subnet 192.168.129.0/24 static-mapping nuc02_k8master01 ip-address 192.168.129.21
set service dhcp-server shared-network-name TRUST_POOL subnet 192.168.129.0/24 static-mapping nuc02_k8master01 mac-address 00:0c:29:75:57:eb
起動後は VM のコンソール画面で設定していく
表示言語は English としている
keyboard は Japanese を選択する
DHCP 設定に従って、下記アドレスが表示される (VM 自体で固定IPを設定する場合はここで設定可能)
Proxy 環境でなければそのまま進む
Mirror を変更しないならそのまま進む
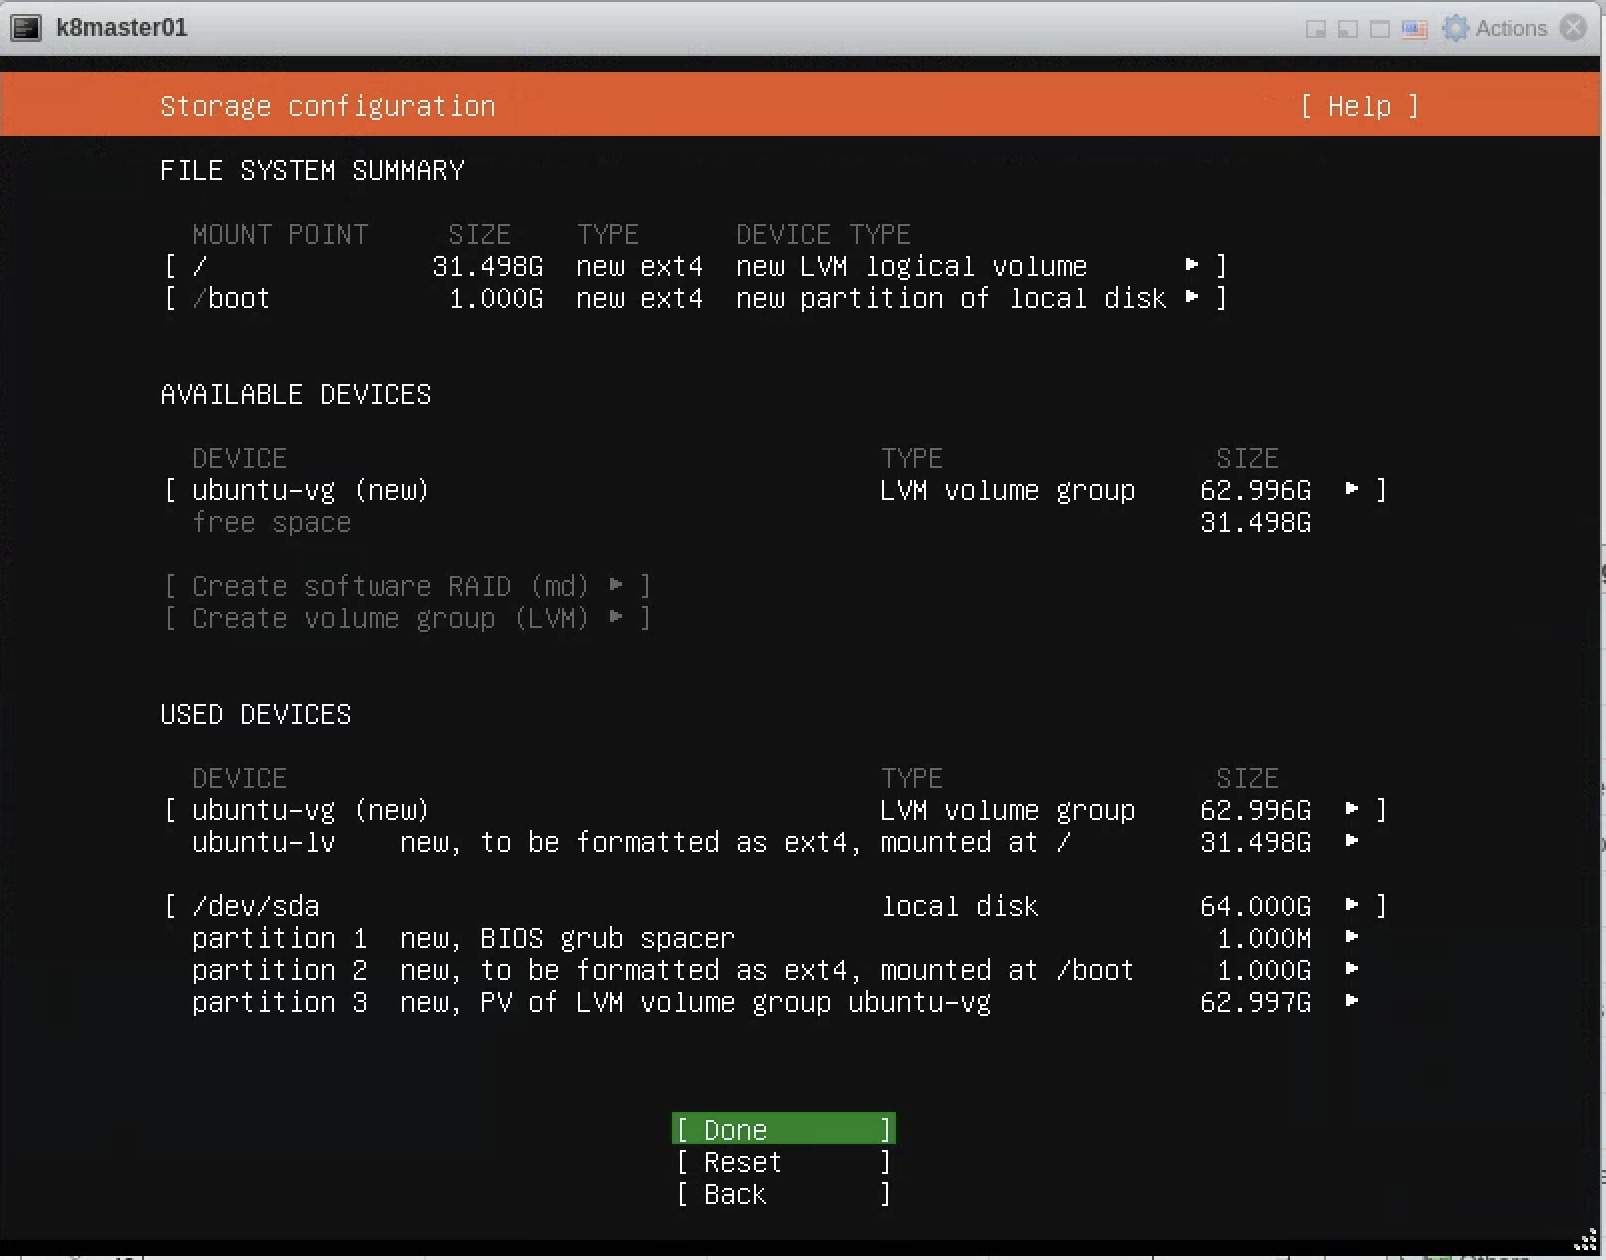
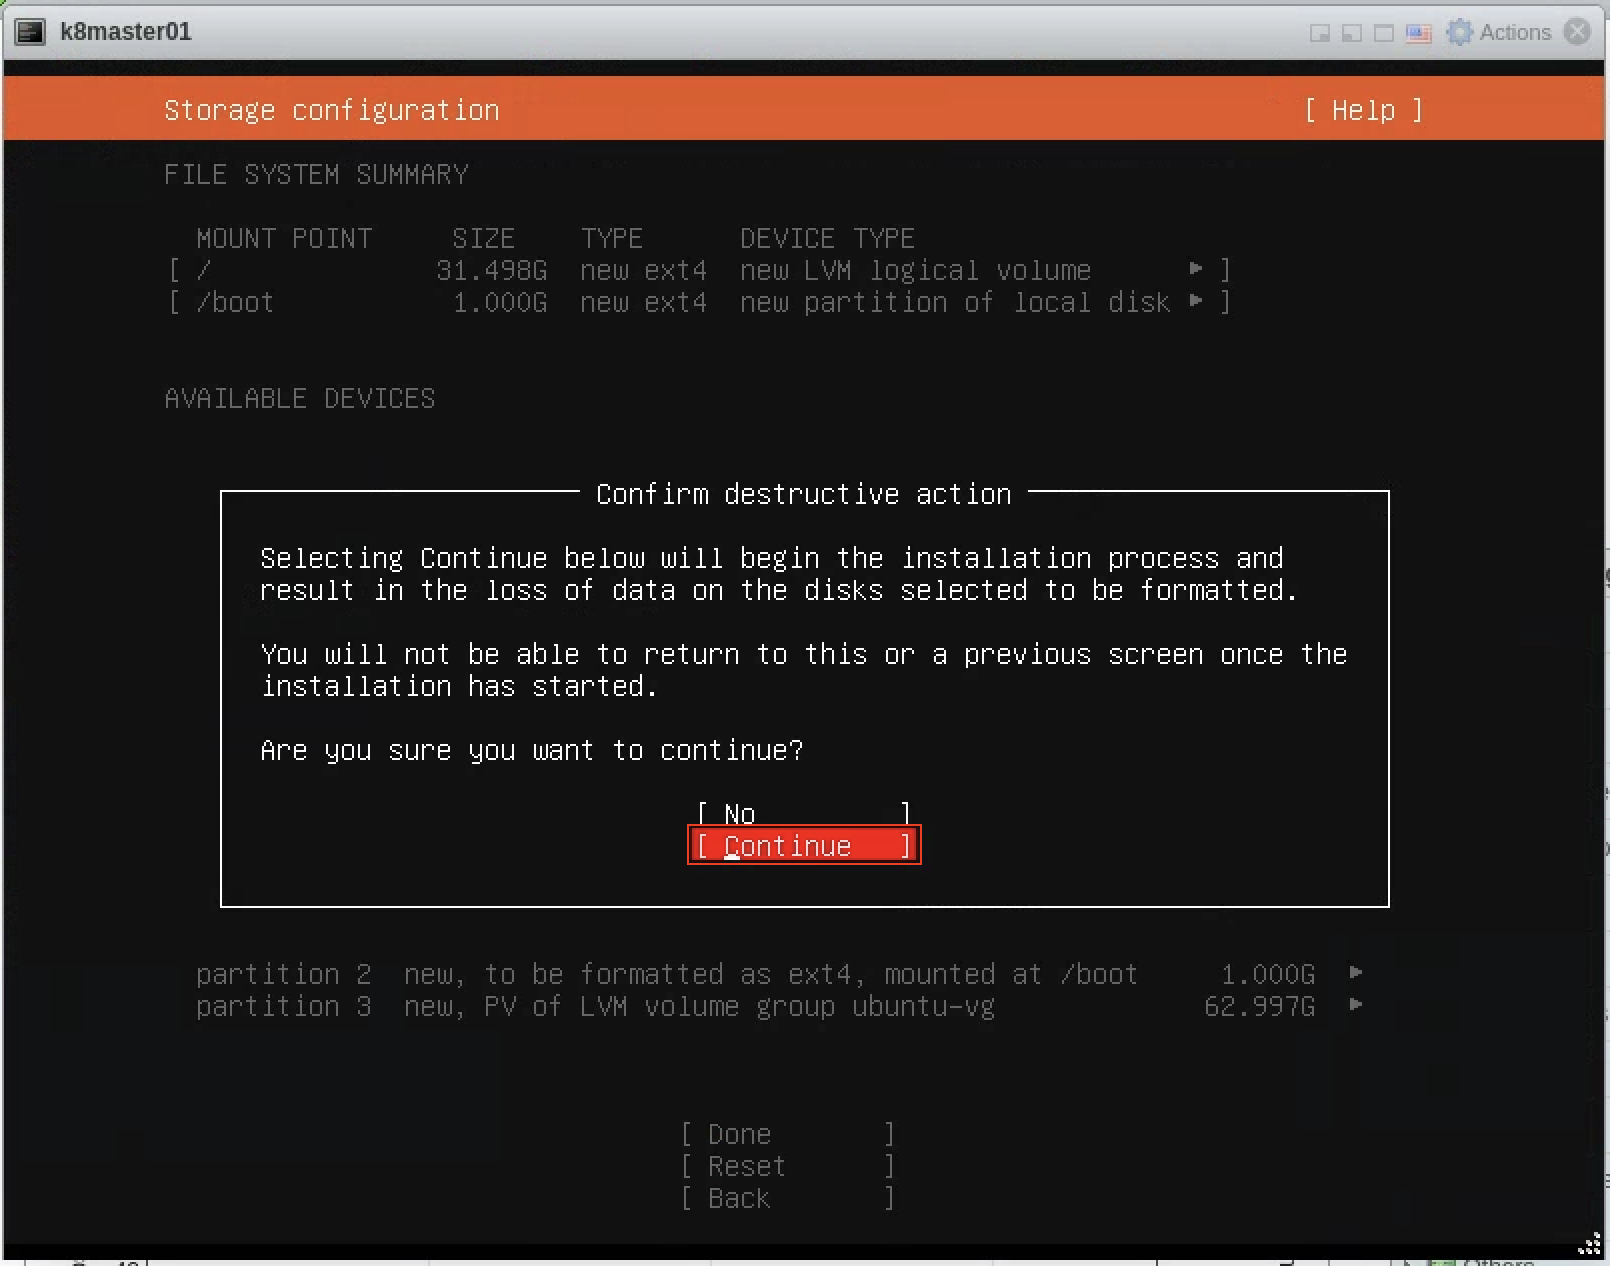
Install するストレージを選択して再構築する
ユーザ名やホスト名を登録する (ホスト名は後ほど変更もする)
SSH でログインできるように OpenSSH はインストールするようにスペースで X をつけて進む
初期インストールが終われば、Reboot Now が出てくるので選択して進める
Enterを押して完了させる
以上で、ベースのイメージを作成完了
台数分のコピー
フリーの ESXi を使っているので、VM イメージのクローンができないので、
単純に一旦 Export して Import する方法でコピーする
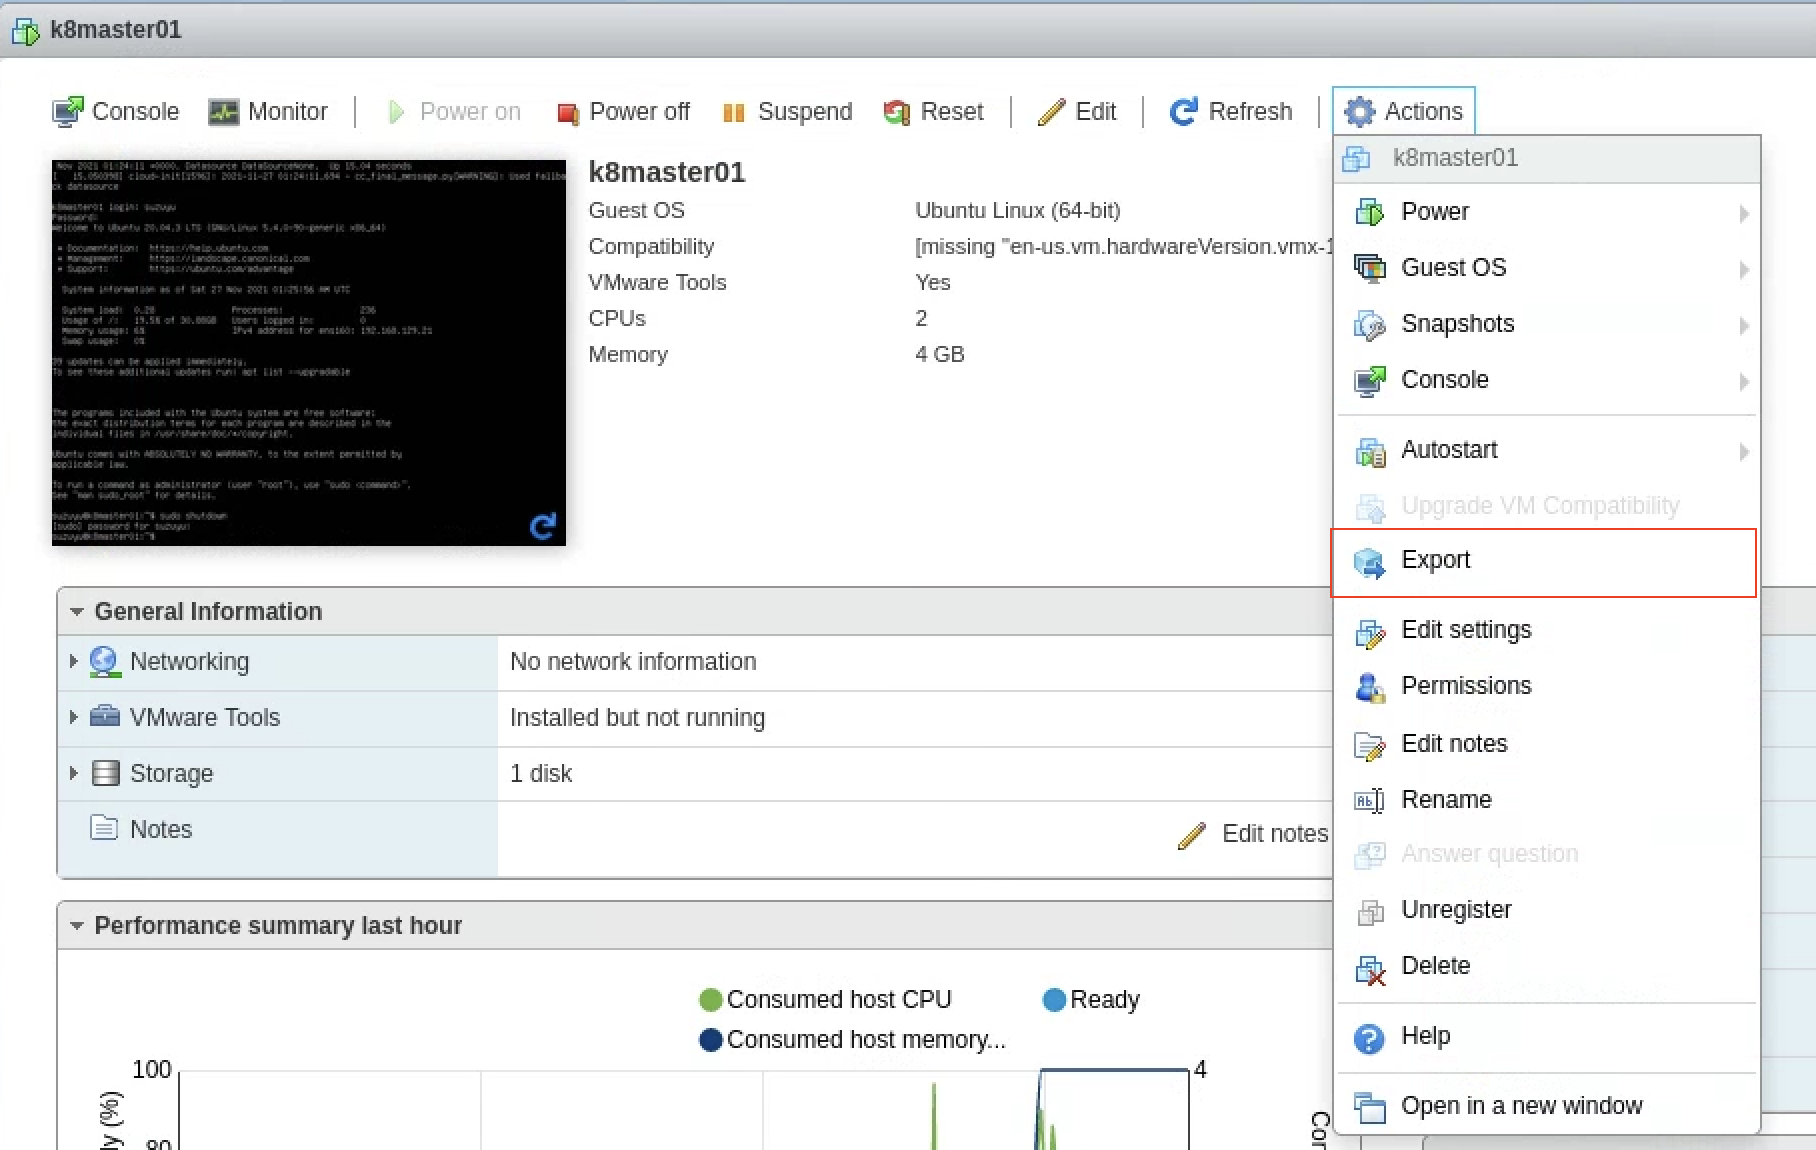
作成した VM (Ubuntu) で Exportを選択する
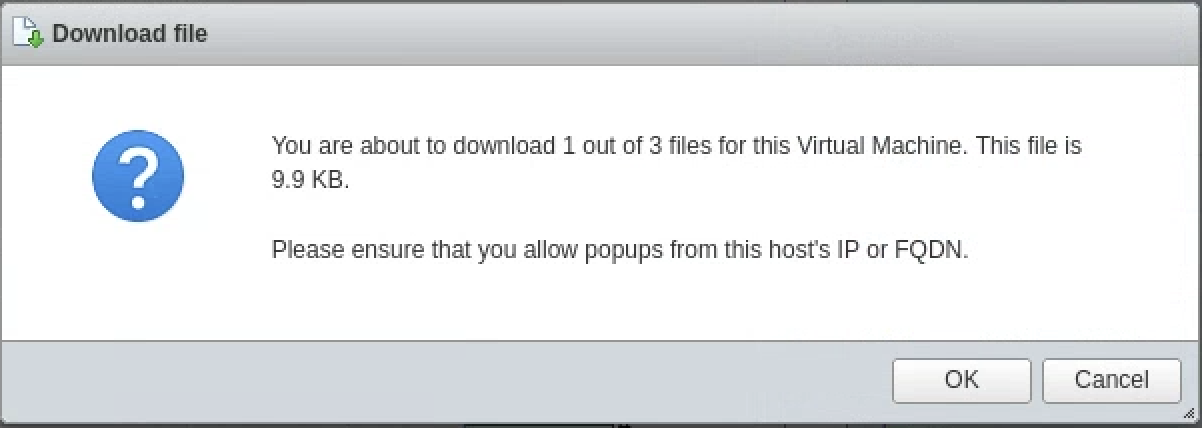
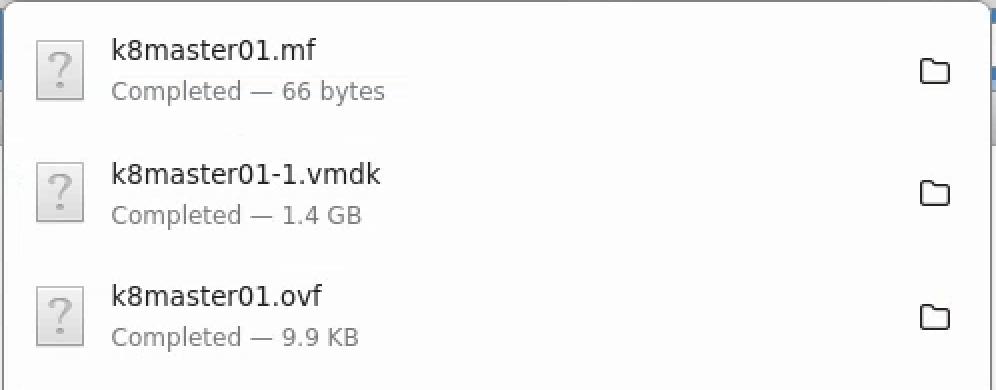
ファイルのダウンロードになるのでダウンロードする
3ファイルダウンロードすることになる
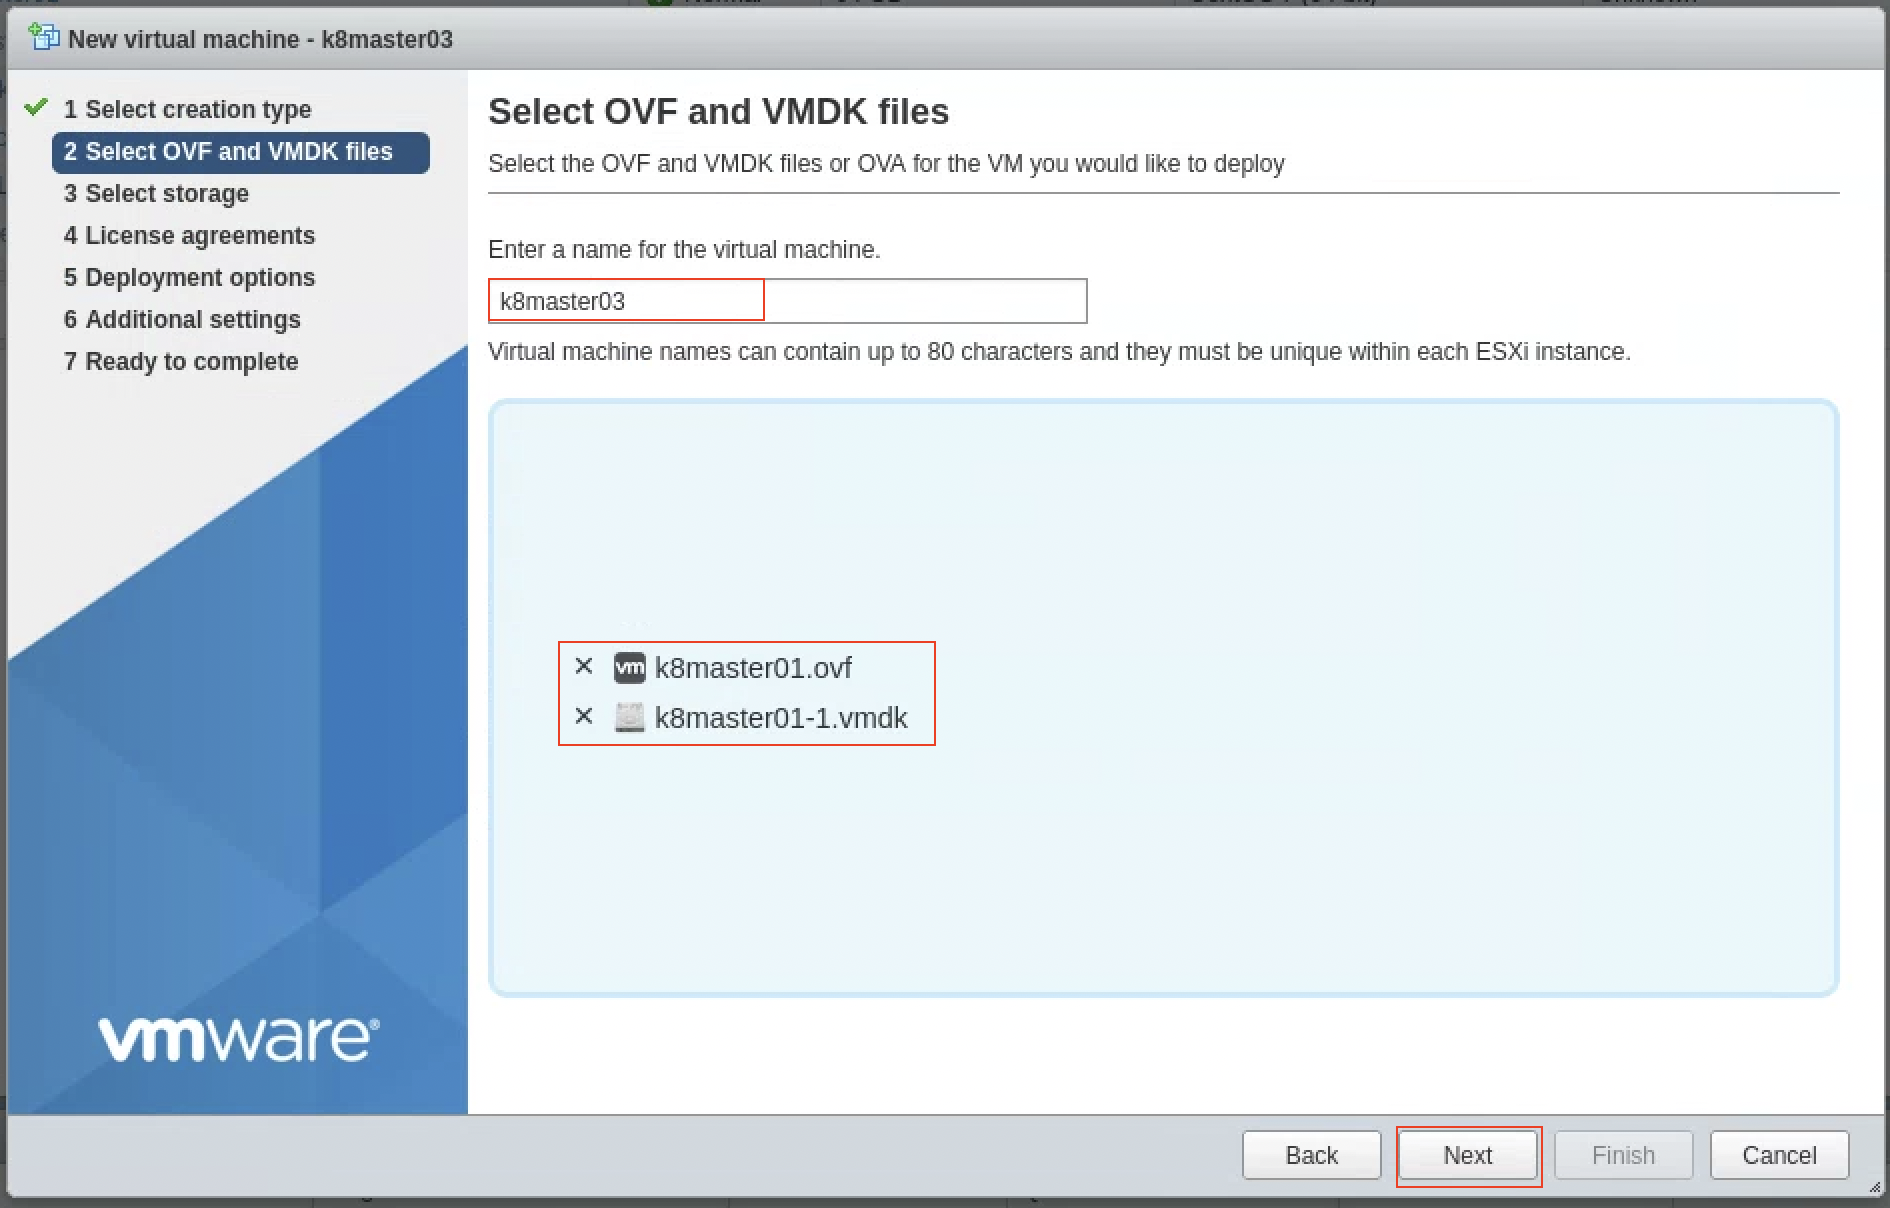
ダウンロードしたファイルを使って VM を作成する (下記、台数分繰り返す。ホスト名は後で修正するのでここでの修正は不要)
ホスト名を入力して、ダウンロードしたファイルをアップロードする
VM で使用するストレージを選択する
VMのスペックを変える場合は、Power on automaticallyのチェックを外して、作成してから Edit で編集して修正してから VM を立ち上げる
Finish を押して完了する
上記ノード分をコピーして作成する
Kubespray 構築
kubespray git pull
git clone で kubespray をダウンロードする
git clone https://github.com/kubernetes-sigs/kubespray.git
利用するバージョンに checkout して、必要な python モジュールをインストールして、inventory のサンプルをコピーしておく
cd kubespray
git checkout v2.17.1
sudo pip3 install -r requirements.txt
cp -r inventory/sample inventory/mycluster
次に、環境用の inventory を用意する
inventory
今回は Calico で Route Reflector (RR) を使う構成で実施した
本環境で使用する inventory ファイルの記載例は下記の通り
all:
  hosts:
    k8smaster01:
      ansible_host: 192.168.129.21
      ip: 192.168.129.21
      access_ip: 192.168.129.21
    k8smaster02:
      ansible_host: 192.168.129.31
      ip: 192.168.129.31
      access_ip: 192.168.129.31
    k8smaster03:
      ansible_host: 192.168.129.22
      ip: 192.168.129.22
      access_ip: 192.168.129.22
    k8sworker01:
      ansible_host: 192.168.129.23
      ip: 192.168.129.23
      access_ip: 192.168.129.23
    k8sworker02:
      ansible_host: 192.168.129.32
      ip: 192.168.129.32
      access_ip: 192.168.129.32
    k8sworker03:
      ansible_host: 192.168.129.33
      ip: 192.168.129.33
      access_ip: 192.168.129.33
    k8scalicorr01:
      ansible_host: 192.168.129.24
      ip: 192.168.129.24
      access_ip: 192.168.129.24
    k8scalicorr02:
      ansible_host: 192.168.129.34
      ip: 192.168.129.34
      access_ip: 192.168.129.34
  children:
    kube-master:
      hosts:
        k8smaster01:
        k8smaster02:
        k8smaster03:
    kube-node:
      hosts:
        k8sworker01:
        k8sworker02:
        k8sworker03:
    etcd:
      hosts:
        k8smaster01:
        k8smaster02:
        k8smaster03:
    k8s-cluster:
      children:
        kube-master:
        kube-node:
        calico-rr:
    calico-rr:
      hosts:
        k8scalicorr01:
        k8scalicorr02:
    rack0:
      hosts:
        k8scalicorr01:
        k8scalicorr02:
        k8smaster01:
        k8smaster02:
        k8smaster03:
        k8sworker01:
        k8sworker02:
        k8sworker03:
      vars:
        cluster_id: "1.0.0.1"
kubespray 事前設定
Kubespray の Requirements の下記抜粋から、OSのファイアウォールを落としておけば良さそう
- The target servers are configured to allow IPv4 forwarding.
- roles/kubernetes/preinstall で sysctl 設定してそうなので事前設定はしない
- If using IPv6 for pods and services, the target servers are configured to allow IPv6 forwarding.
- roles/kubernetes/preinstall で sysctl 設定してそうなので事前設定はしない
- The firewalls are not managed, you'll need to implement your own rules the way you used to. in order to avoid any issue during deployment you should disable your firewall.
- firewall を落とす設定を実施する
上記を踏まえ下記を実施する
- packages の事前アップデート
- 必要になる
sshpassの事前インストール - 上記にある
ufw(Ubuntu搭載のファイアウォール)の無効化 - Ansible 実行などのために事前に実行サーバのローカルユーザの ssh key をノードへ登録 (事前に
ssh-keygen -t rsaなどで作成しておく必要あり(以後実行は no pass前提で記載)) - ホスト名を inventory 名に修正 (VMコピーしたのでVM内のホスト名が同じになっているため)
- リブート
下記事前セットアップ用の Ansible Role 例
  - name: kubespray-presetup / Update apt packages
    apt:
      name: "*"
      state: latest
    become: yes
    when:
     - ansible_distribution == "Ubuntu"

  - name: kubespray-presetup / install sshpass when Ubuntu
    apt:
      name: "{{ packages }}"
    vars:
      packages:
        - sshpass
      state: present
    become: yes
    when:
     - ansible_distribution == "Ubuntu"

  - name: kubespray-presetup / stop and disable ufw Ubuntu
    systemd:
      name: ufw
      state: stopped
      enabled: false
    become: yes
    when:
     - ansible_distribution == "Ubuntu"

  - name: kubespray-presetup / Username Ubuntu
    set_fact:
      LOCAL_USER: "{{lookup('env', 'USER')}}"
    when:
     - ansible_distribution == "Ubuntu"

  - name: kubespray-presetup / copy users ssh key to local user authorized key Ubuntu
    authorized_key:
      user: "{{ LOCAL_USER }}"
      key: "{{ lookup('file', '/home/{{ LOCAL_USER }}/.ssh/id_rsa.pub') }}"
    become: yes
    when:
     - ansible_distribution == "Ubuntu"

  - name: kubespray-presetup / change hostname
    hostname:
      name: "{{ inventory_hostname }}"
    become: yes

  - name: kubespray-presetup / reboot Ubuntu
    reboot:
    become: yes
    when:
     - ansible_distribution == "Ubuntu"
上記ロールを使用する playbook などを用意する (他にユーザ作成などもあれば合わせておく)
---
- hosts: all
  become: true
  gather_facts: yes

  roles:
    - kubespray-presetup
下記のように playbook を実施して、事前設定を適用する
ansible-playbook -i ~/kubespray/inventory/mycluster/hosts.yaml playbook_preset_kubespray_nodes.yml -Kk
kubespray 実行
あとは kubespray のディレクトリへ移動して実行するだけ
cd ~/kubespray
構築はcluster.ymlを使用して Usage にある通り、下記コマンドで実行するのみ
ansible-playbook -i inventory/mycluster/hosts.yaml -K --become --become-user=root cluster.yml
20~30分くらい待つと構築完了する (Timeout などで Error 時は時間がかかっている場合もあるので、再実施でうまくいく時もある)
マスターノードへログインして、rootユーザで構築されたことを確認する
root@k8master01:~# kubectl get node
NAME           STATUS   ROLES                  AGE   VERSION
k8calicorr01   Ready    <none>                 29m   v1.21.6
k8calicorr02   Ready    <none>                 29m   v1.21.6
k8master01     Ready    control-plane,master   31m   v1.21.6
k8master02     Ready    control-plane,master   30m   v1.21.6
k8master03     Ready    control-plane,master   30m   v1.21.6
k8worker01     Ready    <none>                 29m   v1.21.6
k8worker02     Ready    <none>                 29m   v1.21.6
k8worker03     Ready    <none>                 29m   v1.21.6
.kube/config 設定
ドキュメントにある通り、kubeconfig を master ノードの/etc/kubernetes/admin.confから取得する
(もしくはkubespray/inventory/mycluster/group_vars/k8s_cluster/k8s-cluster.ymlにkubeconfig_localhost: yesにしておくとinventory/mycluster/artifacts/にadmin.confが入った状態になるドキュメント)
下記、Ansible コード例
---
# tasks file for kubespray-get-adminconf

## https://github.com/kubernetes-sigs/kubespray/blob/master/docs/setting-up-your-first-cluster.md#access-the-kubernetes-cluster

  - name: kubespray-get-adminconf / Username Ubuntu
    set_fact:
      USER: "{{lookup('env', 'USER')}}"
    when:
     - ansible_distribution == "Ubuntu"

  - name: kubespray-get-adminconf / cp admin.conf USER
    copy:
      src:   "/etc/kubernetes/admin.conf"
      dest:  "/home/{{ USER }}/admin.conf"
      owner: "{{ USER }}"
      group: "{{ USER }}"
      remote_src: yes
    become: yes
    when:
     - ansible_distribution == "Ubuntu"

  - name: kubespray-get-adminconf / mkdir .kube
    file:
      path: "/home/{{ USER }}/.kube"
      state: directory
      mode: '0755'
    when:
     - ansible_distribution == "Ubuntu"

  - name: kubespray-get-adminconf / cp admin.conf to .kube/config
    copy:
      src:   "/home/{{ USER }}/admin.conf"
      dest:  "/home/{{ USER }}/.kube/config"
      backup: yes
      remote_src: yes
    when:
     - ansible_distribution == "Ubuntu"

  - name: kubespray-get-adminconf / mkdir .kube localhost
    file:
      path: "/home/{{ USER }}/.kube"
      state: directory
      mode: '0755'
    delegate_to: localhost
    when:
     - ansible_distribution == "Ubuntu"

  - name: kubespray-get-adminconf / get .kube/config get remote form admin
    fetch:
      src:   "/home/{{ USER }}/.kube/config"
      dest:  "/tmp/.kube/config"
      flat: yes
    when:
     - ansible_distribution == "Ubuntu"

  - name: kubespray-get-adminconf / cp to .kube/config localhost
    copy:
      src:   "/tmp/.kube/config"
      dest:  "/home/{{ USER }}/.kube/config"
      backup: yes
    delegate_to: localhost
    when:
     - ansible_distribution == "Ubuntu"

  - name: kubespray-get-adminconf / replace 127.0.0.1 to kube-master node 1 ip
    replace:
      path: "/home/{{ USER }}/.kube/config"
      regexp: "server: https://127.0.0.1:6443"
      replace: "server: https://{{ hostvars['k8master01']['access_ip'] }}:6443"
    delegate_to: localhost
    when:
     - ansible_distribution == "Ubuntu"
---
- hosts: k8master01
  become: true
  gather_facts: yes

  roles:
    - kubespray-get-adminconf
ansible-playbook -i ../kubespray/inventory/mycluster/hosts.yaml playbook_kubespray-get-adminconf.yml -K
実行サーバから kubectl でアクセスできるようになったことを確認する
% kubectl get node
NAME           STATUS   ROLES                  AGE   VERSION
k8calicorr01   Ready    <none>                 16h   v1.21.6
k8calicorr02   Ready    <none>                 16h   v1.21.6
k8master01     Ready    control-plane,master   16h   v1.21.6
k8master02     Ready    control-plane,master   16h   v1.21.6
k8master03     Ready    control-plane,master   16h   v1.21.6
k8worker01     Ready    <none>                 16h   v1.21.6
k8worker02     Ready    <none>                 16h   v1.21.6
k8worker03     Ready    <none>                 16h   v1.21.6
以上で、構築からアクセス設定まで完了
まとめ
ESXi / Ubuntu 20.04 LTS 環境上で、 Kubespray を使用して Kubernetes 環境構築を実施した
今後、Ubuntu 22.04 LTS リリースされて Kuberspray がサポートされたら、載せ替えを実施して、CentOS のサポート切れ対応を実施したい


