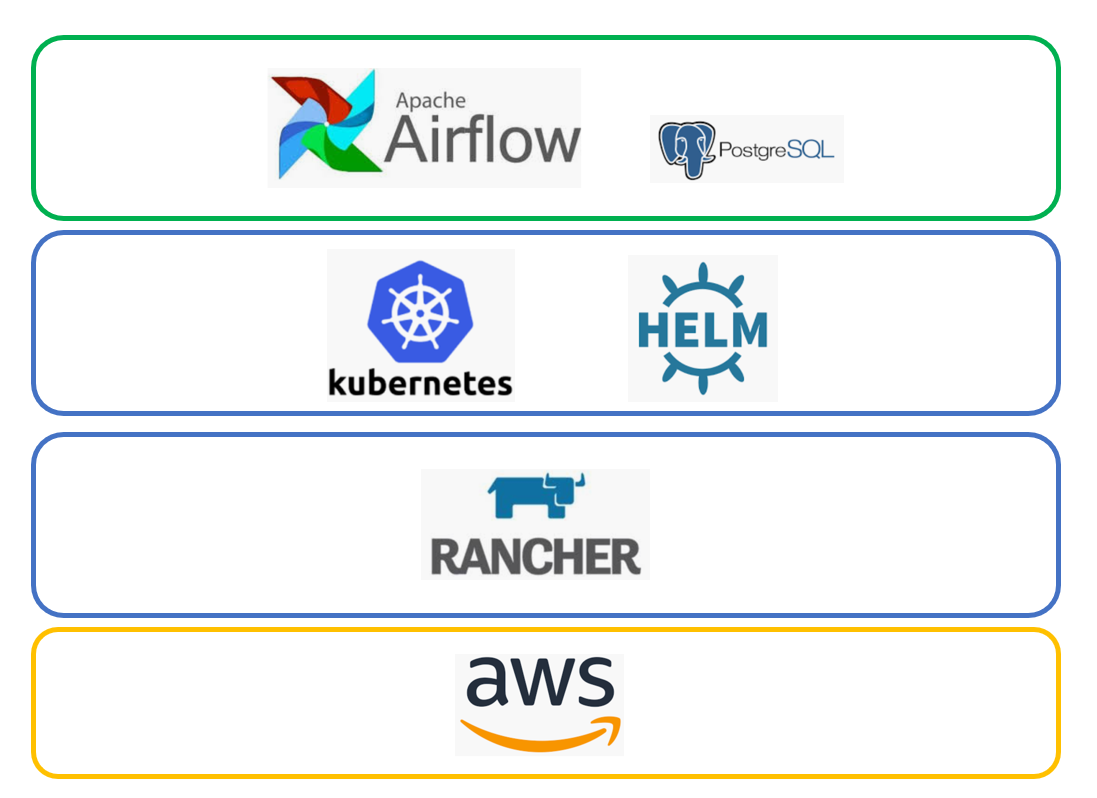
ETLワークフローエンジン Apache Airflowを、Kubernetes on Rancherで、HELMインストールする設定メモ。
KubernetesやRancherの設定はこちら
https://qiita.com/suzukihi724/items/00b167c6f5f2ddeca718
Airflowとは?
・ビッグデータパイプラインを管理するためのワークフロー自動化およびスケジューリングを行うOSS
・2014年にAirbnbで開発され、現在はThe Apache Software Foundationのトップレベルプロジェクト
・pythonやbashでタスクを定義可能
・有向非巡回モデル (DAG) としてタスクのワークフローを作る
・複数クラスタでの並列分散実行も可能
・AdobeやGoogleなど200を超える組織で利用中
・GCPの「Cloud Composer」はマネージドAirflowサービス
・AWS機械学習基盤サービスSageMakerと統合可能で、MLワークフローでも利用が進んでいる
その他のETLツール例
・Luigi : https://github.com/spotify/luigi
・Digdag : https://www.digdag.io/
・argo : https://github.com/argoproj/argo#what-is-argo-workflows
・oozie : https://oozie.apache.org/
・NiFi : https://nifi.apache.org/
参考)
公式ドキュメント : https://airflow.apache.org/
Github : https://github.com/apache/airflow
https://news.mynavi.jp/article/20190109-753859/
今回の前提条件
各ソフトウェア
・Airflow : Version 4.0.9
・Rancher : v2.2.3
・Kubernetes : v1.13.5
設置環境
・AWS
※KubernetesはEKSではなくEC2(Amazon Linux2)
Airflowのインストール
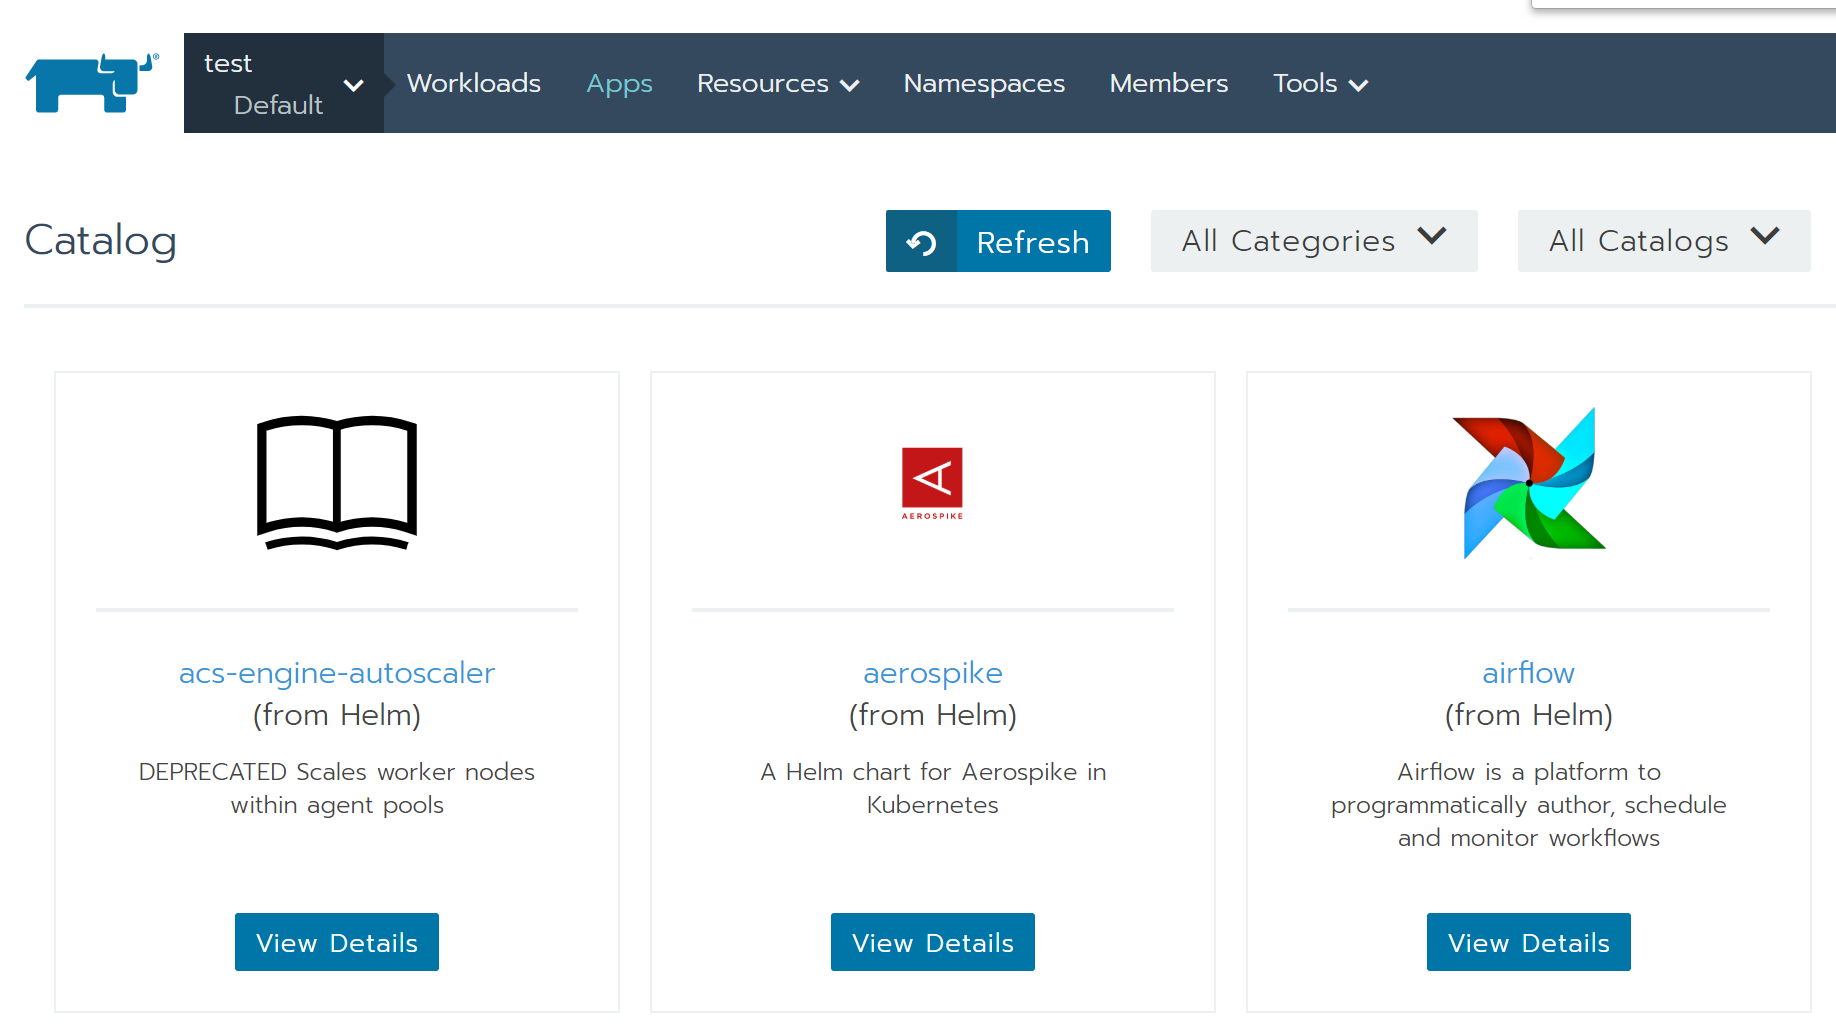
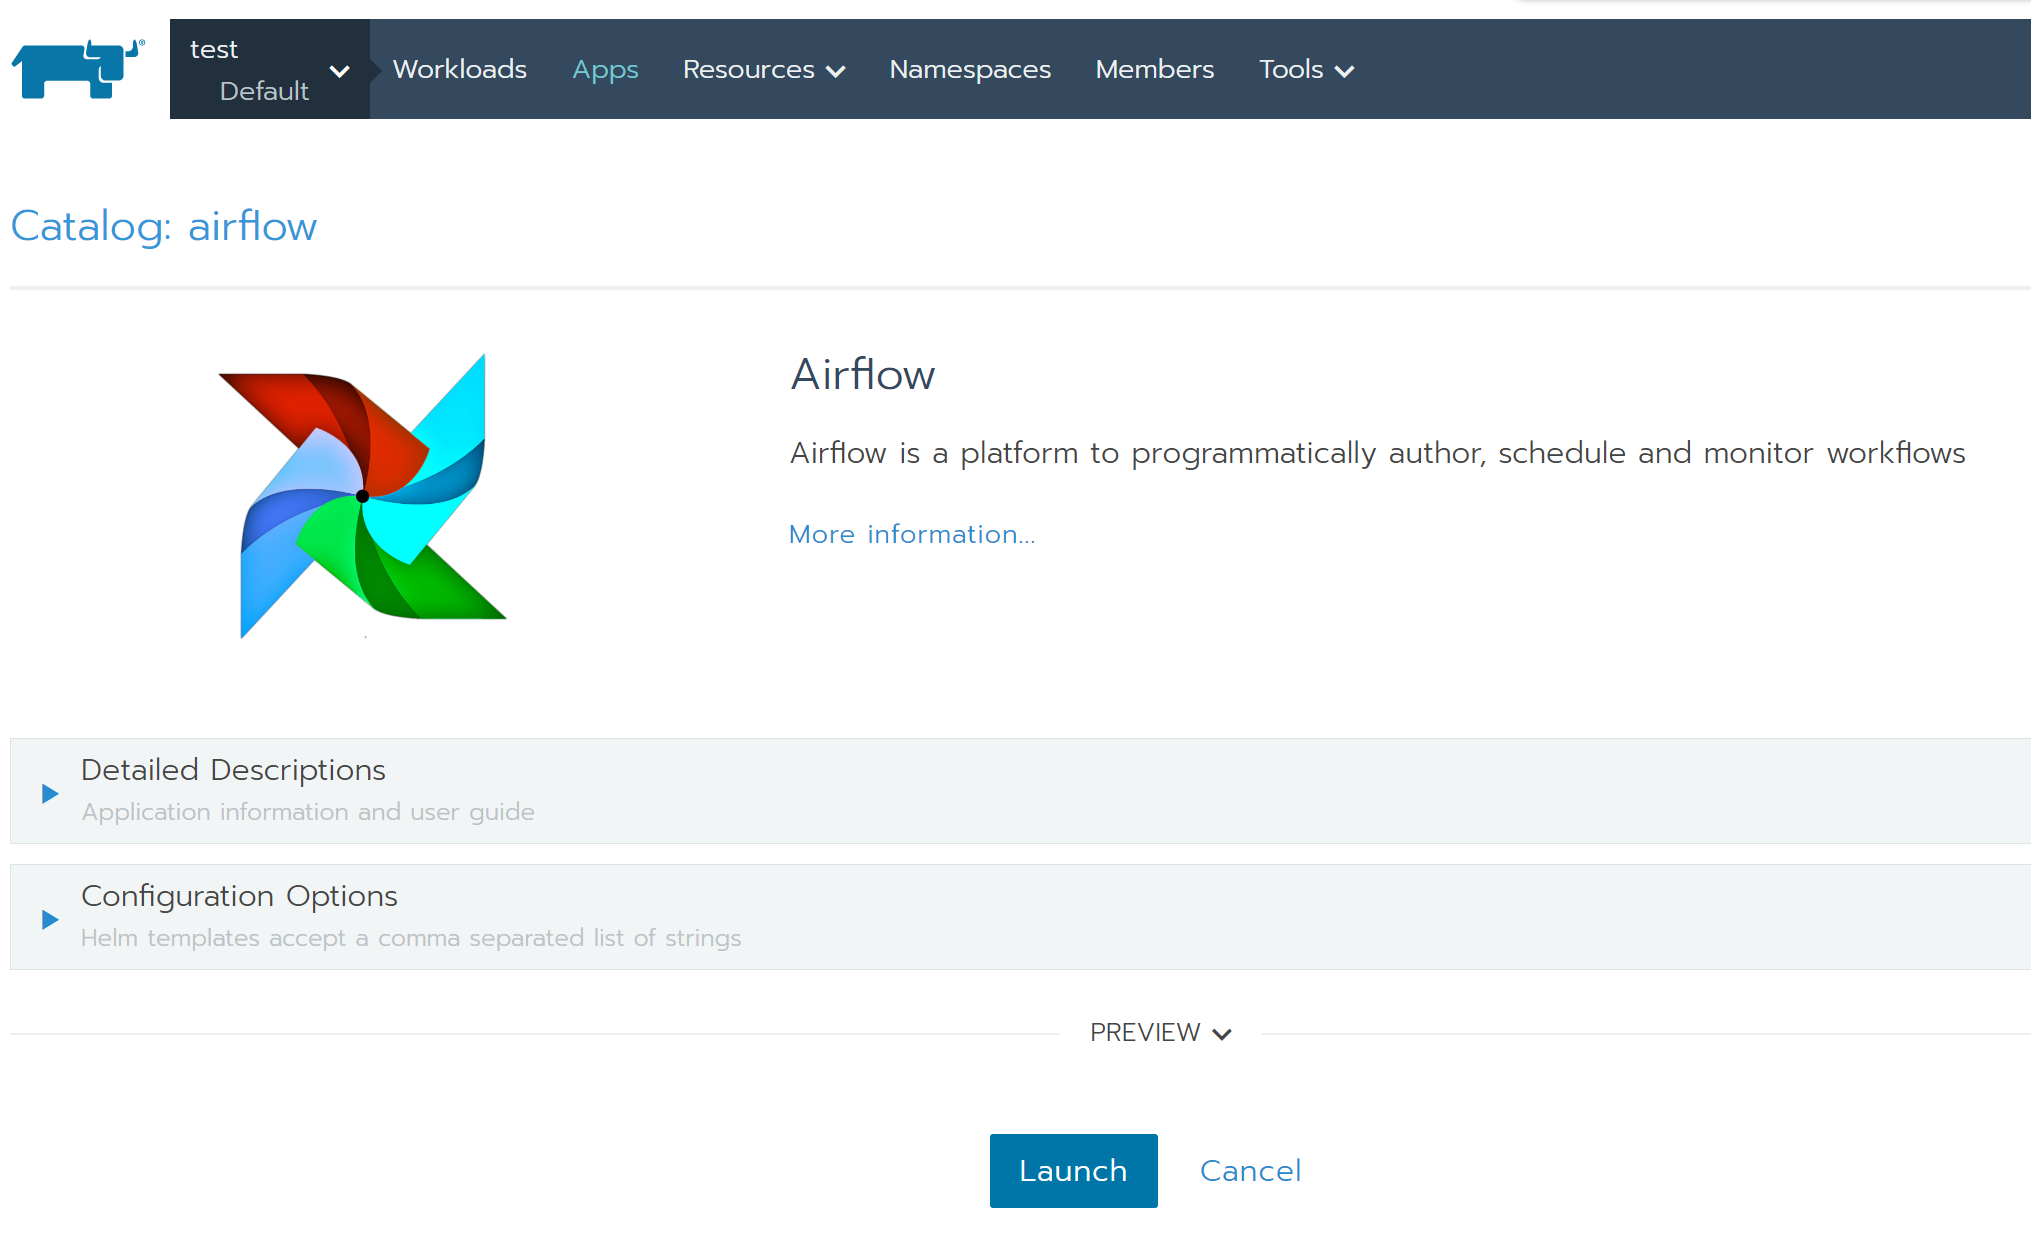
Rancherのカタログ機能で、HELMチャートで公開されているものを利用。
とりあえずのインストールは、Rancher上から数クリックで可能。
インストールされると、「Apps」に追加される
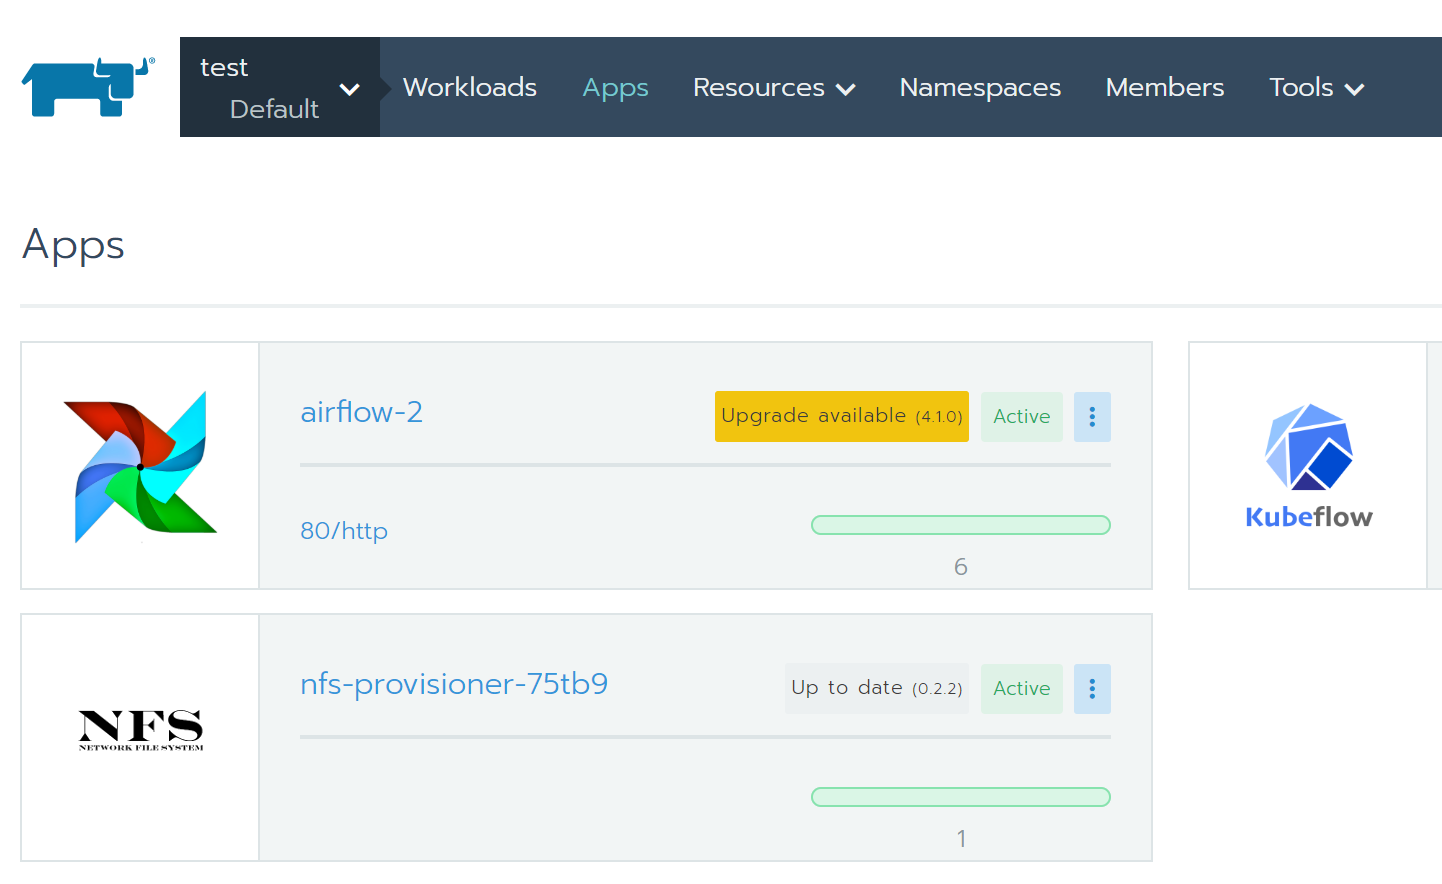
事前にKubernetesの Persistent Volume(永続的ボリューム)の設定が必要で、別途nfs-provisionerを利用。
正常にセットアップが完了すると、以下のようなServiceが立ち上がる
> kubectl -n airflow-2 get services
NAME                       TYPE        CLUSTER-IP      EXTERNAL-IP                    PORT(S)    AGE
airflow-2-flower           ClusterIP   10.43.166.179   <none>                         5555/TCP   28h
airflow-2-postgresql       ClusterIP   10.43.143.186   <none>                         5432/TCP   28h
airflow-2-redis-headless   ClusterIP   None            <none>                         6379/TCP   28h
airflow-2-redis-master     ClusterIP   10.43.183.71    <none>                         6379/TCP   28h
airflow-2-web              ClusterIP   10.43.135.222   <none>                         8080/TCP   28h
airflow-2-worker           ClusterIP   None            <none>                         8793/TCP   28h
Ingressによる外部からのアクセス設定
とりあえずインストールされても、デフォルトなので色々と事足りない。
AirflowのWEB UIの外部からアクセスするEndpointがないため、Ingressの追加が必要。
kubectlがたたける環境で下記Ingressのyamlをデプロイする。
この時、IngressはIPアドレスではなくドメイン指定のため、AirflowをデプロイするKubernetesクラスタのworkerノードのパブリックDNS名を設定。
ServiceNameにはairflowのwebのserviceとportを指定。
サンプルIngress yaml
apiVersion: extensions/v1beta1
kind: Ingress
metadata:
  name:  sample-ingress
spec:
  rules:
  - host: XXX.ap-northeast-1.compute.amazonaws.com
    http:
      paths:
      - backend:
          serviceName: airflow-2-web
          servicePort: 8080
ingressがデプロイされていることを確認
$ kubectl -n airflow-2 get ingress
NAME             HOSTS                                                    ADDRESS                    PORTS   AGE
sample-ingress   XXX.ap-northeast-1.compute.amazonaws.com   172.18.0.XX,172.18.0.YY   80      114m
Rancher上でも、「Airflow」AppsのEndpointが設定追加されている。

これで外部からドメイン指定でブラウザアクセスすると、airflowのGUIにアクセスできる。
例: http://XXX.ap-northeast-1.compute.amazonaws.com
DAGの追加
DAGファイルは Airflow のコンフィグファイル「airflow.cfg」内記載の「dags_folder」のパスにDAGのpythonファイルを格納すると認識される。
例:dags_folder = /usr/local/airflow/dags
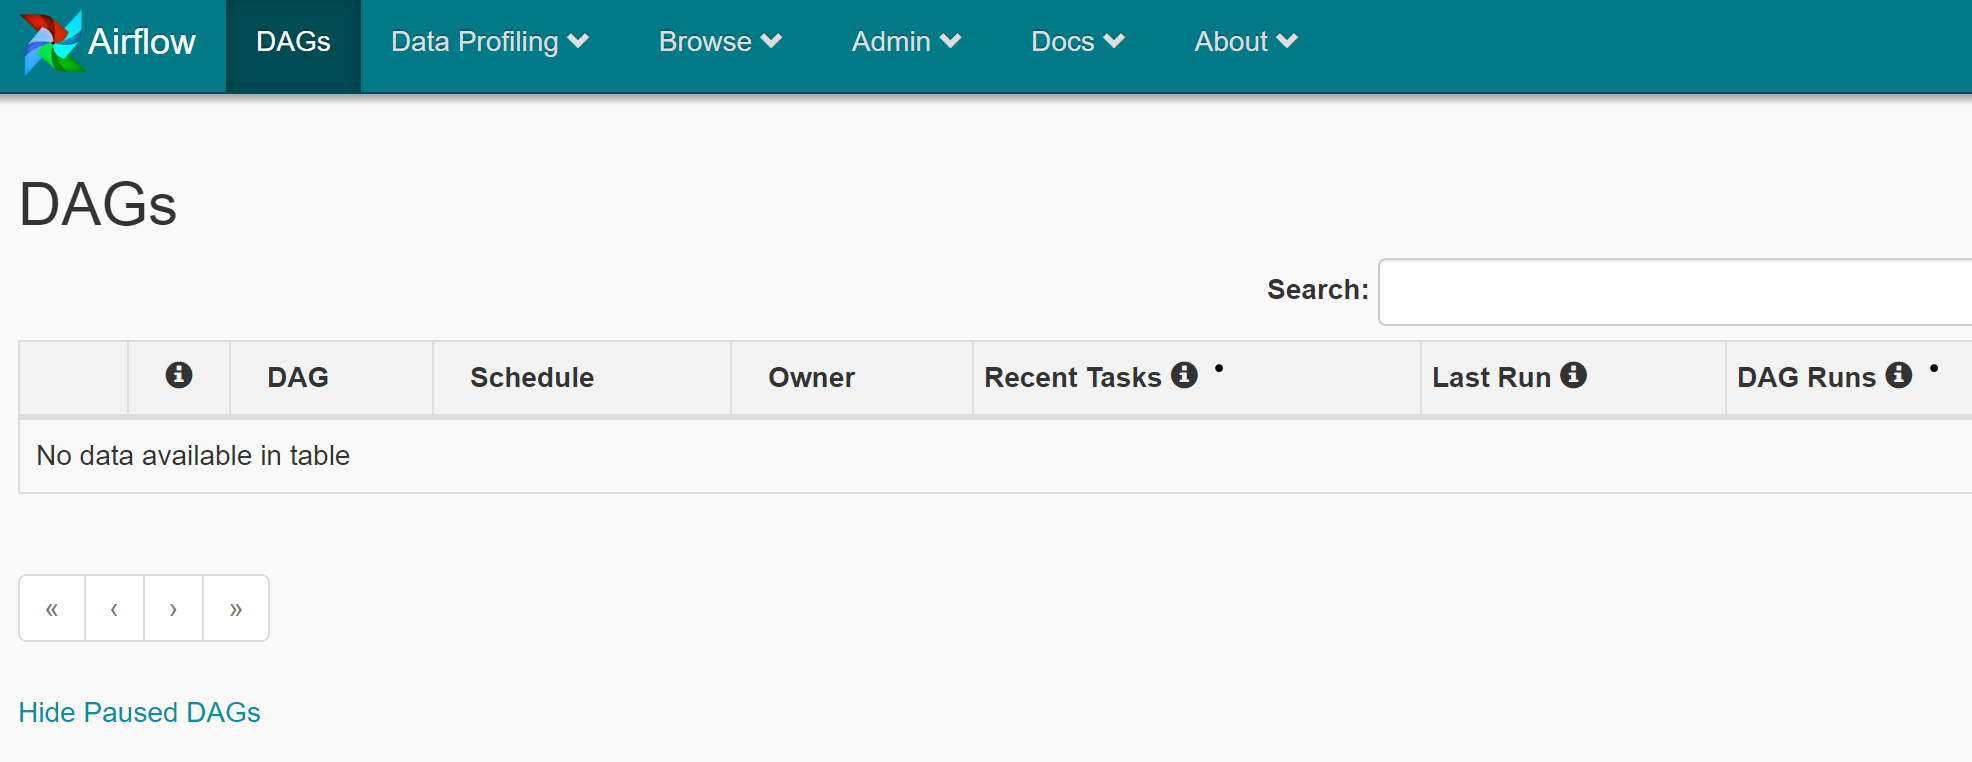
実際にtutorialのDAGを格納したが、すぐには認識してくれないため調査中。
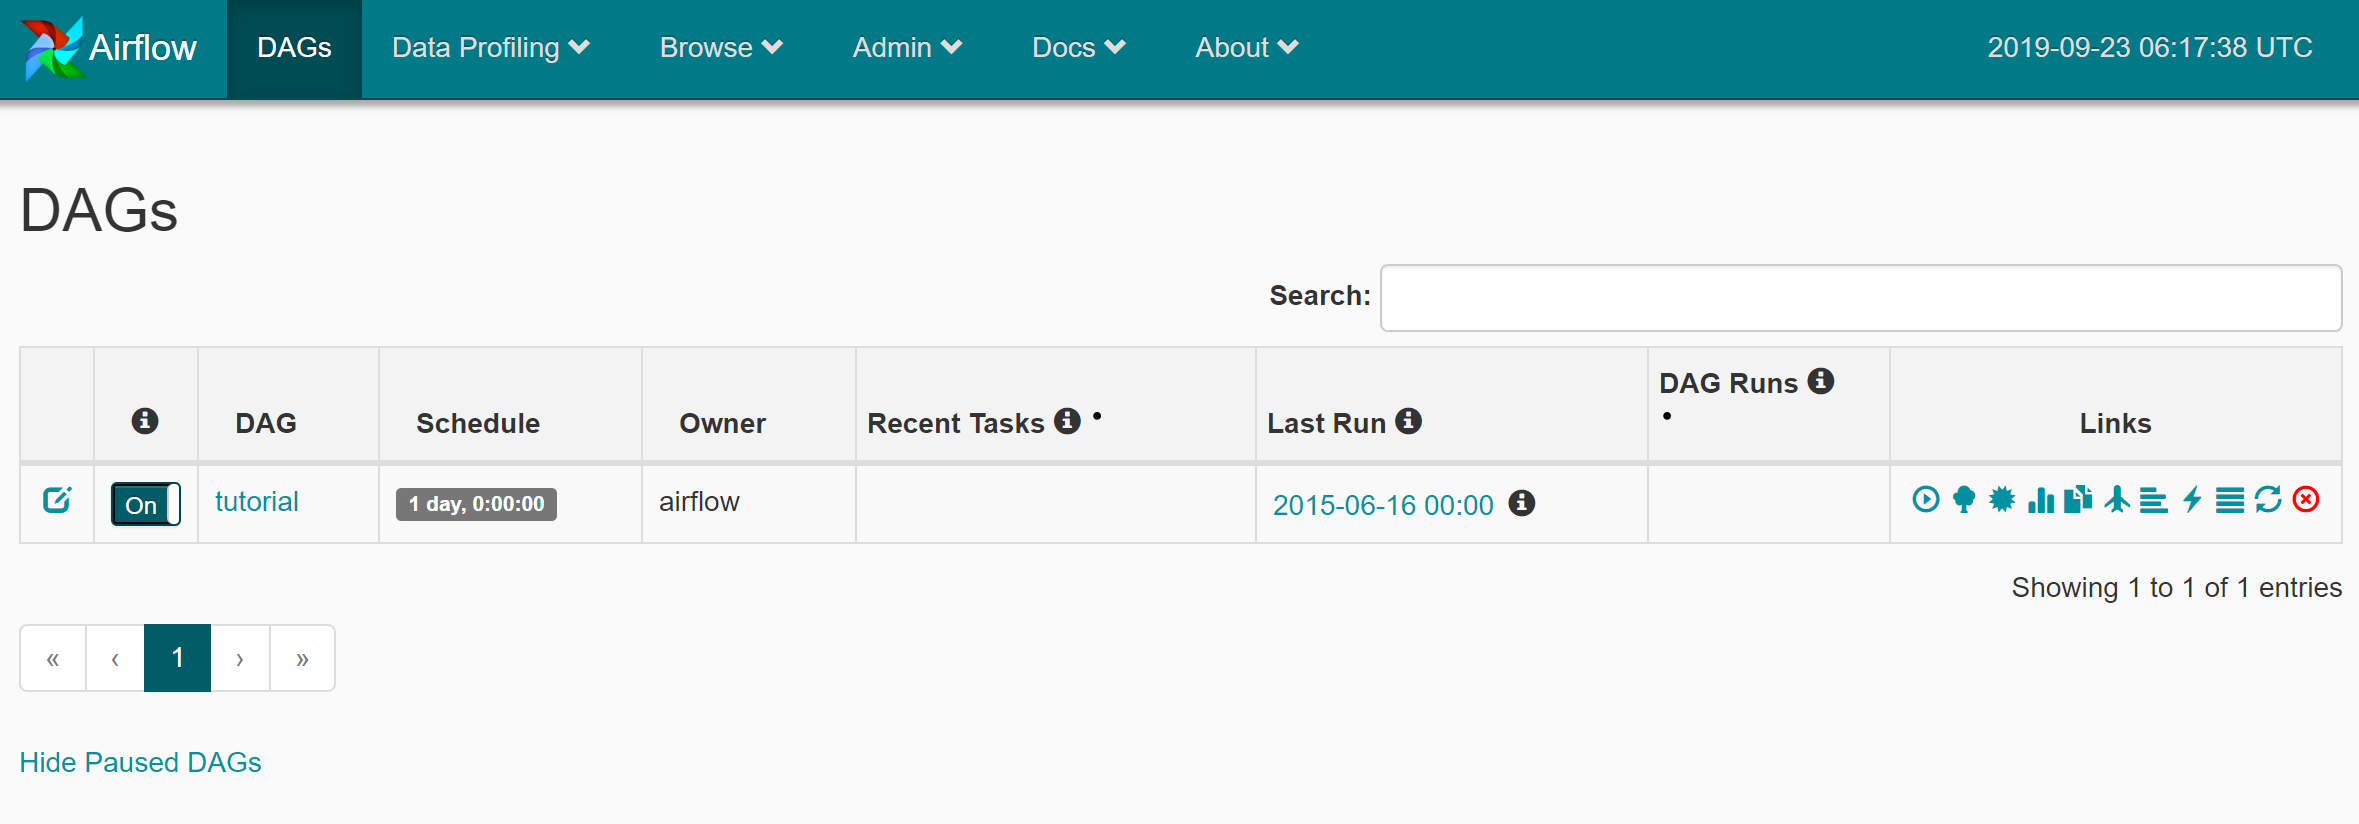
しばらくすると、下記のように追加された。
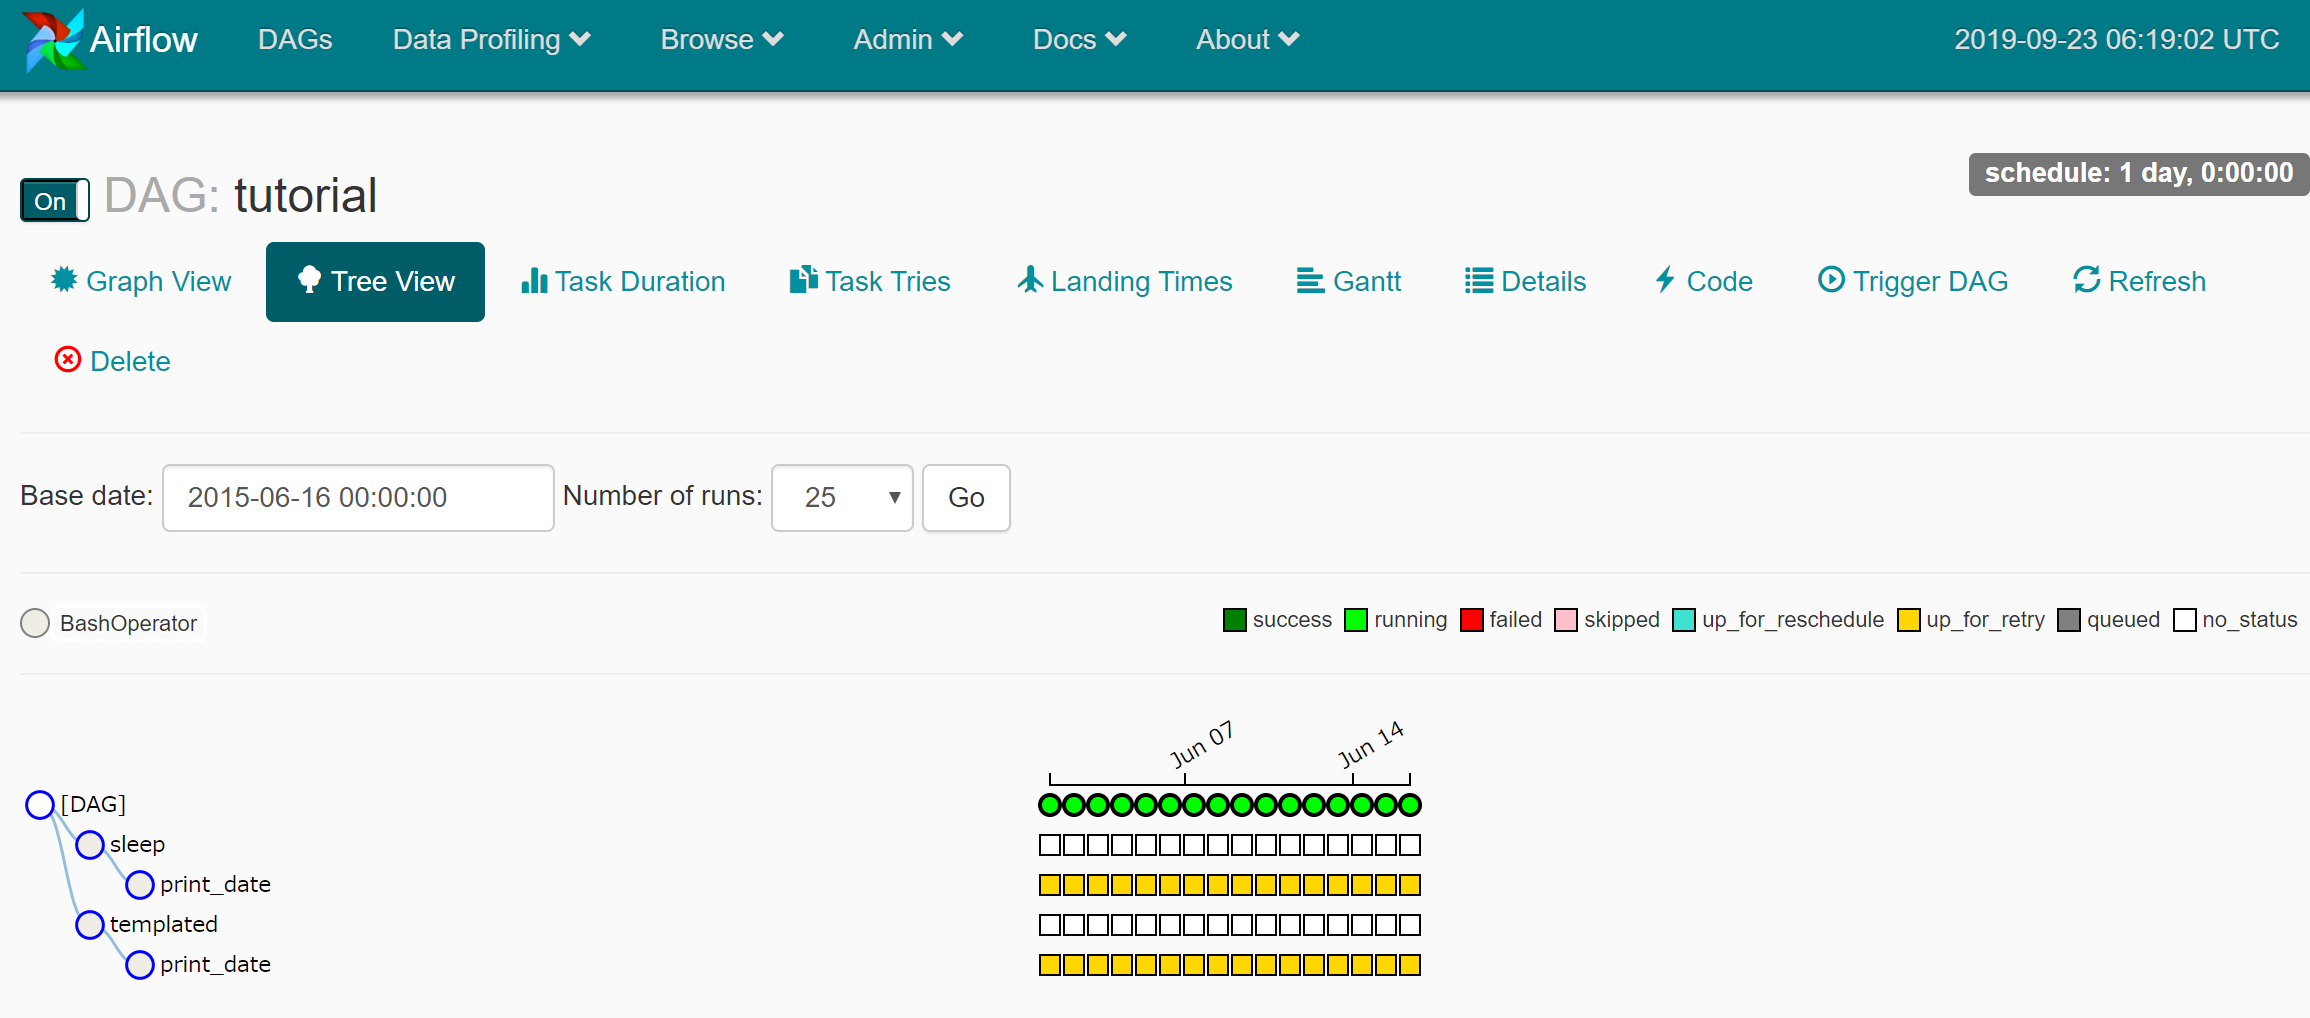
DAGの詳細も確認できる
なお、このDAGは公式tutorialから
https://airflow.apache.org/tutorial.html
"""
Code that goes along with the Airflow tutorial located at:
https://github.com/apache/airflow/blob/master/airflow/example_dags/tutorial.py
"""
from airflow import DAG
from airflow.operators.bash_operator import BashOperator
from datetime import datetime, timedelta


default_args = {
    'owner': 'airflow',
    'depends_on_past': False,
    'start_date': datetime(2015, 6, 1),
    'email': ['airflow@example.com'],
    'email_on_failure': False,
    'email_on_retry': False,
    'retries': 1,
    'retry_delay': timedelta(minutes=5),
    # 'queue': 'bash_queue',
    # 'pool': 'backfill',
    # 'priority_weight': 10,
    # 'end_date': datetime(2016, 1, 1),
}

dag = DAG('tutorial', default_args=default_args, schedule_interval=timedelta(days=1))

# t1, t2 and t3 are examples of tasks created by instantiating operators
t1 = BashOperator(
    task_id='print_date',
    bash_command='date',
    dag=dag)

t2 = BashOperator(
    task_id='sleep',
    bash_command='sleep 5',
    retries=3,
    dag=dag)

templated_command = """
    {% for i in range(5) %}
        echo "{{ ds }}"
        echo "{{ macros.ds_add(ds, 7)}}"
        echo "{{ params.my_param }}"
    {% endfor %}
"""

t3 = BashOperator(
    task_id='templated',
    bash_command=templated_command,
    params={'my_param': 'Parameter I passed in'},
    dag=dag)

t2.set_upstream(t1)
t3.set_upstream(t1)
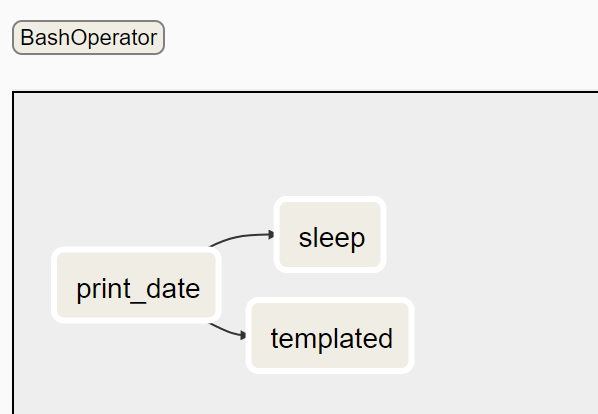
ポイントは以下の通り
・BashOperatorを使うことで各taskの処理をbashで記述
・タスクは3種類
・task1(print_date)を実行したら、task2(sleep)とtask3(templated)を実行するというワークフロー
・タスクの順序は .set_upstream() または >> で定義できる
・schedule_interval で実行周期を規定。ここでは1日おき
Airflowの構成
Airflowの構成要素は、並列実行の有無などで多少異なるが、基本的には以下のようになる
・Airflow Web Server : GUI
・Airflow Scheduler : ジョブをスケジュール
・Worker : 実際にジョブを実行
・メタデータDB : DAGスケジュールやDAG Runの情報
・Executor : ジョブの実行/キューイング
Executorにも複数種類あり
- sequential_executor : schedulerのホストで単一プロエスでジョブ実行
- local_executor : scheduler : schedulerのホストで複数プロセスで並列ジョブ実行
- celery_executor : worker用ホストで複数プロセスで並列ジョブ実行
実運用を考えるとおそらくcelery_executorに。
Celeryは複数のノードで分散して非同期でタスクキュー/ジョブキュー処理を行うためのフレームワークで、
broker(ノード間のメッセージのやり取り)にRabbitMQやRedis等のミドルウェアを使用。
参考)
https://analytics.livesense.co.jp/entry/2018/02/06/132842
celery_executorの場合の標準的な構成は以下の通り。
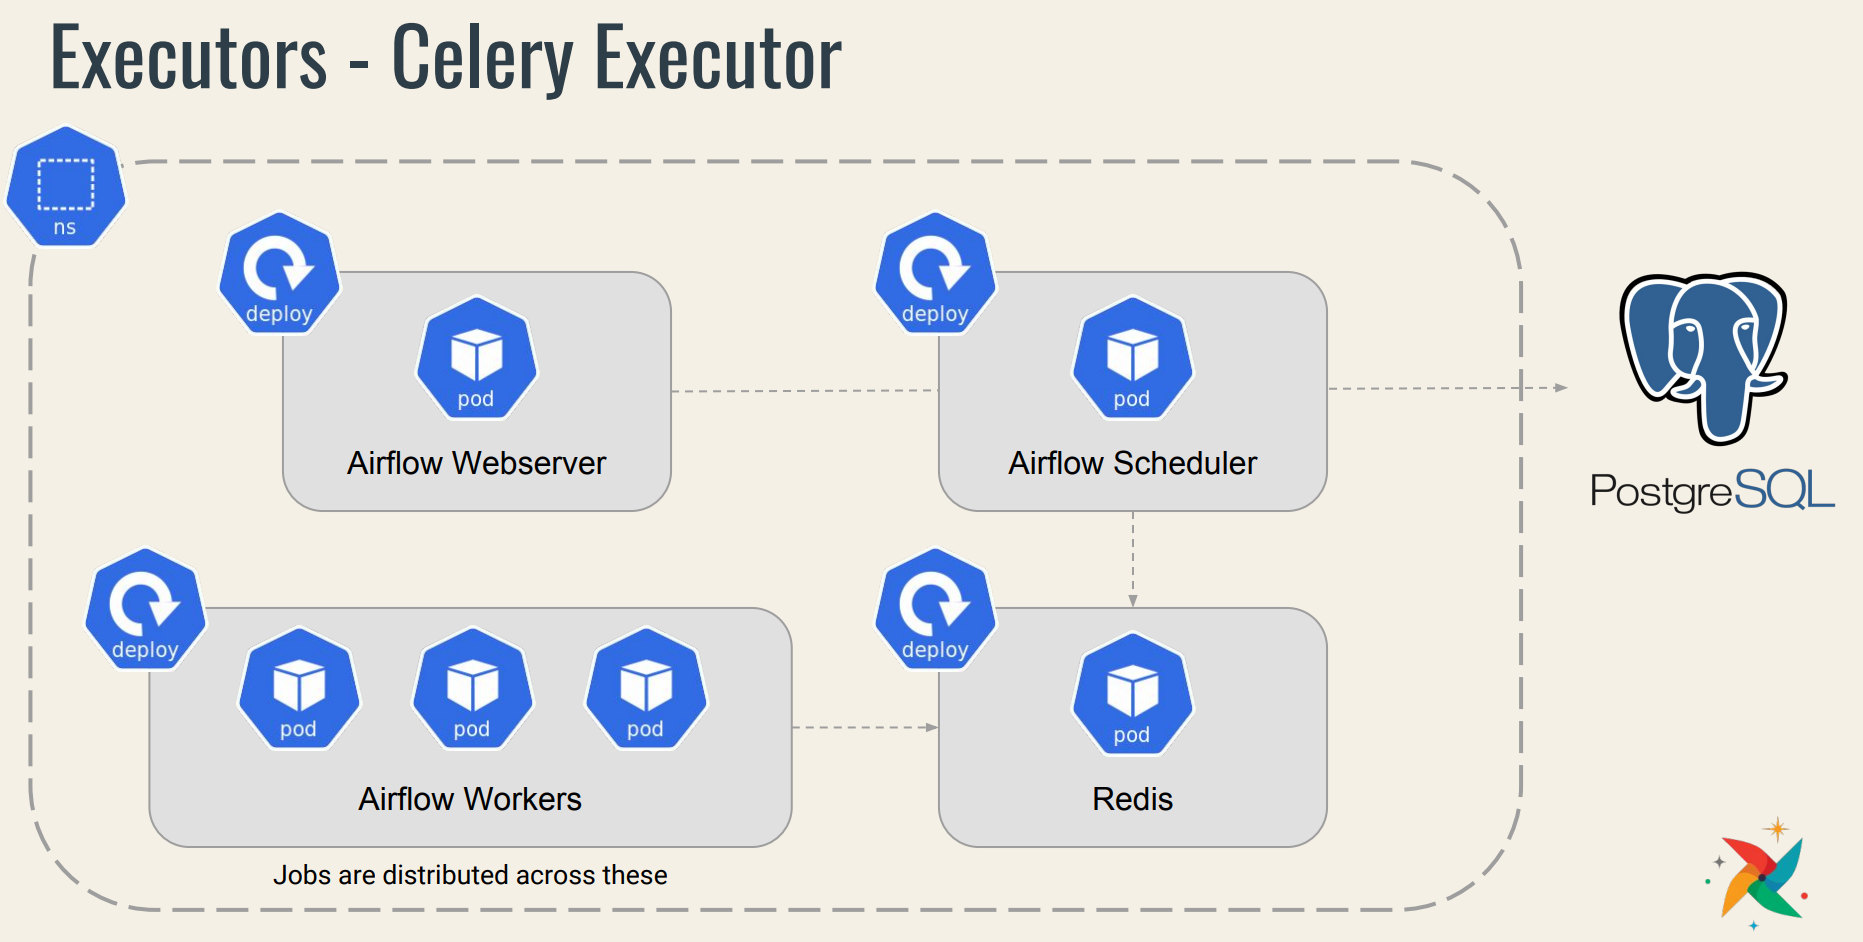
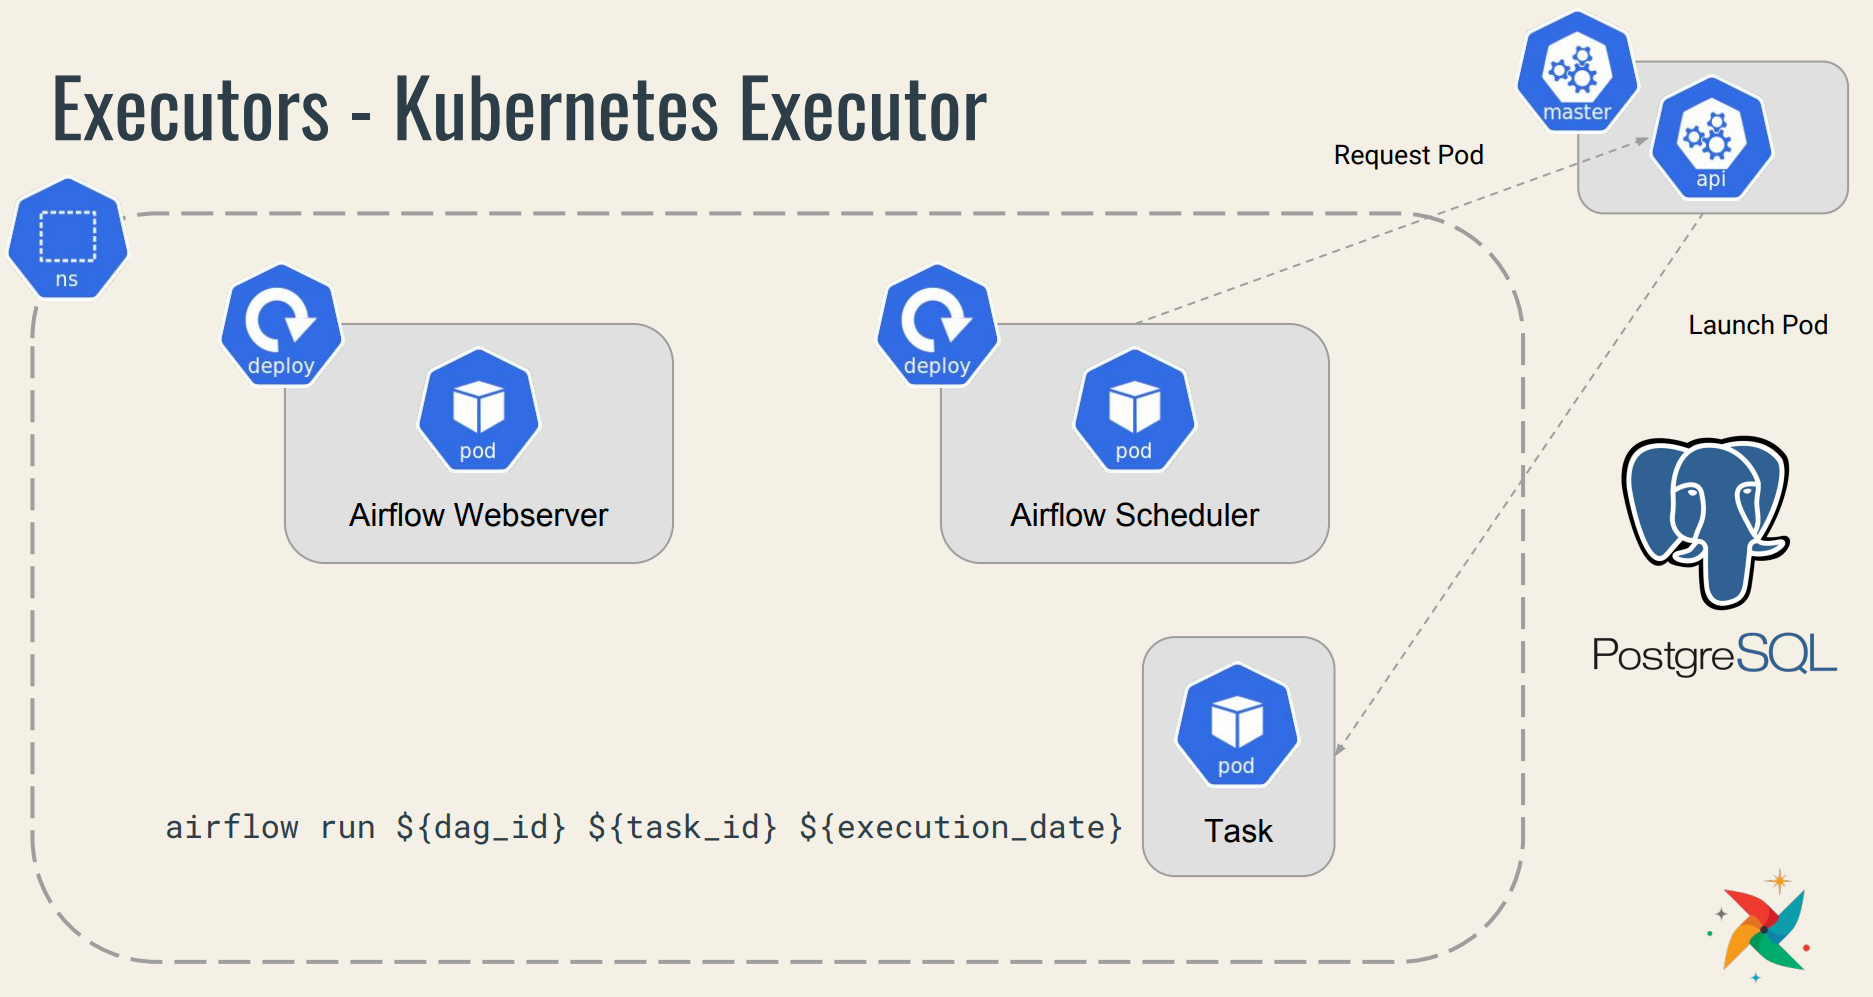
Airflow on Kubernetes
前述のCelery Executorの構成をそのままk8sにpodでデプロイする方法もあるが、workerの実行処理をk8s側にゆだねることで最適化した「Kubernetes Executor」がある。
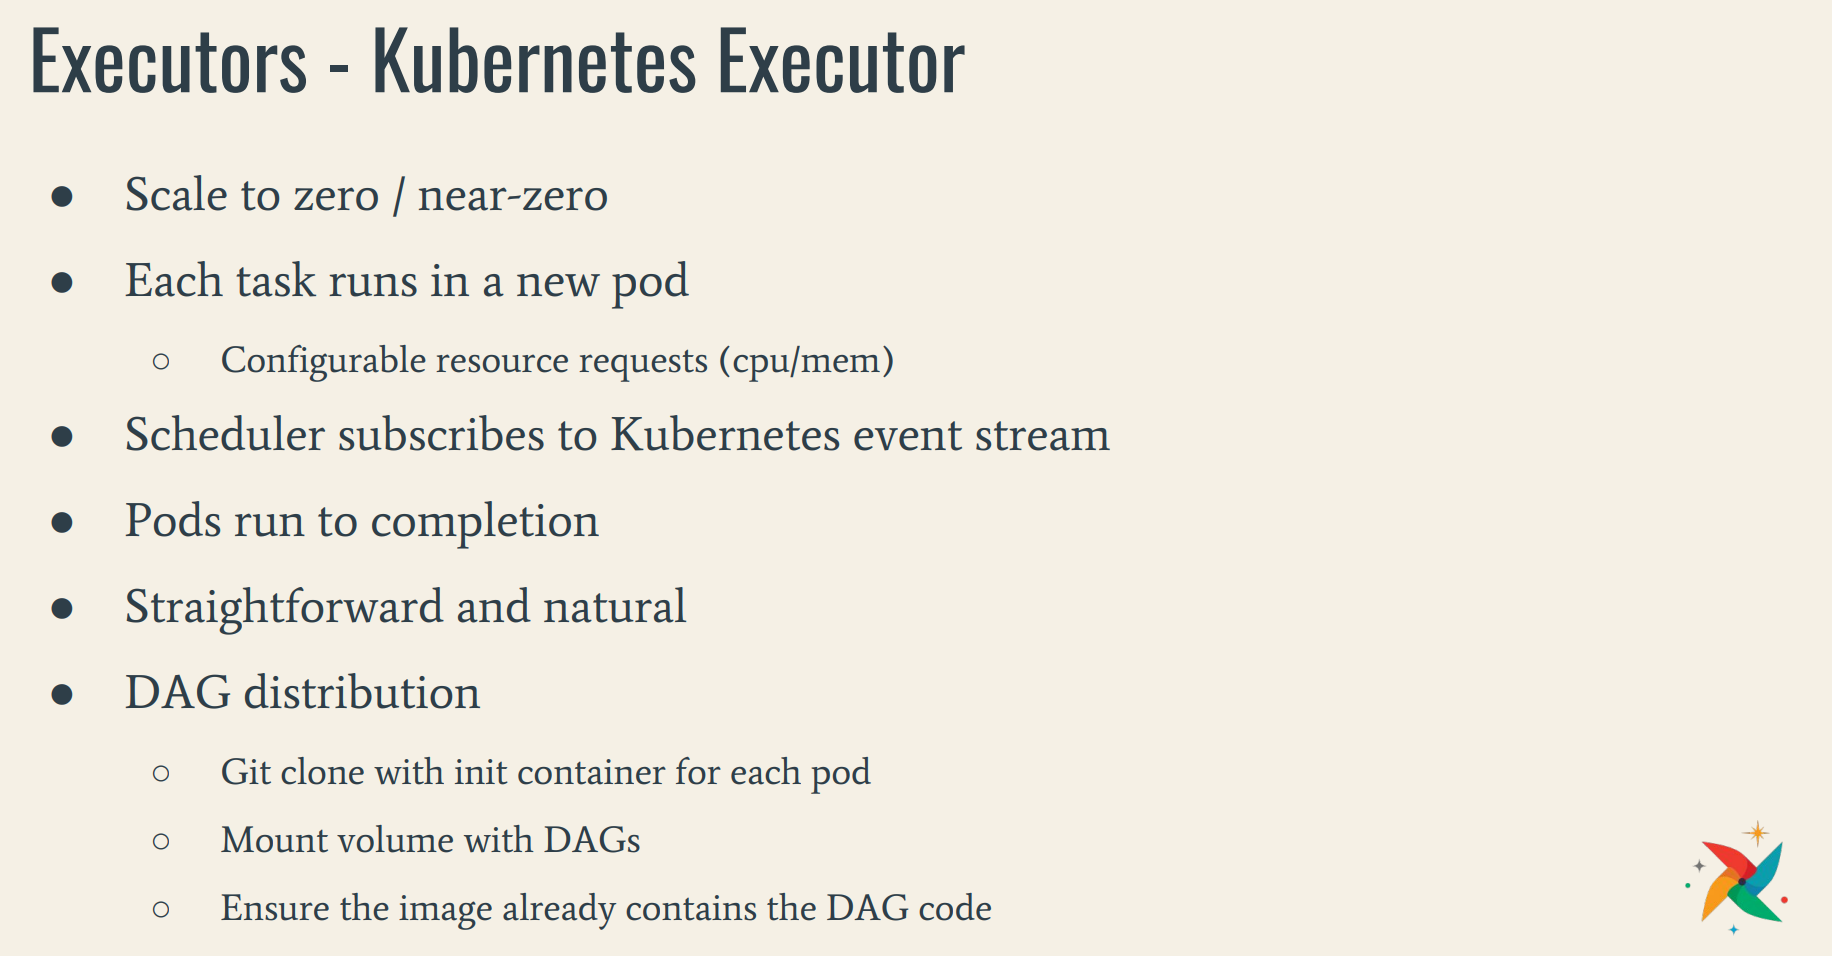
Celery Executorで必要な Redis や、Worker 要素が kubernetes側でカバーしてくれるイメージ。
ただし、前述の Rancherカタログ機能でHELMインストールしたAirflowは、この最適化されたKubernetes Executorではなく、標準ではSequential Executorが設定された。