概要
ESP32-C5-DevKitC-1でZephyr RTOSを動かす。
しばらくマイコンで遊べていなかったので、リハビリ。
参照
手順
環境構築
https://docs.zephyrproject.org/latest/develop/getting_started/index.html
を参考にして
$ mkdir work
$ cd work
$ python3 -m venv .venv
$ source .venv/bin/activate
$ pip install west

$ west init work
$ cd work
$ west update
$ west zephyr-export
$ west packages pip --install
$ cd zephyr
$ west sdk install
-> install先でsetup.shを実行すること

$ west blobs fetch hal_espressif
hello world
boards/espressif/esp32c5_devkitc/esp32c5_devkitc_hpcore.dts

  chosen {
    zephyr,sram = &sramhp;
    zephyr,console = &usb_serial;
    zephyr,shell-uart = &usb_serial;
    ★defaultは&uart0なので、usb_serialにする

&usb_serial {
  status = "okay";
  current-speed = <115200>;
};
★これも追記する

samples/hello_world/prj.conf
CONFIG_SERIAL=y
CONFIG_CONSOLE=y
CONFIG_UART_CONSOLE=y
CONFIG_PRINTK=y
★念の為、追記する

$ west build -p always -b esp32c5_devkitc/esp32c5/hpcore samples/hello_world

$ west flash --esp-device /dev/ttyACM0

$ west espressif monitor -p /dev/ttyACM0
これで、USB-TypeCの接続で、UARTが確認できる。
minicomでは出ない?ので、この方法が良さそう。
*** Booting Zephyr OS build v4.4.0-5779-g32e0ab566c6c ***
Hello World! esp32c5_devkitc/esp32c5/hpcore
Lチカ

GPIO27でRGB LEDが光るので、以下のようにoverlayを作る。
samples/basic/blinky/boards/esp32c5_devkitc_esp32c5_hpcore.overlay
/ {
    aliases {
        led0 = &user_led;
    };

    leds {
        compatible = "gpio-leds";

        user_led: led_0 {
            gpios = <&gpio0 27 GPIO_ACTIVE_HIGH>;
        };
    };
};
$ west build -p always -b esp32c5_devkitc/esp32c5/hpcore samples/basic/blinky

$ west flash --esp-device /dev/ttyACM0
以下のようにLEDが光った。
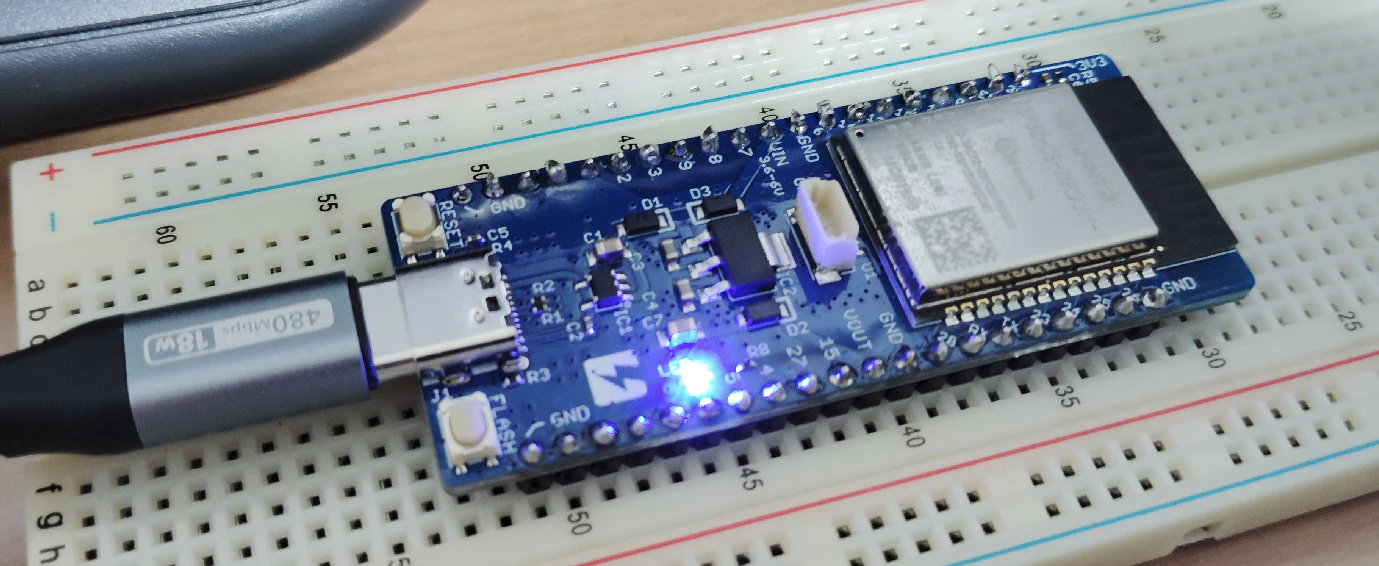
1ヶ月ぶりに遊べた。
もうちょっと遊ぶ予定。